How to paint on new plaster
Newly plastered walls can add a sleek and stylish element to your home. However, correctly painting fresh plaster can be somewhat challenging.
Newly plastered walls can add a sleek and stylish element to your home. However, correctly painting fresh plaster can be somewhat challenging and is definitely best left to a professional. They will get you perfect results in no time.
Although we always recommend hiring a professional, we understand that some people may want to try and do some of their own decorating at home.
We have put together this guide to break the process down into simple steps.
Where to start when you want to paint new plaster
Before paint goes anywhere near the fresh plaster, you need to make sure that it has completely cured. This depends upon the type of material being used.
Here are some helpful guidelines to consider before sealing new plaster:
- Plasterboard requires two to three days.
- Backing plaster needs between four and six days.
It could even be wise to wait at least a week before painting fresh plaster, as you can be assured that all of the existing moisture has completely escaped.
If you notice dark patches on the surface, this is a sign that the plaster is still damp.
Assuming that the surface has thoroughly dried, it will normally need to be sanded down to remove any rough edges. This can be accomplished by using high-grit (such as P180) sandpaper.
Be sure to remove any traces of dust with a damp cloth. This will prepare the wall for new plaster paint.
The importance of the mist coat
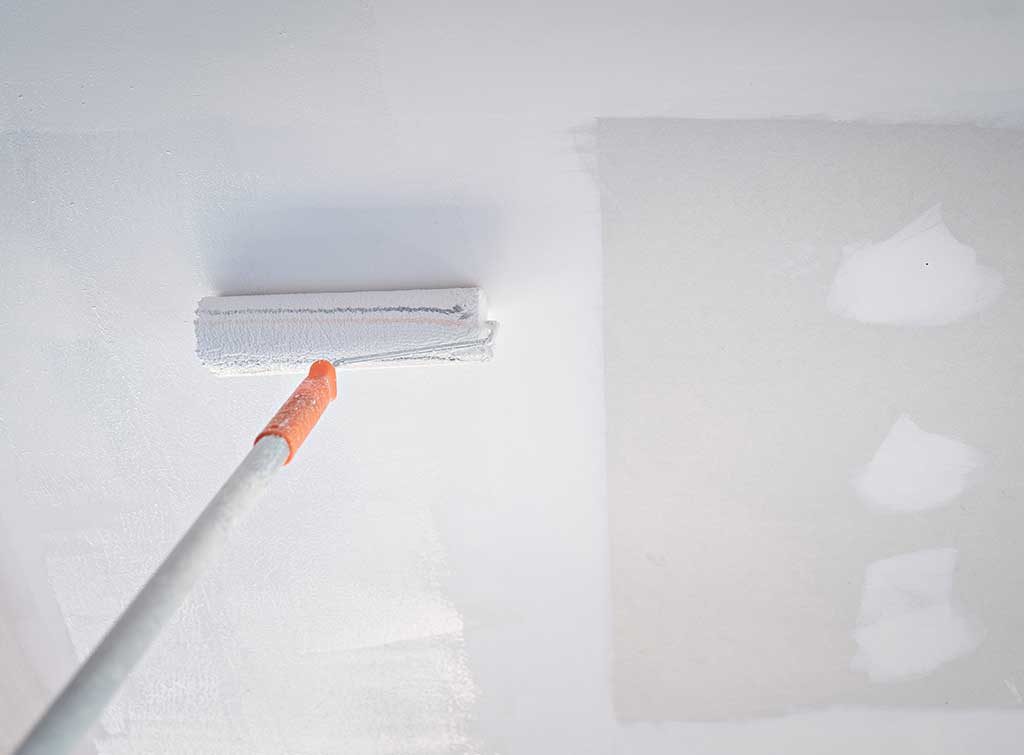
Sealing new plaster before the painting process begins is arguably one of the most important concerns, as this material is naturally porous.
If a preliminary coat (often known as a “mist coat”) is not applied, the plaster will absorb the water within the topcoat.
Once the mist coat is present, it will be much easier to see the areas which need to be filled.
A typical mist coat is comprised of three parts water to one part paint (although this can vary depending upon the type of paint in question).
We should also mention that a non-vinyl water-based paint needs to be used, as this will enable the plaster to breathe and allow any existing moisture to escape.
Painting new plaster could otherwise cause the topcoat to blister and peel.
Sealing new plaster with this coat can be slightly messy, so be sure to lay down plenty of drop cloths and cover any nearby areas. This includes light switches, trim and base mouldings.
Always clean up any drips before they have a chance to dry. Use a roller for larger areas and “cut in” the edges with a brush; ensuring that the entire wall is provided with a solid layer of new plaster paint.
We should finally mention that this coat will require up to 24 hours to dry; especially if it is applied within humid locations such as a bathroom.
Do not apply a second coat until the first has completely dried.
Painting onto new plaster – the process
Once the process of sealing new plaster has been completed, you can begin to apply the topcoat. Use a two-inch brush to paint the edges of the wall neatly, before addressing the remainder with a paint roller.
Make sure that there are no roller marks (sometimes known as lap marks) in the new plaster paint.
Please note that two coats will most likely be required to obtain a smooth and solid result. Allow each coat to dry overnight before the next one is added.
Watering down the first coat
There are certain emulsion-based paints that are intended to be used to paint new plaster (assuming it has thoroughly dried).
However, the problem is that these formulations will often produce a “harder” edge that can be more difficult to blend. This is why it is a good idea to water down the first coat slightly (one part water to three parts paint). You will achieve a softer appearance, and the chances of producing visible lap marks between roller strokes are dramatically reduced.
Feathering the edges of your cut line
One of the challenges associated with painting onto plaster is that as this surface is very smooth, even minor painting errors can appear.
It can be tough to achieve a smooth transition between the line around the wall that you cut with a brush and the rolled paint surface. This can normally be avoided by “feathering” your paint strokes during the cutting process. In other words, gently pull the brush away from the plaster wall as you reach the end of your stroke.
This will help to avoid any noticeable differences within the transition between hand-painted areas and those which have been rolled out.
How to avoid roller transition marks
One of the reasons why painting is often left to professionals is the fact that even seemingly minor errors with paint can have a dramatic impact on the subsequent results.
For example, rolling in an incorrect fashion could cause lap marks on the surface. One simple way to avoid this situation is to roll back over the area that was just coated with paint.
Here are the steps to take:
- Roll a specific section of the wall in even, vertical strokes.
- This section should typically be no larger than two square metres.
- Once you have rolled in a specific direction (left to right or right to left depending upon your preference), continue rolling in the opposite direction to where you began. This ensures that any visible lap marks have been smoothed out.
This technique is particularly useful when applying the first coat, as lap marks will be more prevalent due to the fact that the plaster absorbs a certain amount of moisture from the paint.
What if the plaster begins to pull away from the surface?
There may be times when you notice that the plaster is pulling away from the wall when it is being rolled.
This is a sure-fire sign that you have not provided adequate drying time. If this occurs, do not continue painting. Allow at least 24 hours for the wall to fully dry. You will then need to apply a quick-drying plaster mix to the area in question. Allow this location to dry before sanding and applying the subsequent mist coat thoroughly.
As always, try to ensure that the wall is completely dry before painting to avoid this situation.
How many topcoats are needed?
This is a bit of a trick question, as there are several factors to take into account. The quality of the paint will often determine how well it covers a wall. It is, therefore, best to spend a few extra pounds in order to avoid extra work.
One of the ways to tell if the wall is sufficiently covered is to glance at it from an angle. It is much easier to spot any areas that have not been adequately covered from this perspective. If you used a white mist coat, more than two topcoats might be required if you intend to paint the wall with a darker colour.
However, it is still very rare that more than three top cots will need to be applied.
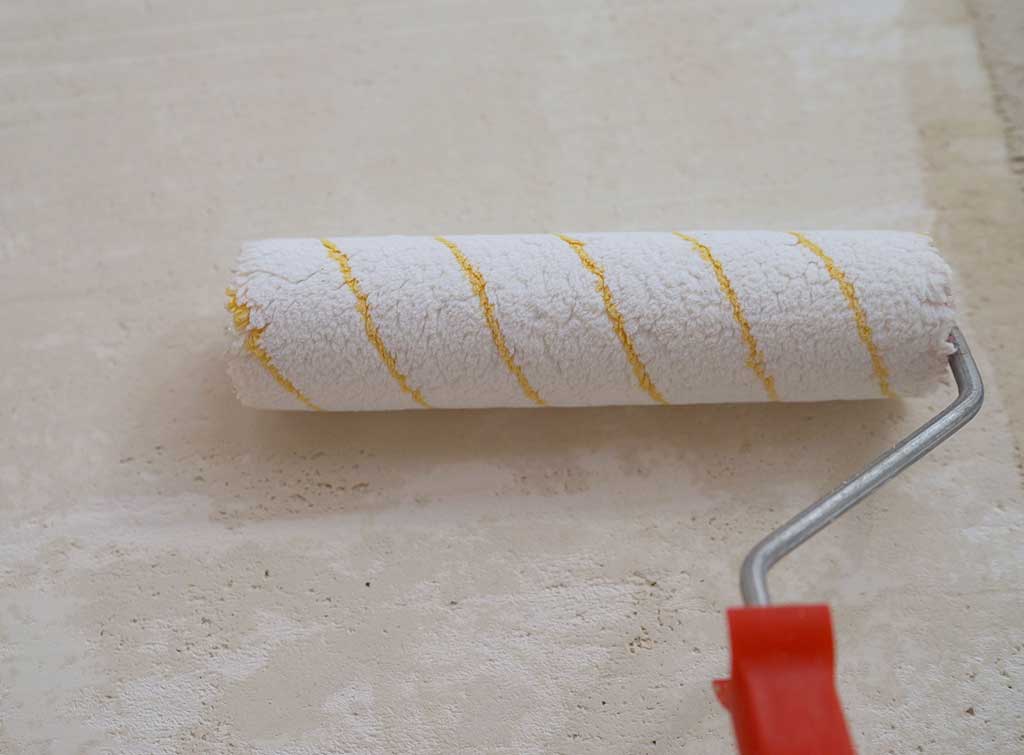
What type of roller nap should you use?
The “nap” of a roller is defined as the thickness of the cover that will absorb the paint. These thicknesses can vary depending upon the type of surface to be addressed.
When painting new plaster walls, it is best to use a 3/8-inch or 1/2-inch model. In this situation, the nap will allow the paint to be applied in a smooth fashion; avoiding any noticeable stipple once it has dried.
On a final note, most experts recommend using a synthetic nap, as there are fewer chances of individual fibres becoming loose during use.
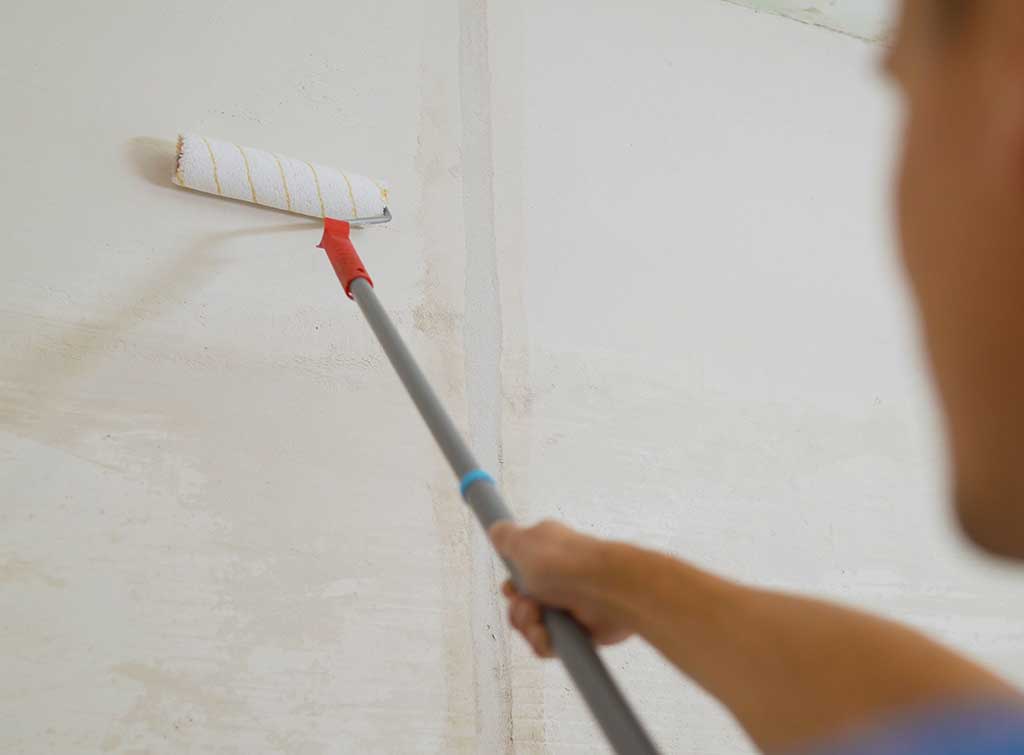
Dealing with extremely large walls
There may be times when you will be painting an extremely large wall.
In such a situation, it is better to avoid using step ladders if at all possible. It is much better to attach your roller to a telescopic pole. These poles come in various lengths, and they can be easily extended to deal with higher areas.
This will save a great deal of time and perhaps more importantly, the paint will be allowed to dry uniformly as opposed to certain patches curing before others.
A final professional tip is to slow down the speed of your roller when approaching the ceiling. If you go too fast, you might unintentionally hit the ceiling with paint.
In other words, a bit of caution will save you needless extra touch-up work.
Hiring a professional
Although this guide breaks down the steps of painting new plaster into useful chunks, it is not always a straightforward process, and it would still be much more beneficial to hire a professional.
Here at Checkatrade, we go to great lengths to check every business advertised on our website to ensure that they are reputable and reliable.
All of our tradespeople are qualified professionals. Their work is regularly reviewed by our customers so you can feel assured of the quality and consistency of their workmanship.
Find and book your trade with us and we'll guarantee their work up to £1,000*.
Guaranteed for 12 months. Eligibility and T&Cs apply


No comments yet!