Blog>How-To Guides>How to repair your pavement: a step by step guide for buckling walkways
Last updated: 29 July 2020

How to repair your pavement: a step by step guide for buckling walkways
As well as being unsightly, a cracked driveway needs to be repaired quickly for health and safety reasons. Fixing or replacing damaged concrete can stop the problem from getting worse and prevent nasty accidents - be it a slip, trip or fall or damage to your vehicle. To get you started, we’ve
As well as being unsightly, a cracked driveway needs to be repaired quickly for health and safety reasons. Fixing or replacing damaged concrete can stop the problem from getting worse and prevent nasty accidents - be it a slip, trip or fall or damage to your vehicle. To get you started, we’ve plotted out a step by step guide on how to repair pavement.
How to repair pavement
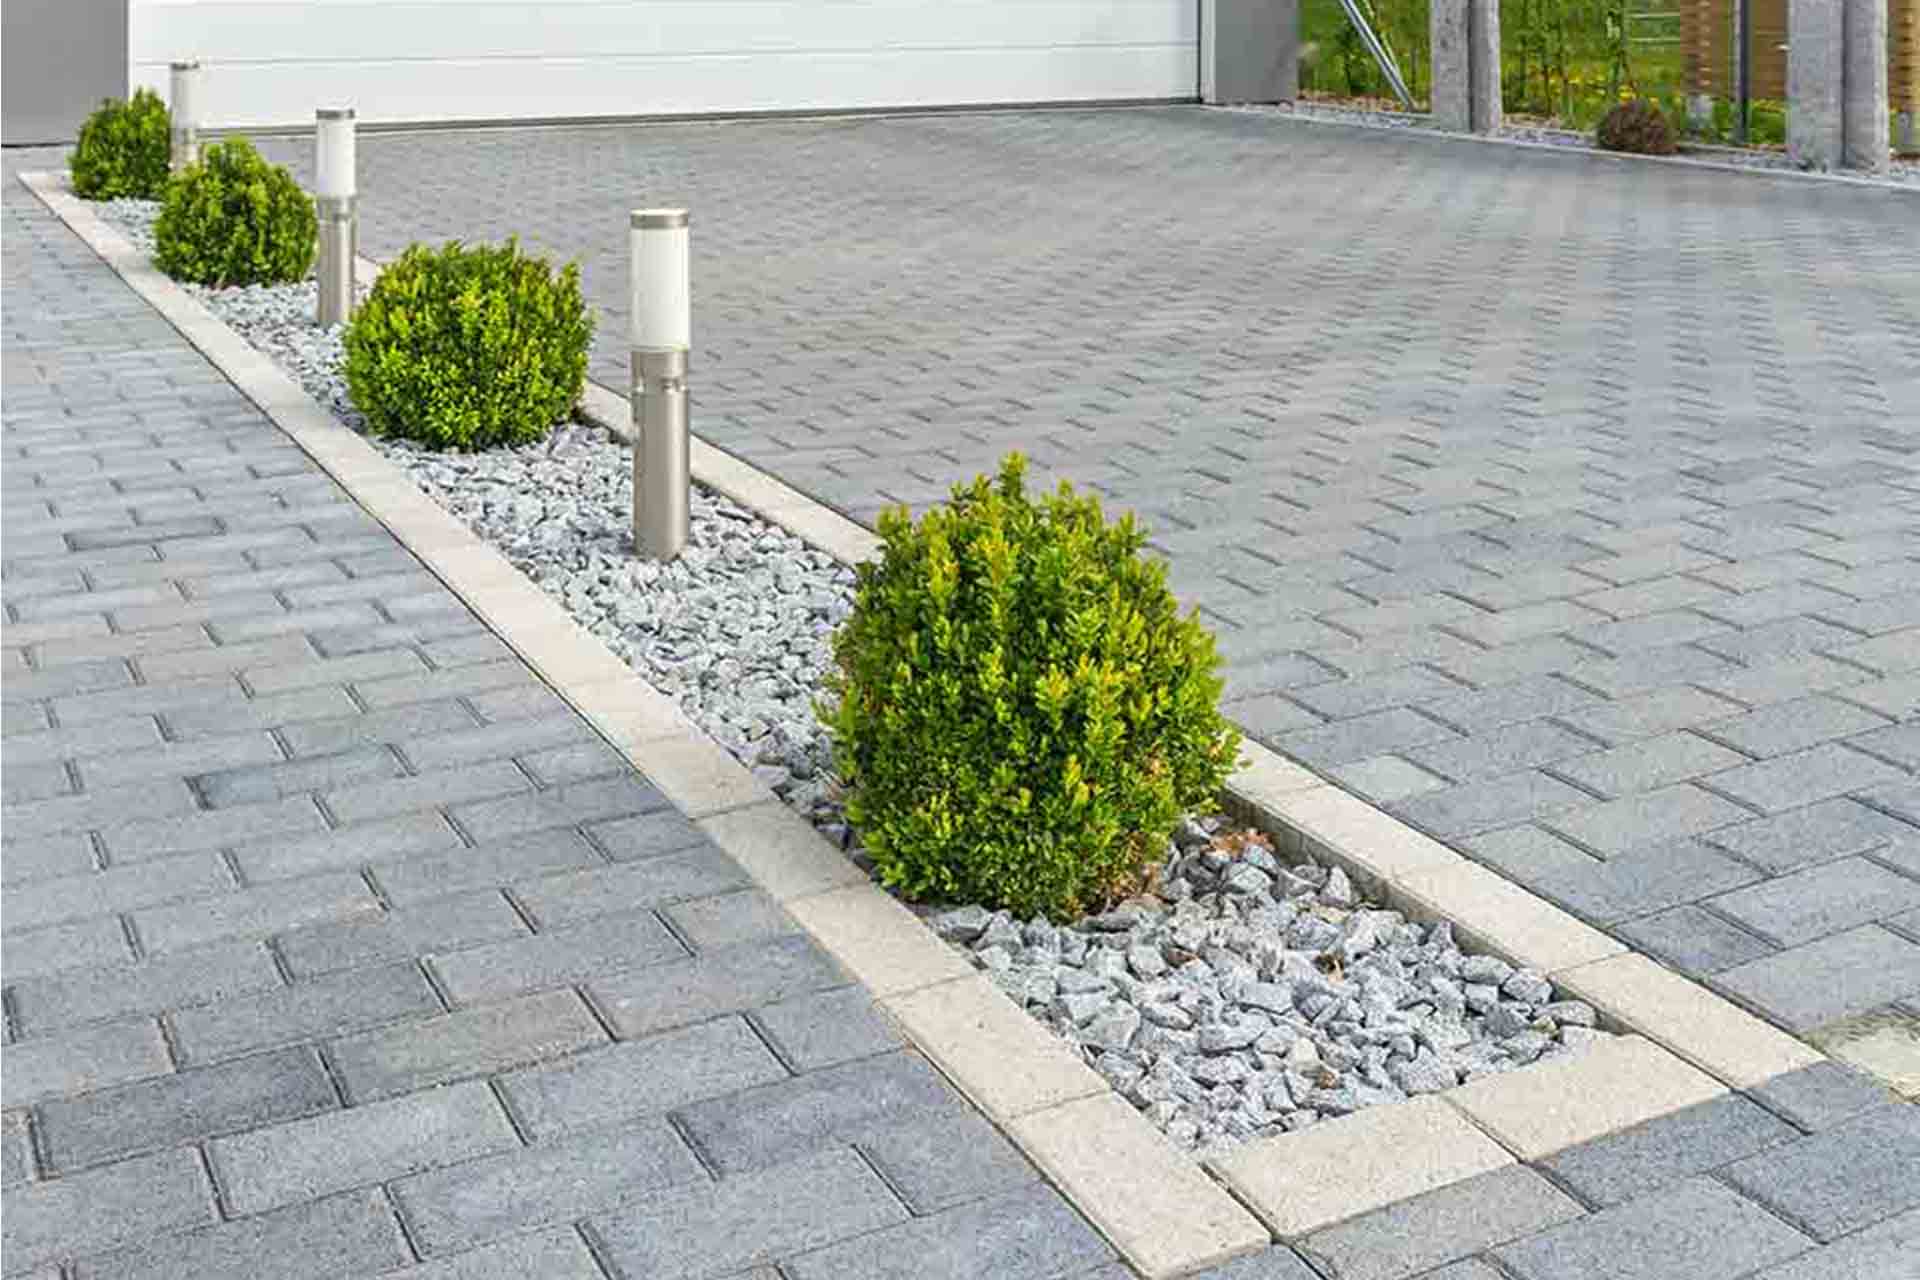
Your driveway makes up a big part of the exterior of your property. While a couple of cracks can go unnoticed, a buckled walkway or pavement can bring down the visual appeal of your home. But what causes pavements and driveways to buckle, crack and collapse over time?
Reasons for buckling driveway
Cracks in concrete are extremely common. With time and usage comes wear and tear, and hairline fractures are to be expected - particularly if you’re driving over it every day with a heavy vehicle.
Surface cracks
Very fine surface cracks can also be an indication that the surface of the concrete dried too quickly when it was poured. If you’ve just moved into your property and notice fine lines on the driveway, they may not indicate structural damage.
As long as the rest of the concrete is in good condition and there is no crumbling or sinking, you can fix this issue yourself by applying a resurfacing product.
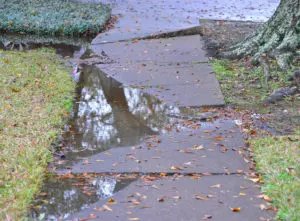
Weather damage
Constant exposure to the elements means dirt and water will work their way into the cracks, and when water freezes in winter, the cracks begin to grow.
Before long, you’re dealing with a fully buckled walkway.
The same issue can arise from frost heave when the soil below the concrete gets oversaturated and forces a seemingly small crack to expand in size. Temperature changes are to be expected, so if your driveway is showing cracks, don’t wait to have them filled.
Underground disturbance
If your walkways seem to be collapsing in, it could be due to root growth underground. Do you have a nearby tree that could be pushing up the concrete? If so, a simple slab replacement won't be enough.
What will I need to repair cracks in a driveway?
Dealing with hairline cracks can be fairly straightforward, but if you’ve never done it before, you will undoubtedly be wondering how to repair cracked pavement and what tools you need to complete the job.
Below is a list of essential items for repairing cracks in your walkway:
Personal protective equipment
This could include heat resistant gloves, hard-soled boots, eye protection and traffic safety vests when repairing pavement exposed to traffic.
Concrete/asphalt sealant
When purchasing a sealant, look for products that offer flexibility. Concrete expands and contracts with changes in weather, so the sealant you use should be resilient to this to prevent it from pulling away from the edges of the crack.
A hammer and chisel
Before you get started on repair, you need to widen the crack with a hammer and chisel in spots where it’s less than ¼ inch wide.
A gauging trowel
A gauging or bucket trowel can be used for applying the sealing product into the cracks or holes.
A finishing trowel
Once you have applied the concrete sealant to cracks in your pavement, a finishing trowel can be used to smooth down the surface to make it nice and level.
Step 1: Assess the damage to your driveway
Before asking a professional how to repair pavement, it’s a good idea to inspect the cracks in your pavement. Are they just hairline cracks or structural issues? How deep is the crack? Depending on the damage, you can use a sealant to repair or you might need full replacement of your driveway.
Hairline cracks
Hairline cracks or cracks under 1/4-inch wide may not indicate serious underlying damage, but if water gets into them and repeatedly freezes and expands, and vehicles continue to drive over them, the cracks can get bigger and the problem can worsen.
The good news? You can repair hairline cracks with a repair compound. Repairing a hairline crack at this stage will prevent cracks from deepening.
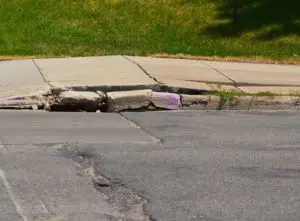
Structural damage
Deep cracks or cracks over 1/4-inch wide usually signal more serious problems. While they can be filled, the fix is often temporary. If you see loose gravel or have a number of deep and potentially dangerous cracks, consider calling in a professional contractor. They may even advise replacing the entire pavement to make it completely safe and stop you from having the same issue in the near future.
See the tradespeople we've checked for your job
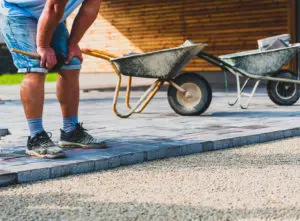
Step 2: How to repair a concrete walkway
A cracked concrete walkway can make an otherwise attractive property look unsightly and pose a risk to those walking and driving on it every day. Tips to consider:
When repairing concrete you need to consider how you will join the new concrete to the old, it may need expansion joist and need reinforcement to tie it together.
Ensure that the concrete mix is correct.
Breakaway a larger area than the crack to ensure you are getting to the route cause of the problem.
Ensure that the substrate is solid and compacted (if not – this may need replacing).
Ensure that there is a suitable membrane.
Once the concrete is poured ensure there is a suitable finish (tamping/power floating) however you want it finished.
Ensure it has enough time to cure before you drive on it and protect it from any potential frost whilst drying
If cracks are widening and you’re worried about structural damage, follow these steps:
How to repair pavement
Prepare the concrete
Before you apply filler, break up any old concrete materials with a hammer or masonry chisel. Remove the broken pieces and debris from the cracks with a chisel or slotted screwdriver.
Prepare the driveway
Remove any plants/weeds from cracks, and remove debris from the driveway. A leaf-blower can speed up the process, or stick to a good old fashioned rake. Clean the pavement using a pressure washer to remove stains and mould. Let the concrete dry before filling the cracks.
Prepare the concrete sealant or resurfacer
Use a sealant product with a flexible formulation, so it will move with the old concrete and not pull away from it when the temperature drops. For smaller cracks, you should use rubberised asphalt-emulsion crack filler.
Apply sealant to the cracks
Carefully apply the filler using your gauging or bucket trowel. If you can avoid it, try not to let any of the product spill on to unaffected areas, as the sealant can cause staining on the pavement.
Smooth down the surface and let it set
Use a finishing trowel or putty knife to smooth down the sealant in the crack so that is it level with the ground. Unless you have protective gloves, do not attempt to smooth down the surface with your hands!
Let the filler dry
The sealant product you use should have clear guidelines as to how long you should wait for the filler to dry before you can start reusing the pavement.
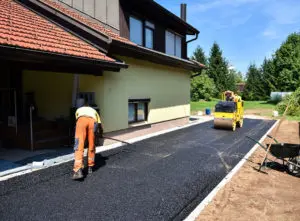
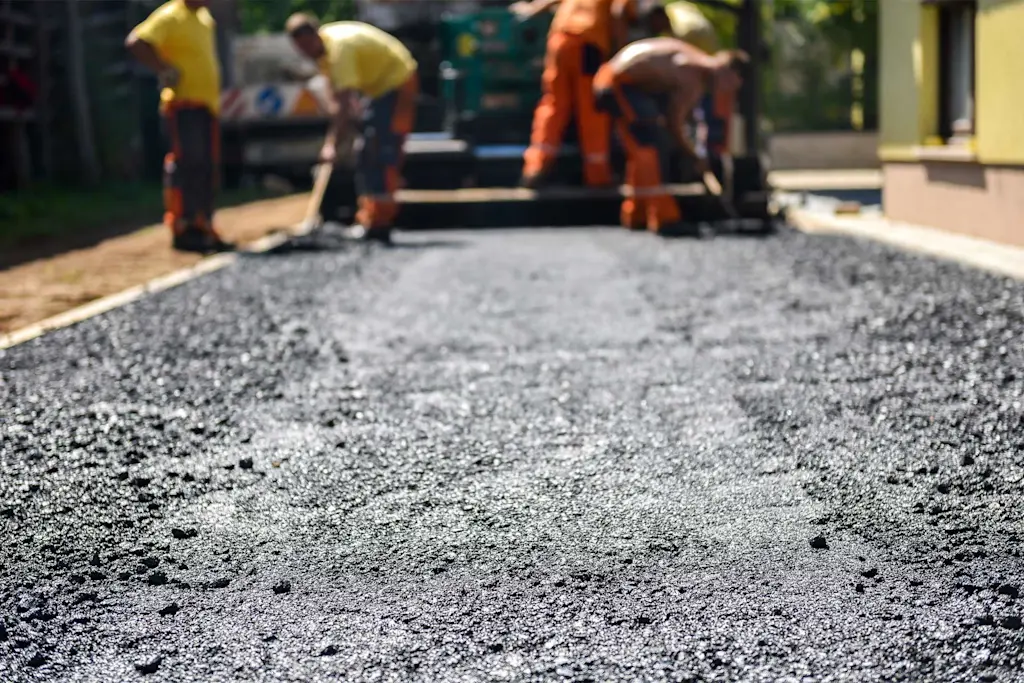
Step 3: How to replace a concrete pavement
Is the concrete in your driveway is extremely cracked or buckled? This isn’t just an aesthetical problem.
Leaving it could potentially be very dangerous to walk and drive over. If cracks are larger than ¼ inch, it’s usually too late for light sealant. In this case, it’s best to replace sections of the pavement than attempt to fill the cracks.
To replace the damaged concrete, you must first break up the existing concrete and prepare the underlying foundation before you can pour new concrete.
Put on protective equipment
Put on proper safety gear, including safety glasses/ a visor and sturdy, heat resistant work gloves
Remove damaged concrete slabs
Excavate a small amount of earth from each side of the concrete section using a shovel. Break up and remove all existing concrete, getting rid of any loose pieces. Do not reuse broken concrete. Excavate a space that extends about 4-6 inches deeper than the concrete will.
Prepare the ground for concrete
Once the ground is prepared and the damaged concrete slabs broken up and removed from the site, lay down gravel base and compact it, using a spirit level to ensure the gravel is even and make adjustments where needed.
Make and place forms to contain concrete.
Secure wooden forms to provide a frame for the concrete, placing a stake at least every 3 feet of the form for additional support. Check to ensure the forms are level and adjust where necessary before applying lubricant to the inside of forms.
Prepare the concrete
Mix or prepare the concrete and pour into your prepared forms. Run a screed over the poured concrete until it hardens, creating a smooth surface across the pavement.
Let the concrete set
Cover the newly poured concrete with a plastic sheet and keep covered for a week, making sure to allow it to cure properly. After a day, remove wooden forms and use a hammer to pull them apart from the new concrete.
It’s important to bear in mind that while the above provides a solid overview of the concrete walkway repair process, it is not an exhaustive list or extensive method. Due to the difficult nature of this task, we recommend getting a professional contractor to help you replace your buckling walkway.
Costs for repair a driveway
There are various types of driveways and some of them may include the following:
Tarmac
Blocked paved
Concrete
The costs associated with repairing each type per m2:
Tarmac repair - £85 - £95 per m2 (minimum 1m2)
Block paving - £60 - £75 per m2 (minimum 1m2)
Concrete - £80 - £100 per m2 (minimum 1m2)
Most companies will have a minimum repair or call out charge so please be aware that you may need to pay this additional fee which will be on top of the repair cost.
The costs will only include for repairs the top layer of the surface not any of the build-up underneath e.g. hardcore/crushed concrete, if you need to repair the substrate then you should add an additional £50 per m2 however please consider that if there is a problem with the substrate then this cost could be a larger problem than just where the crack is.
Can I repair my driveway myself?
Wondering how to repair pavement? Depending on the kind of damage you’re dealing with, it might be best to call in a professional to help you resolve the problem. Concrete can be difficult to work with and often requires specialist equipment. A qualified contractor can assess the damage, determine the best approach and relieve you of the daunting task of repairing a buckled driveway.
Like what you see? We have plenty more where this came from. Check out Checkatrade’s blog for more home inspiration, how-to’s and project ideas.
More Concrete Driveways Articles

See the tradespeople we've checked for your job