Blog>How-To Guides>How to clean your extractor fan
Last updated: 9 December 2021
How to clean your extractor fan
How often do you think to clean your extractor fan? We think that this is one of the most overlooked household jobs, but you need to make it a must-do.


How often do you think to clean your extractor fan? We think that this is one of the most overlooked household jobs, but you need to make it a must-do.
Why do I need to clean my extractor fan?
Extractor fans draw up plenty of airborne particles and dust which collect in the vents, filters and blades of the fan which can lead to a build-up of mould and mildew.
How do I clean it?
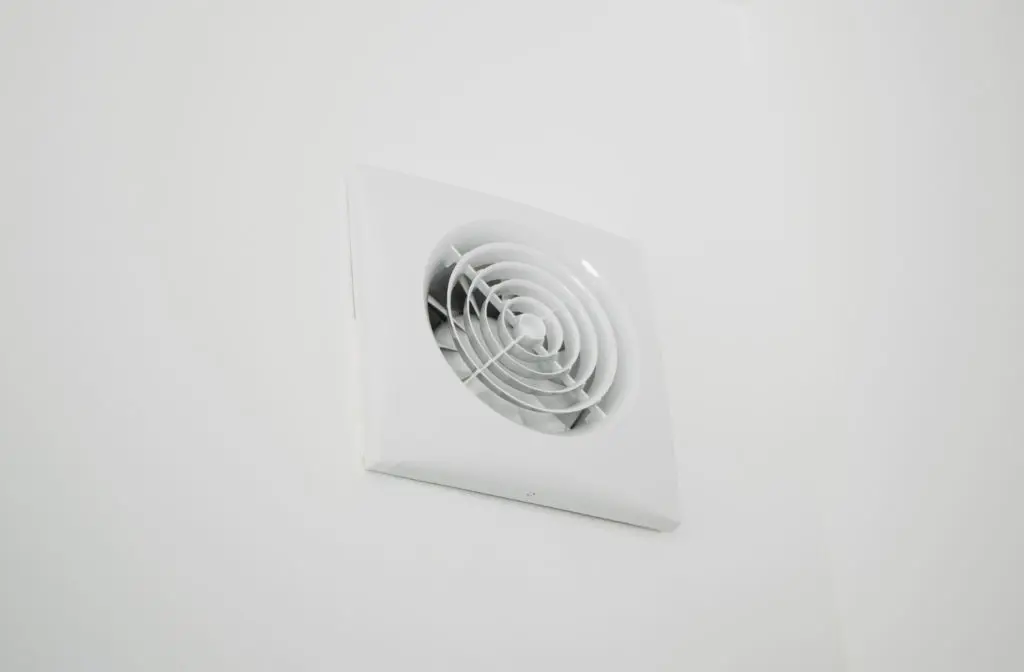
By removing the fan and following our four simple steps, you can clean out the extractor fan yourself. But if you don’t feel confident enough, you can always ask a Checkatrade member to do the job for you.
Step 1: Make sure you have turned the power off. Most models have a plug located directly behind the cover.
Step 2: Removing the cover and fan can be messy and awkward. To reach yours easily, use a ladder safely. Most covers will have two prongs either side, but some might have screws. When removing the fan, take care not to knock it as the blades are easily chipped which can make your fan louder and less effective.
Step 3: Give the cover a vacuum to remove all the build up excess dust and dirt. Take a clean paint brush or old toothbrush and clean out all of the hard to reach smaller areas. Wipe down with a damp cloth and leave to dry.
Step 4: Reinstall the fan back in place and reinsert the exhaust pipe. Then screw the bracing back into place. Double check that the power is still off and then give the fan a test by carefully using your fingers to spin the blades a few times ensuring that it’s not knocking or ruining anything. Pop the cover on, turn the power back on and the fan should be as good as new.
Top Tip: Do this job twice a year – at the beginning and end of the spring and summer months is best.
See the tradespeople we've checked for your job