HOW-TO GUIDES
How to solder copper pipes: step-by-step guide
Updated 08/26
By: Olivia Scammell
Reviewed: Alex Peters
The tools and safety kit you need before starting
How to cut, clean, and prep copper pipe properly
The correct order of steps for a watertight joint
Why pinhole leaks happen in older copper pipework
What soldering costs compared to hiring a plumber
When soldering is too risky to attempt yourself
If you've searched for how to solder copper pipes, there's a decent chance you're dealing with a leak.
Copper pipework typically lasts 70-80 years, so if yours is dripping, corrosion has usually had time to eat a small "pinhole" through the pipe wall from the inside out.
Soldering is the traditional way to join copper pipe permanently, and it's still what most plumbers use for anything carrying mains water pressure. It's a satisfying skill to learn, but it involves an open flame near your home's pipework, so it's worth being honest with yourself about your comfort level before you start.
It's often quicker and a lot safer to get a plumber or heating engineer to do the work for you.
Find a plumber near me
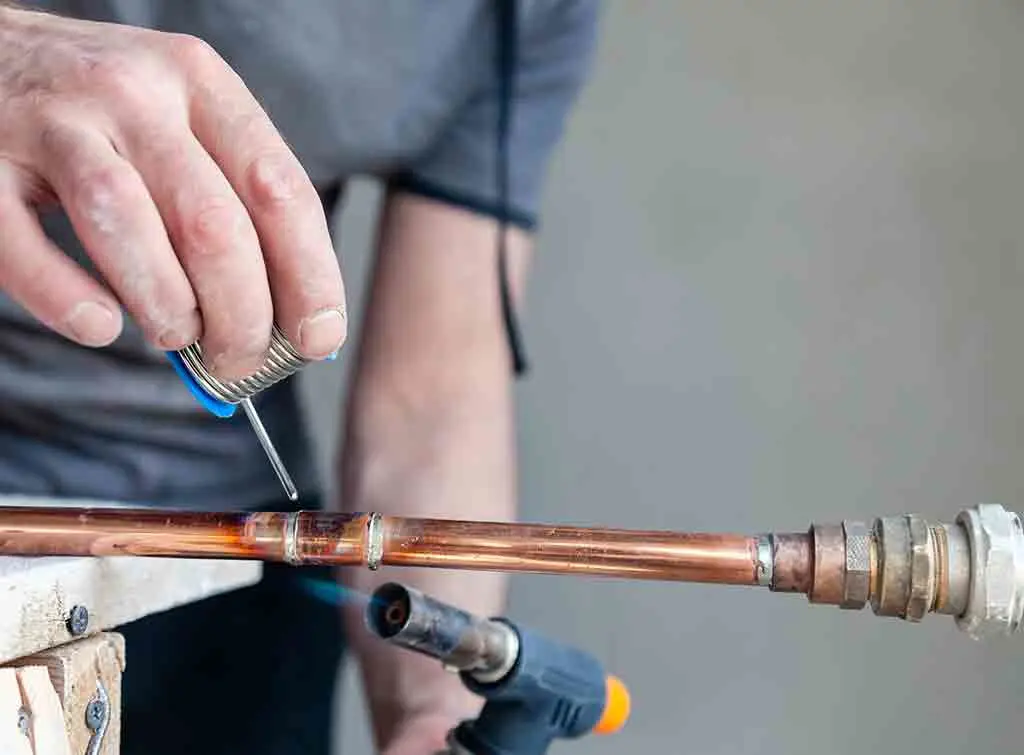
Tools and safety kit you'll need
Lead-free solder
Flux and a flux brush
Blowtorch (propane or MAP gas - MAP gas burns hotter and is faster on wider pipe)
Pipe/tube cutter
Deburring tool or emery cloth
Wire brush or wire wool
Heatproof mat
Wet rag
Heatproof gloves and eye protection
Safety first
Naked flames are an obvious fire and burn risk, so always wear gloves and eye protection - solder can spit when it's heated.
Flux also contains rosin, which can irritate your eyes, throat, and lungs if you breathe it in, so work in a ventilated space and avoid leaning directly over the joint.
UK plumbing regulations require lead-free solder on any pipework carrying drinking water. Check the packaging specifically says "lead-free" before you buy.
Before you start any work on the pipework itself, isolate the water supply to the section you're working on and open a nearby tap to drain any residual water.
Soldering a pipe that still has water in it essentially can't be done - the water absorbs the heat and stops the joint reaching soldering temperature, so you'll need to fully drain the line first.

Copper pipe soldering checklist
How to solder a copper pipe
1. Cut the pipe to length
Measure and mark the pipe, then use a pipe cutter to make a clean, square cut. Tighten the cutter gradually and rotate it around the pipe rather than forcing it through in one go, or you risk denting the copper.
2. Deburr the cut ends
Run a deburring tool or the reamer on your pipe cutter around the inside edge of the cut to remove sharp burrs, then tap the pipe to clear any shavings. Skipping this step is one of the most common reasons a joint doesn't seat properly.
3. Clean the pipe and fitting
Use emery cloth or a wire brush on the outside of the pipe end and a wire brush inside the fitting until both surfaces are bright and shiny. Any dirt, oxidation, or old flux residue will stop the solder bonding properly, so don't rush this part.
Avoid touching the cleaned surfaces with your fingers before soldering - the natural oils on your skin can affect how well the solder bonds.
4. Apply flux
Brush an even, thin layer of flux onto the cleaned pipe end and the inside of the fitting.
5. Assemble the joint
Push the pipe fully into the fitting until it seats, then twist slightly to spread the flux evenly. Wipe away any excess flux that squeezes out with a clean cloth.
6. Protect the surrounding area
Position a heatproof mat behind and beneath the joint, especially near timber, plastic fittings, or anything flammable nearby.
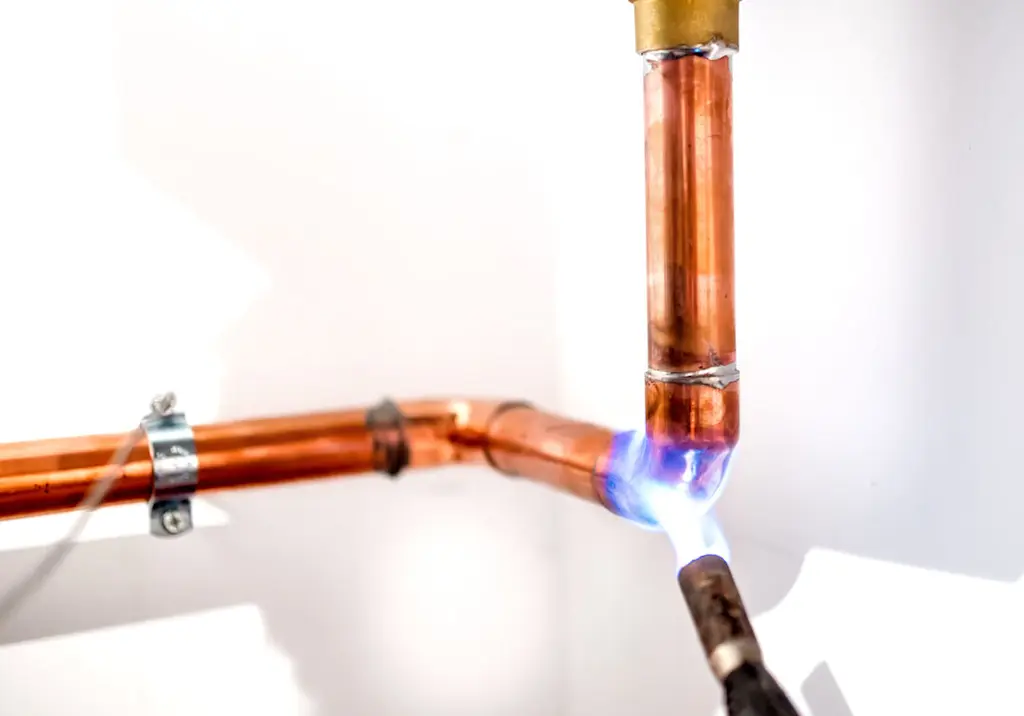
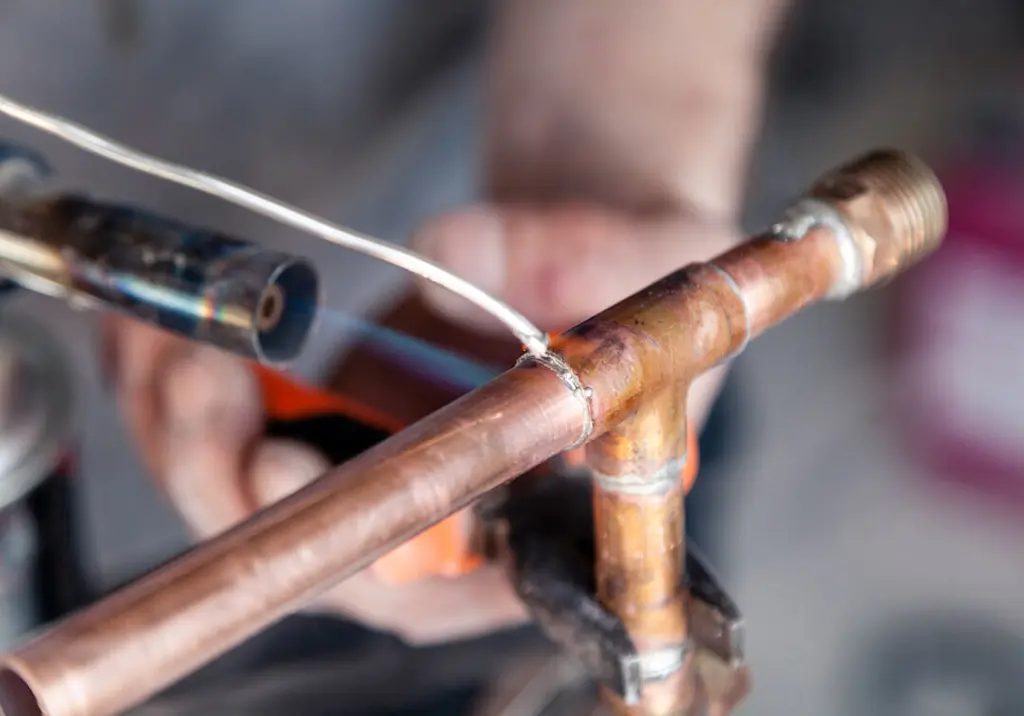
7. Heat the joint
Light the blowtorch and adjust it to a steady, controlled flame. Heat the fitting itself, not the solder wire directly - once the fitting is hot enough, touching the solder to the joint will melt it and draw it into the gap by capillary action.
8. Apply the solder
Run the solder wire around the circumference of the joint, feeding roughly half an inch of solder for every half inch of pipe diameter. You should see a thin, even line form all the way around.
9. Turn off the torch safely
Extinguish the flame and set the torch down somewhere heatproof - the nozzle stays hot for a while afterwards.
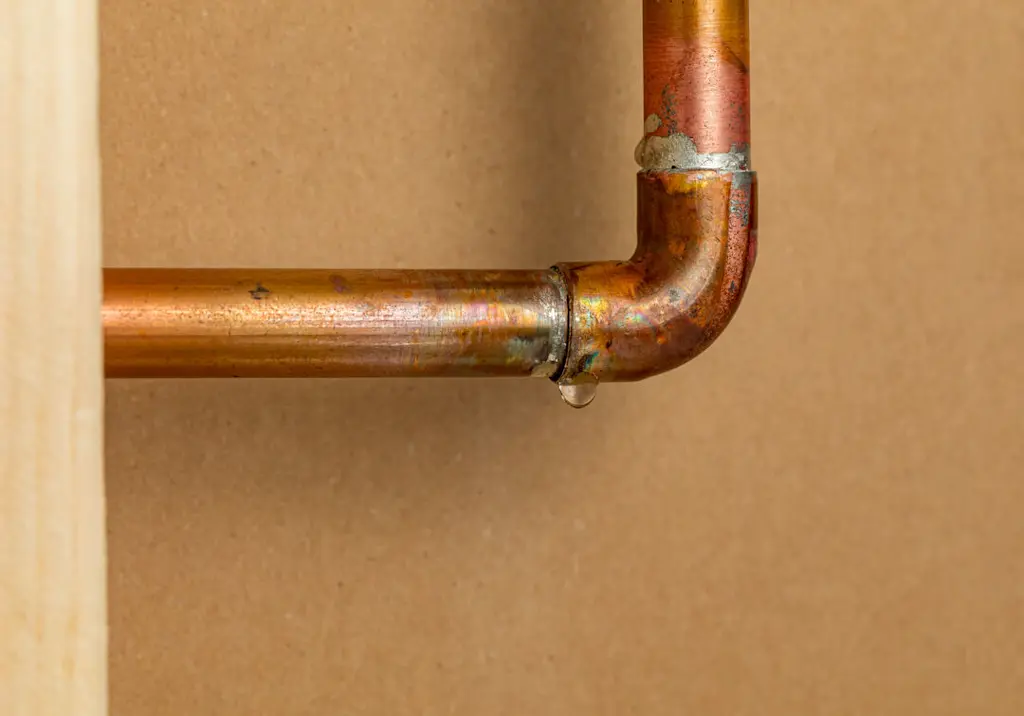
10. Inspect the joint
Check for a continuous, even line of solder right around the fitting with no visible gaps.
11. Clean off excess flux
Wipe the warm joint with a wet rag to remove any remaining flux residue before it discolours the pipe.
12. Test for leaks
Once the pipe has fully cooled, turn the water supply back on and check the joint closely for drips or weeping, ideally leaving it under pressure for a few minutes before you consider it done.

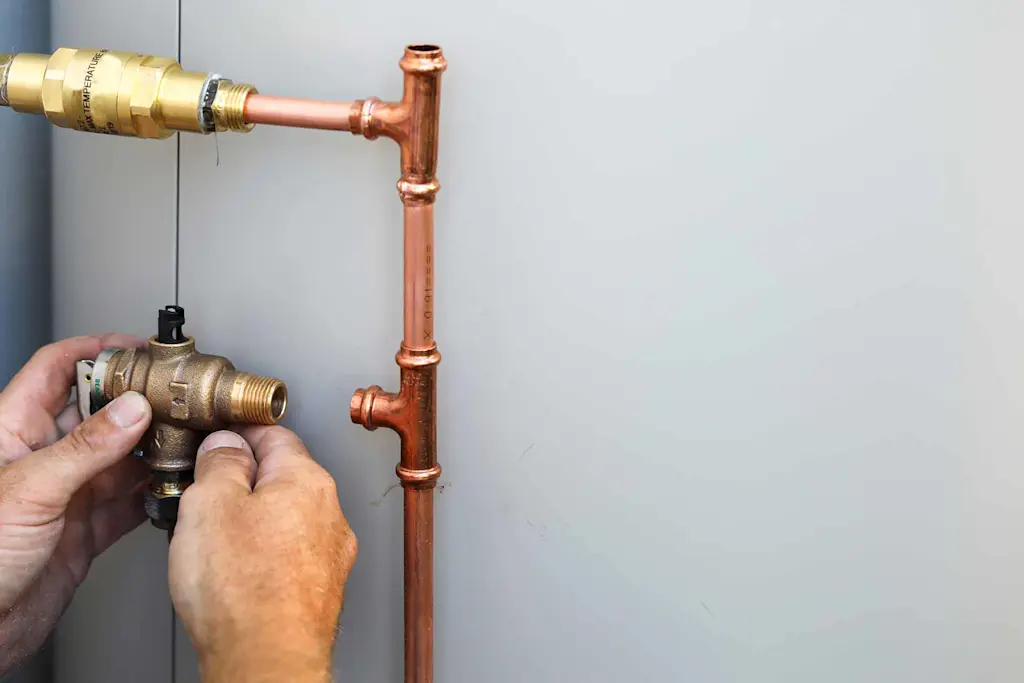
Soldering alternatives if you'd rather avoid a flame
If working with a blowtorch indoors doesn't appeal, push-fit (push-to-connect) fittings are a legitimate flame-free alternative for many jobs.
They connect copper, and often plastic pipe, in seconds without heat, though some plumbing situations still call for a soldered joint for a fully permanent, code-compliant connection - particularly on pipework carrying full mains pressure.

If your leak is at a tap connection rather than mid-pipe, our guide on how to fit a tap may solve it without soldering at all - otherwise, a plumber can advise on the best fitting for your specific pipework.
Should you hire a professional instead?
Soldering copper pipe isn't technically complicated, but the combination of an open flame, your home's water supply, and (often) working in a tight, awkward space is exactly why many people choose to leave it to a plumber.
It's also worth bearing in mind that a poorly soldered joint on a pressurised water line won't announce itself as a problem until it fails - sometimes inside a wall or under a floor.
When it's worth calling a plumber:
The pipe you need to join is still wet and you can't fully isolate the supply
The joint is in a tight or hard-to-reach space, increasing the fire and injury risk
You're working on a pinhole leak in old pipework that may indicate wider corrosion
You've never used a blowtorch indoors before and this is a job that matters (e.g. pipework buried in a wall)
See our plumber cost guide for typical hourly rates, or our guide to plumber call-out charges if you need someone out quickly for a leak.
Find a reliable local plumber near you
Enter your postcode to find a top tradesperson near you
Harts247PlumbingAndDrainage Limited
10.00
(4 reviews)Services & skills
PlumberBathroom & Kitchen PlumbingWater Pumps InstallationBlocked ToiletsBlocked SinksPlumbingHQ
10.00
(2 reviews)Services & skills
PlumberBathroom & Kitchen PlumbingWater Pumps InstallationTap RepairRadiator Thermostat Valve RepairRAPID PLUMB 247 LTD
10.00
(6 reviews)Services & skills
PlumberBathroom & Kitchen PlumbingUnderfloor Heating InstallationGeneral PlumbingUnderfloor Heating RepairMJ Plumbing and Heating
10.00
(40 reviews)Services & skills
PlumberGeneral PlumbingPlumbing RepairsTap RepairRadiator InstallationROBIP-PGHEM-ENGINEERING
10.00
(65 reviews)Services & skills
PlumberBathroom & Kitchen PlumbingBlocked BathsPower FlushingWater Pumps InstallationRapid Drainage and Plumbing
10.00
(264 reviews)Services & skills
PlumberGeneral PlumbingPlumbing RepairsBlocked ToiletsEmergency Plumber Service



On Checkatrade, you'll only find trades who meet our high standards and pass up to 12 checks.
Any plumber you hire through Checkatrade is covered by our guarantee, and you can review their profile, past work, and verified customer reviews before booking.
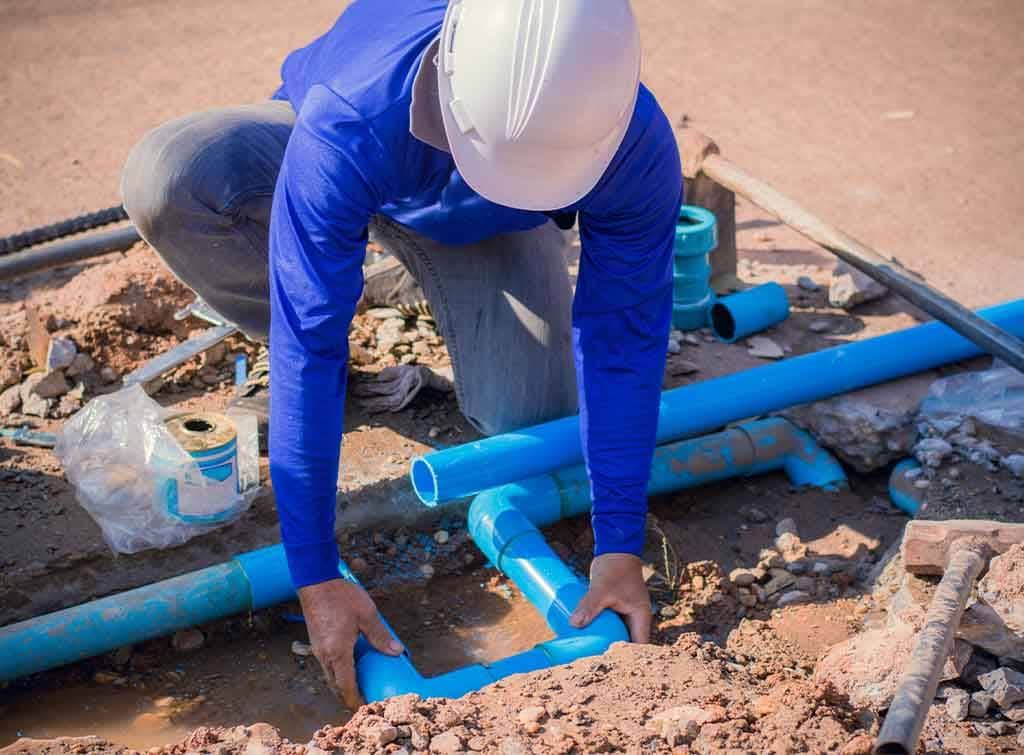
Water supply pipe replacement cost in 2026: UK prices
Replacing a water supply pipe can seem like a daunting job for some homeowners, with the thought of excavating trenches, pulling up the old pipe and laying the new one. We’ve put together this main water pipe replacement cost to help you understand what’s involved and plan your budget for the project.
Soldering FAQs
No - this is one of the most common reasons a soldering job fails. The water absorbs the torch's heat before the fitting reaches soldering temperature, so the solder won't melt properly. Fully isolate and drain the section of pipe first.
Yes, this is sometimes called solderless copper bonding, using a polymer adhesive to join rigid pipe fittings without heat. It's a more complex process in practice and best left to a professional if you need a fully reliable joint.
Working in confined spaces increases the risk of burns, fire, or accidental damage from an open flame, so extra caution is needed - heatproof mats and shields are essential. For genuinely awkward locations, it's often safer and quicker to bring in a plumber.
Pinhole leaks are caused by corrosion working its way through the pipe wall from the inside out, which becomes more likely as copper pipework ages - particularly pipework that's several decades old.
The individual steps aren't complicated, but it takes practice to get a consistently watertight joint, and the consequences of a bad joint (a hidden leak) can be serious. Many people practise on scrap pipe before attempting a real repair.
Soldering creates a permanent, heat-formed joint that's the standard for pressurised water lines. Push-fit fittings connect without heat or tools in seconds, which makes them convenient, though not every situation is suitable for them - check what's appropriate for your specific pipe and pressure.
This depends on the plumber's hourly rate and the complexity of the job. See our plumber cost guide for a full 2026 price breakdown.
At minimum: lead-free solder, flux, a blowtorch, a pipe cutter, a deburring tool, a wire brush, a heatproof mat, and eye protection and gloves.

See the tradespeople we've checked for your job