HOW-TO GUIDES
How to replace a toilet syphon
Updated 07/26

By: Content Team
Reviewed: Alex Peters
Want to know how to replace a toilet syphon? Look no further. Our takes you through the process step-by-step with tips and costs, as well as guidance for finding a plumber.
The signs your toilet syphon is on its way out
Whether you need a new syphon or just a diaphragm
How to replace a syphon in a close coupled or high-level toilet
What tools and parts you'll need before you start
How much a syphon replacement typically costs
When it's worth calling in a plumber instead
A toilet that won't flush properly, keeps running, or makes a gurgling noise after every use is usually telling you the syphon has had enough.
It's not the most glamorous part of your bathroom, but it's the mechanism that does all the work of pulling water from the cistern into the bowl - and when it wears out, it can waste a surprising amount of water while you wait to fix it.
The good news is that replacing a toilet syphon is a manageable DIY job for most confident homeowners, and this guide walks you through it step by step, whatever type of toilet you have.
Alternatively, contact a plumber to get the job done right.
Find a plumber near me
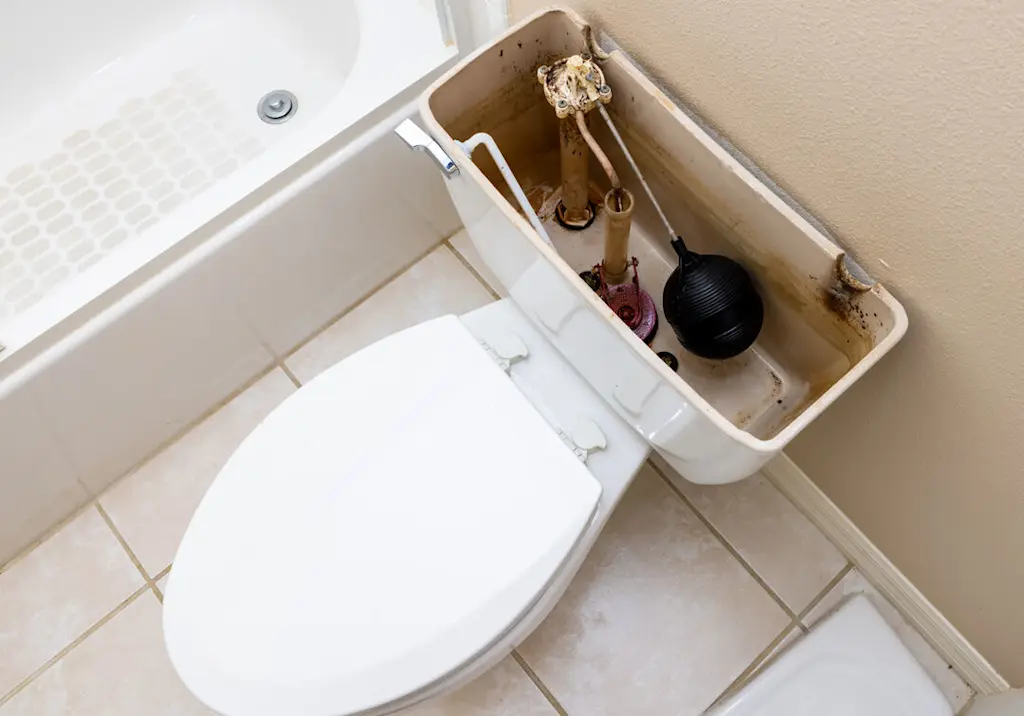
Signs your toilet syphon needs replacing
Before you take the cistern apart, it's worth checking that the syphon really is the problem.
Common warning signs include:
A weak flush that doesn't clear the bowl properly, even after multiple attempts
Water that keeps trickling or running long after the cistern should have stopped filling
A gurgling or hissing noise coming from the cistern
Visible wear on the syphon's plastic diaphragm when you lift the cistern lid
If your toilet is only running intermittently, try jiggling the flush handle first. Sometimes it's a simple linkage issue rather than a worn syphon, and it's worth ruling that out before you start dismantling anything.
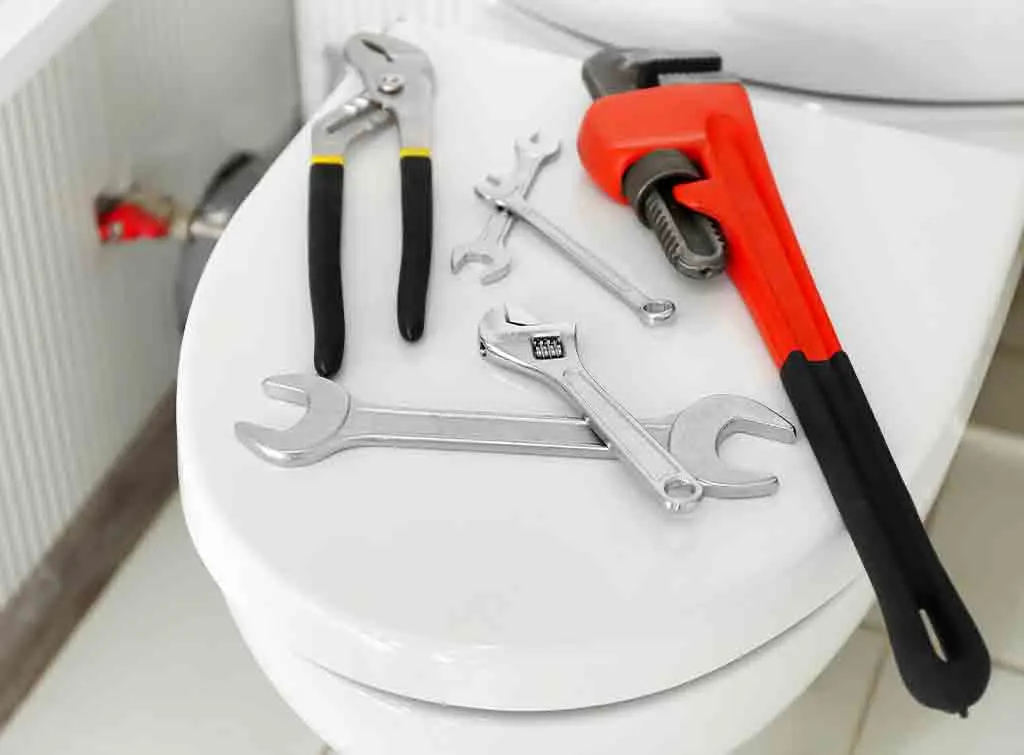
Tools and materials you'll need
Gathering everything before you start saves a lot of back-and-forth mid-job:
Mug or jug (for baling out the cistern)
Absorbent cloth or sponge
Old towel, to catch any spills
Large adjustable plumber's wrench
Replacement syphon (or replacement diaphragm, if that's all you need)
Screwdriver
Plumber's compound
PTFE plumber's tape

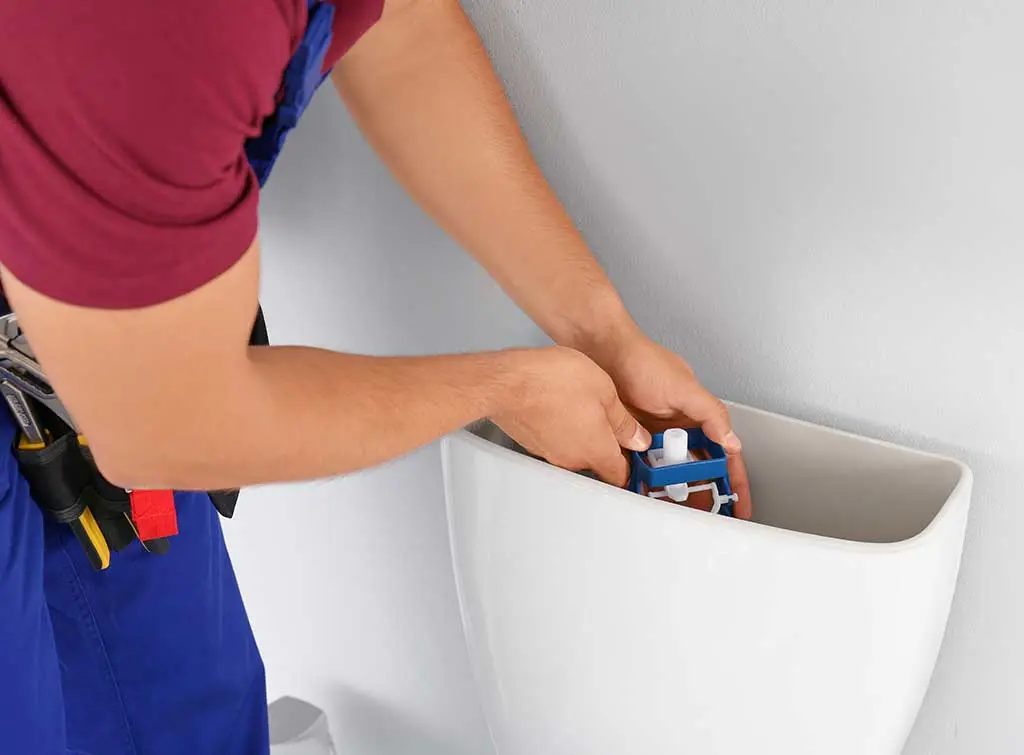
How to replace a syphon in a close coupled toilet
A close coupled toilet is the most common type in UK homes today - the cistern sits directly on top of the pan rather than being mounted higher up the wall.
Turn off the water supply to the cistern. This is usually via a valve on one side of the cistern; if you can't find it, turn the water off at the mains stop tap instead.
The stop tap is typically under the kitchen sink or in a utility cupboard. If you can't locate it, you can also shut the water off at the mains, normally found under a cover outside your property.
Confirm the water is off by removing the cistern lid and pressing the flush. If the cistern doesn't refill, you've successfully isolated the supply.
Empty the cistern completely, using a mug or jug to bail out any remaining water and a cloth to soak up the rest.
Undo the nut connecting the water inlet valve, disconnecting the overflow pipe too if there is one.
Remove the two nuts underneath the cistern that attach it to the pan.
Undo the fixings attaching the cistern to the wall.
Carefully lift the cistern away, tipping any remaining water into a bath or sink. Clean the inside of the cistern and the point where it meets the pan thoroughly - any debris left here can stop the new seal sitting properly.
Lay the cistern on its back on the closed toilet seat and remove the syphon.
Unscrew the flush handle from the syphon.
Remove the syphon unit by undoing the locking nut underneath the cistern.
Clear away any old sealant from inside and outside the cistern.
Fit the new syphon through the hole, using a generous amount of plumber's compound around the joint.
Tighten the locking nut underneath the cistern, checking the rubber washer is seated correctly and that the syphon sits at the right angle for the flush lever and ball valve to move freely.
Lower the cistern back onto the pan, making sure the washer is properly in place.
Reattach the cistern to the wall and refit the locking nuts connecting it to the pan.
Reconnect the flush lever, checking the handle sits at the right angle to flush properly.
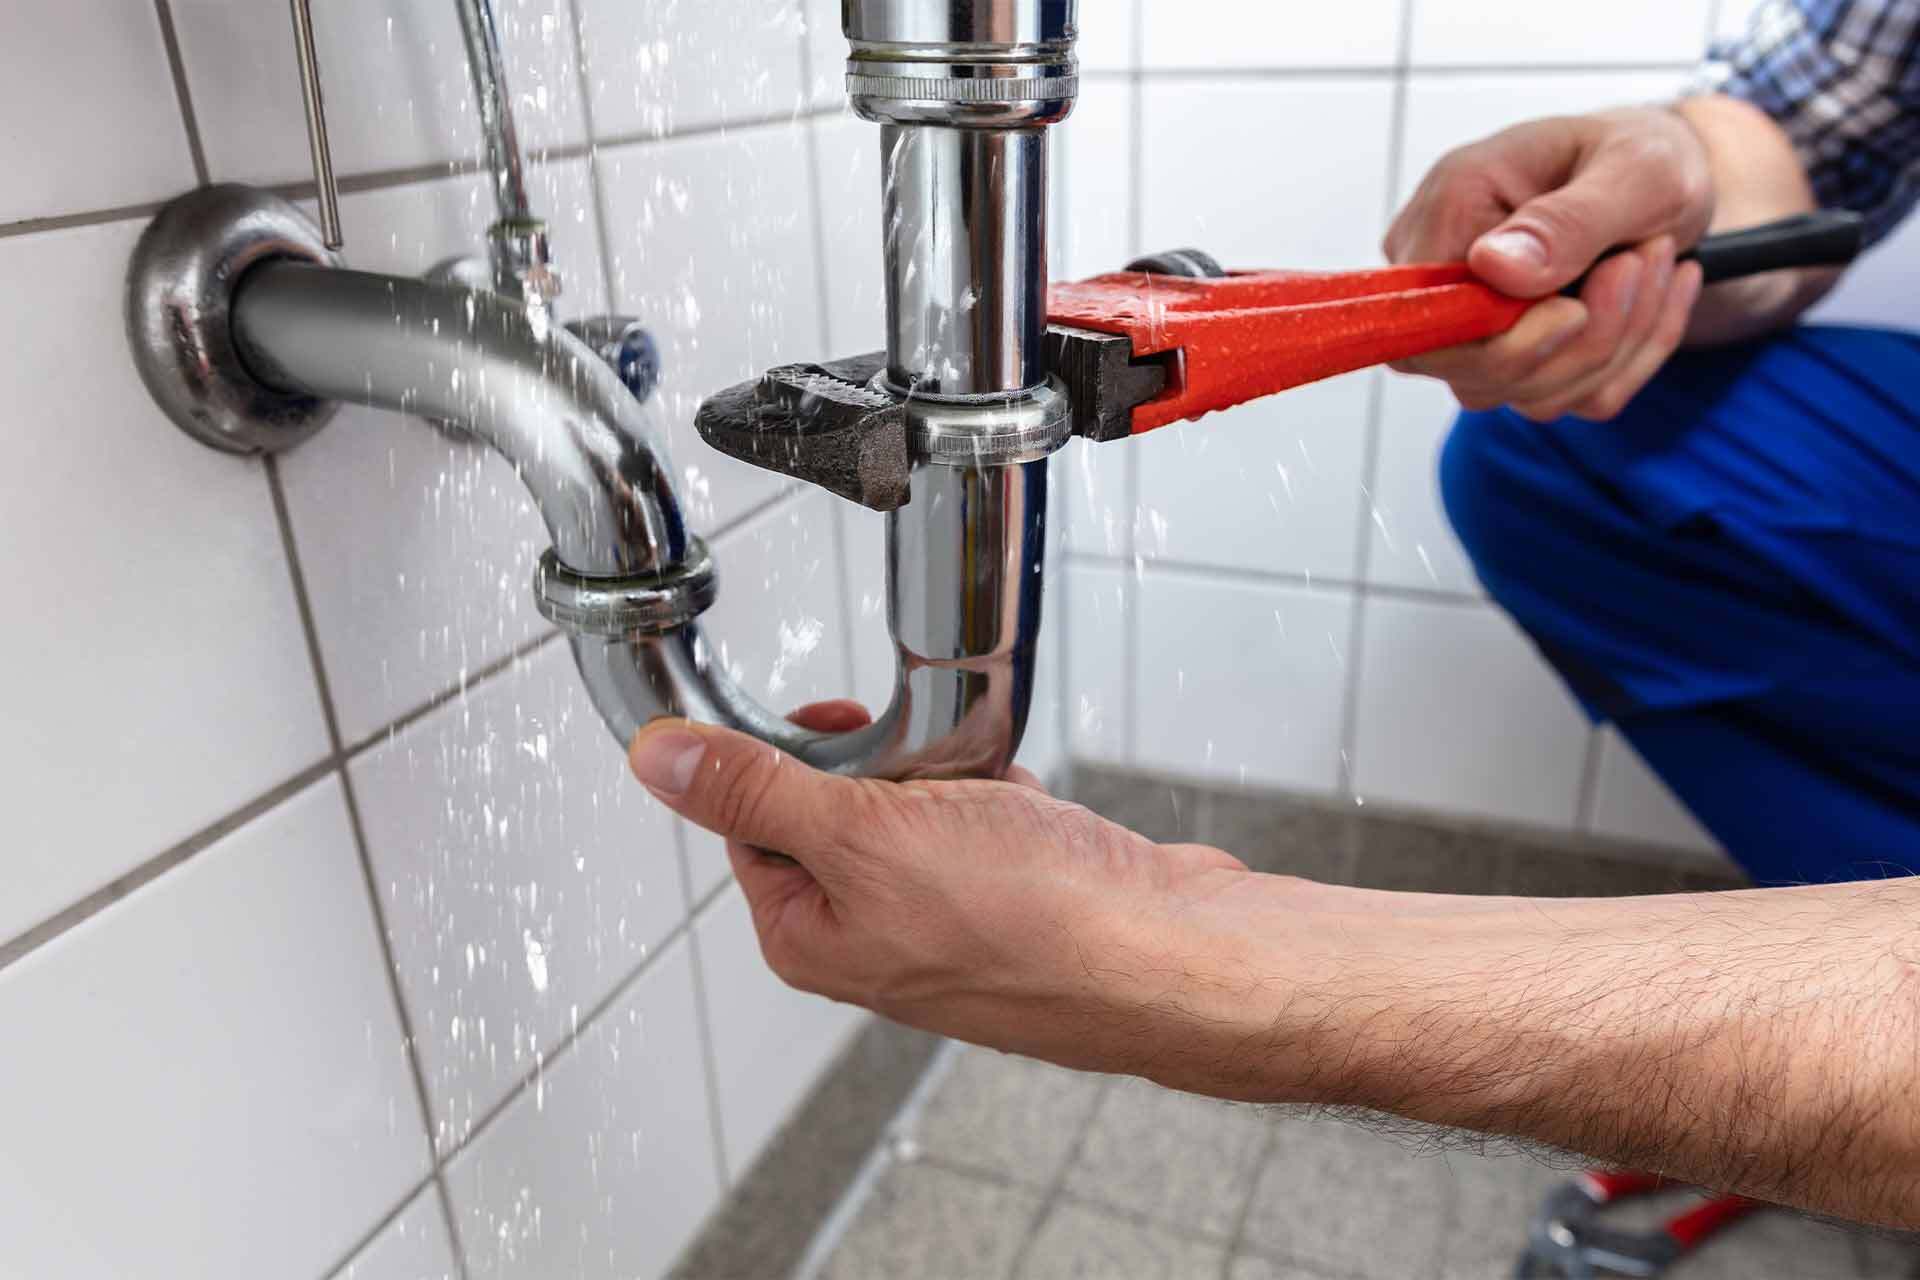
Reconnect the water supply, wrapping the pipe threads in PTFE tape first.
Turn the water back on and check carefully for leaks around every joint you've touched.
Replacing a syphon in a high-level toilet
High-level toilets, with the cistern mounted higher up the wall, were common in Victorian homes and are still chosen today for period-style bathrooms.
The process is almost identical - just follow the steps above but skip steps 6 and 15, since a high-level cistern isn't directly bolted to the pan.

How to replace a toilet syphon diaphragm
The diaphragm is the flexible flap inside the syphon that lifts water rapidly into the flush when you press the handle.
It's often the first part to wear out, and if that's the only issue, you may not need a whole new syphon.
Follow steps 1-13 above to remove the syphon from the cistern.
Place the syphon on a work surface and inspect it for a torn or perished diaphragm.
Remove the coupling pin from the top of the plunger.
Push the plunger through and lift out the housing unit, taking care not to lose the spring inside.
Carefully remove the washer holding the diaphragm in place, using a screwdriver if needed.
Take out the old diaphragm and fit the replacement.
Refit the locking washer.
Replace the spring.
Reassemble the diaphragm into the housing unit, then refit the coupling.
Follow steps 12-18 above to refit the repaired syphon.

If your toilet trouble turns out to be something else entirely - a blocked toilet, a leaking pan connector, or a full toilet replacement - it's worth ruling those out too before assuming the syphon is to blame.
How much does replacing a toilet syphon cost?
If you'd rather not tackle this one yourself, hiring a plumber for a syphon replacement is usually a quick job.
Our plumber cost guide has full details on hourly rates, and our dedicated toilet syphon replacement cost guide breaks down what to expect for parts and labour specifically for this job.
If you're doing it yourself, budget roughly for:
Replacement syphon: £6 - £30
Plumber's compound: £3 - £20
Plumber's wrench: £3 - £18
Plumber's tape: £1 - £8
Plumber costs in the UK: 2026 price guide
Whether you are planning an exciting renovation or have a troublesome issue, our plumber cost guide contains daily, hourly and emergency rates.
Checklist before you start

Replacing toilet syphon checklist
When to call in a professional
Learning how to replace a toilet syphon is a fiddly job even for confident DIYers.
There's no shame in calling in a professional if you hit a snag partway through - especially if you're struggling to get a watertight seal or the cistern won't sit flush against the pan afterwards.
A plumber can also diagnose the issue if replacing the syphon doesn't solve the problem, which sometimes points to a separate issue with the inlet valve or ball valve instead.
Find a reliable local plumber near you
Enter your postcode to find a top tradesperson near you
PlumbingHQ
10.00
(2 reviews)Services & skills
PlumberBathroom & Kitchen PlumbingRadiator RepairBlocked BathsGeneral PlumbingMulti Skills.UK 24/7 Emergency
10.00
(313 reviews)Services & skills
PlumberGeneral PlumbingUnderfloor Heating InstallationPlumbing MerchantsTap RepairH2O Services
10.00
(8 reviews)Suggested Services
Tap Replacement£80 / fixtureOutside Tap Installation£120 / jobCertified Group Ltd
10.00
(256 reviews)Services & skills
PlumberGeneral PlumbingWater Supply Pipe RepairsWater Pumps RepairWater Mains Specialist (Pipe Replacement, Moling and Lead Pipes)Rapid Drainage and Plumbing
10.00
(264 reviews)Services & skills
PlumberGeneral PlumbingEmergency Plumber ServicePower FlushingWater Supply Pipe RepairsPlumbing Circle
10.00
(182 reviews)Services & skills
PlumberGeneral PlumbingRadiator InstallationPlumbing RepairsWater Mains Specialist (Pipe Replacement, Moling and Lead Pipes)


On Checkatrade, you'll only find trades who meet our high standards and pass up to 12 checks.
Replacing toilet syphon FAQs
If the diaphragm looks torn, perished, or has come away from its housing, replacing just that part is usually enough. If the syphon body itself is cracked, warped, or the mechanism feels loose and unreliable, it's better to replace the whole unit.
It's a fiddly job rather than a technically difficult one. The trickiest parts are usually getting the cistern off cleanly and getting a good, leak-free seal when you refit it, so take your time over those steps.
Most competent DIYers can expect this to take around one to two hours, including draining the cistern and testing for leaks afterwards. A professional plumber will typically get it done in under an hour.
No. You need to isolate the water supply to the cistern (or at the mains, if there's no isolation valve) before you start, otherwise you risk a significant leak or flood while the cistern is disassembled.
A continuously running toilet after flushing is one of the classic signs of a worn syphon diaphragm, though it can also be caused by a faulty ball valve or float. It's worth checking both before buying replacement parts.
No. Close coupled and high-level toilets use broadly similar syphon mechanisms, but the exact fitting can vary between manufacturers - particularly on older or branded suites. Take your old syphon (or its part number, often printed on the unit) to a plumbers' merchant to make sure you get a compatible replacement.
Universal syphons fit most standard toilets, but some older or branded systems (particularly certain Armitage Shanks models) use proprietary designs that need a specific replacement part. Check before you buy.
Almost always no - a syphon replacement costs a fraction of a new toilet. It's only worth considering a full replacement if the toilet itself is old, cracked, or you're planning a bathroom refresh anyway.
See the tradespeople we've checked for your job