Last updated on November 22nd, 2023
How much does it cost to render a wall?
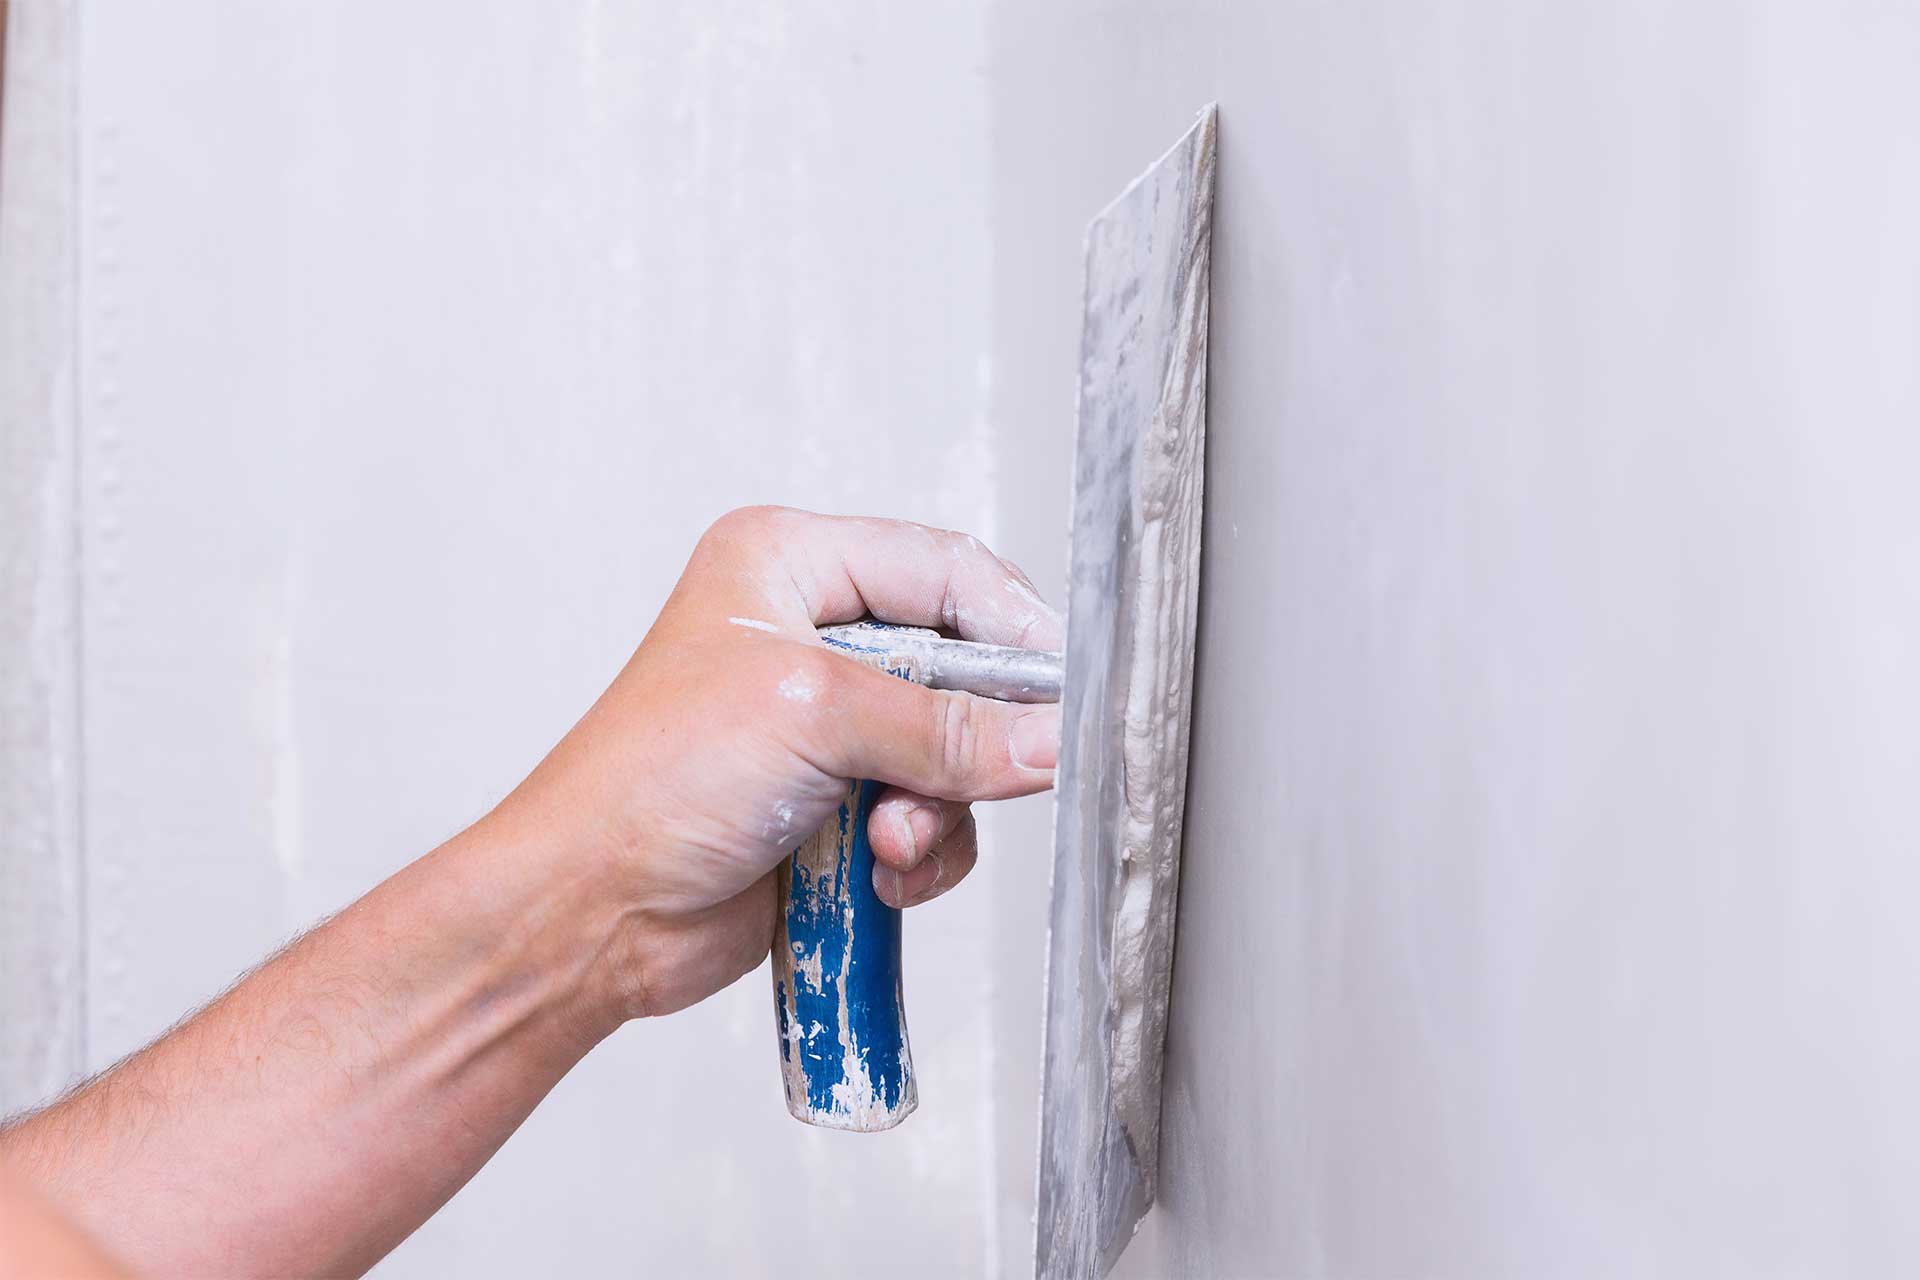
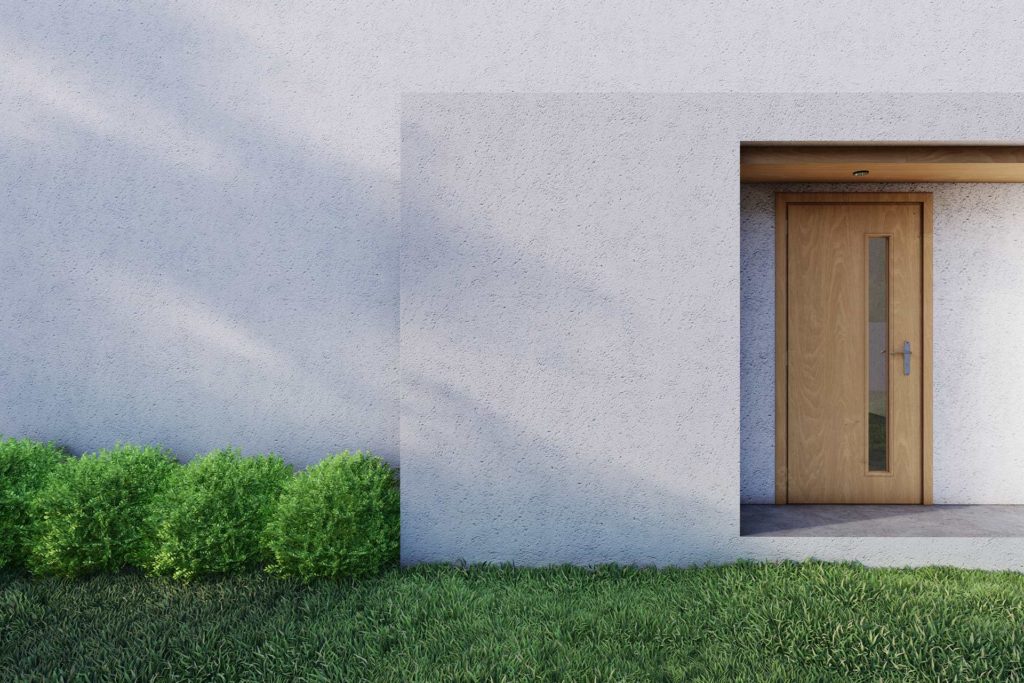
Rendered walls are a big part of our building heritage. It’s popular because it creates a subtle, uniform finish, keeps the rain out, and can be cost-effective compared to brick, stone and timber cladding. It can also be coloured to match your style.
Poorly done, however, and it can be a high-maintenance problem you can’t avoid. It can lose that fresh look within months and appear with cracks, bubbles, and mould. That is why you should always hire a professional.
Here’s a breakdown for the average costs for a detached property:
| Render specs for a detached property | Cost | |||
|---|---|---|---|---|
| Preparations (half a day) | £125 | |||
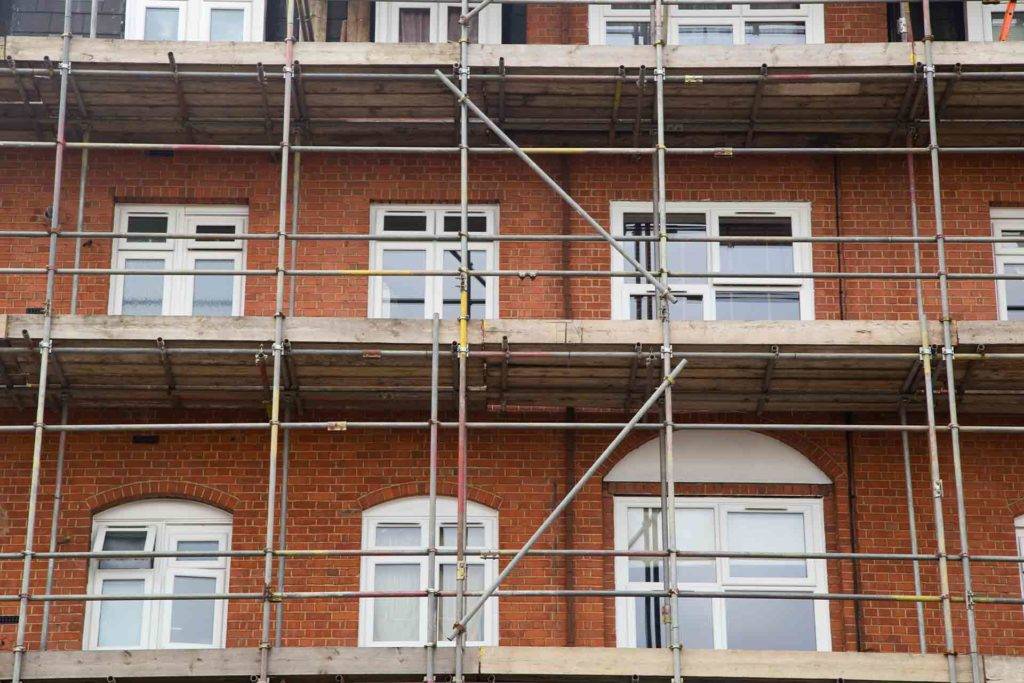
| Scaffolding | £2000 | |||
| Waste skips | £300 | |||
| Rendering costs | Measurements | |||
| Front & rear elevation | 30 m2 | |||
| Gables | 80 m2 | |||
| Pikes | 24m2 | |||
| Windows (front and rear) | -6m2 (no render needed) | |||
| Doors (patio, front and side) | -4m2 (no render needed) | |||
| TOTAL RENDER | 142m2 x £68.25/m2 | £9,690 - £12,075 |
Our costs are ballpark averages – get a local tradesperson to quote now
When budgeting for your project, renderers will usually work out your quote based on rendering prices per m2. This will be a simple calculation matching your house size to the type of rendering preferred. See below for our simple rendering cost calculator.
If you have a simple rendering project that you’d like to tackle yourself, take a look at our guide on how to render a garden wall.
How much to render a house?
You should allow £30 - £80/m2 (of facing wall) for a rendered wall (which includes painting). So a typical three-bedroom semi-detached home with around 90m2 of walling might cost in the region of £2,700 - £7,200. The job might typically take up to two weeks, and you should allow £1,000 for scaffolding costs.
A smaller bungalow, which has less wall area and will require less scaffolding, will cost £1,500 - £4,000.
Using a monocouche render will be more expensive, but there are long term savings on maintenance to be enjoyed. Typical costs (including labour) are in the region of £80/m2.
What about patch repair costs?
If there is a small amount of cracking on the render, it can be repaired using one of the pre-mixed render repair tubs available from the merchants. This can usually be done on a DIY basis, but if you want to hire a professional to do the job, it will likely cost in the region of £150 - £320 for a small patch. Be aware that it is only ever likely to be a temporary repair, and the finish will need to be of equal smoothness to the rest of the render to blend in well.
Planning permission and building regulations
Render is more common in some parts of the UK than others. Outside conservation areas and other specially designated planning areas (such as Areas of Outstanding Natural Beauty), it’s usually considered a good option for people building houses from scratch. Existing homeowners looking to replace the whole existing external finish (e.g. brick) with render will find they can carry out this project under their permitted development rights – meaning it does not require planning approval.
Rendering at least 50% of any wall, or over 25% of the walls of the whole house, will make your rendering project subject to building regulations – in particular, the need to improve the thermal efficiency of the wall itself, through additional insulation (see below).
When should I avoid render?
Rendering doesn’t suit all houses, and it doesn’t suit all locations. Clearly, a home with a smooth render finish in a row of similar dwellings would look reasonably unusual – as would a house with a particular character such as a barn conversion.
One of the essential techniques to ensuring a good quality long lasting render is to ensure the render has the ability to dry out after getting wet – which means a combination of access to sunlight and movement of air. So render on the part of an elevation (particularly the lower part) that is north facing (getting only very minimal early morning and late evening sun if at all), heavily shaded (by neighbours or trees) and very close to fencing or other buildings is going to struggle to survive many years without suffering from mould or algae. There are ways around this unhappy occurrence, but you need to pay particular attention to the application and maintenance.
Experienced pros will not apply render in the colder months for fear of the water in the mix freezing, as this can blow the whole coat off as the ice expands and contracts. Equally, rain is best avoided as it can literally wash newly applied render off walls affect the mix. Most renders can handle hot weather, but warm sunny weather can make a poorly mixed render dry out too quickly before it has had a chance to take to the wall.
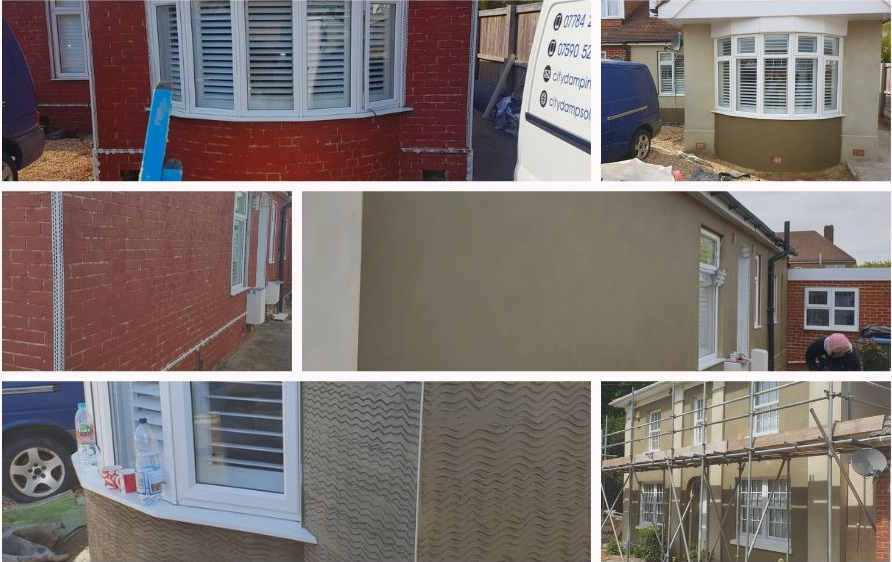
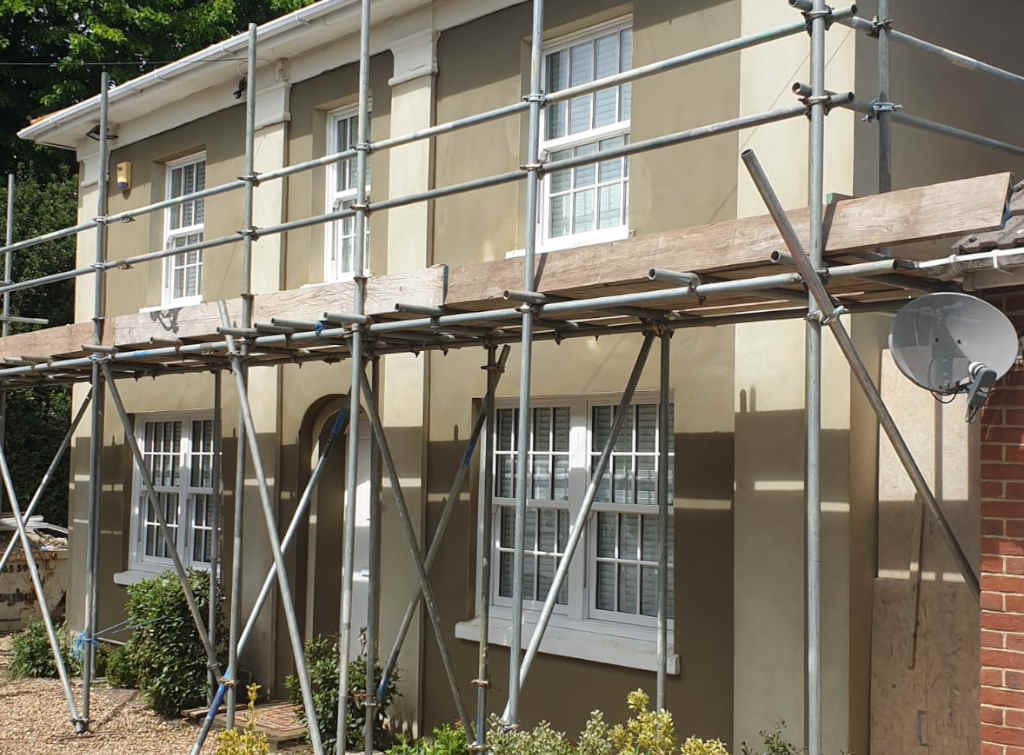
Here are some before and after examples of rendering, showing the transformation of the exterior appearance. All project work is credited to City Damp Solutions in Hampshire:
How is render applied?
- Every pro has their own favourite mix – some use lime, others don’t – and most tend to vary the mix between coats slightly. A good starting point is a 1:2:2 mix of cement, building sand and sharp sand
- A relatively thin coat (around half a centimetre thick) will be applied to a damp (but not soaking wet) wall. The point is that this first coat needs to suck into the wall. Too thin, and it will be ineffective as a base – too thick, and it will fall off
- The coat will then be scratched to open it up a bit before it dries – this is known as providing a key
- The second (final) coat will then be applied, which is twice the thickness of the first. While it’s still wet, a level bit of timber will be run over the render to get it even and smooth
- When the render is drying out, a float will be firmly moved over the render. This is designed to close up any holes in the surface and provide a smooth finish. A damp sponge may then be used to go over the wall once more to give a perfect finish
- Once fully dry, the render can be painted
What happens when render goes bad?
A poor application can lead to all sorts of problems down the line, which is why it’s so important to hire a qualified professional.
The most common issue is cracking, where hairline cracks in the surface begin to be invaded by rain which, in the winter, freezes and expands, making the crack bigger. The root cause of this is something we can’t do much about – houses tend to move with the seasons and create pressure on a fixed surface like render (which is why lime adds a touch of much-needed flexibility). However, the topcoat of the render needs to be properly floated with a sponge to ensure it is properly closed to water ingress.
Occasionally render will bubble – often caused by the topcoat being applied too soon after the first has had the chance to go off.
Mould (black) and algae growth (green) occur on darker parts of the wall, typically nearer the ground, where breezes and sun struggle to dry out a damp render (render, of course, gets wet all the time and dries out thanks to the wind, sun and heat). Ironically, the better insulation the wall has, the less heat passing through the render and the less chance it has to dry out, too. Additionally, rough and pebbledash surfaces pick up grime by their nature. An excellent quality fungicidal wash should remove it, and conventional coatings prevent it from recurring.
Pros of render
- Relatively cheap (mainly traditional render) compared to other finishing options
- Huge variety of colours
- Quick to apply
Cons of render
- Can result in high maintenance levels to maintain the appearance
- It doesn’t suit all situations
- Success is heavily dependent on the skill of the installer
Which render do I go for?
Because of the many potential problems with render as outlined above, several new approaches to rendering have emerged.
The most exciting is the monocouche render, which is a pre-mixed render that requires just one coat to apply – saving installation costs – and, more importantly, includes both silicone and pigmentation in the mix (with a variety of colour options). This means that the render coat is both flexible and through-coloured. This can save money in painting costs but more critically ensures that the render will not crack or require painting in the years to come.
Look out for experience with manufacturer names such as K-Rend when looking for a professional to render your home. It has a higher upfront cost than traditional sand and cement render but is increasingly the preferred route as it cancels out many of render’s potential disadvantages and maintenance.
Rendering and insulation
Rendering your home is an excellent opportunity to consider the energy performance of the exterior walls. Indeed, you may well have to. If you intend to replace or install render on 25% of your entire walls or 50% or more of any wall, building regulations stipulate that must ensure that the wall insulation meets current requirements.
If your home is one of the 20m households in the UK with a cavity wall, then you’ll be able to fill the cavity with an injected insulation. Note that fully-filled cavities are not always recommended in specific locations. Many energy companies offer free cavity wall insulation installation as part of their ROC programmes. If you have a single skin wall, you could use the rendering process to add boards to the outside of the house, which most experts agree is the better option compared to internal insulation as it moves the dewpoint outside the home’s envelope. This process is known as EWI (External Wall Insulation) and combines well with a render finish. It’s expensive and means altering the window reveals (meaning more prominent sills) and alterations to the junction with the roof.
The rendering process explained
- First of all, decide whether your rendering project needs planning or building regulations approval
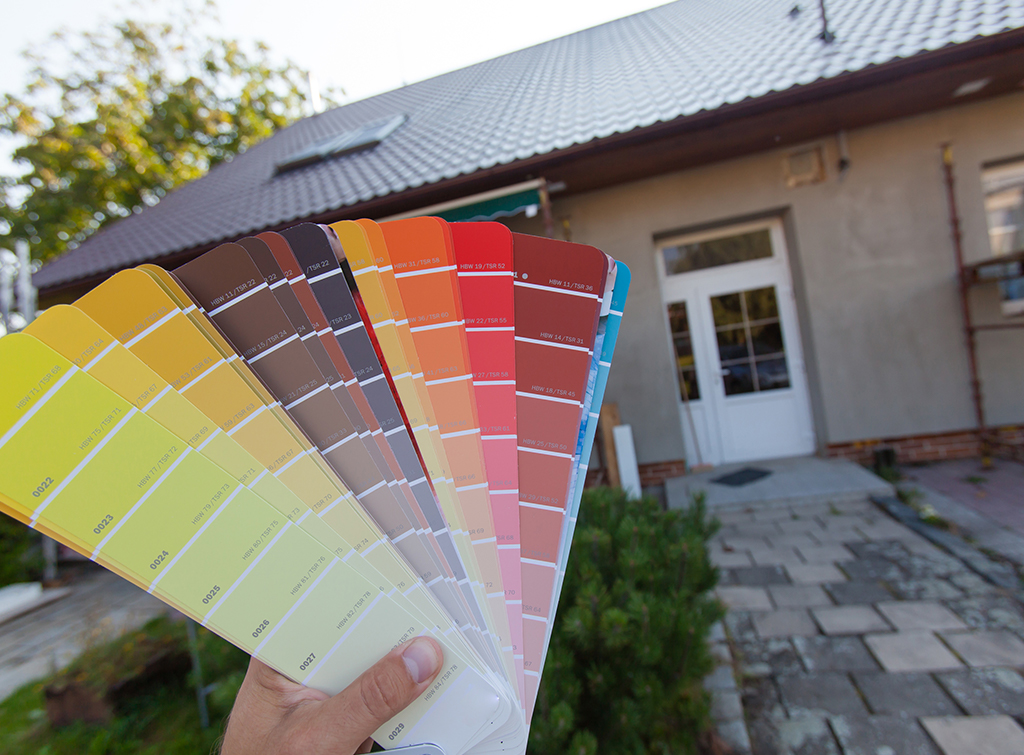
- Decide on which type of render you would like to use and the preferred colour
- Contact three local plasterers on Checkatrade
- Get quotes for the project, along with suggested dates for the work. Ideally, the tradesperson will be able to guide you on the best colour and render type. Agree whether you or the renderer is responsible for scaffolding and/or materials
- As with any significant building work on your house, it is worth informing your home insurance company, particularly if the house did not have a render finish before
- Rendering should take around 2-3 weeks for a standard detached home and 1-2 weeks for a semi-detached or bungalow. A single house wall should be rendered within 3-5 days
Wall rendering FAQs
What is render?

One way to think of render is similar to internal plasterwork, where a mix of sand and cement (and occasionally lime) are mixed, applied, and then dried off on the wall. It can be installed to provide a smooth finish or mixed with aggregates to a rougher (commonly known as roughcast or pebbledash) coat. It usually consists of two applied layers and then painted – although modern render solutions are single-coated, through-coloured, and mixed with silicone.
How long does render last?
A well-installed traditional sand and cement render can last a few decades before it needs replacing, although it will need maintenance on a five-year cycle to ensure it looks as good as it can be. In the meantime, cracks and bubbles will need to be repaired.
Modern monocouche renders are designed to last at least 30 years, although in theory should last much longer.
You can save money by offering to paint a traditionally rendered wall yourself. Again, it’s not for the faint-hearted but can be handled on a DIY basis. It costs around £1,000 for a week’s scaffold hire, depending on the size of the house. If there is already scaffolding in place from the rendering, it makes sense to get them to do it on the same hire. An additional week on a scaffold hire is much cheaper than a standalone week.
What are the disadvantages of rendering your house?
Once you have opted for a rendered wall, it may be costly to remove or change it. It is worth looking at neighbouring houses to check that your finished rendered house will fit and will look desirable. Opting for a rendered finish may reduce its kerb appeal and put off potential buyers if you plan to sell your house. You should review the latest updates to Building Regulations relating to new render and thermal insulation. These new requirements may add substantial costs to your project.
Are there alternatives to rendering your house?
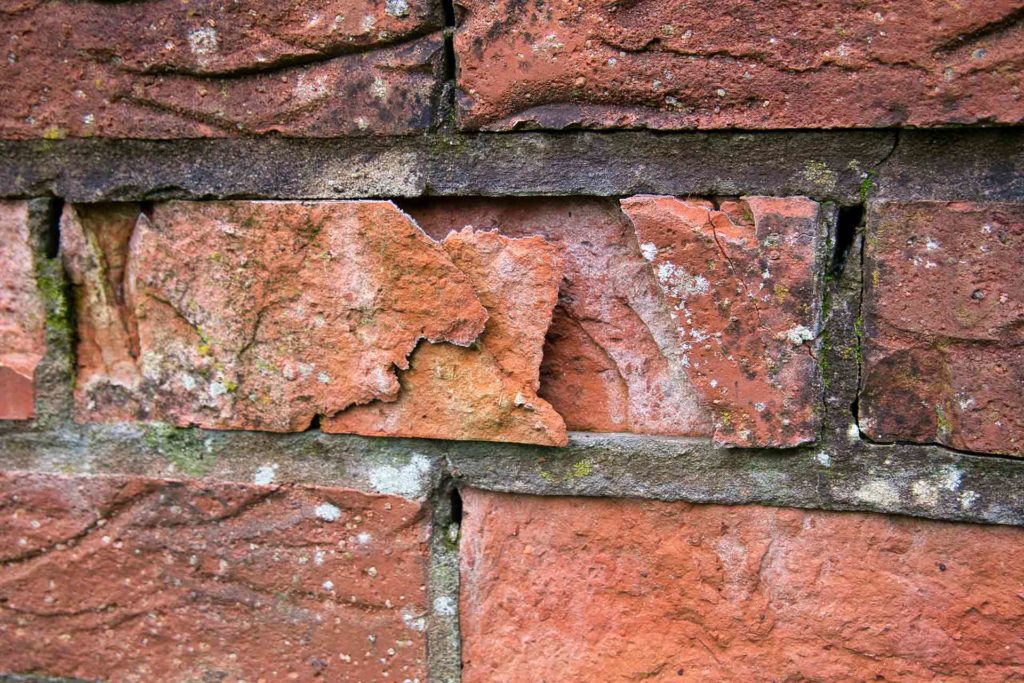
Consider repointing tired or tatty smaller areas of exterior brickwork, and it will likely be cheaper to pay for that than to render the entire exterior. Our repointing cost guide outlines average costs for this potential solution. If you have a bigger issue relating to damaged brickwork (typically a spalling brick), we recommend considering replacing them with advice from a building expert. An additional challenge may be matching your bricks, but many companies are available that can source good matches. Read our spalling brick repair guide for further information.

We check the reviews on Checkatrade are from real people, and that trades meet our high standards.
Working with professional estimators, we collate cost estimates for the common home improvement and repair jobs in the UK.
All the costs are estimates only. For accurate costs for your particular requirements, you are encouraged to reach out to professional tradespeople to receive a quote for your job.
Our estimators are Chartered Members (MRICS) of the Royal Institution of Chartered Surveyors and Members of the Chartered Institute of Building (MCIOB). See full disclaimer.
No comments yet!