Blog>How-To Guides>How to render a garden wall
Last updated: 2 December 2021

How to render a garden wall
Let our guide teach you how to render a garden wall. We have all the latest tricks and tips to help you manage your project.
Don your plasterer hat and let us teach you how to render a garden wall. Sprucing up your outdoor space and injecting a bit of life back into it doesn't always require costly maintenance. Sometimes, all it takes is a little know-how and a dollop of elbow grease to restore your garden to its former glory.
To effectively render a garden wall, you need to know how to plaster (which is not easy!). Not only does a good technique improve your wall's longevity, but it avoids issues such as cracking or crumbling mere days after it's applied.
If you're looking for how to render a wall inside your home, then check out this blog instead.
Before you get started
If you still want to get stuck in, then here's what you need to know before you get started.
There are 5 types of render materials: mineral, acrylic, silicone, lime and monocouche
These 5 types of render all have different prices and properties, so be sure to pick the right one
Consider the colour, waterproofing and texture of your render before getting started
Lime and polymer-enhanced lime render are good options for garden walls
Preparation is key for a well-bonded render
How to render garden walls
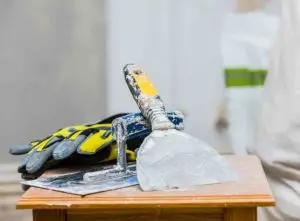
Tools you’ll need for the job
In order to render a garden wall, you'll need the following items:
Plastering hawk
Choice of rendering mortar
Trowel
Mixer and mixing bucket
Bristled garden brush
Large sponge
Long and smooth wooden plank
An electric mixer
Rendering mesh
Our rendering experts are here if you need them!
See the tradespeople we've checked for your job
How to render a garden wall step-by-step
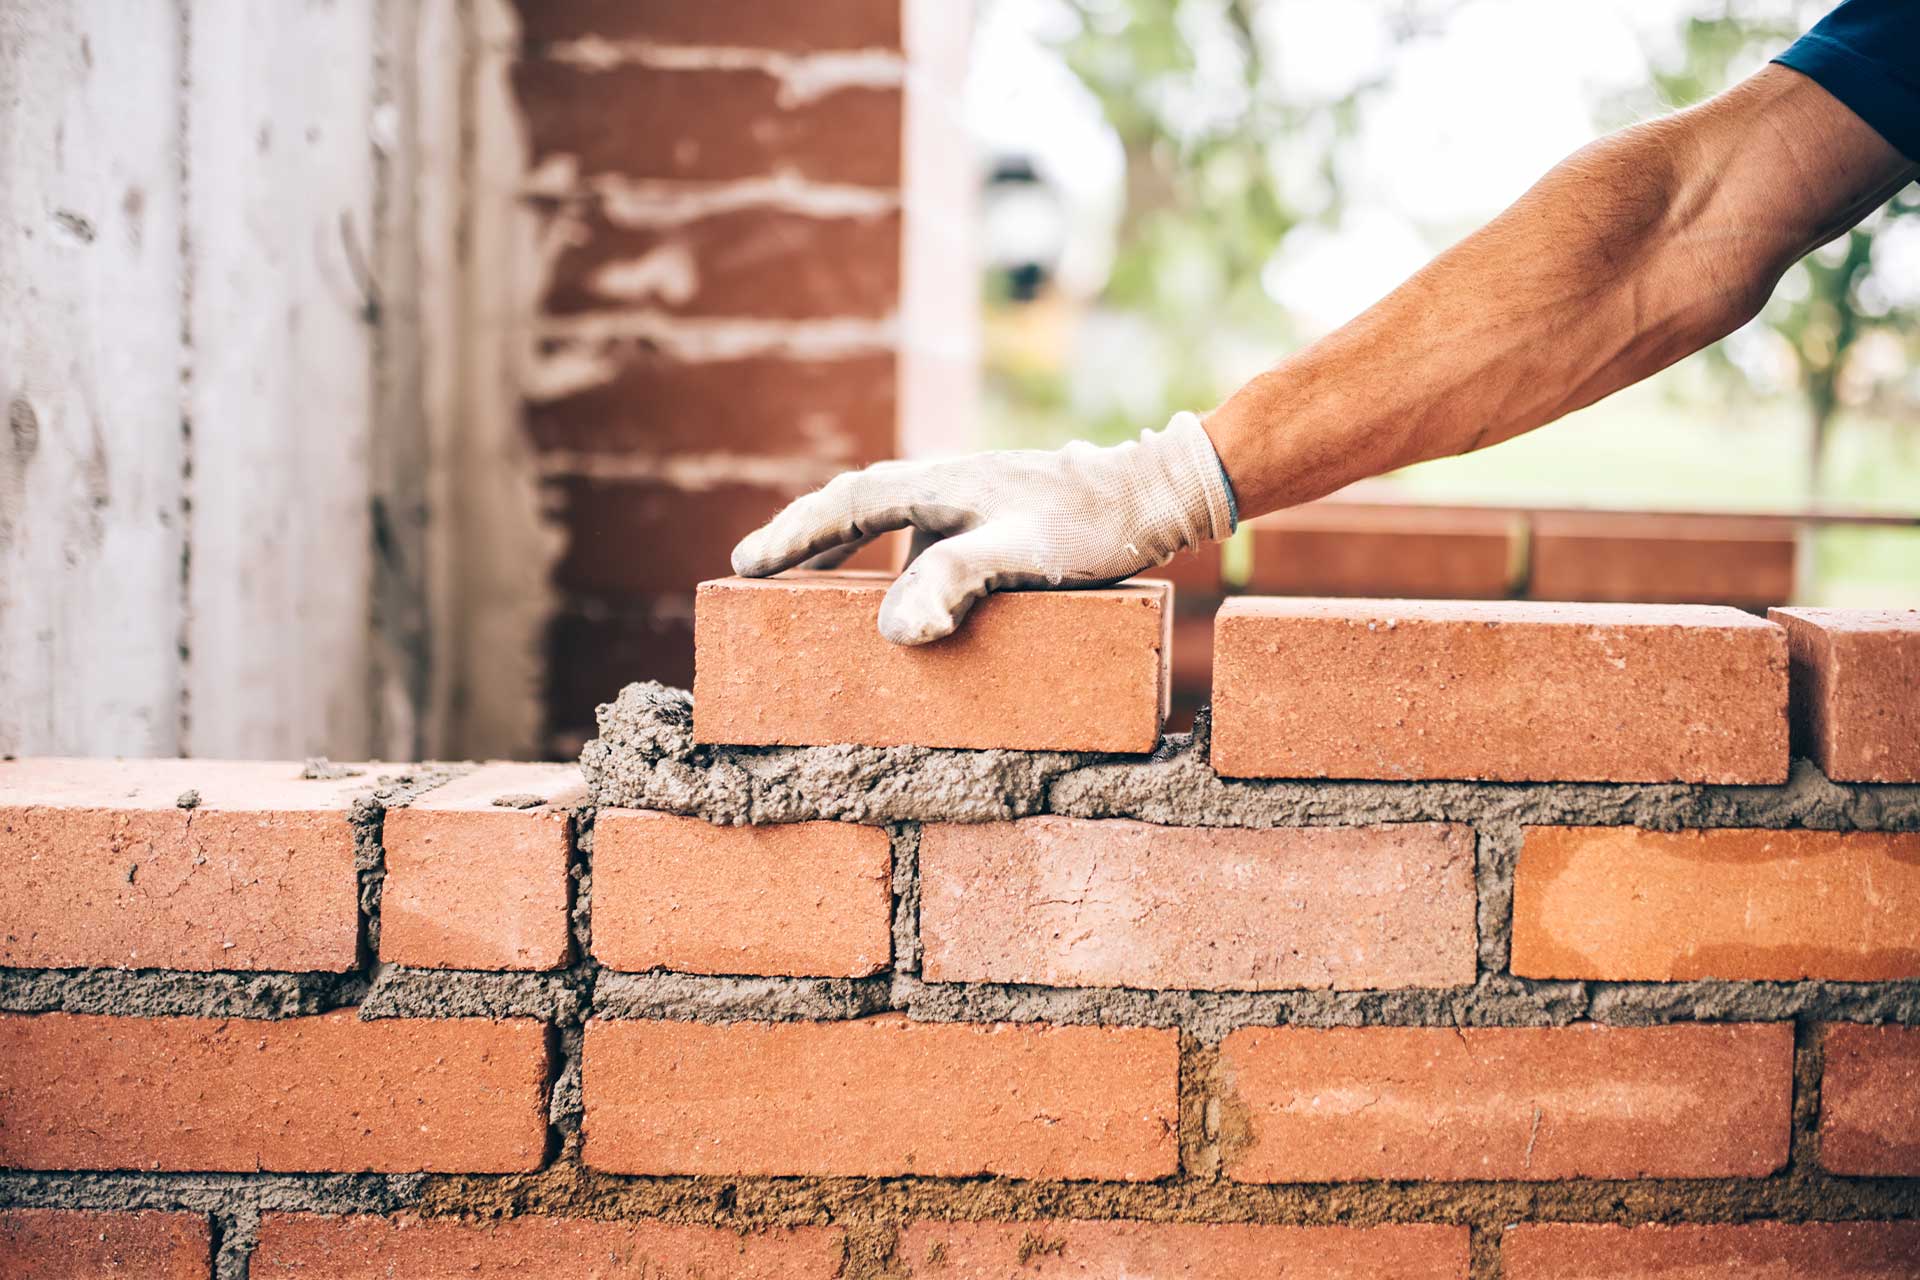
Step one: Remove any old render
We don't advise applying new render to old render. So, be sure to break the old render from the wall first. Safely dispose of the debris before moving onto step two.
Step two: Prepare the area
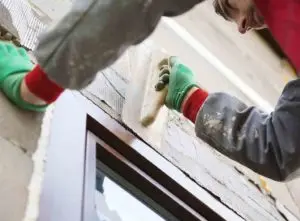
For render that lasts, you need to thoroughly prep the area. This includes filling any cracks, cleaning down the wall with your bristled brush and water, and carefully removing details such as vents, pipes and alarm boxes (these can be reinstalled later).
Removing these items are tricky and breakages are common, so unless you're confident in your DIY skills, we advise hiring an expert.
Also, for bigger issues such as foundational cracks or shaky structures, you will need a professional to resolve these problems before rendering the wall yourself. There've been cases where walls have crumbled mere days after being rendered!
Step three: Mix the render
Be sure to follow the instructions on the render mix you've chosen. Then, when ready, pour the recommended amount of render mortar and water into a mixing bucket. Combine with an electric mixer until you have a clay-like consistency.
Top tip: Clean your mixer immediately to avoid irreparable damage.
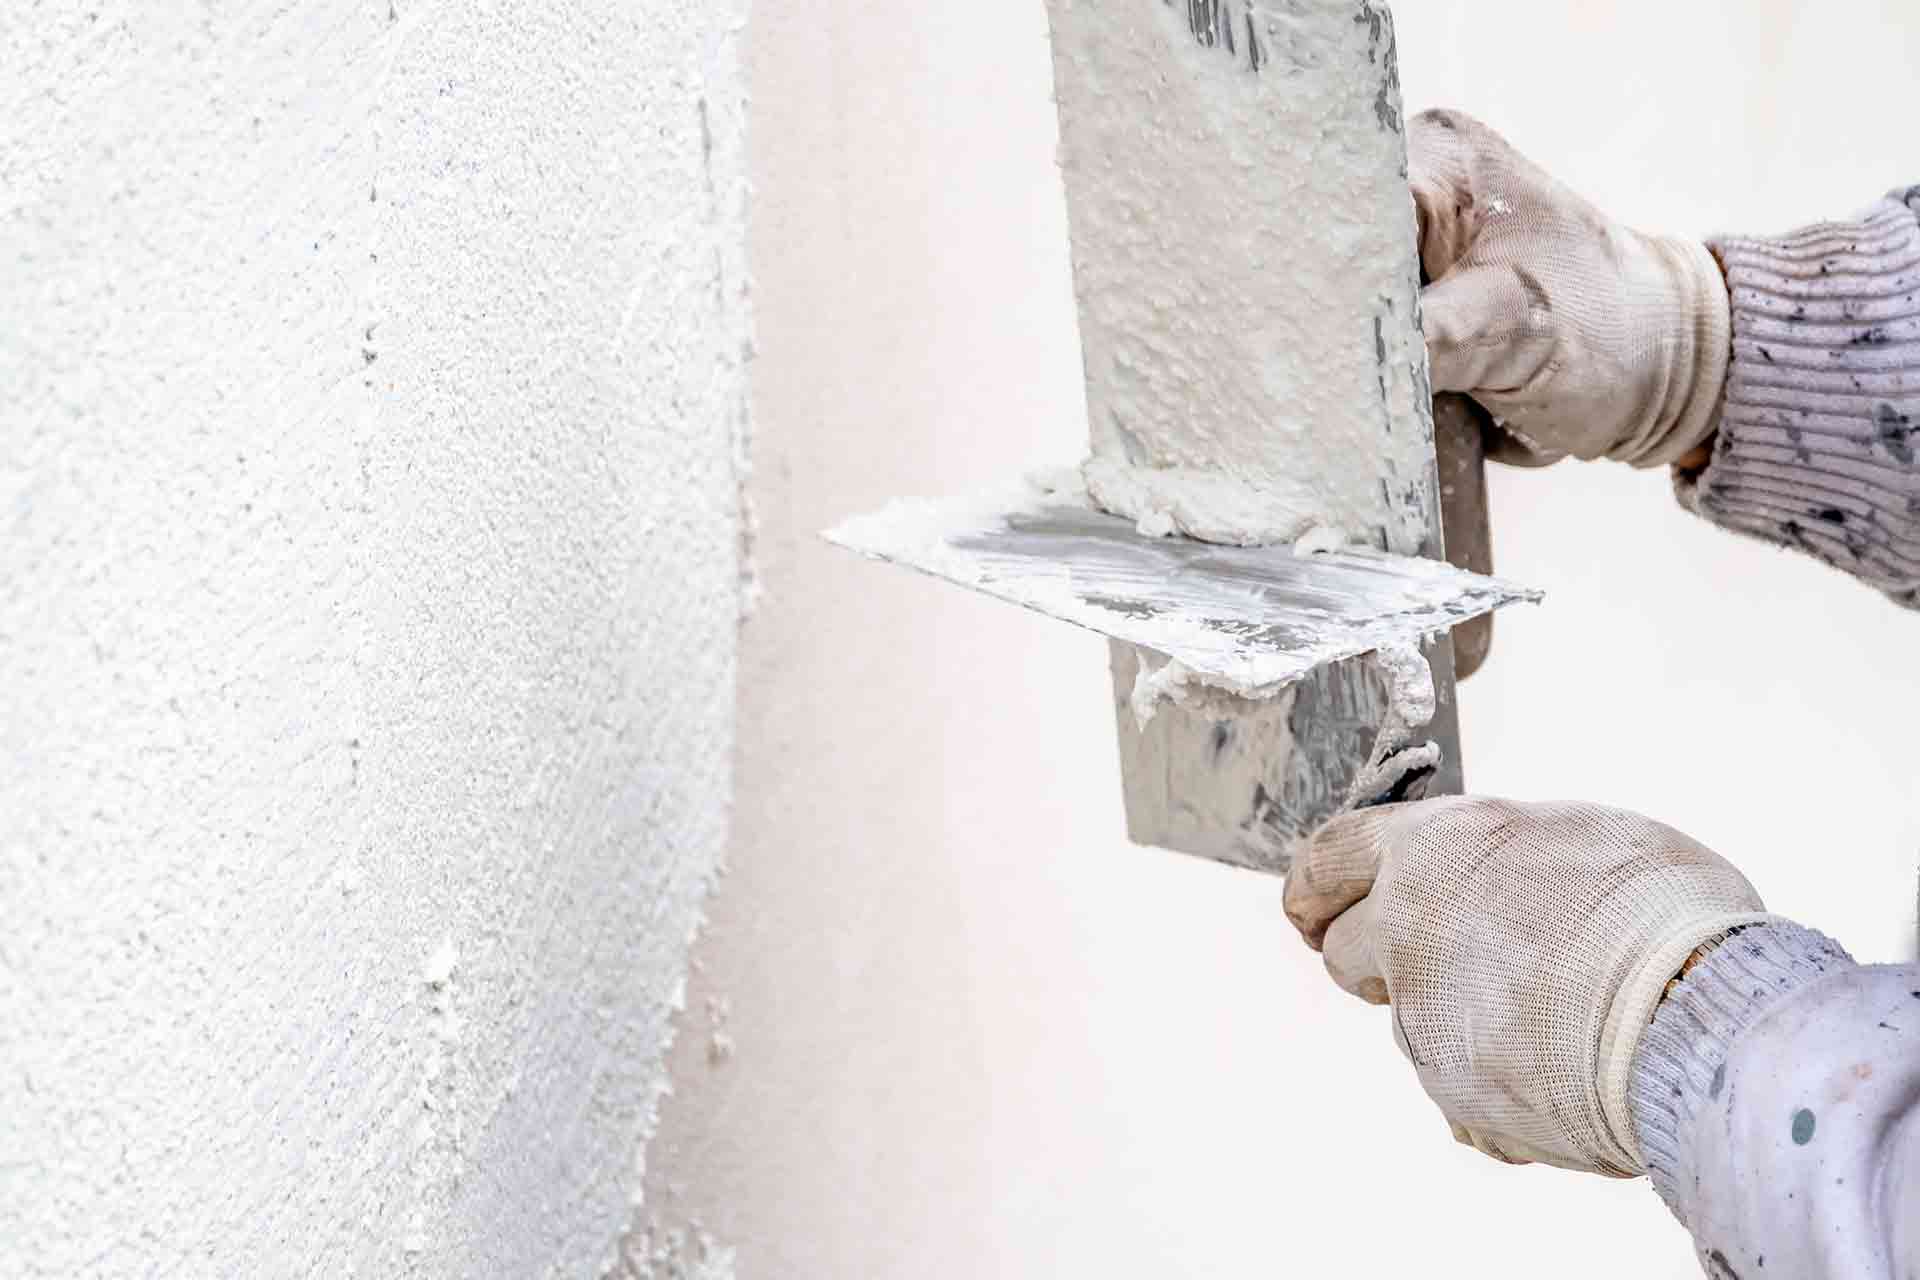
Step four: Apply the render as soon as it's ready
Take your trowel and scoop some of the render mixture onto your plastering hawk. Smear onto the wall at a 45-degree angle and keep it even. The first layer should only be about 5mm thick. This step is the tricky part as you need to use the right pressure and technique to get the perfect finish.
Top tip: Apply in vertical strips to avoid going over the same area twice.
Step five: Add rendering mesh
Used to stabilise mortar and stop it cracking, the rendering mesh you choose needs to be high quality and alkaline resistant. Place it over the wet render and smooth it out before leaving it to dry.
Top tip: Smooth out the mesh from the middle of the wall and trim the edges to stop it wrinkling.
Step six: Apply the second coat of render
When the mesh and first render layer has completely dried, it's time to apply another coat. This layer should be no more than 10mm thick. So, put on your plasterer hat and get to work again.
It's harder than it looks, isn't it? Why not call in a professional to save you all this hassle?
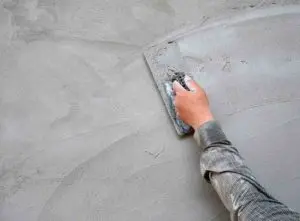
Step seven: Smooth out the render
30-mins after you apply the second layer, use your long and smooth plank of wood to straighten out the render in long strokes from the bottom to the top. For any hollows or raised pieces, run the plank over the surface until it's flush. If needed, use water to make the render more malleable.
Step eight: Wet the wall with a sponge
Depending on the drying time of the render you use, the last step is to run a damp sponge across the wall, which 'finishes' the look. As you'll discover, it helps smooth the render and give it a professional finish.
Congratulations, you've just rendered your garden wall! Now it's time to replace the accessories and paint or decorate it as you see fit.
See the tradespeople we've checked for your job
Render breeze block garden walls
It's entirely possible to render breeze block garden walls. To achieve a good result, you'll need to wash the blocks first and apply a 5mm plaster undercoat, leave to dry, and then top it with a 10mm layer of multi-finish plaster.
Undercoat options include:
Topcoat options include:
Alternative to rendering a garden wall
If you're looking for an alternative to rendering, then pebbledash, roughcast and cladding are your best options. Here are some helpful resources so you can make an informed decision:
Waterproof render for garden walls
Rendering a wall makes it rainproof by stopping any water from penetrating the surface. We recommend using sand and cement to render garden walls. Alternatively, polymer-enhanced lime render is a good second option as it lets buildings breathe, meaning moisture can evaporate instead of being trapped, which leads to mould or mildew.
See the tradespeople we've checked for your job
FAQs
How much does it cost to render a garden wall?
Thankfully, our helpful guide: cost to render a wall has all the answers you're looking for. Expect rendering to cost you in the region of £30 – £60/m2.
Can you render a garden wall?
You absolutely can, which is why we've put together this handy guide together to help you. Alternatively, hire one of our professionals to ensure a perfect finish.
Can I render a wall myself?
If you're confident in your abilities, then rendering a garden wall yourself is possible. However, for a professional and sturdy finish, we always recommend hiring a plasterer to make sure the job is completed to a high standard.
How do you render a wall for beginners?
If you're a beginner, then make sure you brush up on the basics of plastering before you even attempt to render a wall yourself. There are many ways things can go wrong, so unless you're prepared for failure or you're super confident in your DIY skills, we suggest hiring one of our professionals to help.
See the tradespeople we've checked for your job