Blog>How-To Guides>How to build your own observatory: Shoot for the stars
Last updated: 15 February 2024

How to build your own observatory: Shoot for the stars
Do you enjoy mapping the stars, watching celestial spectacles such as meteor showers, or savour the existential feeling of insignificance? Whatever it is, why not embrace your passion for the great beyond by learning how to build your own observatory.

A meteor shower is a celestial confetti party – an atmospheric event begging for attention from those who admire the great beyond.
If you're one such admirer, why not learn how to build your own observatory to fully appreciate the otherwordly spectacle being bestowed upon you?
It's not like you'll use it once, either. The Geminid meteor shower comes every December, peaking between the 13th and 14th at around 9 – 10 pm, and there's something particularly special about this one.
For starters, you'll see more than 100 meteors an hour, even without an observatory to lean on (as long as the UK weather plays nice). Secondly, it's a violent asteroid trail instead of a more demure comet, meaning you're seeing literal drama playing out in the universe, which has got to beat Love Island any day.
So, keep scrolling to learn how to build your very own observatory and what it takes to become one with the universe.
See the tradespeople we've checked for your job
How to build your very own observatory and become one with the universe
What to consider before you get started
It all depends on what you're willing to risk. For example, it's said that those who cast their gaze away from Earth and towards the heavens are at risk of losing themselves...
Of course, if you're able to keep your eyes on the stars and feet on the ground, you'll probably be okay (we just thought it was worth mentioning before we teach you how to build an observatory).
In terms of more practical questions, it's worth asking yourself the following before getting to work:
Do you have a clear and unobstructed view of the sky anywhere in your home or garden? Urban sprawls are ideal, whereas city-dwellers might struggle to see past the light pollution
Have you checked your local building regulations and permitted development rules to make sure your observatory complies with the law?
Read our guides: Permitted development rights and Garden room planning permission for more information.
Is your telescope worth building an observatory for? High-quality astronomical equipment is essential for optimised stargazing. So, if your telescope is of the garden variety, it might not be worth housing. Free some time to do your research before making any purchasing decisions
Are you an expert DIY'er who knows how to weatherproof and construct a conservatory without the help of a professional? If not, make sure you hire someone with the right credentials. This not only makes sure you and your equipment stay safe, but it also gives you peace of mind the structure is robust and will last
Have you considered an automation system for your observatory? This is key if your maths isn't brilliant or you'd rather not manually adjust the equipment every time you use it

On Checkatrade, you'll only find trades who meet our high standards and pass up to 12 checks.
A step-by-step guide to building an observatory
NB: This next section is for competent DIY experts only. For everyone else, we urge you to consider hiring a professional to build the observatory of your dreams.
Step 1: Location, location, location
The first step is to choose the perfect spot for your observatory. Ideally, this is somewhere with minimal light pollution, a clear view of the night sky, and good accessibility.
As previously mentioned, make sure it complies with local building regulations and purchase any necessary permits before starting building work. It's also worth giving your neighbours a heads-up!
Step 2: Design your dream observatory
Although you might want to build a grand planetarium, stay grounded when it comes to choosing the type and size of your observatory. Ideally, it needs to fit within your budget and garden circumference.
As a result, research options such as simple open-air platforms to more sophisticated dome structures. Take into account the size of your telescope, the equipment you plan to use, and the amount of space you need for comfortable stargazing. For example, if it's a family affair, make sure you'll all fit!
Step 3: Gather the necessary materials and tools
Once you've worked out the ideal size of your observatory and what elements you want it to include, it's time to buy the materials and tools. These might include a DIY pack, a ready-made structure, or the raw elements to build it from scratch.
NB: If you're opting for a unique structure that requires raw materials, this might include wood or metal for the frame, weather-resistant materials for the exterior, insulation for the interior, and concrete for the foundation. You'll also need the right tools for cutting, drilling, and assembling each of the parts.
Step 4: Create a solid foundation
If you want your observatory to stand the test of time, a stable foundation is essential. To ensure its longevity, pour a concrete slab or create a pier, making sure it's level to best support your telescope mount.
Read our guides: Understanding building foundations: where to start and When to use a brick pier? for more information.
Step 5: Build the structure
Now comes the crucial bit. Once your foundation is ready to bear weight, construct the frame of your observatory according to your chosen design.
It needs to be sturdy, weather-resistant, and able to withstand UK weather conditions such as wind and rain.
Furthermore, if you're building a dome observatory structure, pay particular attention to the rotation mechanism for easy access to different parts of the sky.
Step 6: Install insulation and weatherproofing
Once the shell of your observatory is finished, it's time to insulate the interior to protect your equipment from temperature fluctuations.
Proper insulation and weatherproofing are essential for maintaining a safe environment for your telescope, yourself, and any furniture you're planning to use.
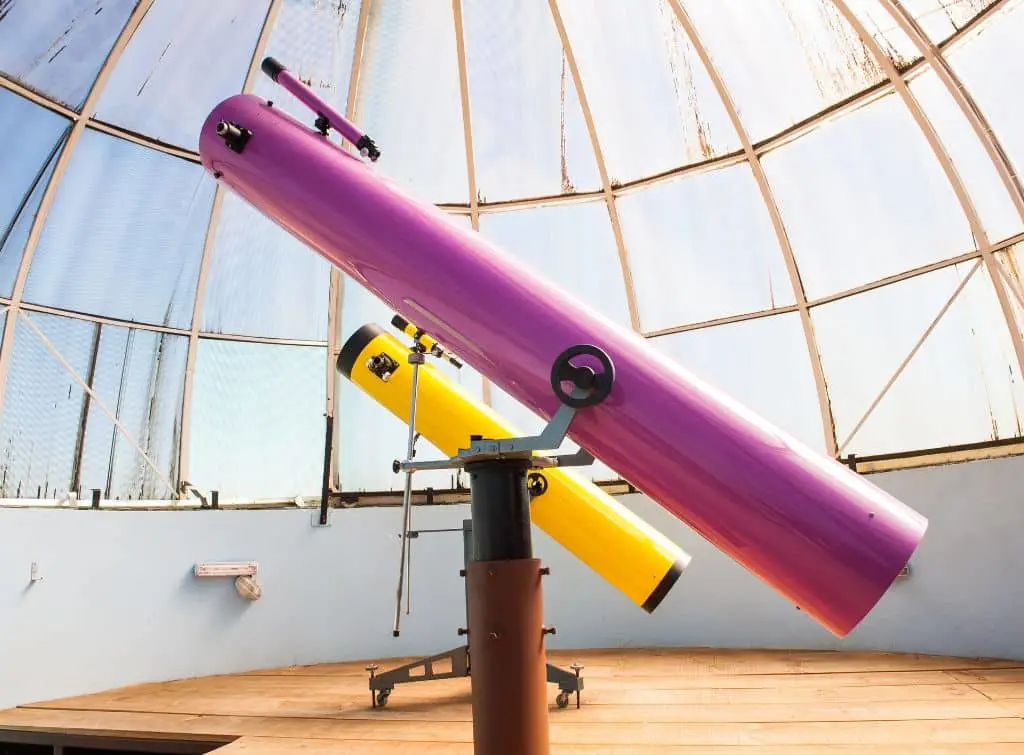
Step 7: Install the telescope mount and equipment
After you've finished steps 5 and 6, it's time to install the most crucial part of your observatory: the telescope. Make sure you mount it on a stable platform within the observatory and arrange any additional equipment (e.g., eyepieces, cameras, and computers) around it.
Top tip: Use safety tape and waterproof wire boxes where possible.
To finish, double-check check all the connections are secure and your telescope is properly calibrated.
Step 8: Automate your observatory (optional)
Consider automating your observatory for a more relaxed stargazing experience. Automation systems control telescope movements, dome rotation, and data acquisition, which will significantly enhance the functionality of your observatory, giving you more time to enjoy it.
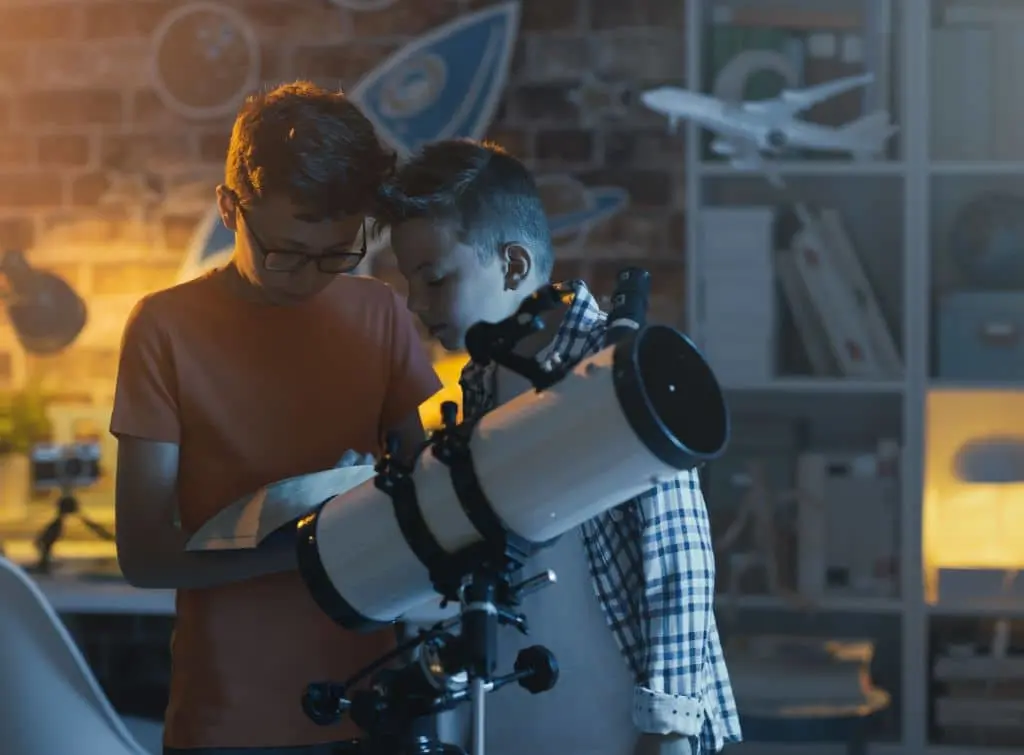
Step 9: Test and calibrate
Before any observation begins, make sure you've thoroughly tested and calibrated your equipment. In layman's terms, make sure your telescope is aligned and all the systems are working properly. Now is the time to familiarise yourself with all the software and automation tools you've installed.
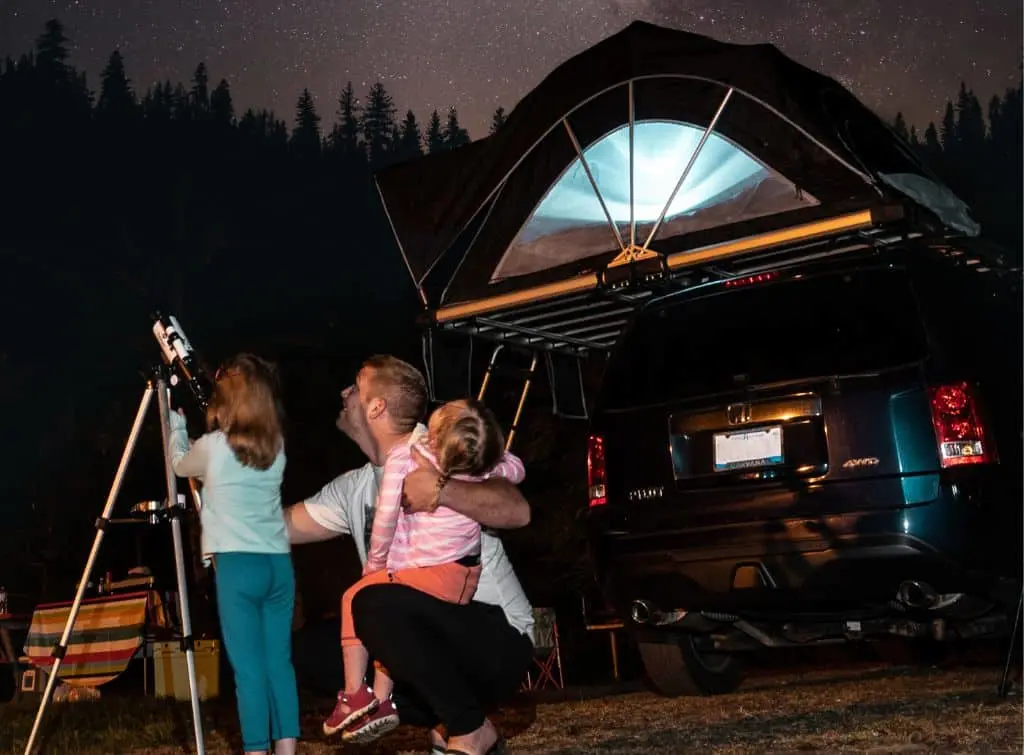
Step 10: Enjoy the night sky!
Hurrah, you're now one with the stars! With your observatory complete and ready to fire up, it's time to embrace the beauty of the night sky.
Schedule regular observation sessions, explore celestial objects, and enjoy the experience with any friends or family who share your passion for twinkling lights.
Happy stargazing!
See the tradespeople we've checked for your job
How much building an observatory might cost you
Well, spiritually speaking, if you manage to discover we're not alone in the universe, then in the great words of Thanos, it might cost you "everything." However, if you're talking about the earthy bounds of monetary values, then it'll cost you a lot less.
For a home observatory to become a gateway to the cosmos, there are several costs to consider:
A ready-made garden observatory could cost you anywhere from £1,500 to £5,500 for a wood structure with an opening roof. The cost varies depending on whether it's a bespoke or standard design and the size you need.
If you're doing it yourself, you'll need to purchase raw materials such as wood and metal, which could cost anywhere between £50 - £200 per m². Again, this rough estimate depends on the quality of materials and the type you're using. For example, reclaimed or upcycled wood and metal might be cheaper than brand-new planks or sheets.
You'll also need to install your own foundations or ground screws to make sure the structure doesn't sink, which can cost around £3,000.
Don't forget you'll also have to pay for labour too. A builder may quote for the total project or charge you a day rate.
Similar helpful blogs
More Garden Structures Articles


See the tradespeople we've checked for your job