Blog>Planning Guides>Planning your house design and build in 2026
Last updated: 6 February 2024

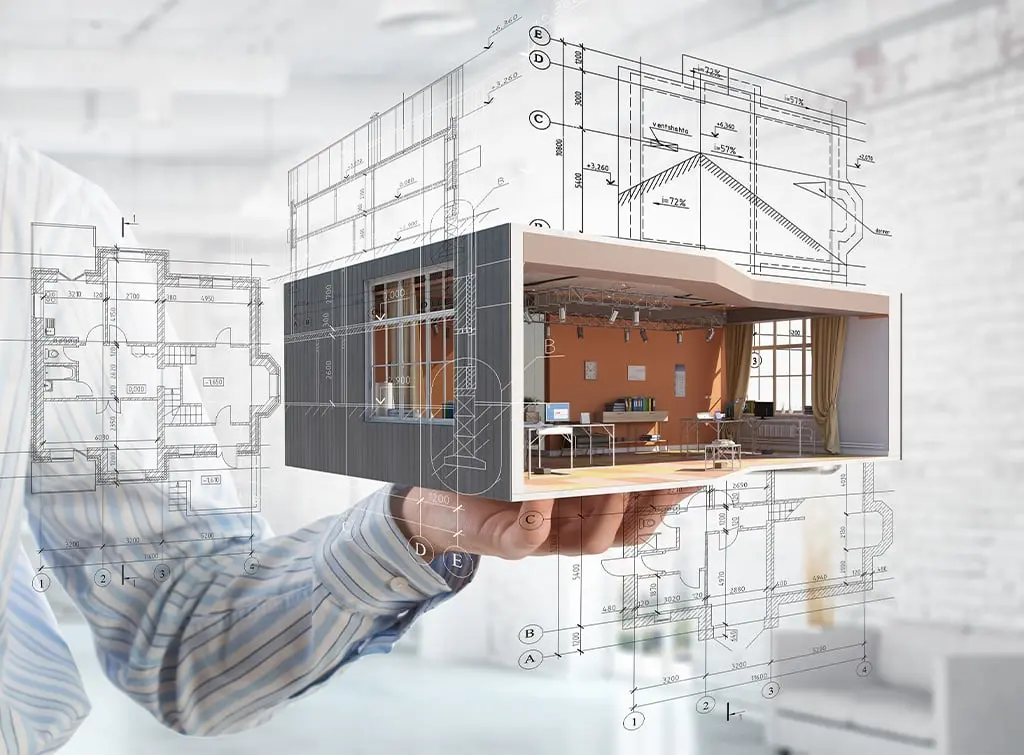
Planning your house design and build in 2026
Building a house is a dream shared by many. Giving you full control of the design and layout, it's clear to see the appeal. This post aims to guide you through the process from initial concepts, to planning and building regs, the key stages of a home build project, and the costs involved.
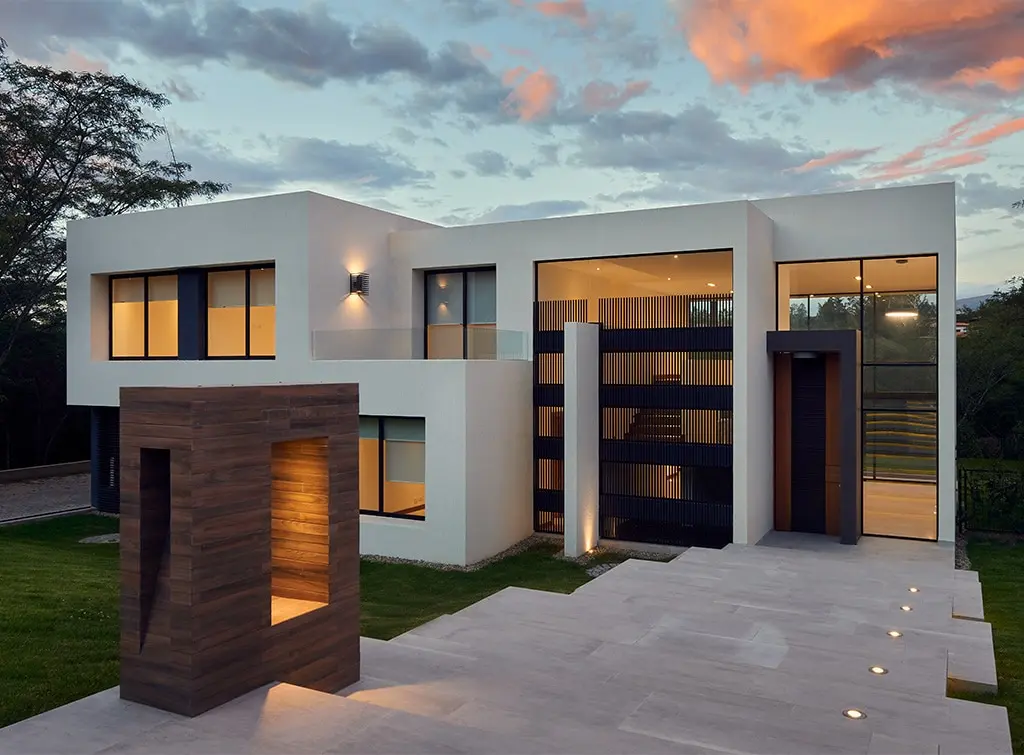
Building a house is an exciting opportunity to create a truly personalised home that meets your exact needs.
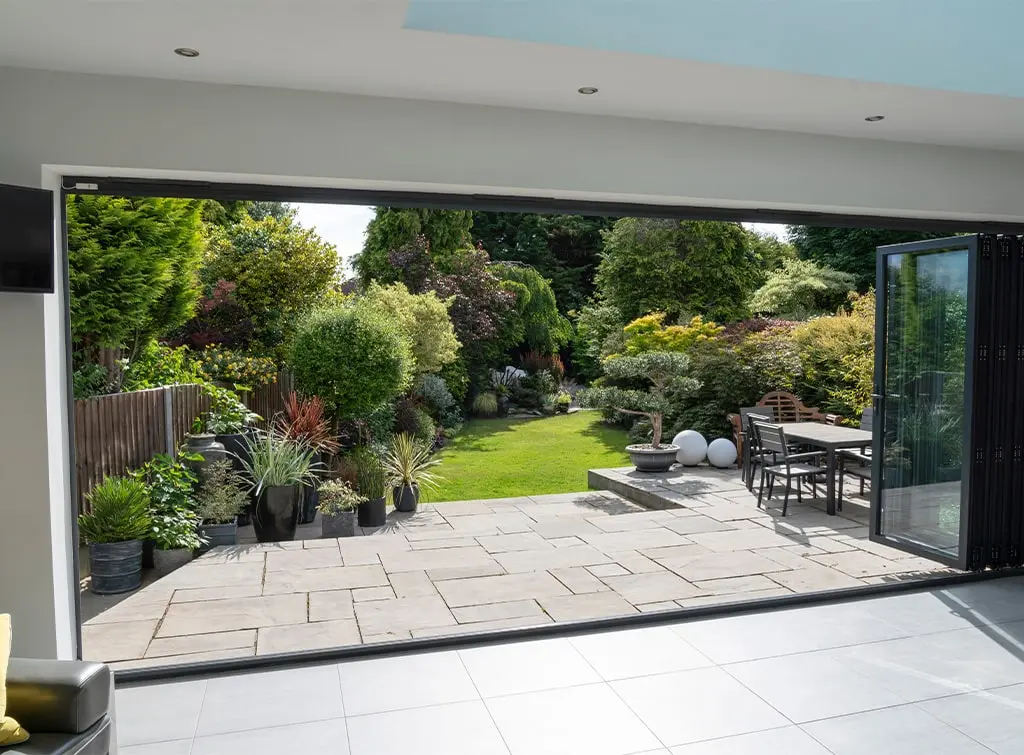
Whether you want to capture certain views within your designs, create a Passive Haus for the gold standard in energy efficiency, or a fully-automated smart home for ultimate comfort and convenience, building your own home allows you to tick all the boxes.
But of course, building a house doesn't come without its challenges. In this post, we'll help you to start the process of designing and building your own home, guiding you through everything you need to know.
See the tradespeople we've checked for your job
The appeal of building a house
As we've already touched upon, planning your own house design is a fulfilling project that allows you to create a home that captures all your preferences down to the finest of details.
The advantages of building your own home
Complete customisation
Building a house is not just about creating a structure, but designing a layout and set-up that gives you the functionality and living space you desire.
The ultimate wish list
We've all seen the TV programmes where the presenter explains about the need to compromise. Whether that's accepting a smaller garden to be in a sought-after school catchment area or a box room classed as a third bedroom, you know the drill.
When you build a house of your own, you pick the plot and you choose the design. As long as your budget stretches to your wish list, you won't have to make these sorts of compromises.
Uber energy-efficiency
When you build a house from scratch you're in the unique position to decide on every detail from the ground up. Therefore incorporating sustainable features and green technologies into your designs is 100% possible.
Tighter financial control
And designing your own house can create potential cost savings compared with buying an existing property too. In fact, the National Custom and Self-Build Association states that the saving could be as much as 20-40%.
The challenges of building a house
While this all sounds wonderful, if house designing was that easy, everyone would be doing it. Some of the downsides of building a house include:
Time and effort
When building your own home, it has to be fuelled by true ambition and determination, because a project of this scale will consume a huge amount of your time and energy.
Although it'll be worth it in the end, the journey is unlikely to be plain sailing. Resilience and perseverance are key.
Financial risks
While it may be cheaper to build than buy a home, there's every chance you'll come across unexpected bumps in the road, which can hit your bottom line quite hard without a decent contingency fund.
Whether it's due to delays in planning permission, design errors, or not hiring the right team, your budget could start to spiral.
Increased stress levels
If you thought the process of buying and selling a house was stressful, try designing and building one from scratch, especially if you're a novice.
Coordinating various trades, keeping on top of the schedule of works, ensuring materials are ordered and arrive on time, and sticking within budget are just some of the challenges involved in project managing a self-build.
Important considerations for building a house
Planning permission. Check local planning guidelines, fulfil relevant requirements and secure planning permission
Building regulations. Familiarise yourself with UK Building Regulations, which dictate standards for building design and construction
Health and safety. While contractors will understand health and safety regulations, you can also benefit from researching them
Land assessment. The land on which you plan to build needs surveying and soil testing to make sure it’s suitable
Utilities. Coordinate with local utility companies to make sure the property can connect to gas, water and electricity
Insurance. Consider taking out an insurance policy, such as public indemnity insurance, to cover yourself against unexpected events during the build
Contracts. Establish detailed contractual agreements with anyone you work with, specifying the scope of work, timelines and payment schedules
Find reliable and experienced professionals to help with your self-build project
Simply search our leading directory for experts across all the disciplines you'll need for your house design and build.
See the tradespeople we've checked for your job
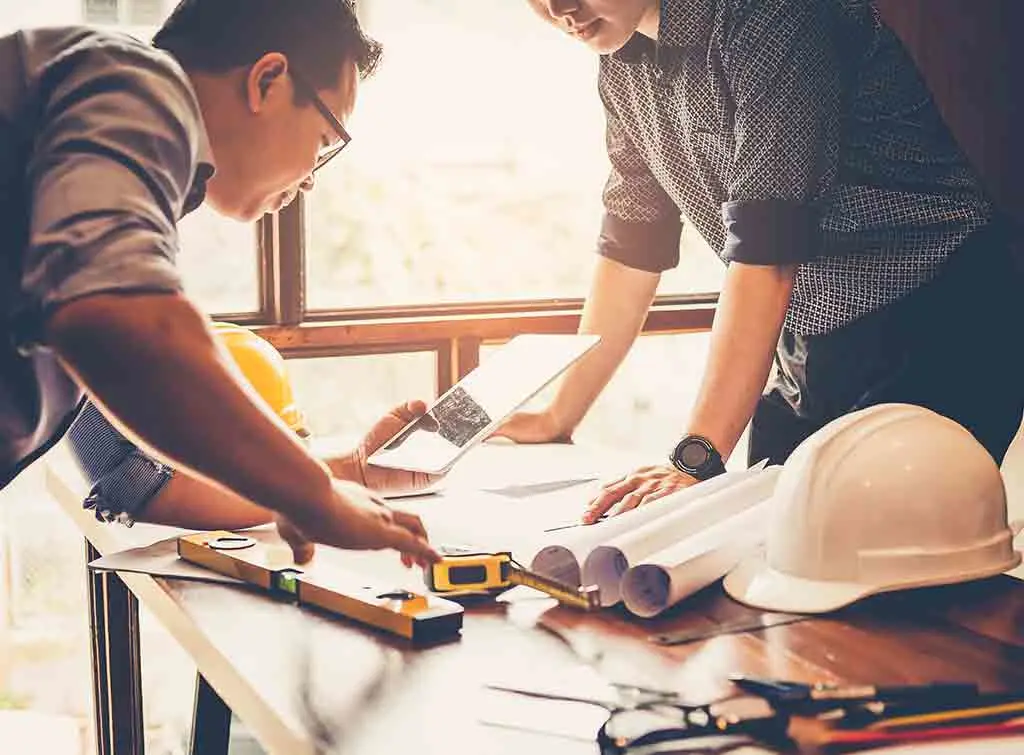
The 4 main stages of house design
So let's get into it. Where on earth do you begin when embarking on this gargantuan task?
We start with the design phase, which we've split into four manageable chunks. You'll find guidance on the building phase in the next section.
1. Where to build?
First of all, you'll need to secure a plot of land upon which to build your home. This can often be tricky and is one of the reasons why more people aren't building their own property.
Not only is there a shortage of building plots, making competition fierce, but planning permission for individual plots can be difficult to obtain.
There are a number of ways to search for a suitable plot for your self-build, including plot-finding websites, local estate agents, and landowners.
It's worth engaging with your Local Planning Authority before purchasing your plot to find out if there are any constraints on the land that prevent development.
A land surveyor can assess the suitability of the plots you're considering, to help you select the most suitable land for your project.
Remember to seek the professional services of a qualified and certified conveyancer to ensure due diligence surrounding the purchase and development of your plot.
2. Defining your vision
Once your plot has been acquired, you can start to bring your dream alive with some serious research and planning.
This can often be helped along with a series of 'who, what, why, where, when, and how' questions. This will also help to create a brief for your design team:
Where do you feel most 'at home' and how do you like to live?
What architectural styles do you like? Perhaps you've seen a property or been on holiday somewhere that's inspired your preferences.
Don't be afraid to sketch your vision; it can help architects to understand your ideas.
Do you enjoy contemporary, open-plan living, lots of glazing to bring the outside in, and vaulted ceilings? Or do you prefer formal rooms, cosy nooks, and traditional features?
Similarly, consider how much storage you'll need. If you prefer a minimalist look, you'll likely want plenty of built-in storage within your designs to keep everything neatly tucked away.
Who are you building for?
Think about who the house needs to serve both now and in the future.
For example, do you have children? And do they need a designated playroom? Or are they older and in need of a den or space to hang out with friends?
Perhaps you have aging relatives you'd like to accommodate in the coming years? Or maybe you want to plan for when you might need greater accessibility within your home.
Prioritise what's important to you
You have a rare opportunity to create a home that's bespoke for your needs so remember why you want to build your own home and satisfy these desires within your plans.
Maybe it's the case that you've always dreamed of owning a home large enough to accommodate a towering Christmas tree, or you want to wake up in the morning and be able to see the sunrise.
Or perhaps it's more functional: if you love crafting, why not include a designated crafting room with plenty of custom storage? Or a cinema room for a film-loving family? If you adore cooking and entertaining, take the chance to build the kitchen diner of your dreams.
Perhaps you want to be self-sufficient or build-in green technologies to limit your carbon footprint.
This is your opportunity to make your self-build dreams a reality, so don't be afraid to include all the things that are important to you at this stage and make a note of your 'must-haves'.
Support your ideas with a mood board; a place where you can collate concepts and images to help visualise your dream space.
How will you pay for it?
At the very start of your house design project, you'll need to set a realistic budget.
There's little point pursuing architectural drawings or indeed planning permission for designs that you can't afford to build.
Your budget will naturally impact many of the decisions you'll make surrounding your self-build so balance your financial capabilities with your needs. It's often helpful to categorise the ideas within your brief as 'must-have' and 'nice-to-have' items.
It's recommended to get financial advice from a qualified and certified professional to ensure you have sufficient funds in place. Also, make sure you have a plan for how you'll manage the cash flow throughout the project.
Keep reading for guidance on the typical cost of building your own home.
Remember, these ideas will evolve as the project progresses; likely influenced by both planning and budget, but it forms an invaluable starting point for your project team to work from.
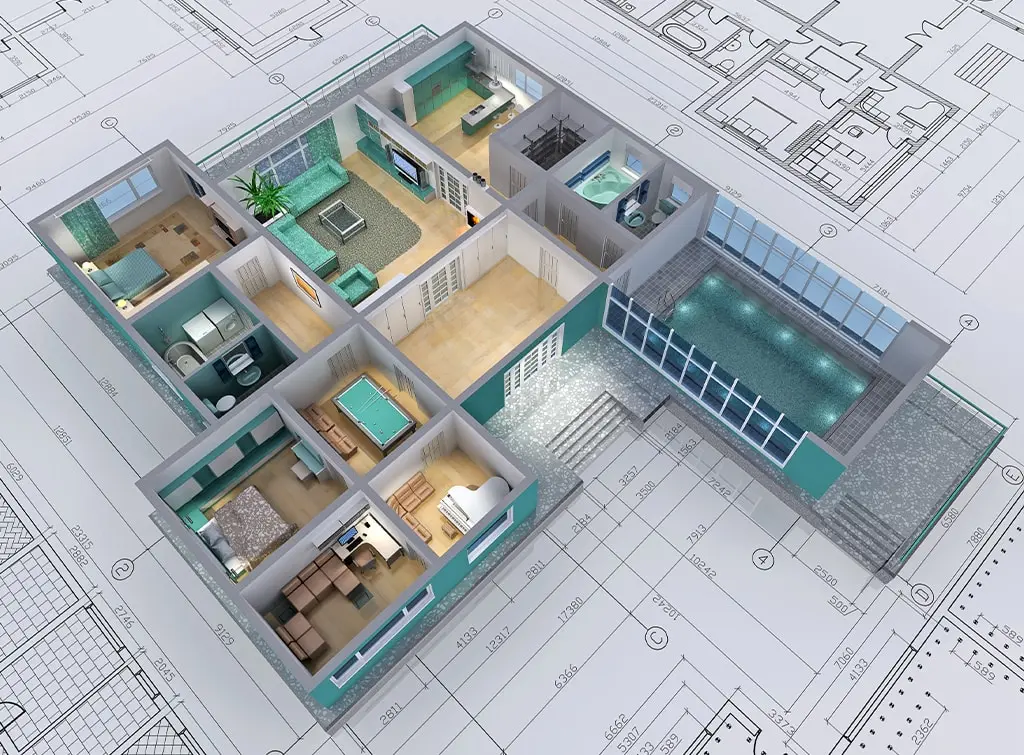
3. Site analysis and layout
By this stage, you have your plot of land secured and a design brief containing all your ideas and specifications alongside your available budget.
Now it's time to work with an architect to create a site plan and floor plan for your self-build.
The site plan
This will include factors such as positioning. For example, if you want to rely on solar power, south-facing elevations will be important. If there's a busy road nearby, you'll want to screen the house from noise. If you have impressive views, you'll want to take advantage of them.
Your architect will also be thinking about the site boundaries, the proximity to other properties, the access and car parking you'll need, and any established trees that need to be factored in.
The floor plan
Next, you can create a floor plan, or layout, for your new home.
This will be influenced by the ideas within your brief and the site analysis undertaken by your architect.
It will cover details such as the amount of accommodation required, your style preferences, layout, and desired room sizes.
An architect will draw plans that satisfy your needs; blending how you operate within your home with a logical and natural flow from room to room.
Marrying your brief, budget, and site capabilities may require some compromise and flexibility on your part. But this should not be seen as a negative - an experienced architect will showcase the best options for your project.
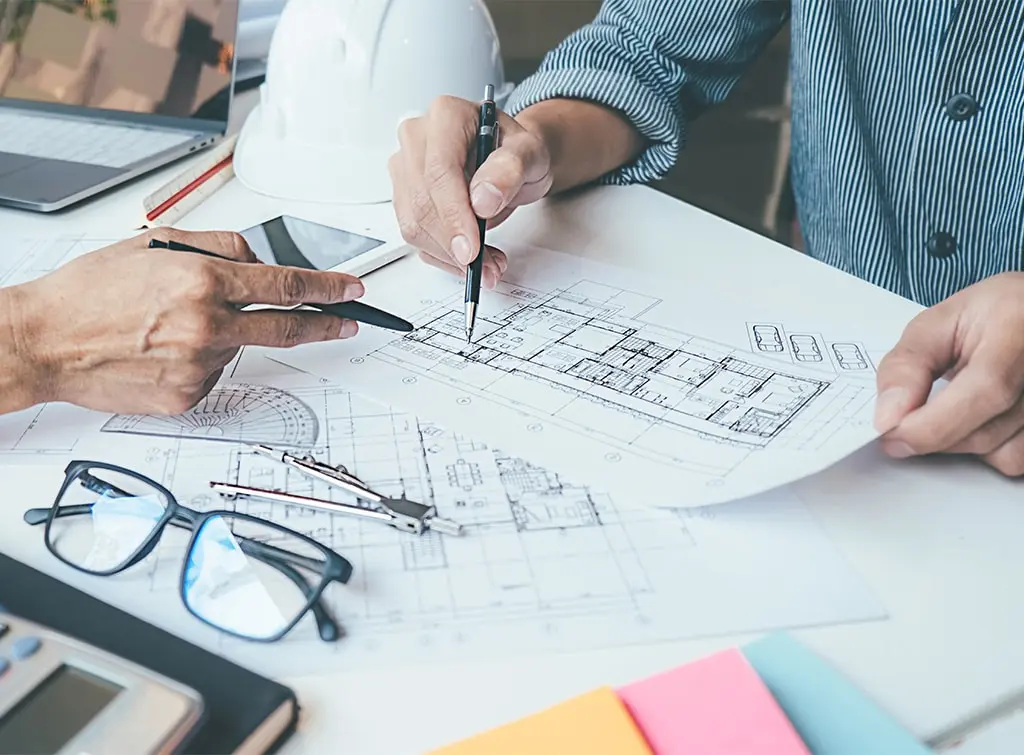
4. Planning permission for building a house
It's sometimes the case that plots of land are sold for development with planning permission already granted.
If you're not in this situation, as mentioned earlier, it's strongly recommended to contact your Local Planning Authority prior to purchasing the land, to understand any planning constraints.
Planning permission for a self-build will need to be sought before any construction can commence. The Planning Portal provides much greater detail on this subject.
Working with an experienced planning consultant can help to ensure the most suitable options are created for your project, hence increasing the chance of securing planning permission. This can be especially helpful if you're embarking on a potentially contentious self-build project.
Find the experts you need to create your dream home
Search our leading directory of professionals including architects, planning consultants, and a variety of qualified tradespeople to complete your self-build with confidence.
See the tradespeople we've checked for your job
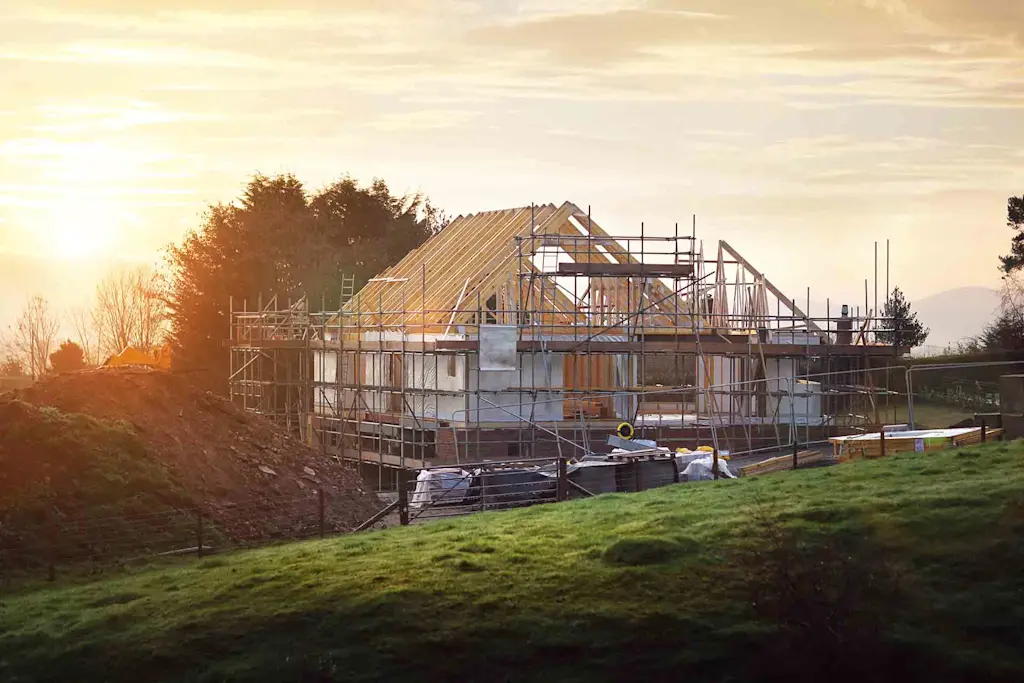
The key stages of building a house
With the design stage complete and planning permission granted, you can move forward to the construction phase of your self-build.
1. Pre-construction
Building regulations outline the required standards for safety, structural integrity, insulation, fire safety, and accessibility.
Your architect will create their plans in line with these regulations and a structural engineer will ensure compliance.
But what else do you need to consider before your construction team set to work?
Self-build insurance
Self-build insurance is a specialist home insurance policy that covers you and the property you're building while it's under construction.
For what's likely to be your most valuable investment, it's important to take out adequate insurance to protect it from worst-case scenarios.
It's also crucial to check your project team has the necessary insurance. The key covers to request proof of (as a minimum) are professional indemnity insurance and public liability insurance.
2. Construction
While it's possible to contract and then project manage individual trades for the various parts of your self-build project, it's much more straightforward to hire a main contractor.
This typically involves sending a detailed specification and schedule of works alongside your architect and structural engineer's drawings to a handful of companies for a quote.
Once a preferred contractor (and any subcontractors they work with) have been selected, a contract will be drawn up and signed.
The contract should include the roles and responsibilities of you and your contractor, payment terms, and the programme of works for all parties to adhere to.
From here, you can either project manage the build yourself, or task your architect with this role.
Either way, it's helpful to understand the key stages of building a house so you know whether your project is on schedule.
How to build a house
Prepare the site
Lay the foundations
Build the superstructure
Construct the roof
Exterior and interior fittings
First fix (plumbing and electrics)
Drainage and external works
Preparing ceilings and dry lining
Second fix (carpentry)
Second fix (plumbing and electrics)
Decoration
Complete snagging list with tradespeople
External landscaping
Building control final inspection
NB. Make sure you're aware of the stages that need sign-off from a building inspector before progressing to the next.
Tools, materials, and supplies
It's also good to understand what tools, materials and supplies you'll need.
The exact tools and supplies needed can differ depending on the project. For example, sites that require extensive preparation may need bulldozers and dump trucks. Here's a general list of tools and supplies:
Site preparation
The first step involves preparing the land so it's suitable to be built on. This means removing trees, rocks and other debris from the building site, which may involve the use of specialist tools, like chainsaws.
Heavy machinery is then used to level the ground. Mini excavators dig and remove soil in conjunction with dumper trucks, which also remove excess soil to achieve a level site.
Next, the dimensions and shape of the foundations are marked with stakes and strings. It's essential for this to be accurate, so the site manager typically oversees it.
Measuring tape
Shovels and spades
Pickaxes
Wheelbarrow
Mini excavators
Dumper trucks
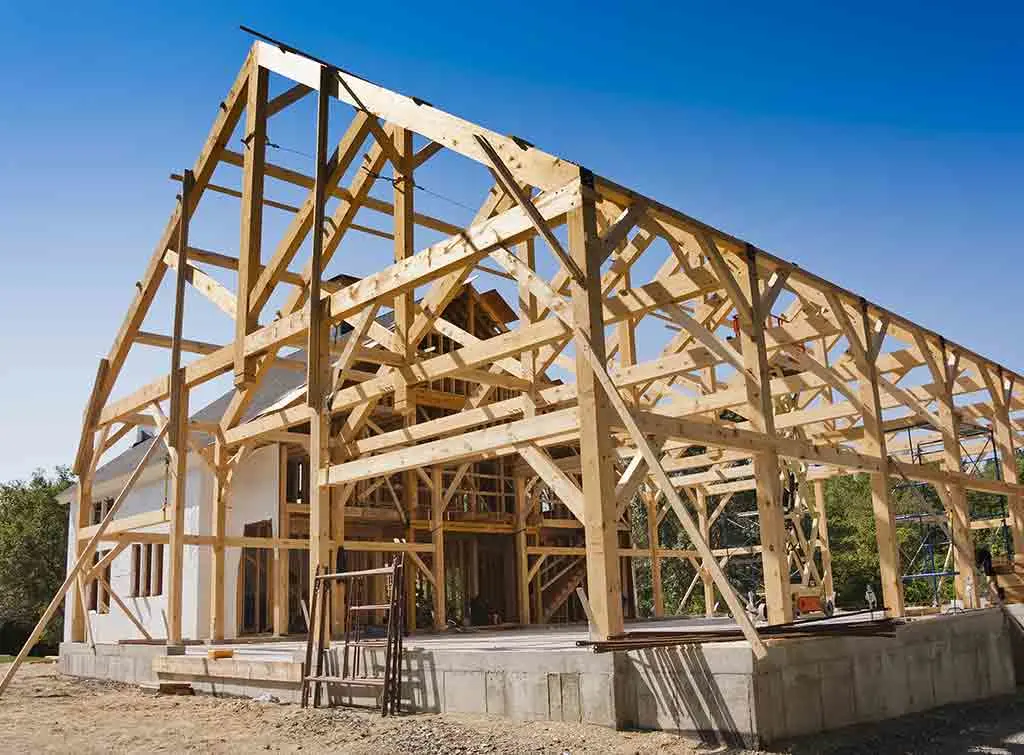
Foundation and framing
The next stage is constructing the foundation, which involves excavating trenches according to the design plans, then installing footings by placing metal forms in the trenches to shape them, and then pouring concrete into the trenches.
Concrete blocks or poured concrete are then used to construct the foundation walls. Blocks are either laid on top of the footings, or forms are built and concrete poured on top of them. The foundation must then cure, which means solidify and harden. This process can take days or weeks depending on the time of year and the type of concrete used.
Carpenters then build a frame, starting with the exterior walls, to give the house its skeleton. Frame walls are assembled on flat ground according to the architectural design and lifted into place and secured after.
Pressure-treated lumber is often used for the bottom plate and regular lumber for the rest. The walls are then lifted into their vertical positions, sometimes with the help of a crane, and secured into the foundations with bolts.
Joists are then added and subflooring panels are laid to provide more strength to the structure and the floor. Subflooring panels lay on top of the joists and are secured with nails or screws.
Finally, the carpenters or framing crew assemble the roof trusses and secure them to the wall frames with nails and metal connectors. The alignment of roof trusses is carefully checked to ensure it meets the design specifications.
Concrete mixer
Trowels
Hammers and mallets
Chisels
Concrete floats
Levels
Sledgehammer
Nails and screws
Power drills and screwdrivers
Saws
Ladders and scaffolding
Joist hangers and metal connectors
Framing square
String line
Pliers
Wrench set
Roofing
Next, the roof is installed over the frame. First, sheathing is installed, which is typically made of plywood or OSB sheathing panels, and these are nailed or screwed into the roof trusses or rafters. This provides a solid base for other roofing materials.
A water barrier made up of a synthetic material is then rolled out and secured over the sheathing, which prevents moisture from getting into the home.
Lastly, tiles are installed over the underlayment, which is typically done from the bottom upwards. These are then fastened with nails or screws. After the roof has been inspected, it's time to move on to the next stage.
Roofing nailer
Roofing nails
Chalk line
Utility knife
Ladder hooks
Roofing shingles or other roofing materials
Electrical and plumbing
A plumber will lay the main water supply lines and waste pipes before the interior floor and walls are fully installed. Once the basic structure of the home is in place, plumbers return to install things like sinks, toilets and taps.
Electricians also run cables through the floor and walls during the "rough-in stage". They also cut out areas in the wall for electrical outlets and switches, then wire them into place. All wires are then connected to a circuit breaker box.
Wire strippers
Electrical tester
Pipe wrenches
Pipe cutters
Plumbing snake
Crimping tools
PVC glue and primer
Conduit bender
Cable puller
Insulation and drywall
Utility knife
Insulation supports
Drywall screws
Drywall T-square
Screw gun
Joint compound
Drywall tape
Putty knives (various sizes)
Sanding block
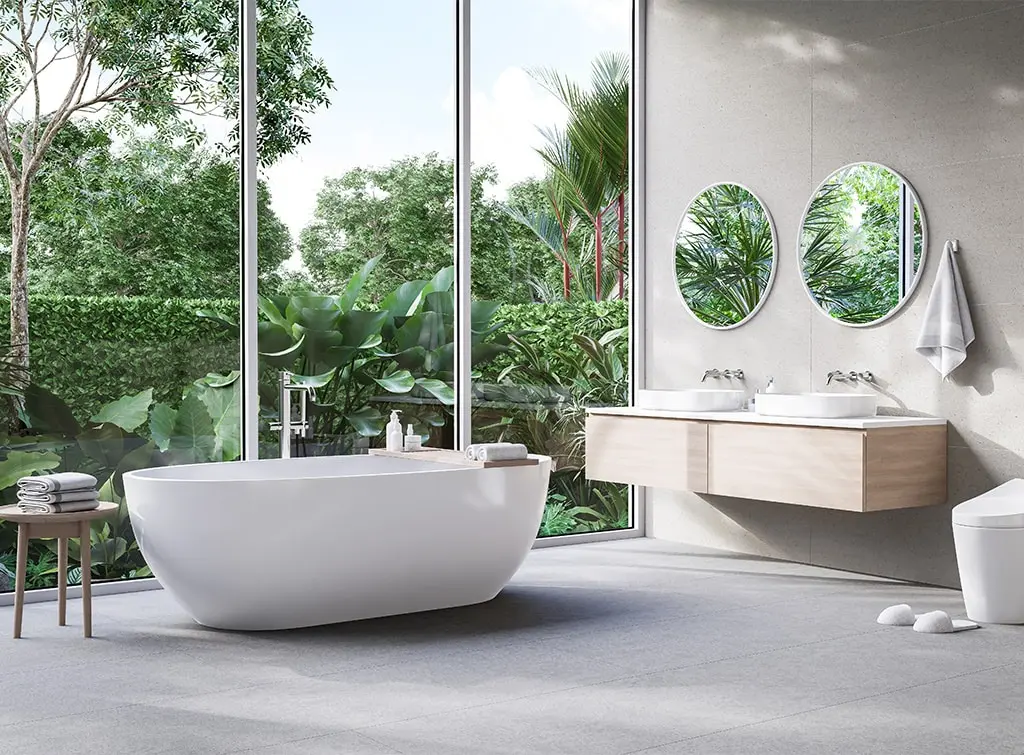
Interior and exterior finishing
Now, it's time to make the interior look like a real home by adding things like flooring, cabinets, trims and mouldings, as well as priming and painting the walls.
Walls are cleaned and any imperfections are filled and sanded, then they're primed and painted. White is often the standard colour, as it's easiest to change later.
Flooring and cabinetry are then installed by carpenters, followed by the trims and mouldings, which are cut to size and nailed or glued in place. All of this is then checked to ensure corners and joints are neatly aligned.
Paint rollers and brushes
Paint trays
Caulking gun
Caulk and sealants
Stains and varnishes
Tile cutter
Grout float
Tile spacers
Masonry tools for brick or stone
Safety gear
Safety goggles
Ear protection
Dust masks or respirators
Safety boots
Work gloves
Hard hats
Safety harness for heights
See the tradespeople we've checked for your job
3. Completion
Your local authority will need to arrange a council tax valuation visit. And an Energy Performance Certificate will need to be prepared and sent to building control.
Upon completion of your self-build project, a building control inspector will need to assess the work to confirm that it complies with building regulations.
If it does, you'll be given a Completion Certificate. You'll need this document if you ever sell or remortgage, so keep it safe.
You'll also need to switch your self-build insurance to a standard home insurance policy.
How much does it cost to build a house?
It's obviously hard to say how much it costs to build a house of your own as there are so many variables involved.
However, our cost guide to building a house does provide a breakdown of the various average costs involved.
As a ballpark, you can expect to pay anything from £1,400 to £3,000 per m² to build a house in the UK.
And as a guide, building a typical-size three-bedroom house (somewhere between 90 - 120 m²) can range from £126,000 to £300,000.
A quantity surveyor can help you to budget for your self-build by setting realistic budgets and balancing the overall cost.
Find an experienced and reliable team of professionals to design and build your dream home

On Checkatrade, you'll only find trades who meet our high standards and pass up to 12 checks.
So there you have it. A complete guide to your house design and build project.
Remember, one of the most important parts of building a house is finding a team you can trust and rely on to fulfil the vision you set out to achieve.
We have more than 25 years of experience approving tradespeople to join our leading directory so you can be sure you're getting top-quality work from a range of industry professionals.
Simply add your postcode to the search box below to see who comes highly recommended in your area.
See the tradespeople we've checked for your job


See the tradespeople we've checked for your job