Blog>How-To Guides>How to make a garden gate
Last updated: 26 November 2021

How to make a garden gate
If you've come here seeking knowledge about how to make a garden gate, you're in luck. It just so happens that we've asked our experts to help us put together a guide that lets you swing into action.
If you're here to learn how to make a garden gate, you're in luck. It just so happens that we've put together a guide that lets you swing into action.
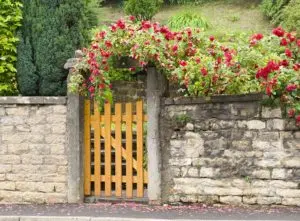
The humble garden gate is a staple in whimsical literature, where cottages equipped with wisteria and white picket fences greet protagonists and antagonists alike.
So, if you're looking for how to build a gate yourself or you're hiring a professional to install one on your behalf, you've come to the right place.
Read on for our step-by-step guide.
How to make a garden gate
It's worth noting that there are various ways you can build a gate the wrong way. That's why we only recommend giving it a go yourself if you're the handy sort or very confident in your abilities. Otherwise, let one of our tradespeople do the job for you and save you precious time and money.
Note: This blog is going to focus on how to build a wooden garden gate. If you're looking for a DIY metal design, that's only something a blacksmith can pull off with fire and steel. Therefore, it isn't something we'd recommend trying at home.
Tools you'll need for the job
If you're still ready to give building a wooden gate a go, we commend your tenacity.
So, here's what you'll need to get started:
Chosen wood materials – shop-bought, reclaimed, pallets etc.
Metal Hinges
Wood paint/stain/preservative
Hammer
Deck screws
Screwdriver
Power drill
Miter saw
Spirit level
See the tradespeople we've checked for your job
How to make garden gate plans
Before you get started, preparation is key. You need to know the kind of design you want to build, including the measurements (height and width etc.) and what quantity of materials are required. This even applies to details such as arches, hinges and gate posts.
If you're unsure, then we recommend doing your research before committing to this project. A poorly designed gate won't last or weather the storms you need it to.
How to make a garden gate frame

Depending on the design you've chosen, making a garden gate frame is about ensuring it's able to support the weight of your gate. To do this, you'll need to anchor and plumb the fence posts to stop them from sagging.
'How do I plumb and anchor fence posts,' you ask? As follows:
Test the posts to see if they move. If they do, you'll need to secure them
Measure and dig two holes that equal ½ of the length of the posts
Bury the posts and measure them again to make sure they're the same length
Use a spirit level to make sure they're straight (aka, plumbed)
Either fill with gravel to secure or use a concrete mix to anchor
Now you're ready to build the gate
See the tradespeople we've checked for your job
How to build a wooden gate
This step-by-step guide is going to teach you how to build a wooden garden gate. We're going to keep things simple for the purposes of clarity.
Step one: Measure and build a gate frame
Measure the gap between the gate posts. You want to leave about 1cm on either side so the gate can open and close easily.
Next, you need to make a simple frame. So, using the gap between the posts (minus the 2cm) as your measurement, cut the top and bottom planks to size. These will be the top and bottom frames of your gate.
Now, measure the desired height of your gate and cut the two outer boards to size. These will be the sides of the frame.
Lay the fully formed frame on the ground and secure using deck screws. Pre-drill pilot holes so the wood doesn't split, which is a common problem when you build a wooden gate.
Check your measurements are even by measuring from top right to bottom left and top left to bottom right.
Top tip: For those with zero joinery skills, use a drill and dowel joint + wood glue to create a frame without any screws showing. Otherwise, use sturdy square planks to use a simple pilot hole and deck screw combination.
Step two: Reinforce with a cross frame
Create a cross-brace for structure and rigidity. To do this, place a plank diagonally across your frame and draw the cut lines with a pencil and ruler. Ideally, the plank needs to fit snugly within the frame. Secure with deck screws.
Step three: Create the front of the gate
Now the base of your frame is complete, measure and cut planks to fit vertically on the front of the frame. Leave around an inch between each plank placement to allow for bad weather. Drill pilot holes and secure each plank with deck screws.
Step four: Consider the shape of the top of the gate
Consider what design you'd like for the top of your garden gate. A popular option is a gentle curve, which is easy to mark out using a pencil and some anchored string. However, if you're handy with a mitre saw, you can consider more intricate options.
Just remember that if you mess up, all your hard work getting to this point will go to waste, so don't bite off more than you can chew (hire a gate expert instead!)
Step five: Install the hinges and hang the gate
When you're finished, it's time to add the hinges to the gate and fence posts. We recommend a gravity latch as it's easy to install. Simply mark out the areas for the screws with a pencil, then drill pilot holes and secure.
Step six: Weatherproof with sealant
Once you've hung the gate, use a wood sealant to weatherproof your masterpiece. Make sure the bottom of the planks are coated generously to avoid wood rot setting in. Finish with weatherproof paint or leave it as nature intended.
See the tradespeople we've checked for your job
How to build a double gate
This section is going to focus on how to build a strong wood gate, including how to build a fence gate that won't sag.
Note: Learning how to build a double gate requires some DIY mastery. If you're a newbie, we highly recommend hiring a professional to complete this job for you instead. Why not hire locally and pick someone your neighbours recommend?
Step one: Map out where you want to put the gate
First things first, to build a gate, you must know where to put the gate. When it comes to a double gate, you want it to be somewhere accessible. For example, maybe you want a car or truck to be able to pass through? If so, you need to place it somewhere your car can easily reach. The surrounding area also needs to be clear so the gates can swing 90 degrees both ways.
Step two: Use string to keep your fence aligned
If your double gate is going in between existing fencing, use string on the adjacent fence posts to help align your new gate posts. This helps you work out where to anchor and plumb the fence posts for your double gate. (See above for more information).
Step three: Work out your measurements
For example, if your gate is 136 inches total width, leave 1cm on either side of the posts so your gates can open and close easily. Divide this number in half, and that's how wide each gate needs to be.
Step four: Anchor and plumb the outer fence posts
For a double gate, you need to use around 80lbs of concrete to stop them from sagging. Use your spirit measure to make sure the posts are straight and plumb and anchor them in.
Step five: Purchase an adjust-a-gate kit
These are steel square frames that help stop your gates from sagging by offering full mechanical adjustment at all times. They provide a framework that allows you to build your wooden gate on top.
Top tip: Make sure you frame your gates using the right measurements so they meet in the middle when hung. Also, use a strong timber that fits within your adjust-a-gate frames so it lasts longer.
Step six: Find your centre line
When you use the adjust-a-gate, the frame allows you 35 inches of wiggle room to place the hinge bolts. So, once you find your midline and centre lines on your gate posts, measure 15 inches above and below, which will be where you can adjust the gates to make sure they line up.
Step seven: Attach your gate frame
Once your frame is put together, drill a 9/16th hole bit and twist in the hinge bolts into the centre of the 15-inch measurements above and below your gate posts. Once that's finished, you can attach your gate frame. You will now be able to see how you can adjust the gate up and down, which makes it easier to line up both your gate doors so they're flush at the top.
Top tips: Using screws allows you to reuse posts instead of having to replace all the materials. This is helpful if you want to move or restructure your fence and gates at a later date.
Step eight: Attach your gate's 'skin'
Now your gate frames are attached and working (test to make sure), it's time to add the 'skin.' This includes attaching the gate pickets using pilot holes and screws and reinforcing the panels with cross frames. This also allows you to disguise any dips that your double frame might have.
Top tip: Use your level to make sure the gate posts are even and squared. You can use a jack at the bottom of the fence to make sure everything is unformed as you line up your fence posts too. The trick is to make sure there's no V shape where the double gates meet. Tighten the latches as required.
Step nine: Add any accessories
If you want to add cane bolts, hook latches, bolt latches or anything else, now is the time. This is what's going to keep your fence steady and secure. You can also add more stability under each post by adding small wood blocks to the weight-bearing sides (inner corners) of the posts and sinking them into the still-wet concrete.
Step ten: Stain your gate to match your fence
Now you're finished, the last step is to paint your double gate with some wood stain and preservative. Just make sure it matches your fence posts!
See the tradespeople we've checked for your job
FAQs
How to make a garden gate out of pallets?
You can use our simple guide to make a garden gate out of pallets. You will need to deconstruct the pallet layers and rebuild the pieces using pilot holes and screws. Using pallets saves you from having to measure everything out and they're also an eco-friendly option.
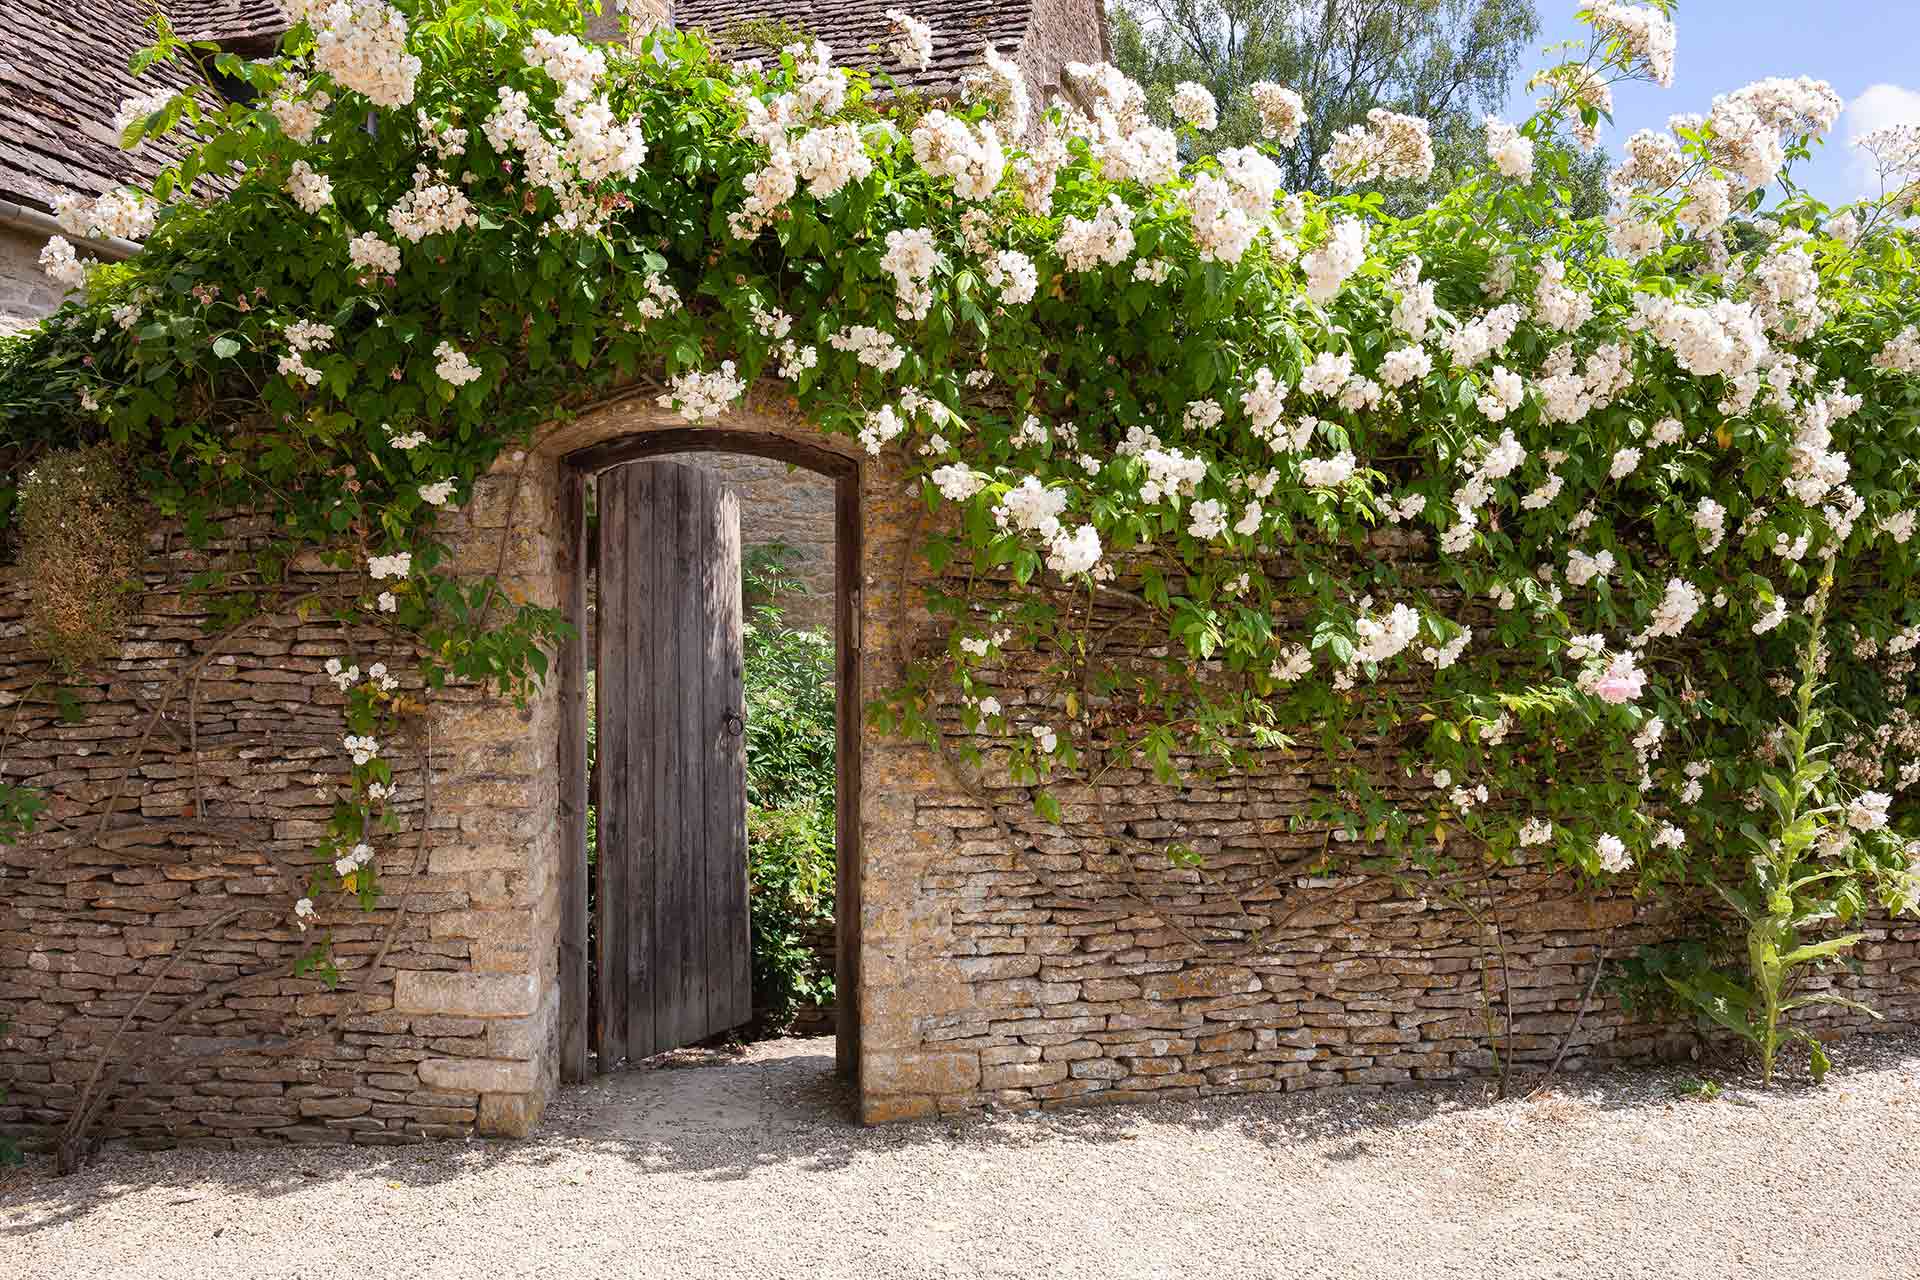
How to make an arched garden gate?
Using a mitre saw and a steady hand, you can mark out a pattern, curve or arch at the top of your gate and cut to size. Sand down and finish with a wood preservative. For gates that sit beneath arches, we recommend hiring a carpenter to build and install a bespoke structure for you. Why not hire one of our professionals?
What is the best wood for a garden gate?
Cedar, pine and reclaimed woods are all great options for building your own garden gate. Just be sure to thoroughly coat and protect them so they're able to withstand harsh weather conditions.
How do you make a simple wooden gate?
You follow our guide above! However, if the job still feels complex or you want a more intricate design, don't hesitate to hire one of our professionals to help.
How to build a fence gate that won't sag
Use our how to build a gate guide above to make sure you build a strong and sturdy gate that won't sag. Alternatively, hire one of our professionals to make sure the job is done to a high standard.

See the tradespeople we've checked for your job