Blog>How-To Guides>How to build a rockery
Last updated: 26 November 2021

How to build a rockery
Enhance your garden and learn how to build a rockery with our step-by-step guide. Join us in discovering how to build a rockery wall, waterfall and much more.

For those lucky enough to own a garden, creating a tranquil space for catching up with friends and relaxing is a must. What’s more, with the investment of a little time, energy and money, you can completely transform a dull, lifeless outside space. Learning how to build a rockery is a fantastic way to do this, as you can incorporate plants, rocks and water for a truly unique garden focal point.
Keep reading to discover everything you need to know. Including how to build a rockery from scratch, how to build a rockery wall and how to build a rockery waterfall.
What are the benefits of rockeries?
Installing a rockery in your garden can instantly improve your outside aesthetic. Not only are rockeries visually stunning, but they are also a great way of showcasing new plants in your garden. Plus, rockeries look incredible year-round and are durable, surviving through terrible weather conditions.
Rockeries are also easy to maintain, making them an excellent option for those who are less able-bodied. Plus, they make amazing homes for butterflies, bees and other insects.
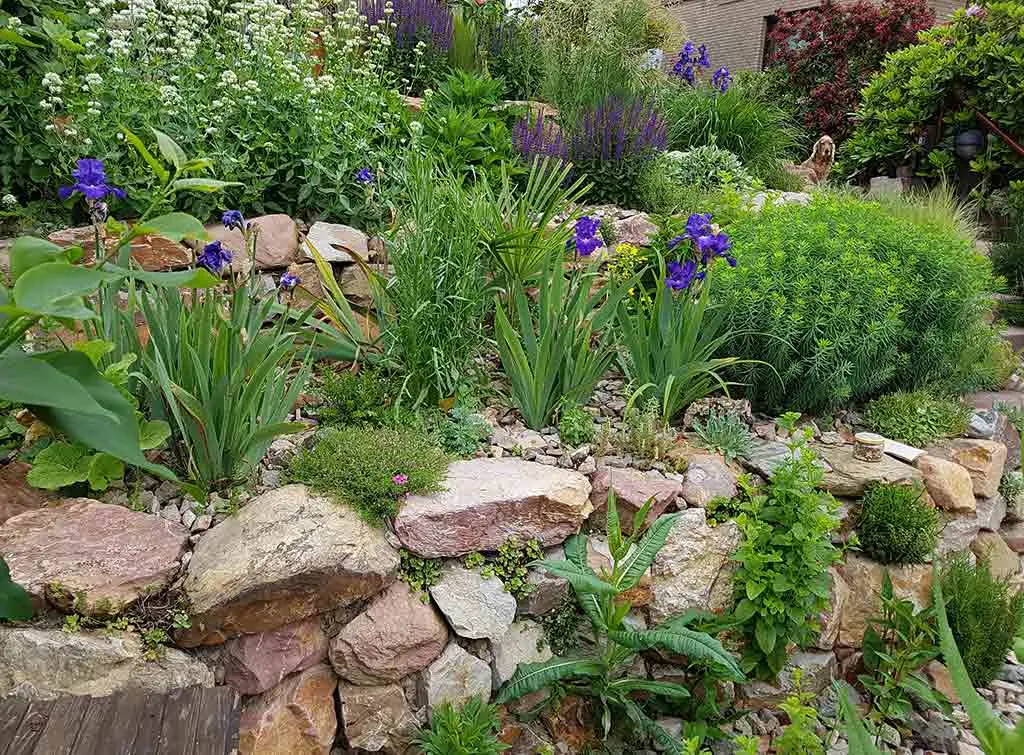
Preparing to build a garden rockery
Unsure how to build a garden rockery? Well, before rushing out to your local garden centre, it’s important to take the time to properly plan the job. You will first need to sketch out how you want your finished rock garden to look.
Most rockeries begin with a variety of large stones or rocks in a range of shades before any plants are added. You will also need to decide whether to incorporate a water feature for added ambience.
See the tradespeople we've checked for your job
Then, gather the tools and materials you will need, including:
Stones
Rubble
Gravel
Rocks large and small
Mulch - optional
Alpine plants
Weed proof membrane
Trowel
Spade
String and pegs
Crowbar
How to build a garden rockery step-by-step
After finalising your rockery sketch, you can make a start on building your rockery. Make sure to start by carefully selecting the best location for your rockery and marking the outline of your work area with string and pegs. Then, follow the below steps:
Dig up any weeds and grass in your rockery area.
Pour a layer of stones and rubble to create a base for your rockery.
Position your weed proof membrane over the exposed space.
Next, choose a range of large rocks to form the structure of the rockery and place them around the edges.
You can then use smaller stones to fill your rockery space and stabilise the large rocks. It is worth bedding these in using topsoil.
Carefully add your alpine plants in positions according to your plan.
You can also use a mulch to cover the ground.
If you struggle at any point building your rockery, then don't hesitate to get in contact with a professional landscaper.
See the tradespeople we've checked for your job
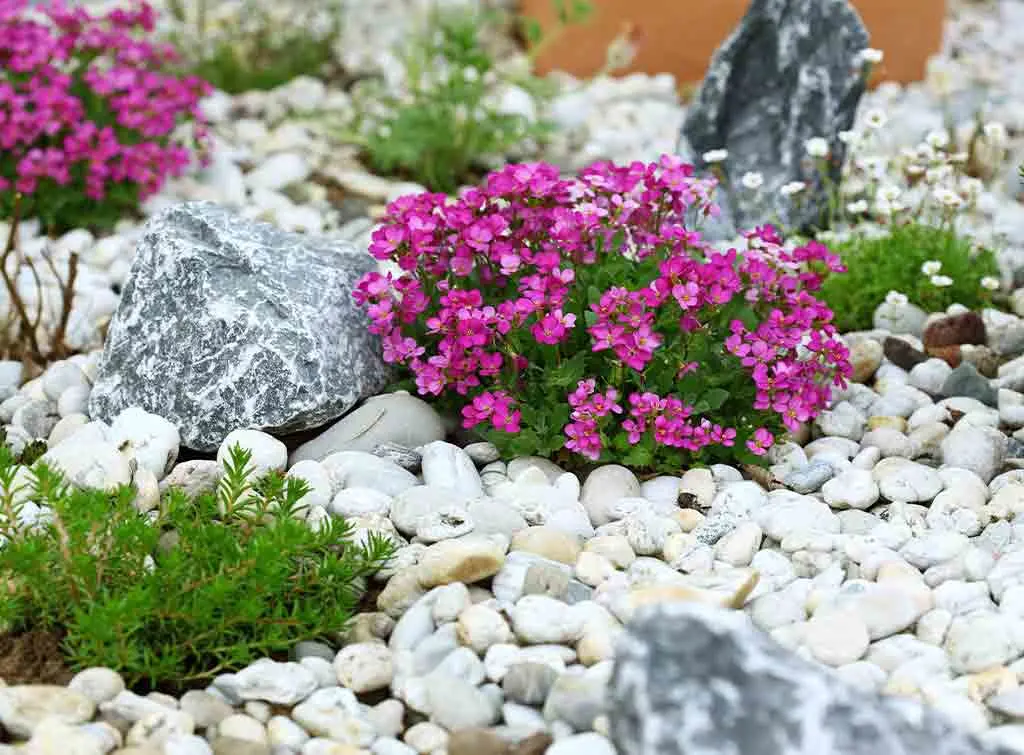
How to build a small rockery
Not all gardens are large and small outside spaces can be made beautiful with the addition of a rockery. Wondering how to build a small rockery? Just use the below tips:
Large rocks can overpower your small rockery so use medium-sized rocks instead.
Use smaller plants like succulents to add colour and different shapes to your small rockery.
Build a Japanese rock garden. These minimalist rockeries look great in smaller gardens.
Use brightly coloured plants to add depth to your rockery.
Add a small water feature to make your rockery stand out.
How to build a rockery in shade
If sunlight doesn’t reach part of your garden, you may think that adding plants is a terrible idea. Luckily, it is possible to learn how to build a rockery in shade by using plants that will thrive in low light conditions.
Firstly, plan how you will lay out your rock garden and choose plants that need little light. Acaena, Spurge, Japanese painted fern, Cyclamen, Bleeding Heart and Lungwort are all great options.
Ensure your rockery has adequate drainage. Without this, your plants will likely not survive.
If you're at all unsure on which plants would thrive best in a shaded environment, it's best to get in contact with a professional landscaper for their advice.
See the tradespeople we've checked for your job
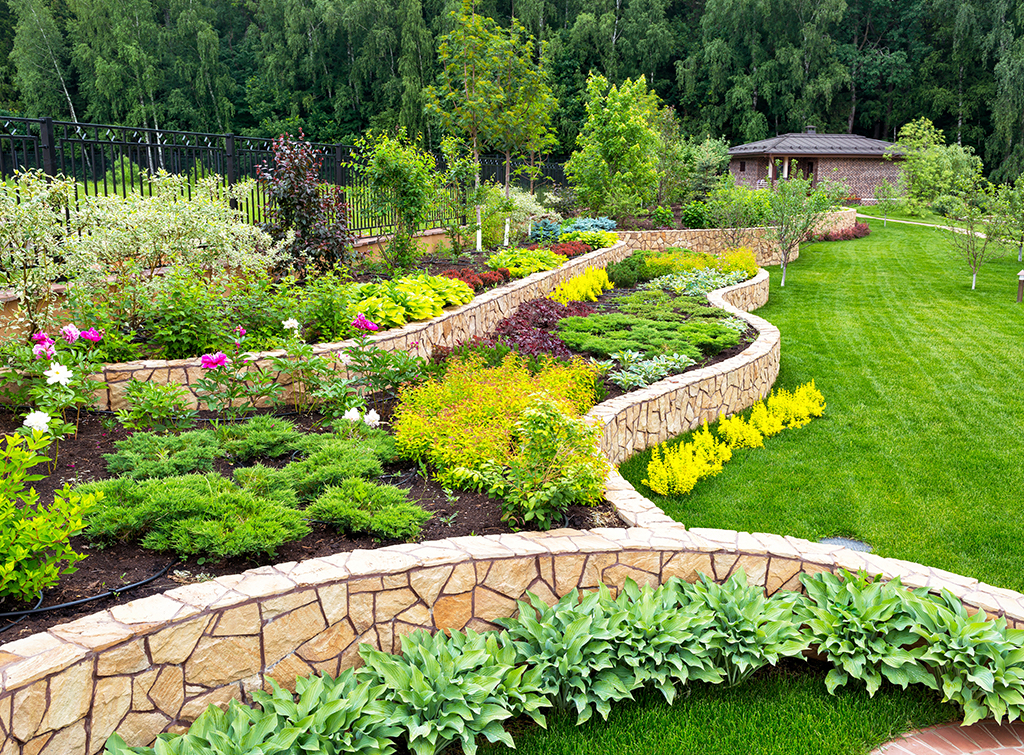
How to build a rockery wall
Rock walls are brilliant at breaking up your garden, giving you privacy from neighbours and if done properly can look great. What’s more, using rocks or stones creates a natural feel that will complement any outside space.
If you like the sound of a rockery wall, then start by gathering the below tools and materials:
Gloves
Goggles
Stones and quoins
Mortar
Metal wall ties
Hammer
Stone axe
Trowel
Spirit level
To build a rockery wall, simply follow the below steps:
Choose the best position for your wall and mark the line it will follow.
Separate your quoins from the other stones.
Begin laying your wall, starting with the quoins. Add mortar to the stones and place your first cornerstone.
Follow the line you marked, adding a row of stones held in place with mortar.
Start building up the wall corners.
Keep checking your wall is lined up vertically using your spirit level.
Move from side to side laying stones and building up your wall.
Add the metal wall ties and keep setting your stones in place using mortar.
Top tip: You can also use offcuts of stone to fill any gaps in your wall.
Place the final rocks on top of your wall and scrape off any extra mortar.
See the tradespeople we've checked for your job
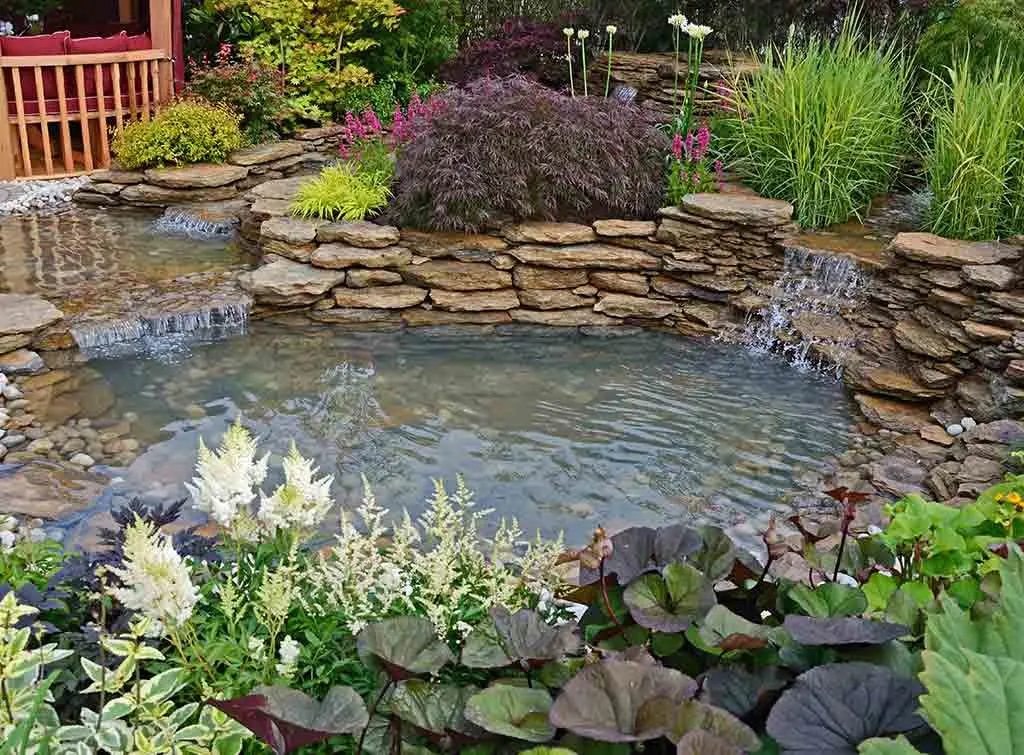
How to build a rockery around a pond
Ponds and other water features are perfect to help you unwind and relax after a busy day. So, if you are lucky enough to already have a pond in your garden, why not surround it with a rockery to further enhance this focal point in your outside space?
In fact, learning how to build a rockery around a pond is very similar to building a rockery from scratch. You will need to draw up a plan of how you want your rockery to look before following the steps in our ‘how to build a rockery step-by-step’ section.
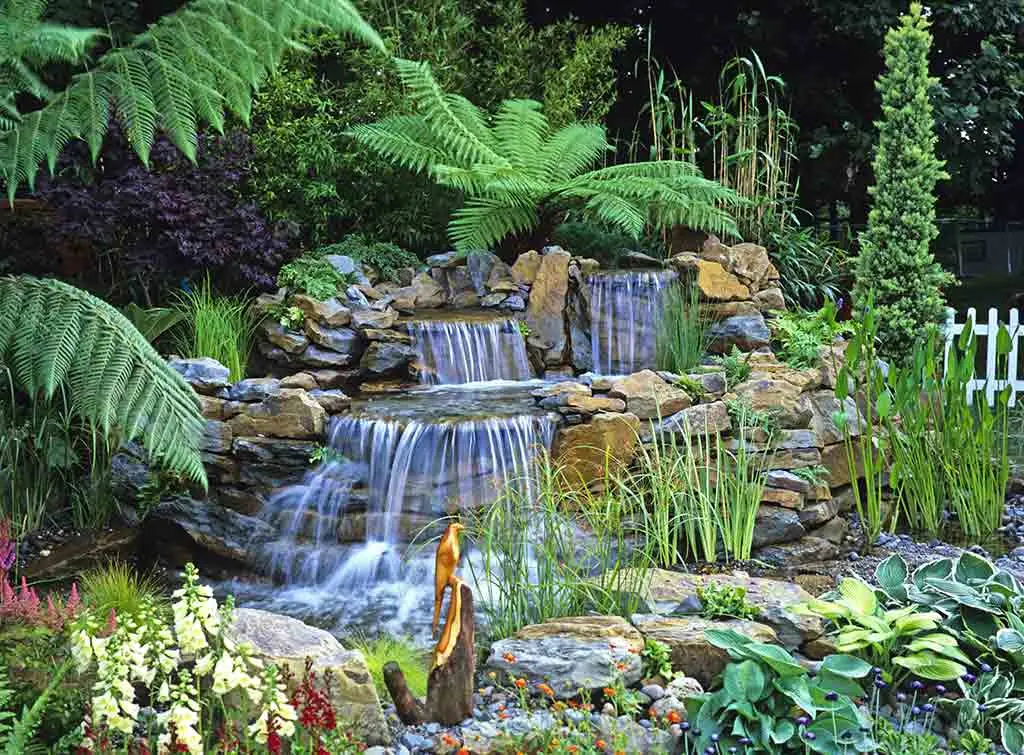
How to build a rockery waterfall
Another excellent way of making your rockery stand out is to add a waterfall at the same time. Surrounded by plants and unique rocks, your waterfall will be sure to wow guests.
Use the below guidelines to build a beautiful garden focal point:
Your waterfall will need to be on a slope to keep the water flowing downwards. Put a little thought into the best location and remember you can dig out a slope in your garden yourself.
You should also consider positioning your waterfall in the vicinity of a power source.
It is important to not forget that waterfalls will need an upper pool and lower basin, plus the waterfall itself and if necessary, a stream.
Gather a range of rocks, gravel and boulders to frame your waterfall.
Outline the area your waterfall will cover using string or spray paint, then dig out the earth from this space.
Line the waterfall with rubber and underlayment. You can use rocks to hold this in place but be careful not to stretch out these materials or you may cause holes to form.
Install your lower basin. Use stones to outline this and connect the waterline checking it reaches the upper pool easily. Put the lid on the basin.
Make sure your basin has enough holes for water. If not, you will need to drill these, leaving 4 inches between each hole.
Place your large rocks around the outside of the waterfall.
Use medium and large stones to line the waterfall itself.
Next, use slate to build the base of your spillway. Remember, your spillway should be level or marginally sloped downwards.
Once you are happy with your waterfall design, use mortar to hold large rocks and stones in place.
Use gravel to fill your spillway and rock sides.
It is also a good idea to use foam sealant to fill small crevasses and cracks. Wear gloves and wait for the foam to dry before continuing.
Cover any visible pieces of the liner with gravel.
You are now ready to fill your waterfall using a garden hose.
Once the bottom basin is full, check your waterfall is working by plugging it into a power socket.
See the tradespeople we've checked for your job
I’m confused, send help!
Building a rockery is a great project for any budding DIY enthusiast but there may be times when you feel confused or are unsure how to proceed. This is the best point to call in a professional. Not only will they be able to create or finish your rockery, but it will also be done quickly and effectively.
Generally, the price you pay will depend on how large, complicated and varied your rockery is, but you can expect to pay an average of £230 per day for a landscape gardener. In addition, if you need help with installing your rockery waterfall, you can expect to pay an average of £250 a day.
If you are ready to speak to an expert, just use our free search feature to connect with a variety of trusted professionals in your local area.
For further information including extra costs, factors to consider and more, please see our gardener prices guide, our garden landscaping cost guide and our water feature cost guide. Alternatively, if you are looking for rockery inspiration, please see our rockery ideas guide.


See the tradespeople we've checked for your job