Blog>Expert Advice>How to repair a hardwood floor
Last updated: 22 August 2023

How to repair a hardwood floor
Even though hardwood floors are a durable flooring option, they can become worn and stained. Read our repair guide below.
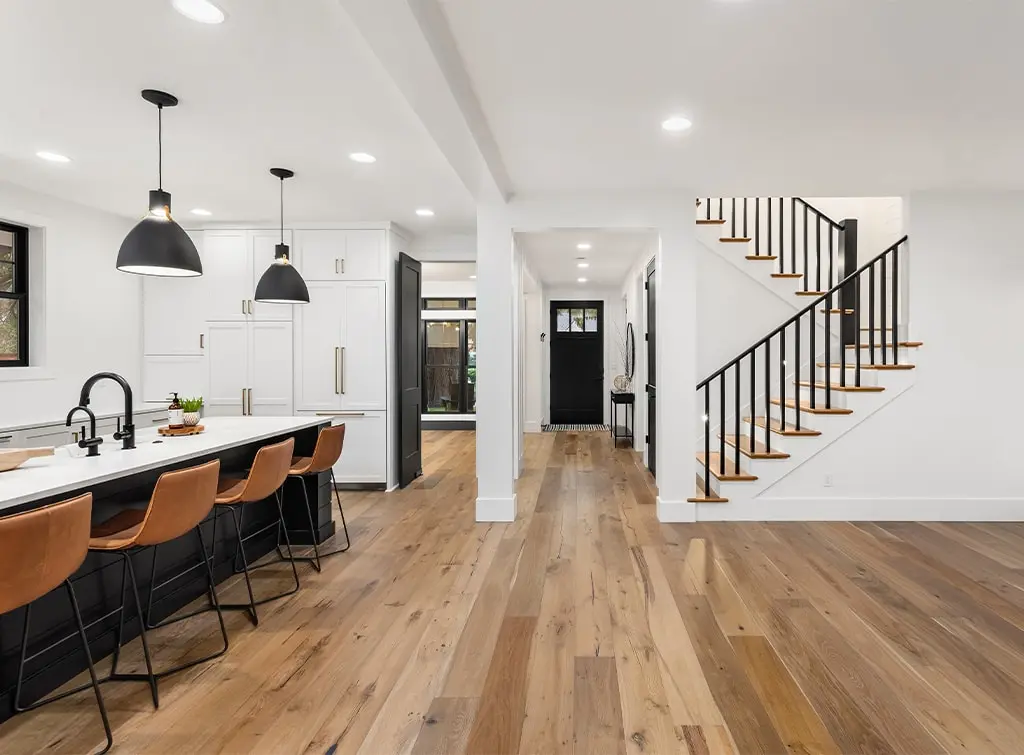
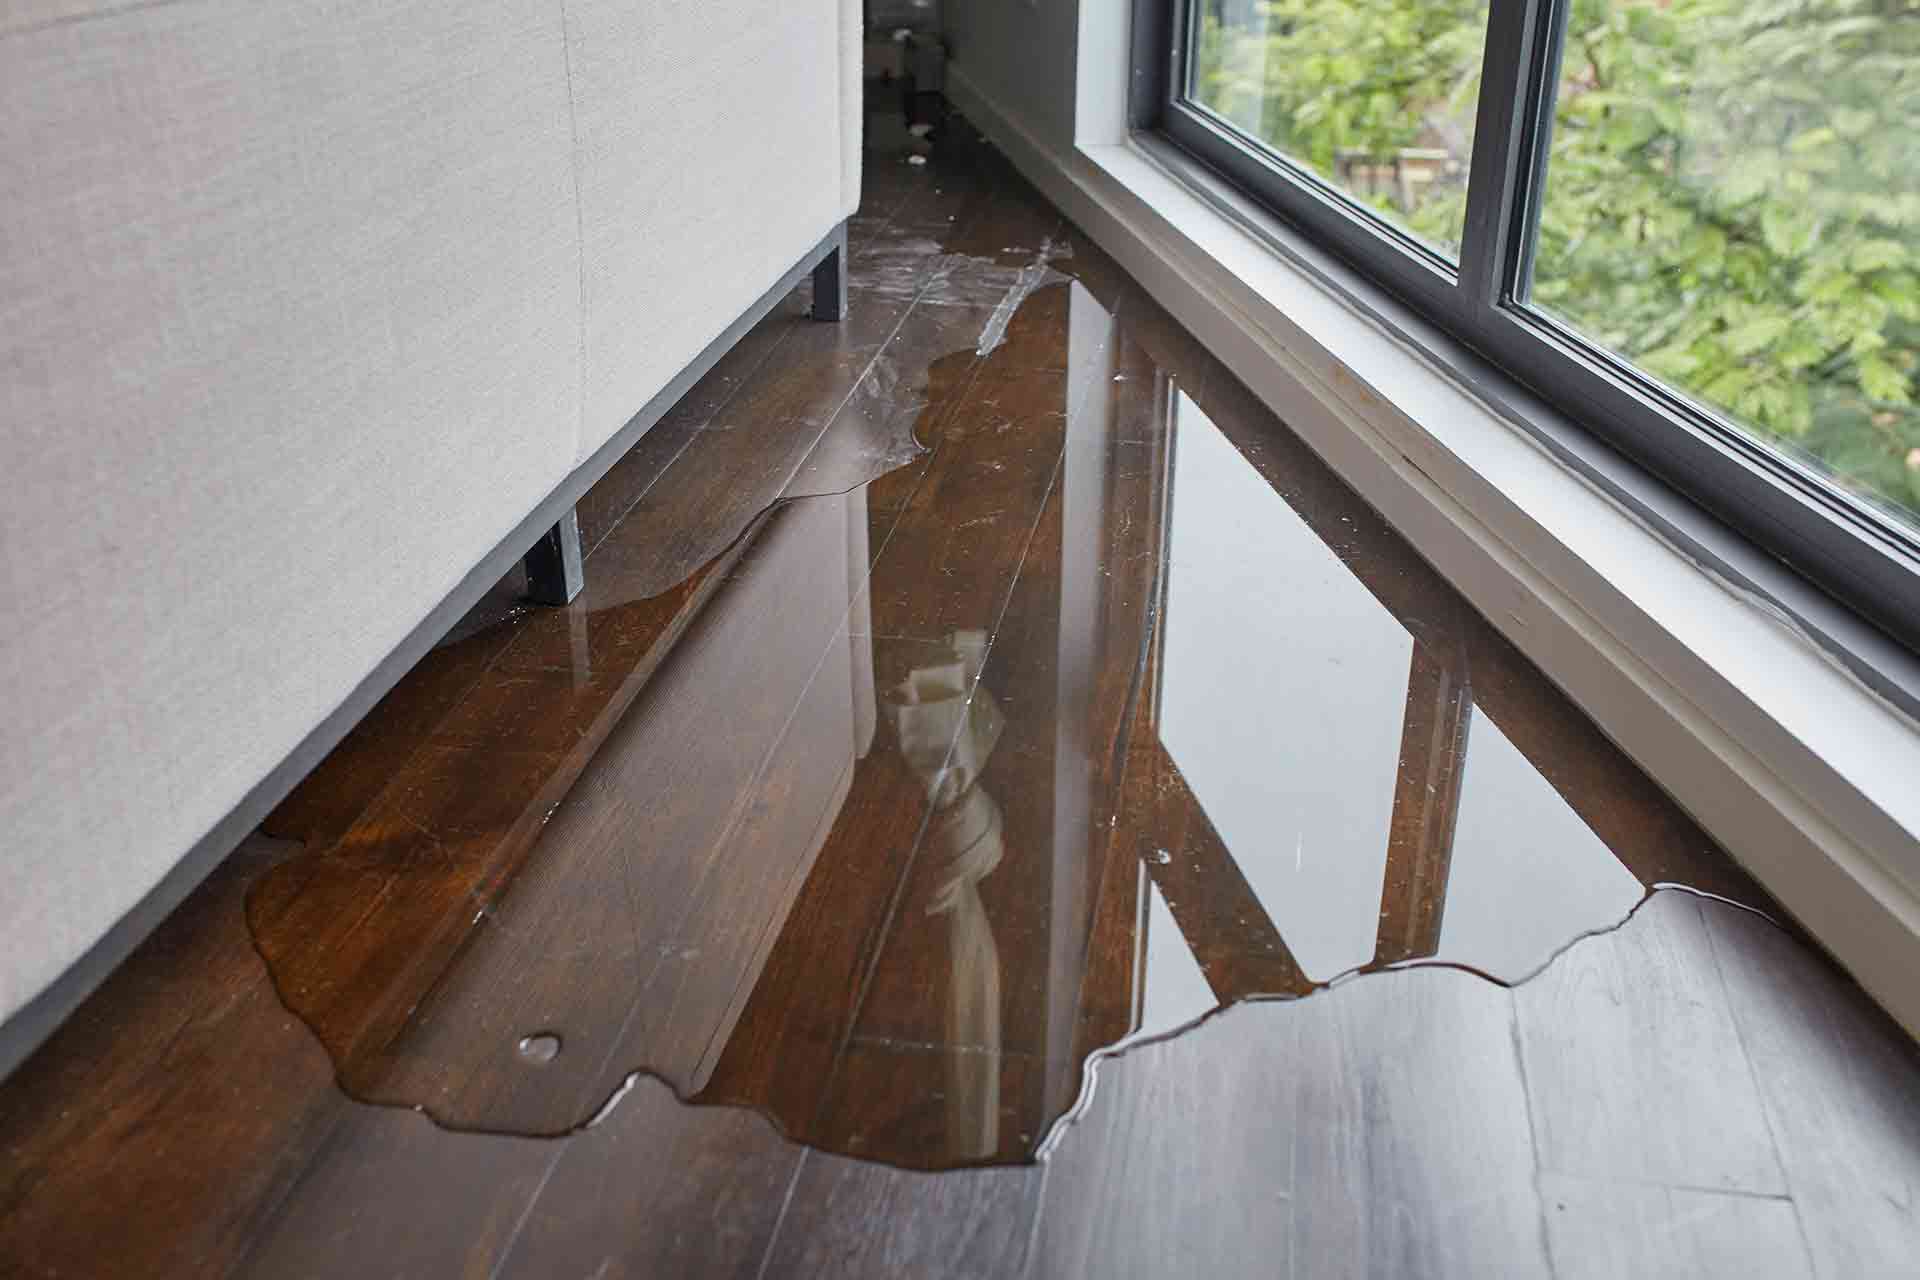
Hardwood floors can be extremely durable and last for years However, because hardwood is porous it can become stained quite easily. Here's how to repair a hardwood floor that's stained, step-by-step.
Stained hardwood floor repair
There are two main ways that you can get rid of stains from your hardwood floor.
Remove stains without sanding
Strip and restain your hardwood floor
How to remove stains from hardwood floors without sanding: tips and tricks
Here are some tips and tricks to help you remove stains from your hardwood floor without the need to strip them back.
Don’t waste time
Rather than letting the stain settle into your hardwood floor, it’s important to act quickly. As soon as you notice a spill or potential stain you should clean it up straight away.
Because hardwood flooring is so porous, it’s very easy for liquids to get into the individual cracks in the wood and stain it.
Identify the stain
If you haven’t noticed the spillage straight away, try and identify the stain as soon as possible. You need to determine whether it is water or oil-based. If it’s an oil-based stain, you will need a degreaser to help you fully remove the stain from your hardwood floor.
Use baking soda
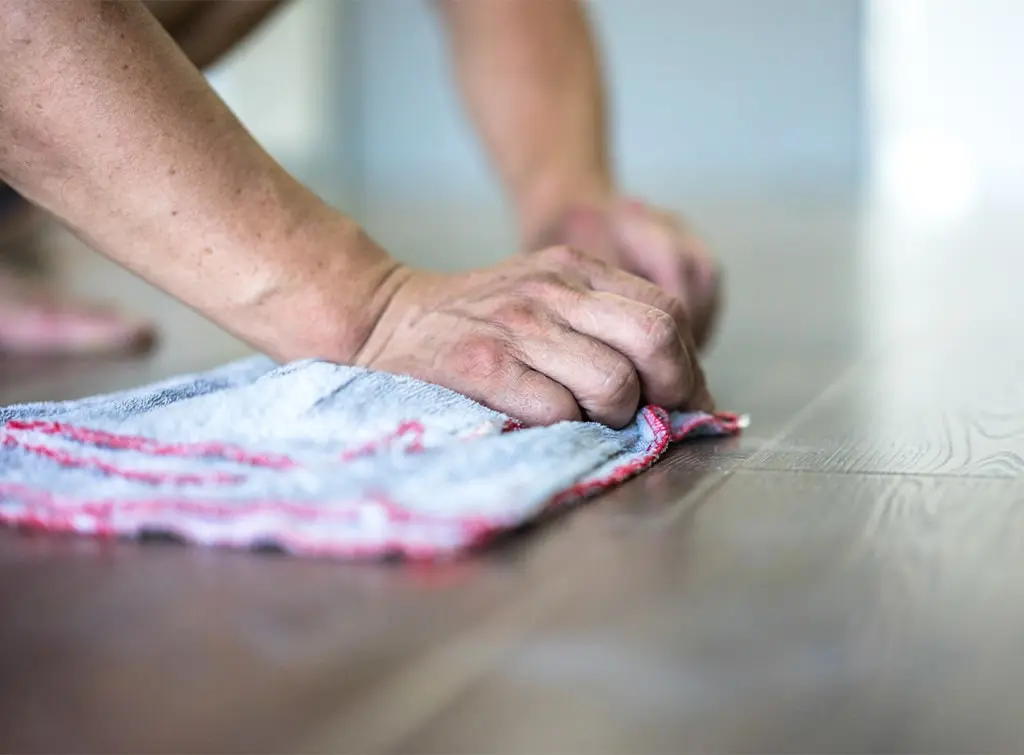
Baking soda is a brilliant all-rounder and is also fantastic at removing stains. Combine baking soda and vinegar until it forms a thick paste and generously spread it over the stain.
Use a sponge that isn’t too abrasive to gently work the stain out of the floor. Once the stain is gone, wipe away the baking soda and vinegar with a damp cloth.
Vinegar and water
If you’ve got white wine vinegar sitting in your cupboard, you can use it as a quick fix to try and remove a stain from your hardwood floor.
You should dilute it with water first so it isn’t too harsh. Soak a cloth in the vinegar and water mixture and leave it on the stain so it soaks it up. Once again, wipe away the residue after the stain has disappeared.
Regular detergent
Don’t underestimate the power of a regular household detergent. You may think you need to invest in an expensive hardwood cleaner to remove any potential stains. However, cleaning products that you already own can often do the job.
Mix the detergent with cold water (not hot) and gently rub away the stain. Because it’s gentler than other abrasive cleaners, you should feel confident to really go at it. It’s also a safer alternative in general for your hardwood floor.
Don’t scrub!
A simple tip is to not be too aggressive with your hardwood floor. As mentioned previously they are very porous and should be treated with care.
Avoid abrasive scrubbers like scouring pads or steel wool when trying to eliminate a stain, as these could scrape away the top layer of your hardwood floor just as sandpaper would. Instead, a cloth will work just fine.
See the tradespeople we've checked and recommend for your job
How to strip and stain hardwood floors
If none of the above methods work then you may have to resort to sanding down the stain to fully get rid of it. You'll need to use fine sandpaper to gently get rid of the stain, before cleaning the area and letting your hardwood floor fully dry before staining/waxing it.
If your floor is badly stained, you're likely to get the best effect by stripping and staining the whole thing. Just follow these simple steps.
1. Clean and prepare the area
Remove all the furniture from the room that you’ll be working in and clean the floor with either a hardwood floor cleaner or regular soapy water.
Use a mop to clean the floors. You could also use vinegar mixed with water to give them a really thorough clean.
2. Time to sand
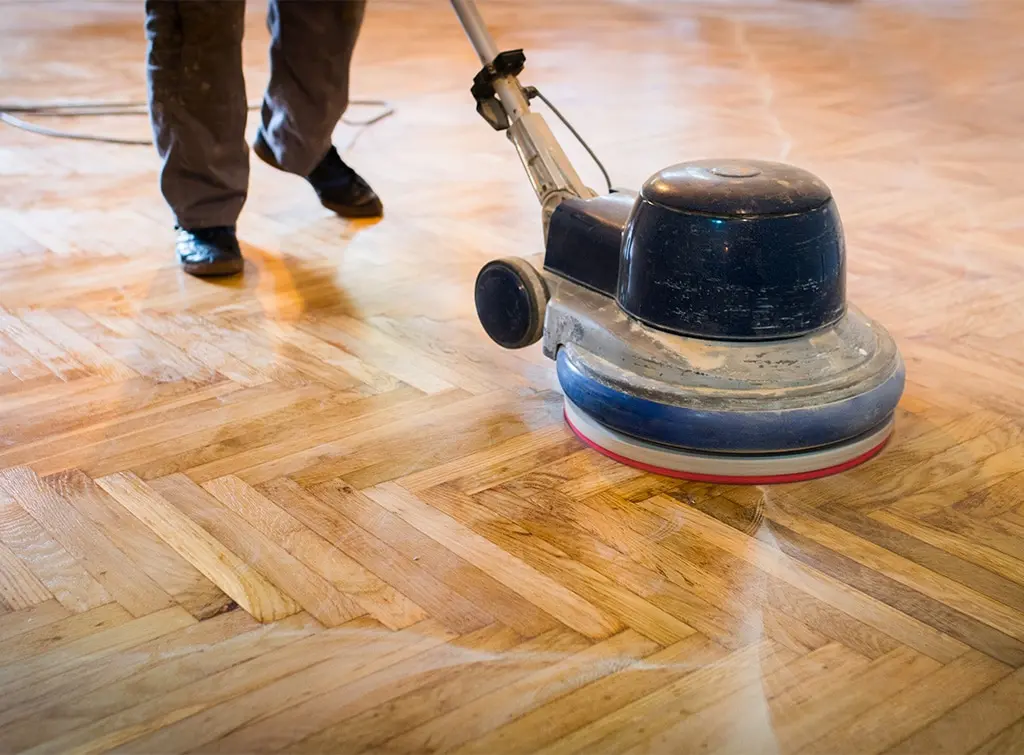
First things first, put on a face mask to protect yourself against dust. Take your drum sander and begin sanding your hardwood floor.
Move the buffer side to side across the floor in the direction of the grain, making sure to overlap as you go so you don’t miss a spot. Take your time with this as it will take several hours to complete the entire process.
Start with a coarse grit to take off the initial layer of the hardwood then you need to decrease the grit of your sander as you go.
It is recommended that you go over your floor at least three times, decreasing the grit each time. However, this is a complete trial and error process and you need to judge it by how damaged your floor is and what end result you’re looking for. Make sure to clear the dust away each time.
3. Finishing the sanding process
As a drum sander won’t reach right to the edges, you need to sand these by hand, unless you have access to a floor edging tool. We recommend using 180-grit sandpaper to buff the edges.
Let the dust settle for a few minutes and come back to get rid of the residue.
4. Fill cracks and gaps
Once the sanding process is complete, you can take a closer look at your freshly sanded floor to see if there are any obvious gaps. Use wood putty or filler to make sure it doesn’t stand out too much.
Once the filler is dry, sand away any excess to ensure a smooth finish.
Give your floors one final clean and you should be ready to commence staining.
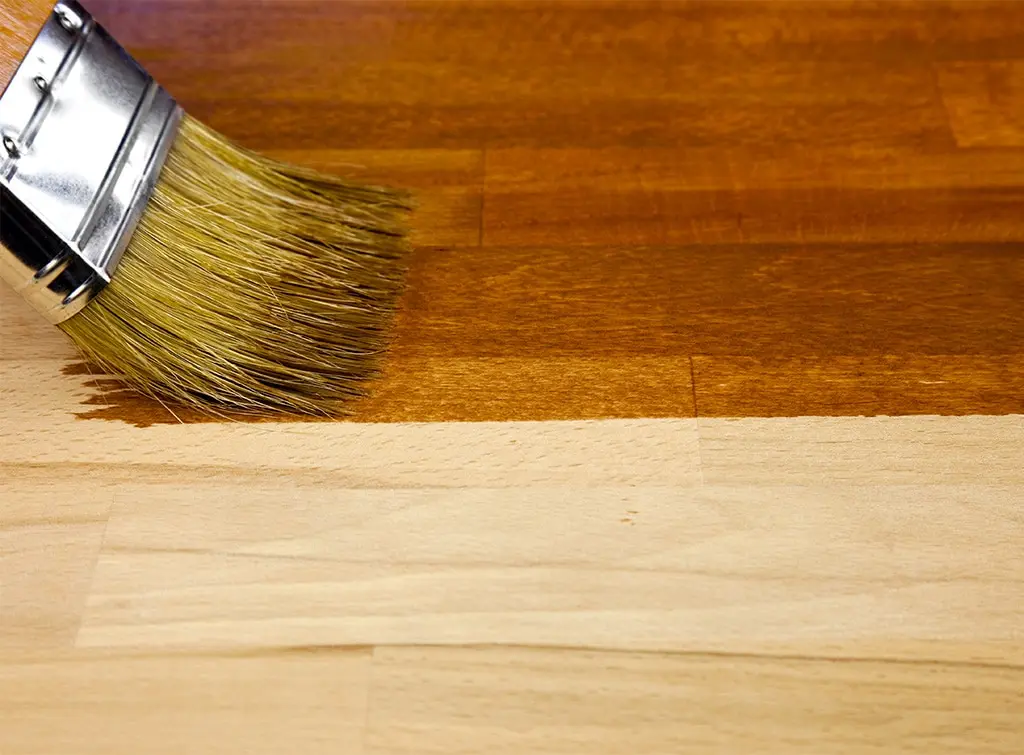
5. Use a brush to stain the edges
Use a stiff paintbrush to paint your chosen stain to the edges of your hardwood floor, we recommend at least a 3-inch strip all the way around.
6. Apply your stain
Use a long-handled roller to roll out your stain, making sure you go with the direction of the grain of your hardwood floor. Overlap each strip and work efficiently so the edges keep wet as you overlap.
7. Final coat
Wait at least a few hours for the first coat of stain to dry before adding your final coat. Repeat the process with your long-handed roller and wait a week before putting your furniture back to normal.
If you need professional help with your hardwood floors, you should consult an expert.
See the tradespeople we've checked and recommend for your job
More Expert Advice Articles


More Hardwood Flooring Specialist Articles
See the tradespeople we've checked and recommend for your job