Blog>How-To Guides>How to render a wall
Last updated: 15 January 2025

How to render a wall
Enhance your DIY skills with our step-by-step guide to how to render a wall. Learn to render garden, outside and brick walls to achieve the perfect finish.

Rendering is a smart way to improve your home's looks, but it's also practical in preventing leaks by covering holes in your walls. It even enhances insulation. So it's no wonder really that you're wondering how to render a wall.
With step-by-step instructions on how to render, we will cover a range of topics that revolve around rendering a wall, including how to render with cement and how to render a brick wall.
If you're not convinced by your own rendering ability, then that's fine, make sure you check out our cost to render a wall guide - this will give you a good idea of the cost of a professional plasterer to do the job. Or, reach out to rendering experts who come recommended by your neighbours by posting your job.
How to render a wall in 4 steps
Rendering involves using a combination of different materials like sand and lime to cover your walls. It is even available in a number of different colours, suited to all garden styles.
Step 1 - Start by gathering the following tools and materials:
Render mortar (choose from a wide range of colours, including blue, white and yellow)
Chisel
Shovel
Scratching comb
Trowel
Stiff broom
Drip cloth/old tarpaulin
Soap
Sponge
Spray bottle
Hose
Bucket
Paddle mixer
Straight wooden plank
When you have all the tools, you can make a start on rendering your wall. Do note that the below steps are standard for rendering any wall, including the walls of your house and even your garden walls.

Step 2 – Preparing the wall
For your rendering to look its best, preparation is key.
Follow the below steps to prepare your wall:
You will need to begin by removing any old render or paint. Chip and scrape any bumps or rough patches off with a chisel.
Use your stiff broom and some soap to thoroughly scrub the wall. Remove all traces of moss, dirt and mould. If you don't, then it will affect your new render's finish. And over time, it may crumble away as it wasn't able to set properly onto the wall's surface.
Hose down the wall to keep the surface from getting too dry and drying out the mortar.
Protect your floors using a drip cloth or tarpaulin before beginning. This will stop render from dripping onto the floor and causing damage.
Prepping the wall is really important when it comes to rendering. Those who do not prepare the wall correctly will end up with a render that is uneven and will crumble and crack quickly.
Step 3 – Preparing the render
Now you will need to mix your render mortar by following the below guidelines:
Check the instruction on your render mortar packet and add the correct amount of water to your bucket.
Add the mortar to the water and begin mixing. You can use a shovel to mix to begin with then use a paddle mixer to create an even, stiff consistency.
Please note you can rent a drill specifically for mixing which will make this step easier.
Preparing the render is so important for the quality of the finish. If you do not do it correctly, you will struggle to apply the render and it may become unsalvageable.
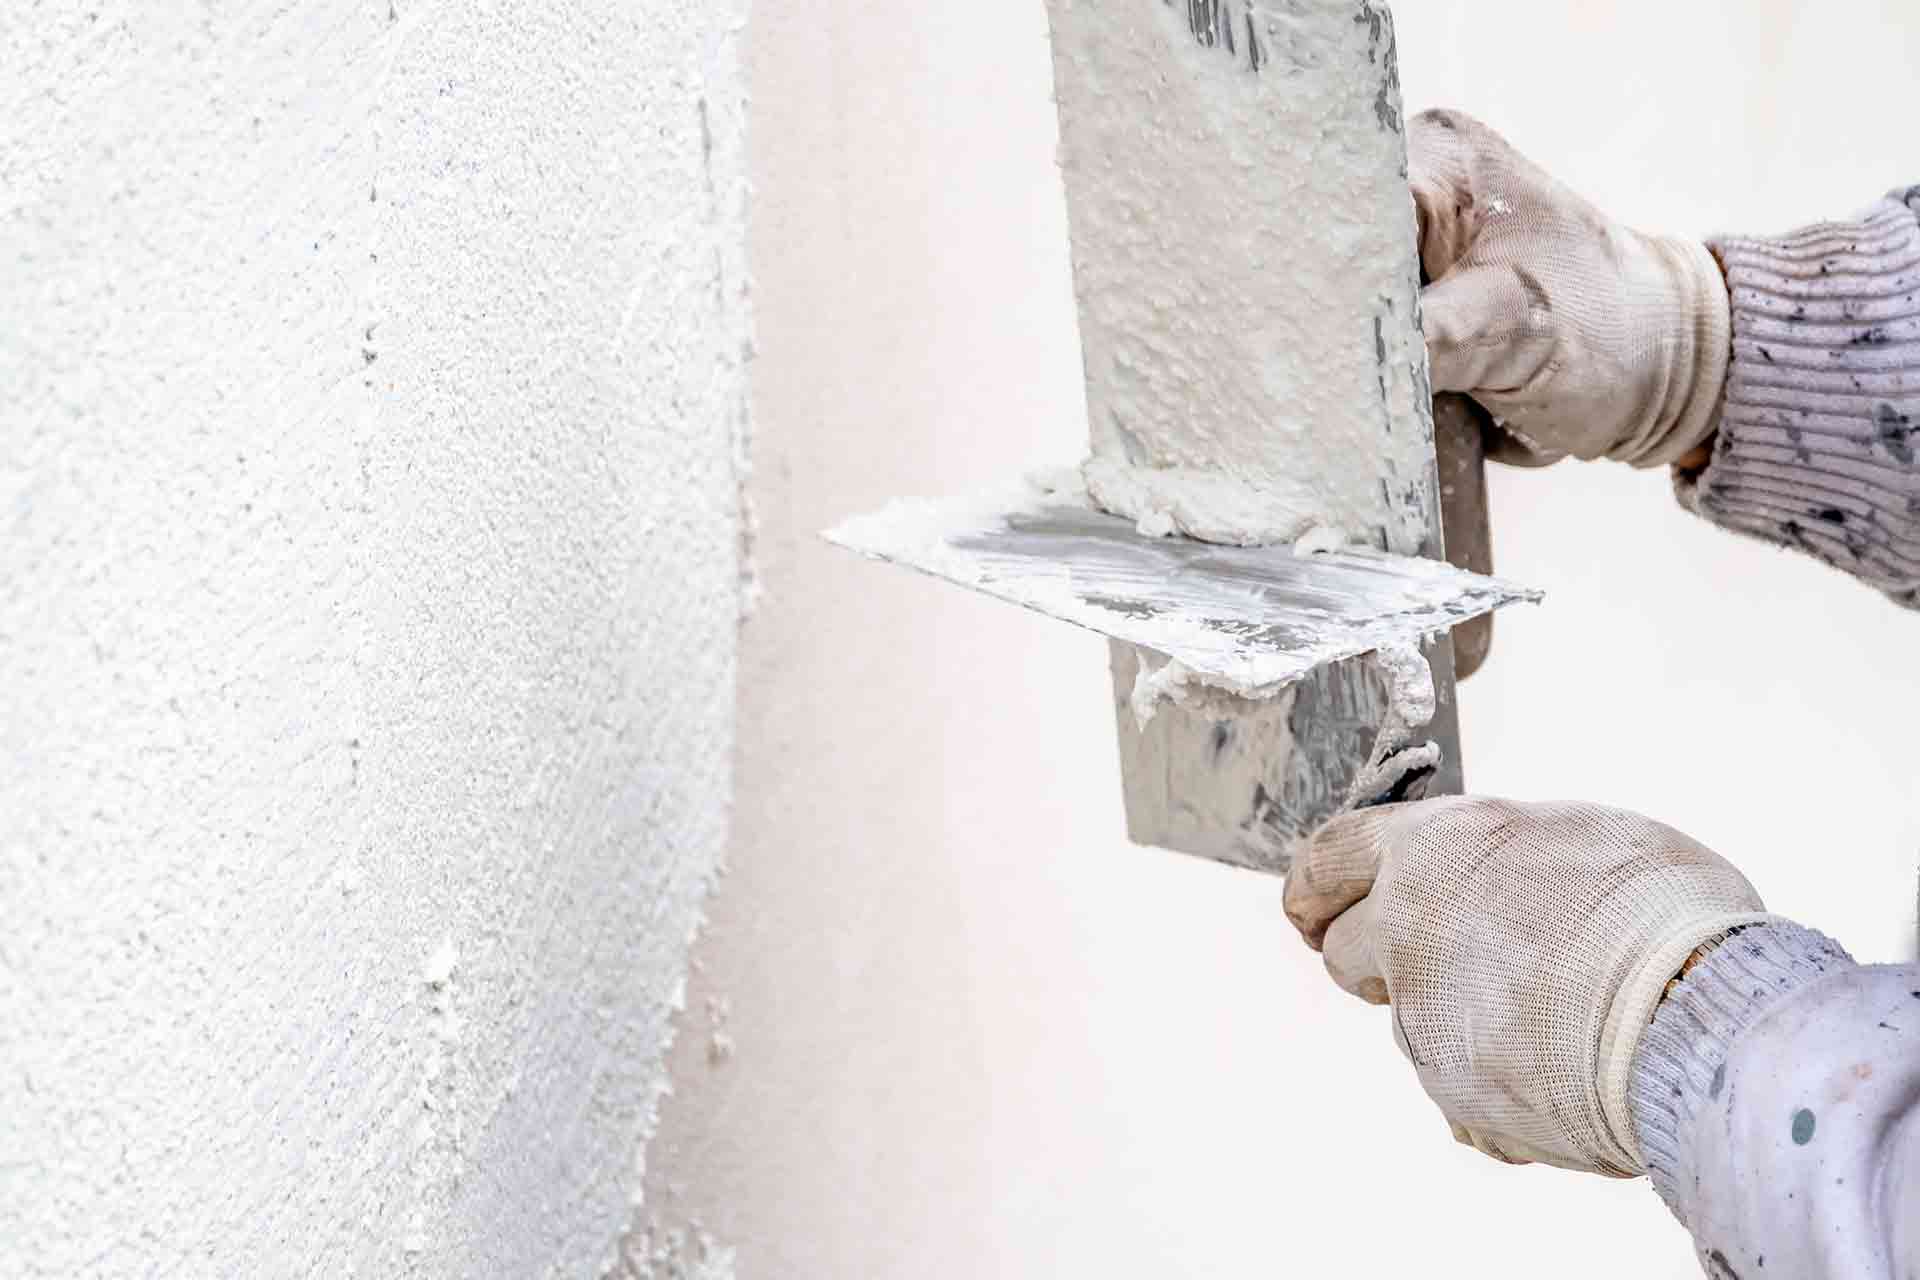
Step 4 – Render the wall
Once your wall and render are prepared, use the following steps to render your wall:
Using a trowel, spread the render over your wall. Use firm pressure and move upwards from the base of the wall right to the top in a continuous motion.
Ensure the first layer of render mortar you apply is approximately 0.5cm deep.
Use the straight wooden plank to smooth out the render, start at the bottom of the wall and work upwards.
Using the scratching comb start on the left and scratch your first layer of render. Ensure you create an even pattern and cover the wall.
Wait at least 2 hours of drying time, then begin the second coat of render.
This layer should be twice as thick (approximately 1cm) and should be spread similarly as the first layer.
Wait around half an hour then use your wooden plank to even the material out.
If you want to achieve a smooth, even finish, dampen a sponge and wipe the entire wall.
Once the wall has been drying for 1 day, spritz with water in a spray bottle. You should do this daily for five days for a perfect finish.
See the tradespeople we've checked for your job

Learning how to render a wall outside
Render is a term that applies to plastering the outside of your home. It can be a difficult skill to perfect, but once you know how to render an outside wall you will be able to use this skill internally too.
Proper preparation is essential as shown in our ‘how to render a wall’ section so gather all your tools and materials before beginning. Otherwise, you will end up driving around local DIY stores looking for a specific item halfway through your project.
You should also block out 2 - 3 days dedicated to learning how to render a wall, without weather or work disruptions. If the wall you are rendering is large, you should attach wooden battens about 0.9m apart. This will help to break the space into smaller sections so you can create an even surface.
You can then follow the step-by-step guide in our previous section. If you're wondering exactly how to render a brick wall, then consider how preparation can assist you. Brick walls are porous and often covered in debris so need to be properly cleaned before beginning.
You will need to use a stiff brush to remove old paint, plants, mould and dust. It is also worth spraying down the wall with a hose to catch any bits of debris you missed and dampen the wall before beginning.
How to render a wall with sand and cement
Instead of using rendering mortar, it is possible to simply use a mixture of sand and cement. This will still keep your walls safe from storms and damage while being affordable and available in several colours and textures.
Begin by preparing the wall as you would with a render mortar material. You can even use a pressure washer to thoroughly clean your wall.
Repair any cracks in the bricks before applying your sand and cement mix.
Next, mix your sand and cement with water. You can also use lime to create the perfect material for rendering houses. Use 1 part lime to 1 part cement and 6 parts sand. Using coarse sand for the base layer and finer sand for the top layer will ensure your render lasts for years to come.
Now apply your mixture to your walls following the method used in our ‘how to render a garden wall’ section.
If you're not sure how to render your wall by now, then it might be easier and much less hassle for you to hire a professional renderer. Search your postcode below and see who your neighbours recommend for the job.
See the tradespeople we've checked for your job
How to render a block wall
You're making a wise decision to render your block wall. Many block walls are not waterproof or weatherproof so will need to be protected using rendering. This will ensure the block wall is durable, will stand up to adverse weather and will look fantastic for many years.
Learning how to render a block wall is not much different to learning how to render a wall.
There are, however, a few key differences. Firstly, there is no need to wet the wall before beginning with standard texture, concrete blocks. You should also ensure you plan ahead when dealing with external fixings like supports before beginning.
Please note, it may be necessary to pre-treat walls made with paint quality blocks.
Furthermore, the best mixture to use would be a combination of sand, lime and cement. Ready to begin? Just follow the step-by-step guide in our ‘how to render a wall’ section.
See the tradespeople we've checked for your job

Hiring an expert plasterer to render your walls
Rendering is a skill, similar to plastering, and takes years to master. There is no shame in admitting you are stuck or have made a mistake, and a professional rendering expert will be happy to assist you at any stage of your project.
Many people struggle with rendering and hiring a professional comes with a whole host of benefits.
Firstly, the job will be finished to a high-quality standard, meaning it will look fantastic for years and years. Secondly, a tradesperson will complete the job quickly and can even give you tips to show you where you went wrong.
If you're considering hiring an expert and are wondering about prices and the benefits, please see our helpful cost to render a wall guide. Or, if you'd prefer to talk to a professional renderer right away, then do either search your postcode below and reach out to experts your neighbours recommend, or post your job and we'll match you up with recommended renderers in your area.
Why hire a Checkatrade member to render your walls?
We guarantee all of our checked members - we're that confident they'll do a great job. Our guarantee gives you up to £1,000 of cover on their work.
Find out more about our guarantee.
See the tradespeople we've checked for your job
FAQs
Is my wall suitable for rendering?
In most cases yes, it is possible to render over stone, blocks, brickwork and painted rendering.
Is it ok to render over old rendering?
As long as you use a breathable render mixture you shouldn’t have any issues down the line. You will need to ensure you create a smooth surface for rendering before beginning, so if the old material is in poor quality it may be worth removing it and starting again.
How much does rendering cost?
This will depend on the size of your home and how many walls you wish to render. A small bungalow will cost an average of £2,250 while a three-bedroom semidetached home will cost an average of £4,050. For further information please see our rendering cost guide.
See the tradespeople we've checked for your job
What are the main benefits of rendering?
Rendering is the perfect solution for older walls that have seen better days. It helps to weatherproof your home, seals and protects damaged walls, makes your home appear sleek, clean and new, plus adds value to your property.
Useful rendering checklist
Rendering comes in several colours and can be finished in different textures.
Learning how to render a wall needn’t be impossible if you follow our guide.
Preparation is the most important stage in achieving a perfect finish.
You can render over most types of wall including brickwork, stone and blocks.
Hiring a professional will help you achieve a flawless finish plus save you time and energy.


See the tradespeople we've checked for your job