HOW-TO GUIDES
How to felt a flat roof - a step-by-step guide
Updated 06/26

By: Content Team
Reviewed: Alex Peters

Ever wondered how to felt a flat roof? Our handy guide is here to help, with instructions, repair tips for leaks, and answers to your FAQs.
The tools and materials you'll need
The types of felt that are best for flat roofs
Step by step instructions
Quick fixes for edges and corners
Things to remember with sheds
Identifying any issues with the flat roof
The importance of hiring a professional roofer
Commonly asked questions
Roofing felt is one of the most popular and affordable ways to waterproof a flat roof in the UK.
Whether you're covering a garden shed, a garage, or a small extension, it's a practical choice that's been trusted by homeowners for decades - and for good reason.
This guide walks you through everything you need to know: the tools and materials to gather, how to felt a flat roof step by step, what to do when things go wrong, and when it genuinely makes sense to bring in a skilled tradesperson
We've also covered the most common questions people ask, so you can go into your project with confidence.
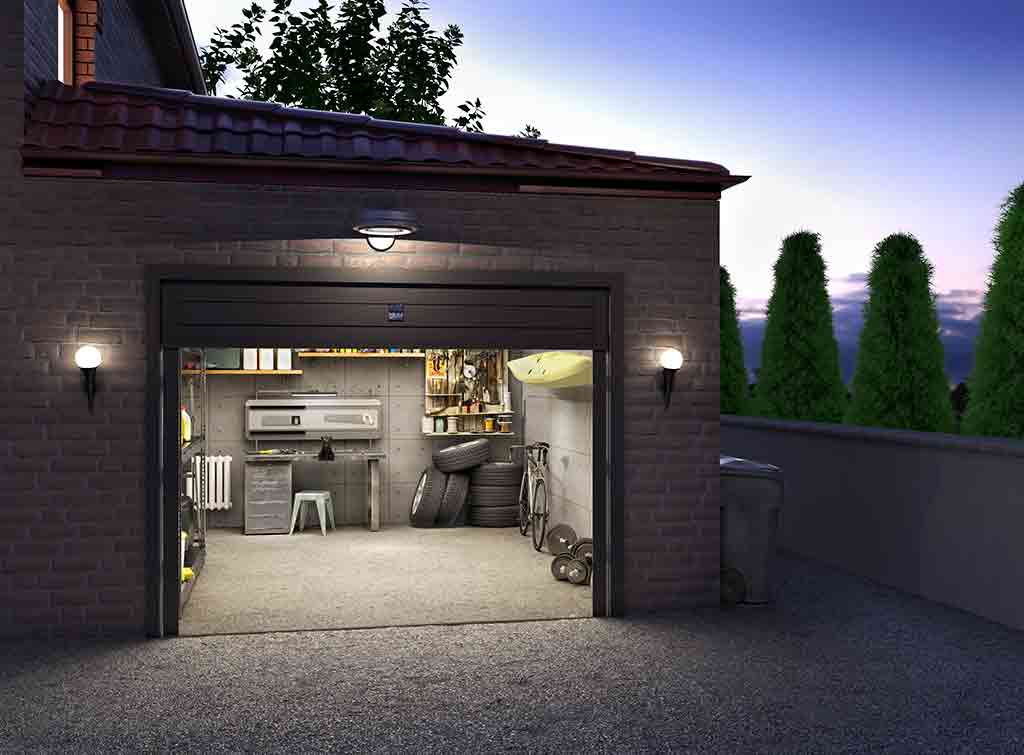
Find a felt roofer near you
What you'll need to felt a flat roof
Tools and materials checklist
Before you get started, it's worth having everything ready to hand. Stopping halfway through to find something you've forgotten is where mistakes tend to happen.
Materials:
Roofing felt (enough for three layers — more on this below)
Felt adhesive
Galvanised clout nails
Tools:
Tape measure
Sharp utility knife or scissors
Paintbrush (for applying adhesive)
Hammer
Ladder (particularly important for shed roofs)
Optional extras:
Gravel or chippings (for a finishing layer)
Bitumen primer (recommended for torch-on systems)
Always buy slightly more felt than you think you'll need. Allowing for overlaps and any trimming mistakes means you won't be caught short halfway through the job.
What is the best felt for a flat roof?
Not all roofing felt is the same, and the type you choose will affect how long your roof lasts and how you install it. There are three main options:
Shed felt
The most basic and budget-friendly option. Well-suited to garden sheds and outbuildings, but it will need waterproofing and won't last as long as the alternatives.
Generally has a lifespan of around 10-15 years.
Torch-on felt
Applied using a gas blowtorch, this creates a strong, watertight bond and is the most durable option for flat roofs.
It's become the standard for domestic flat roofs due to its strength and consistency, but it isn't recommended for DIY beginners due to the fire risk involved.
Self-adhesive felt
As the name suggests, this bonds to the roof surface without the need for adhesive or a torch, making it a more accessible option for confident DIYers. It typically lasts 15-20 years.
If you're tackling a shed roof yourself for the first time, standard shed felt or self-adhesive felt are your safest bets.
For garages, extensions, or anything that needs to last, torch-on felt is worth the investment - but it's a job best left to a professional.
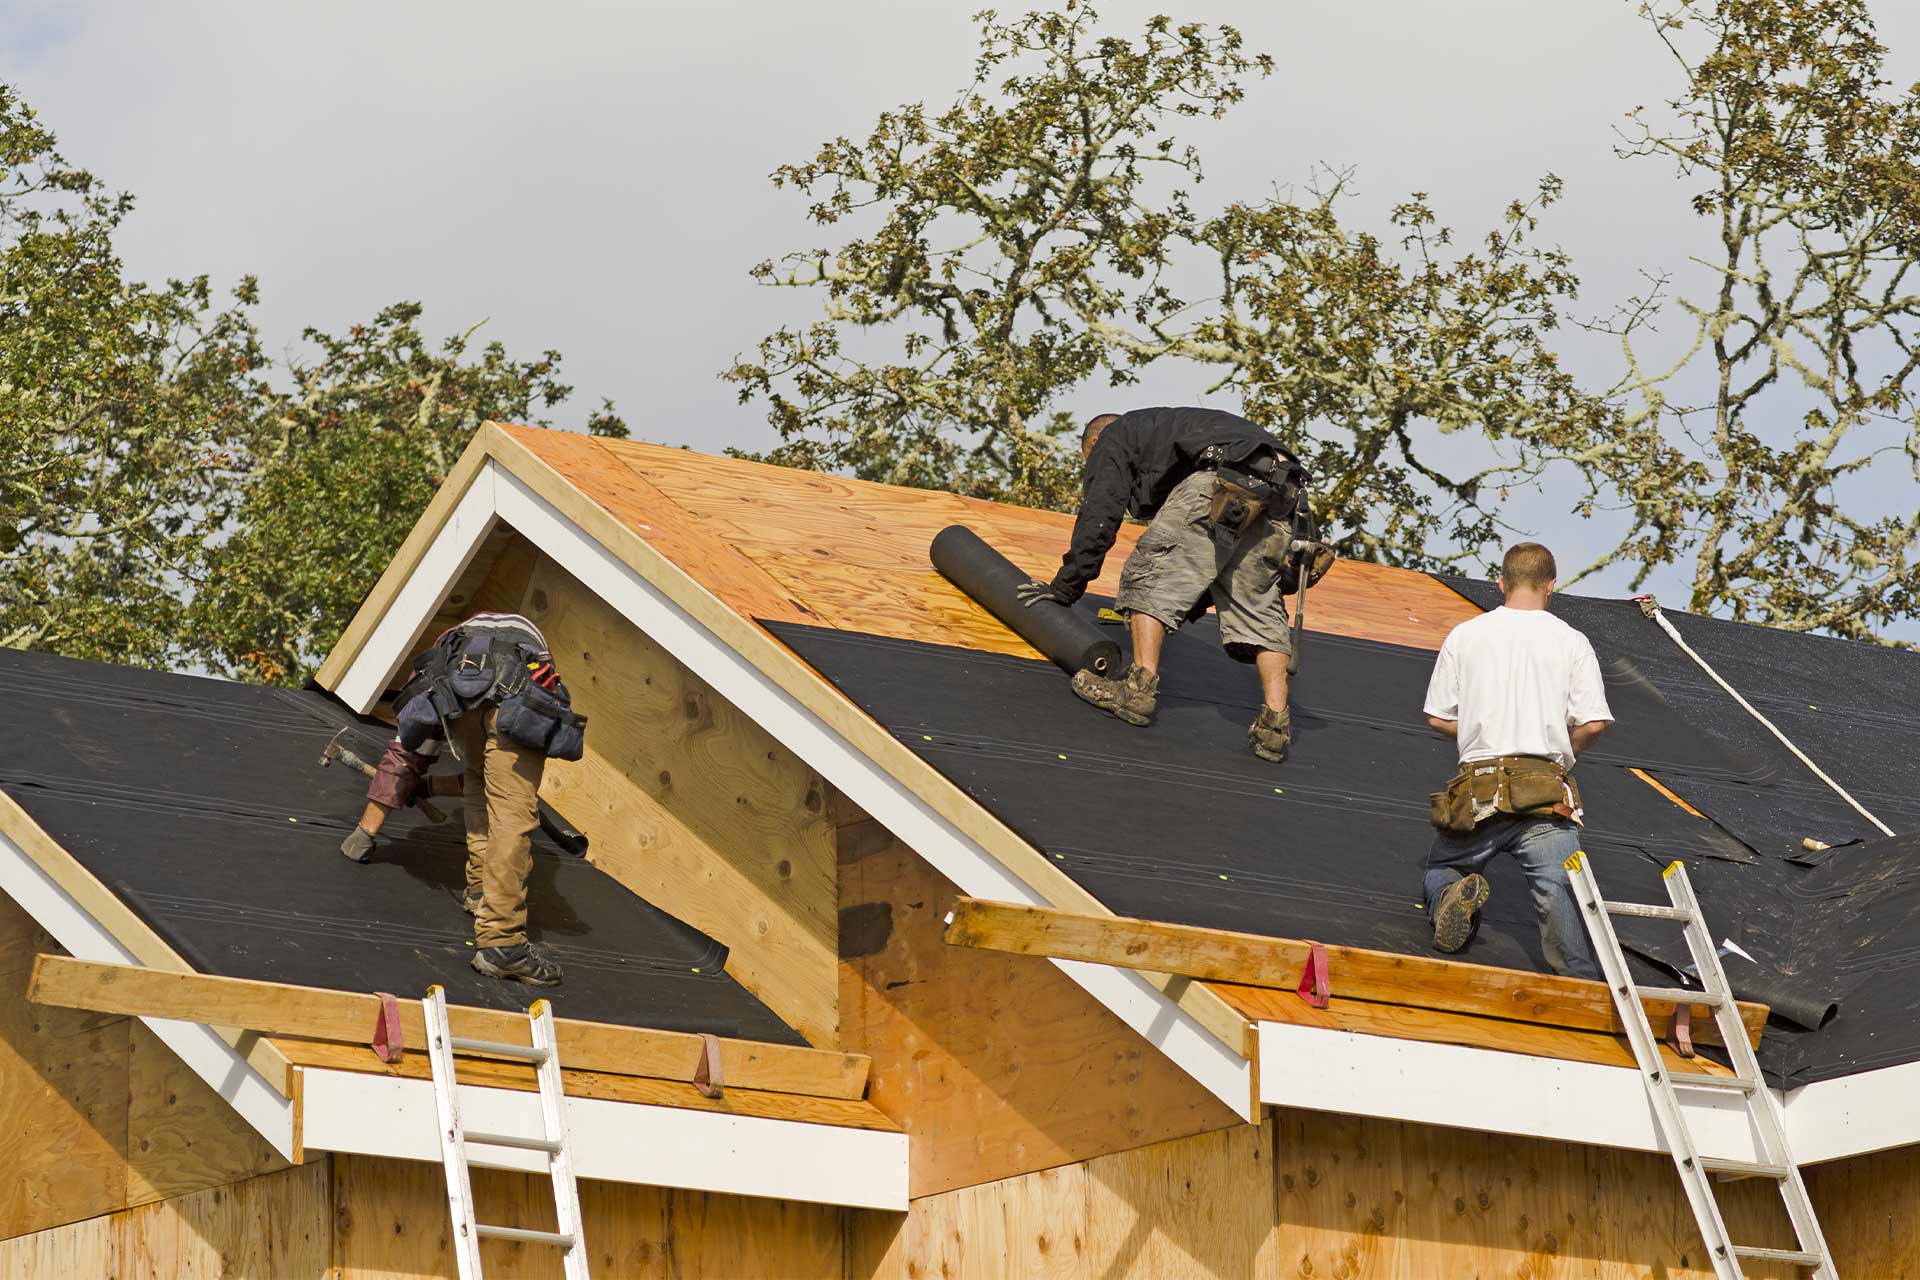
How to felt a flat roof — step by step
Preparing the roof
Good preparation is the difference between a roof that lasts and one that leaks within a year. Don't skip this stage.
Remove the old felt - strip back any existing felt and dispose of it carefully
Check the roof deck - look for signs of rot, damp, or structural damage in the timber beneath. Any damage needs to be repaired before you go any further
Clean the surface - sweep away all debris and make sure the deck is completely dry
Check the slope - even a "flat" roof should have a slight pitch to allow water to run off. If water pools on your roof, it will eventually find a way in
If you're replacing old felt and notice soft or spongy areas when you walk on the deck, that's a sign of rot underneath. Laying new felt over damaged timber is a false economy - fix the structure first.
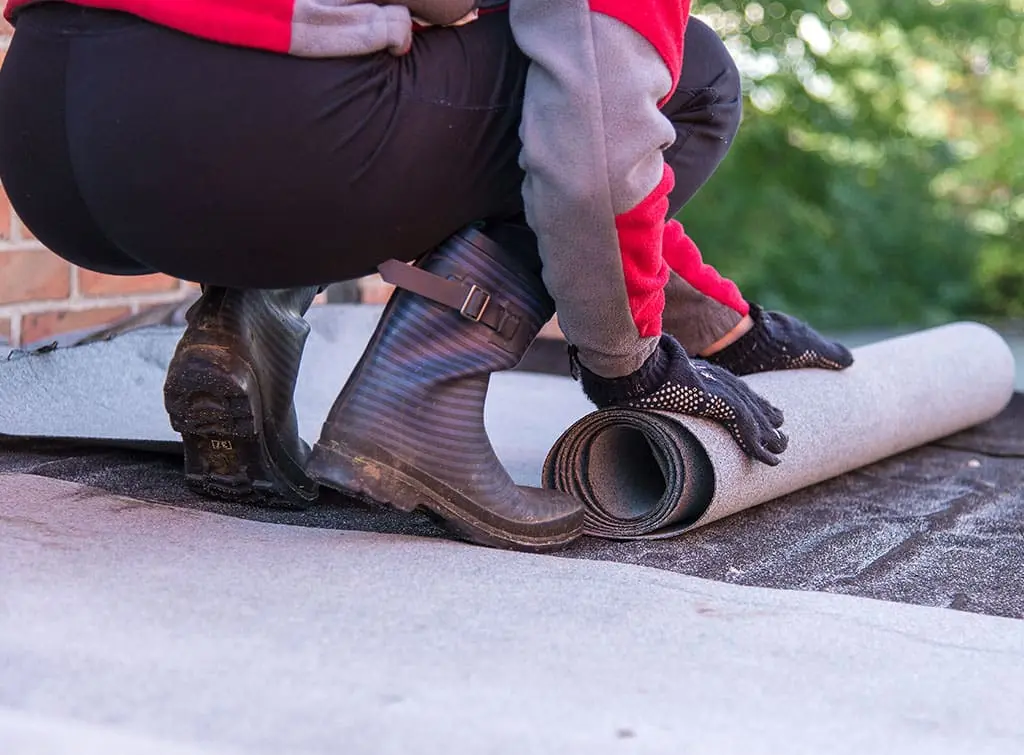
How to lay roofing felt on a flat roof
Once your roof is clean, dry and structurally sound, you're ready to start.
Most flat roofs require three layers of felt for a reliable, waterproof finish.
Measure your roof carefully and check you have enough felt to cover it three times over, with room for overlaps
Roll out your felt and leave it for 30-40 minutes before you begin. This allows it to relax and become more pliable, making it easier to work with
Starting at the lowest edge of the roof, lay your first sheet of felt and nail it in place with galvanised clout nails. Begin at the centre of one side and work outward, spacing nails roughly 5cm apart along the edges
If you need more than one sheet per layer, butt the next sheet up alongside the first with a minimum 5cm overlap. Nail this down in the same way
Apply a thin, even coat of felt adhesive over the first layer using your paintbrush
Lay the second layer of felt over the first. Smooth it down as you go to remove any air bubbles, then nail it into place
Apply another coat of adhesive and lay your third and final layer. Again, make sure there are no bubbles trapped underneath
Your final layer should overhang the edges of the roof by at least 5cm on all sides — this overhang is what keeps water from running back underneath
Walk carefully across the surface to flatten everything down
Finish with one last coat of adhesive and, if you wish, a layer of gravel or stone chippings to protect the surface
Always work from the lowest point of the roof upward. This way, each layer overlaps the one below it in the direction water naturally flows - preventing it from getting underneath.
Felt roofers near me
Need to find felt roofers near you? Whether you're installing a new roof or repairing a leaky one, adding a felt layer to protect your building from rain, snow, and hail is a wise move. Breathable roofing membranes let water drain off more easily, avoiding leaks that can lead to severe structural

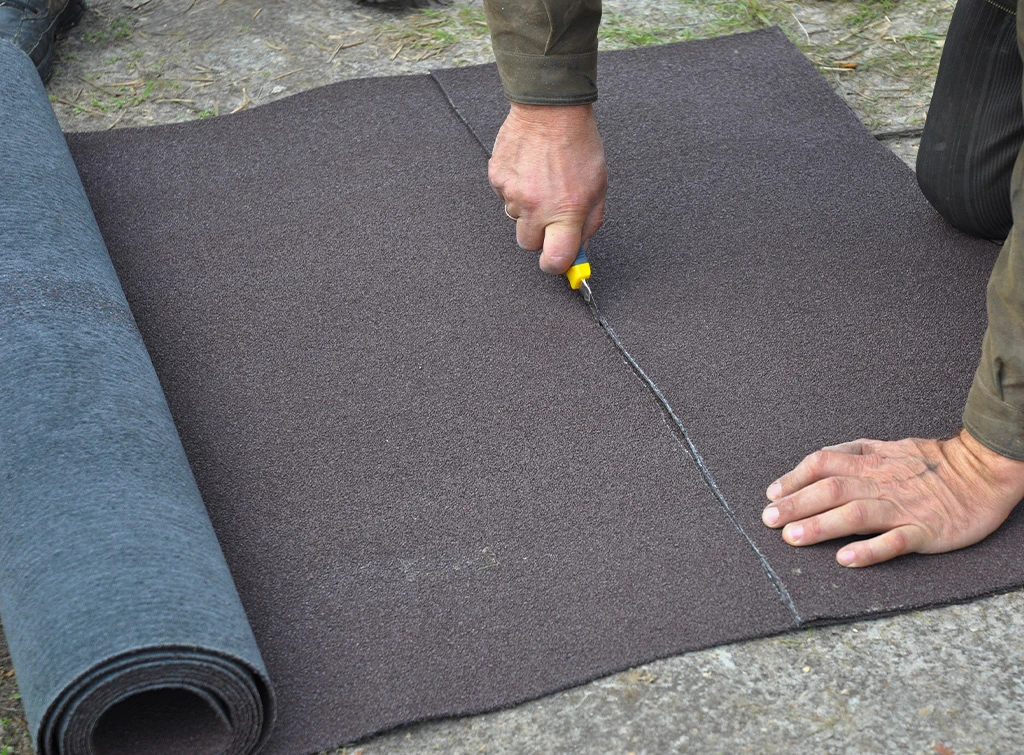
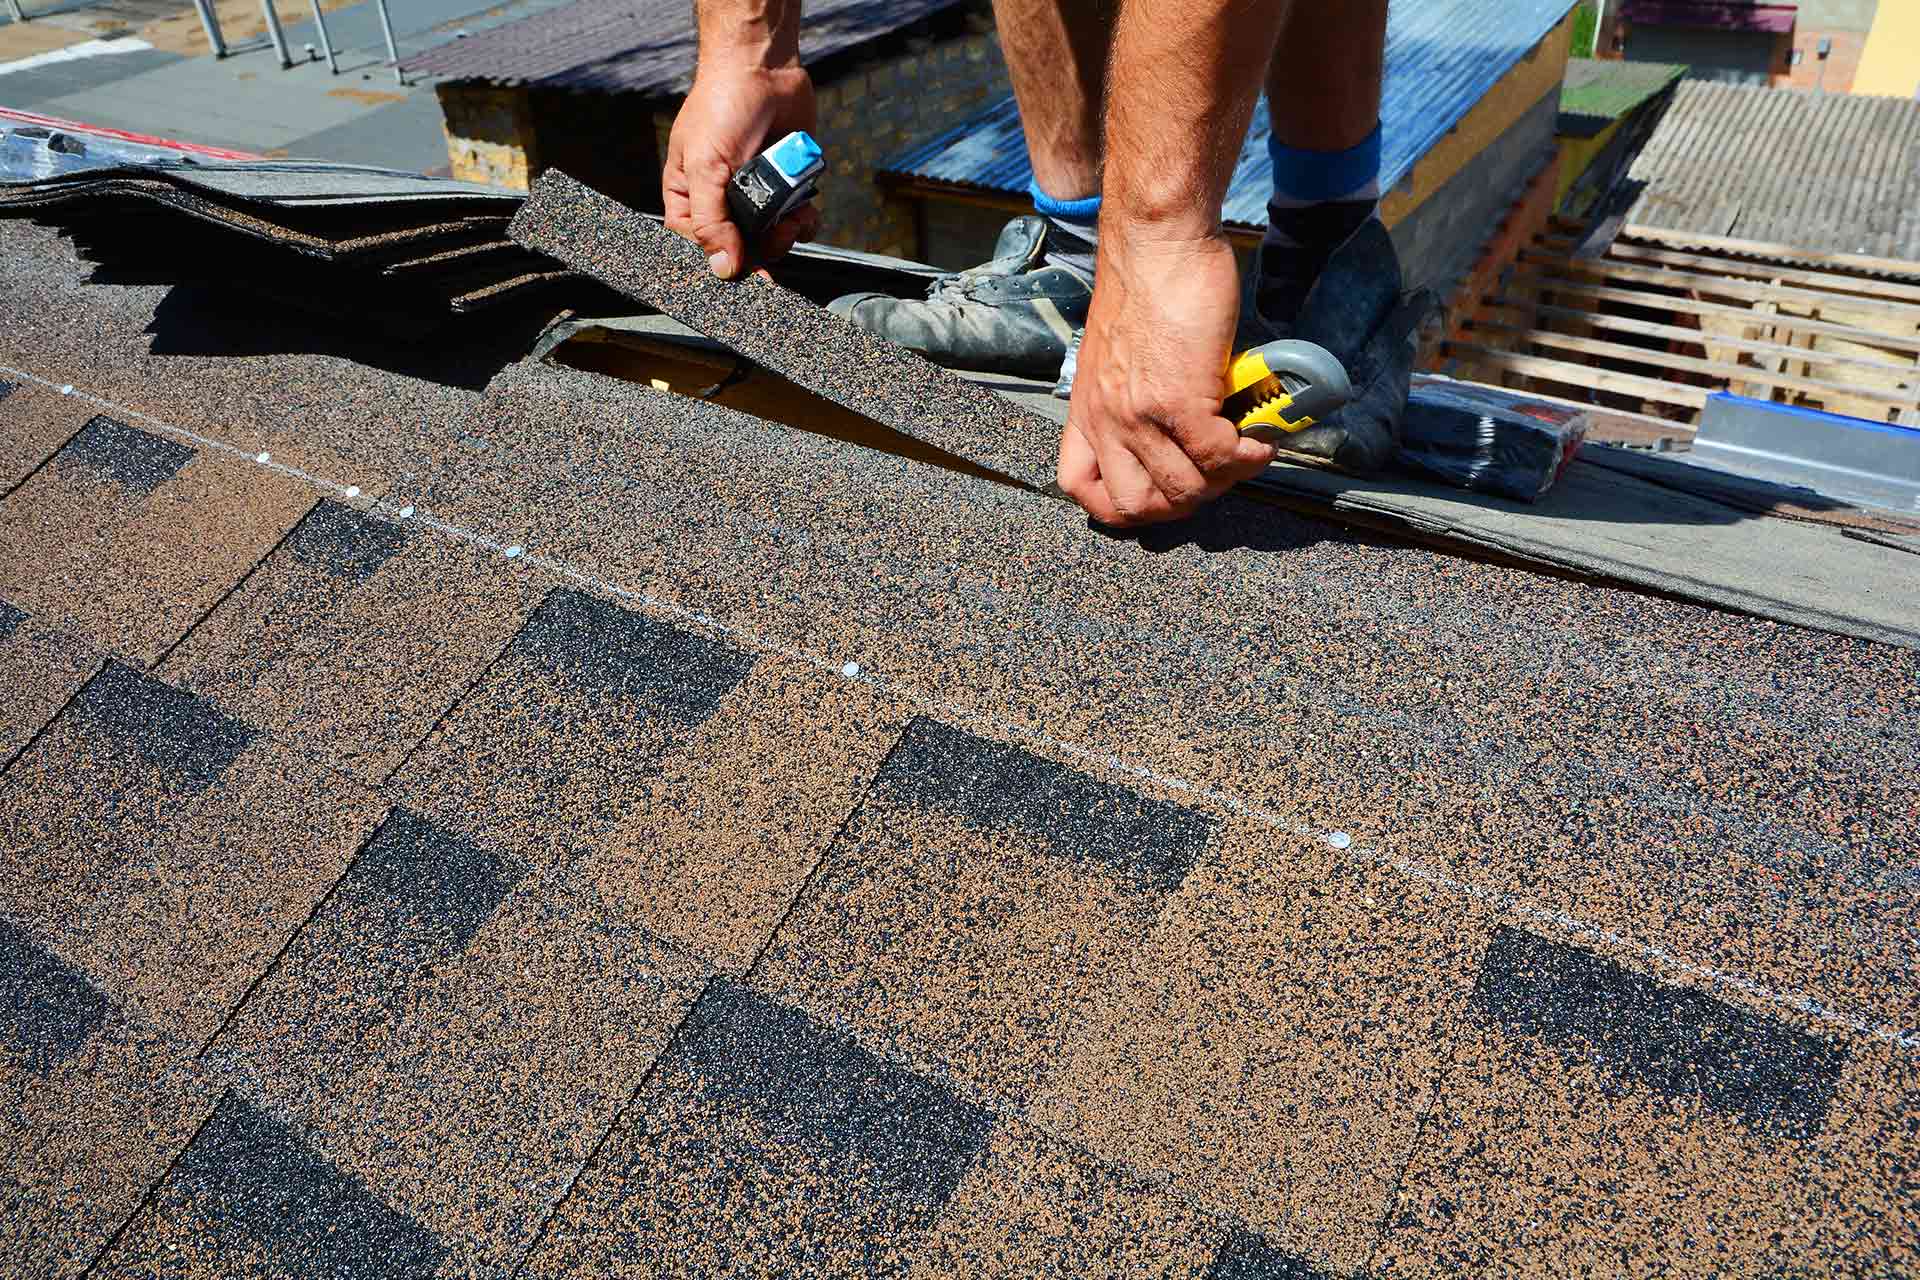
How to felt the edges and corners of a flat roof
Getting the edges and corners right is one of the trickier parts of the job, but it's also one of the most important. A poorly finished edge is the most common place for leaks to develop.
Allow enough felt to hang over each edge before you start cutting.
Once all layers are laid, use a sharp utility knife to trim away any excess. At the corners, carefully fold the felt neatly - think of it like wrapping a present - and nail it securely into place.
If you're using felt adhesive, apply it under the folds before pressing them down for a cleaner seal.

Whether you're looking for replacement costs for your existing flat roof, comparing possibilities for changing to a pitched roof, or simply looking for the right roofer, we're here to help.

How to felt a flat shed roof
Shed roofs are one of the most common DIY felting projects, and they're a good starting point if you haven't done this before.
The process is the same as above, with a couple of things worth bearing in mind:
Most shed roofs aren't built to support the weight of an adult, so use a steady ladder rather than stepping directly onto the roof
Measure twice before you cut — getting the dimensions right first time saves material and time
Make sure you allow enough felt to overhang all three non-gutter edges by at least 5cm.

How to felt a flat roof on a garage
Garage roofs tend to cover a larger surface area, so planning ahead is important.
Work out how much felt you'll need before you start, and make sure you have enough adhesive too.
Garages are also more likely to have guttering and fascia boards to work around. Take your time at the edges and use plenty of adhesive to create a good seal.
The step-by-step process is the same as the main guide above.
Your guide to garage conversion planning
Garage conversion planning forms the very first step in this clever home improvement project. We outline what you need to know.
How to felt a flat roof extension
Extension roofs are often more visible than garage or shed roofs, so a neat finish matters here.
The preparation stage is particularly important - extension roofs need a sound, clean deck before any felt goes down. Follow the main steps above, and pay careful attention to the edges where the felt meets the wall (known as upstands).
These are common spots for water ingress if not properly sealed.
Find a felt roofer near you
How to repair a leaking flat felt roof
Identifying the problem
If you notice damp patches on the ceiling inside your home or outbuilding, the first step is to locate the source of the leak.
This isn't always straightforward - water can travel along the underside of the felt before finding a gap, which means the visible damp patch and the actual leak can be some distance apart.
Get up to the roof (carefully) and look for:
Visible tears or splits in the felt
Blistering or bubbling on the surface
Areas where the felt has lifted at the edges or seams
Pooling water
If the felt looks worn and brittle across a large area, patching isn't likely to be a long-term solution — you may need to refelt the whole roof.
Repairing tears in roofing felt
If the damage is localised, a patch repair is straightforward:
Clean the area around the tear thoroughly
Check the roof deck underneath for damage — if the timber is wet or soft, it will need drying out or replacing before you repair
Apply felt adhesive under the split and press it flat while it sets
Cut a patch of felt large enough to overlap the split by at least 5cm on all sides
Apply adhesive to the patch and press it firmly over the repair, smoothing out any air bubbles
Repairing blisters and bubbles in roofing felt
Blisters form when air or moisture becomes trapped beneath the felt. Left alone, they can split and let water in. To repair one:
Clean around the blister and let the area dry completely
Make a cross-shaped cut through the blister using a sharp utility knife
Peel back the four flaps and check the surface underneath for moisture or damage
Once dry, apply adhesive under each flap and press them back down
Cut a patch large enough to cover the whole area with a 5cm overlap and stick it in place with adhesive
When repairing a flat roof, always do it in dry weather. Applying felt or adhesive over a damp surface is one of the leading causes of repeat leaks.
How much does it cost to refelt a flat roof?
For a full breakdown of costs, take a look at our cost of refelting a roof guide, which covers prices for sheds, garages, flat roofs and felt under tiles.
As a rough guide:
Medium-sized shed: around £600
Average flat roof garage: £1,000 - £2,000
Full roof under tiles: £2,300 - £7,300
Labour: around £200 per day
Prices vary based on the size and condition of the roof, the type of felt used and where you live.
Job Estimate Calculator

Why you should consider hiring a professional roofer
While felting a shed roof is a perfectly reasonable DIY project for a competent homeowner, larger or more complex jobs are a different matter.
Here's why it's worth calling in an expert for anything beyond the basics.
Quality of finish and longevity
A professional felt roofer knows how to prepare a roof deck properly, apply each layer correctly and create watertight seals at edges and upstands.
The difference between a well-installed felt roof and a poorly installed one can be years of additional lifespan.
A professionally installed, high-quality felt system can last anywhere from 20 to 30 years - considerably longer than a rushed DIY job.

On Checkatrade, you'll only find trades who meet our high standards and pass up to 12 checks.
Safety
Working at height comes with real risks. Professional roofers are trained to work safely at height and carry the right equipment to do so.
For anything above a low shed roof, the risk simply isn't worth it.

Torch-on felt
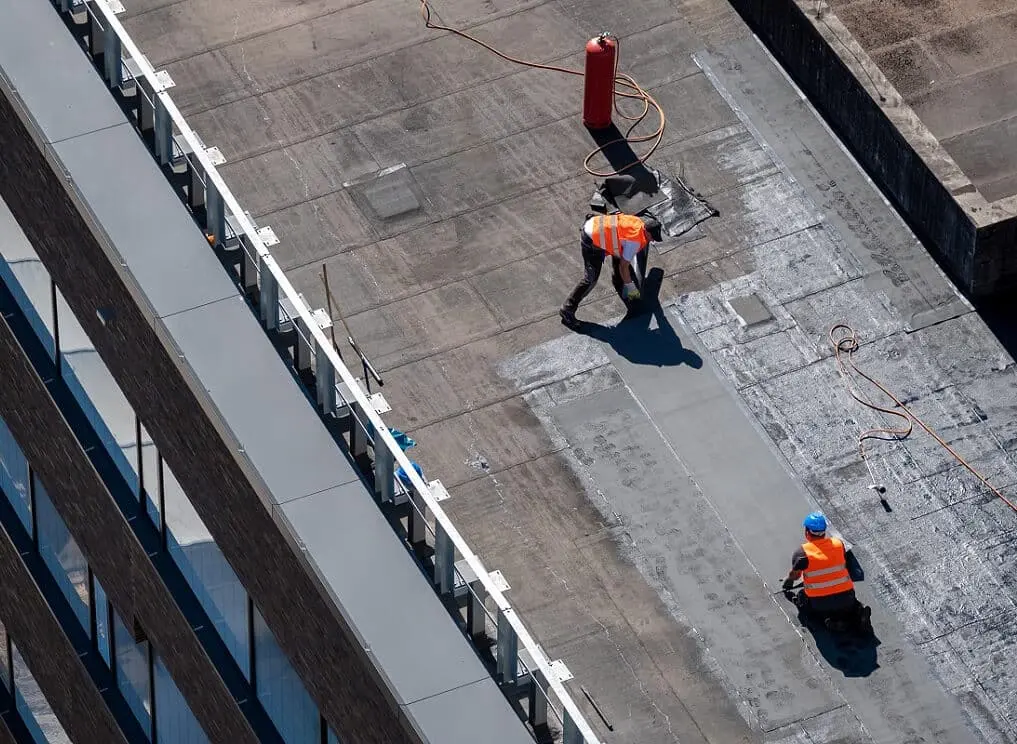
If you're considering torch-on felt - which is the most durable and recommended option for garages and extensions - this involves the use of a gas blowtorch.
In the wrong hands, this is a genuine fire hazard, particularly around dry timber and insulation.
It's a job that should always be handled by someone who knows what they're doing.
We check the reviews on Checkatrade are from real people, and that trades meet our high standards.
Spotting hidden problems
An experienced roofer won't just lay felt - they'll also check for underlying issues like rotten decking, structural movement or poor drainage that a DIYer might miss.
Catching these early can save significant costs down the line.
Guarantee and insurance
Checkatrade-approved tradespeople carry public liability insurance, and many offer a guarantee on their work.
Every job booked through Checkatrade is backed by our £1,000 guarantee, giving you peace of mind that if something goes wrong, you're covered. Terms and conditions apply.
Find a local felt roofer
Enter your postcode to find a top tradesperson near you
World of Roofing
10.00
(135 reviews)Services & skills
RooferFelt Roofing InstallationMoss RemovalFelt Roofing RepairTiled Conservatory Roof RepairHenrysRoofing
10.00
(63 reviews)Services & skills
RooferFelt Roofing InstallationGlass Roof RepairDry Ridge RepairChimney Cowlings InstallationRipley Developments Ltd
10.00
(85 reviews)Services & skills
RooferFelt Roofing InstallationRoof Inspection ReportPolycarbonate Roofing InstallationSlate / Tiled Roofing InstallationRoofer UK Network Limited
10.00
(47 reviews)Services & skills
RooferFelt Roofing InstallationRubber Roofing InstallationSlate Roof InstallationDry Ridge InstallationL. A. Design and Build
10.00
(72 reviews)Services & skills
RooferFelt Roofing InstallationBalcony Roofing InstallationBalcony Roofing RepairLeadworks RepairRidgeline Property Maintenance
10.00
(37 reviews)Services & skills
RooferFelt Roofing InstallationGlass Roof RepairMoss RemovalSlate Roofer Repair


FAQs
How many layers of felt does a flat roof need?
Three layers is the standard recommendation for a flat roof. The first two act as underlay, with the third providing the finished, weatherproof surface.
Using three layers creates a more robust and durable covering than two, and is much less likely to let water through over time.
How long does a felt roof last?
It depends on the type of felt and how well it's been installed and maintained. As a general guide:
Shed felt: 10-15 years
Self-adhesive felt: 15-20 years
Torch-on felt (professionally installed): 20-30 years
Regular maintenance - keeping gutters clear, removing moss and debris, and addressing small repairs promptly - can make a significant difference to how long your roof lasts.
How do I know if my flat felt roof needs replacing?
There are a few things to look out for. Damp patches on the ceiling below are the most obvious sign.
On the roof itself, look for widespread cracking or brittleness, areas where the felt has lifted or separated, persistent pooling of water, or blistering across a large area.
If damage is isolated to one spot, a patch repair may be enough - but if the felt looks generally worn, a full refelt is likely the more cost-effective long-term solution.
Can you felt a flat roof in winter?
It's not ideal. Cold temperatures make felt stiff and harder to work with, and damp or frosty conditions will prevent adhesive from bonding properly.
If you do need to carry out work in cooler months, choose a dry day and avoid applying felt to any surface that isn't completely dry.
Do all flat roofs need felt?
Not necessarily. Some modern flat roofing systems - such as EPDM rubber or GRP fibreglass - don't use traditional felt at all. However, for sheds, garages and older-style extensions, felt remains a popular and cost-effective choice.
If you're unsure which system is right for your roof, a professional roofer can advise you.
How long does it take to felt a flat roof?
For a shed, a competent DIYer can usually complete the job in a few hours. A garage roof typically takes a professional one to two days. Larger or more complex roofs may take longer, particularly if the deck needs repair work first.
Can I felt over existing felt?
It's possible to add a new layer over existing felt, but it's not always the best approach. If the existing felt is in poor condition, has bubbles, tears or is holding moisture, laying over it is likely to cause problems further down the line.
Stripping back and starting with a clean deck tends to give a much better result.
What causes a flat felt roof to fail early?
The most common causes are poor installation, inadequate overlap between sheets, water pooling due to insufficient slope, and not allowing the deck to dry out fully before laying the felt.
Using low-quality materials or skipping the preparation stage also shortens a roof's life considerably.

More Felt Roofing Installation Articles
See the tradespeople we've checked for your job