Blog>Expert Advice>Building an interlocking retaining wall
Last updated: 14 July 2023

Building an interlocking retaining wall
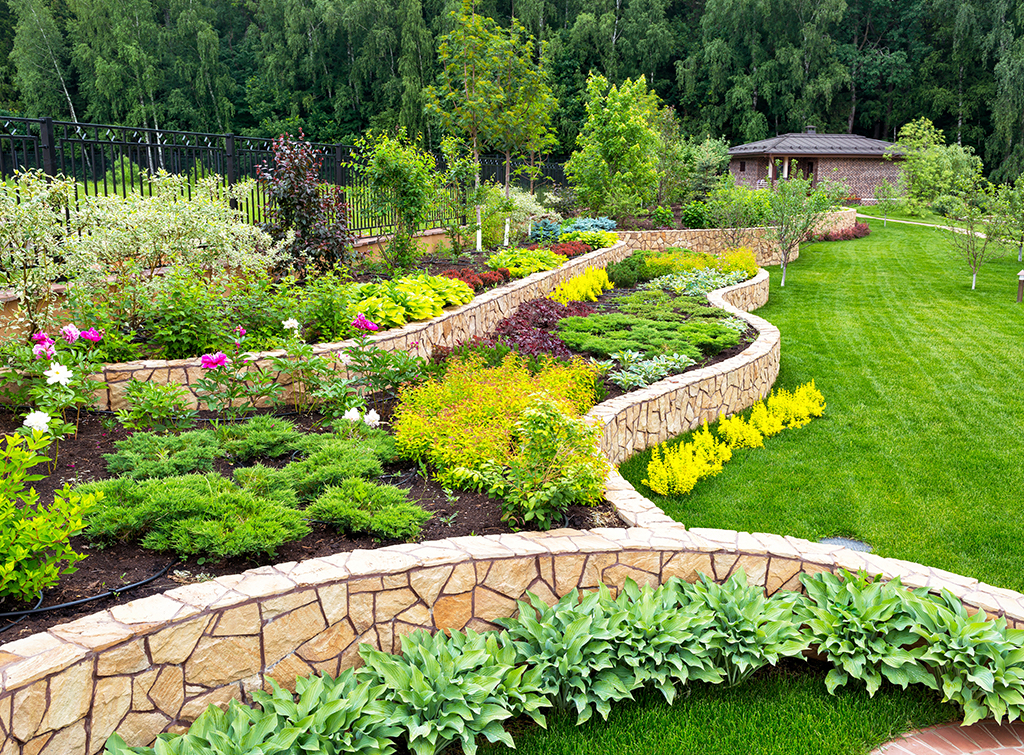
An interlocking retaining wall is an ideal way to add greater stability, create level areas, and inject visual interest to a sloped garden. Learn more about them and how to build one in this post.
What is an interlocking retaining wall?
An interlocking retaining wall is a specially designed structure made up of individual blocks that fit together like puzzle pieces.
They often have an interlocking mechanism that allows the blocks to lock into place, resulting in a sturdy and stable wall.
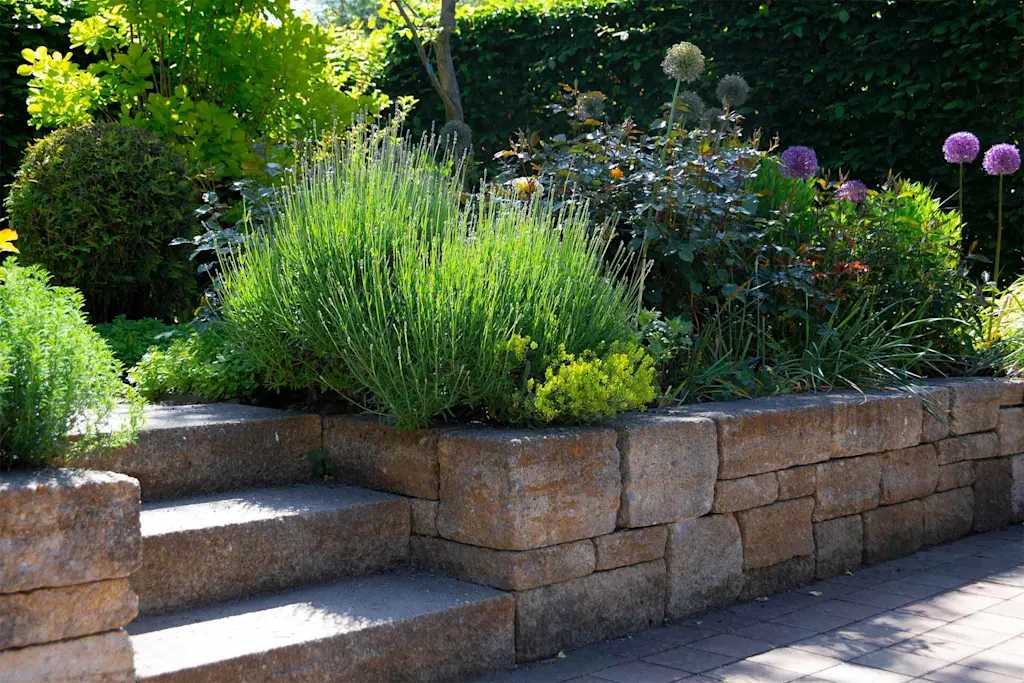
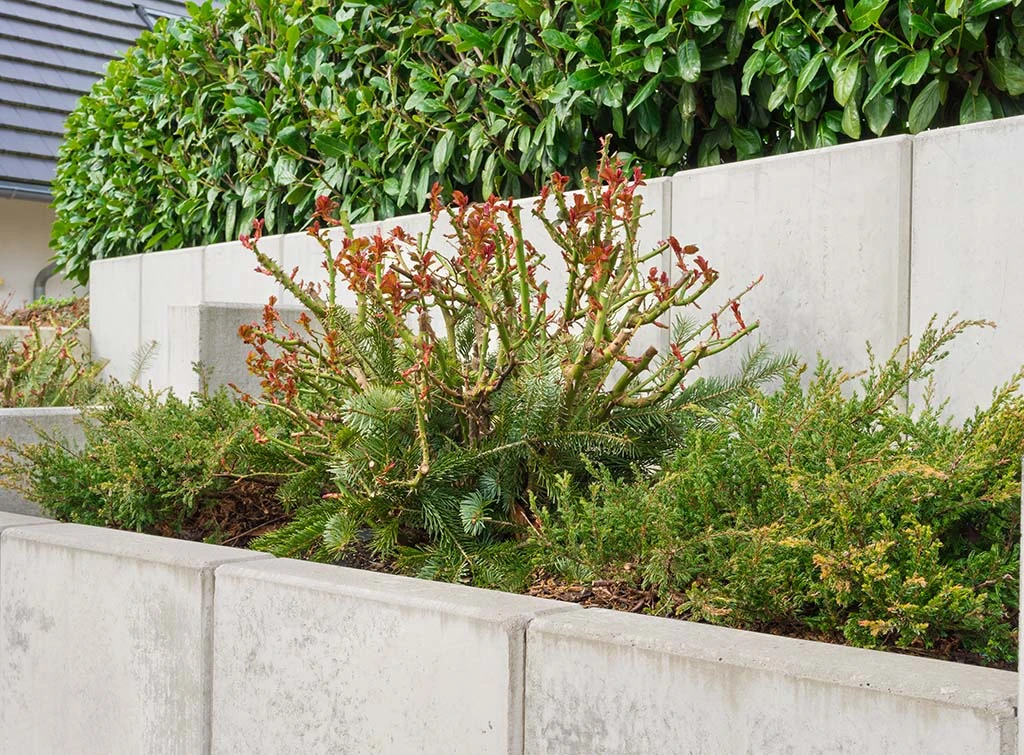
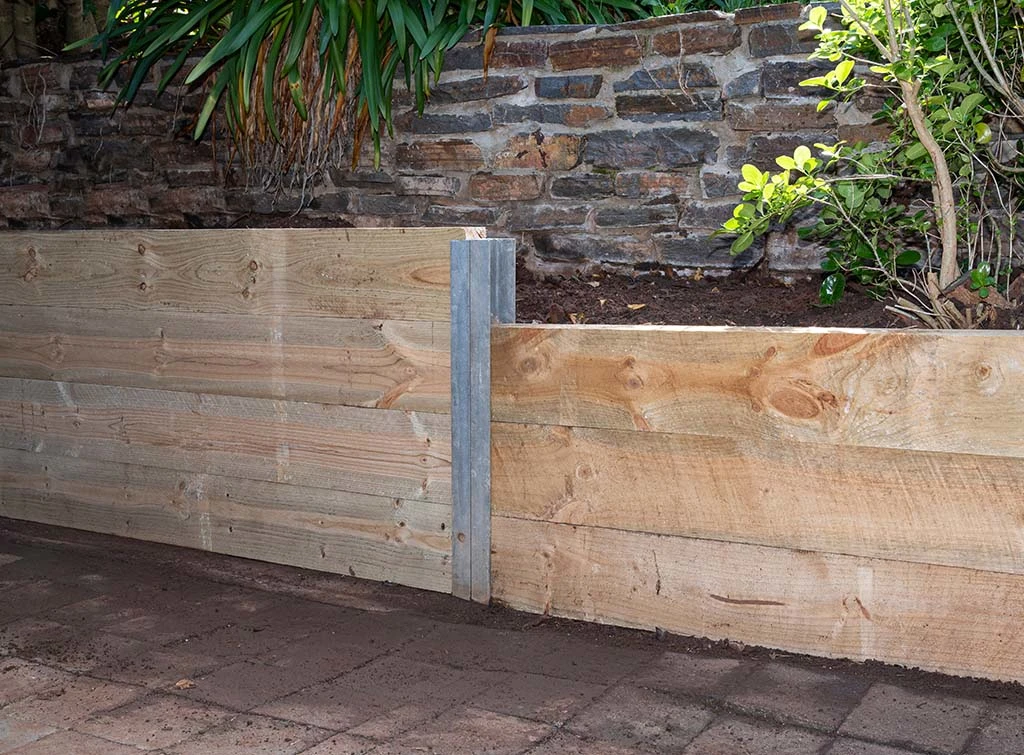
Stone retaining walls are a popular option, while some homeowners choose interlocking concrete blocks for garden retaining walls in a contemporary garden, and others prefer interlocking retaining walls of timber construction for a more rustic look.
Why choose an interlocking retaining wall?
Here are some of the reasons that an interlocking retaining wall is an ideal choice if you need structural support and stability in an area with uneven ground:
Stability
A sloped garden can be prone to mudslides and heavy water runoff; a particular problem if your garden slopes towards your home.
Interlocking retaining walls provide greater stability, preventing erosion and ensuring the soil behind them remains in place even after heavy rainfall.
Easy installation
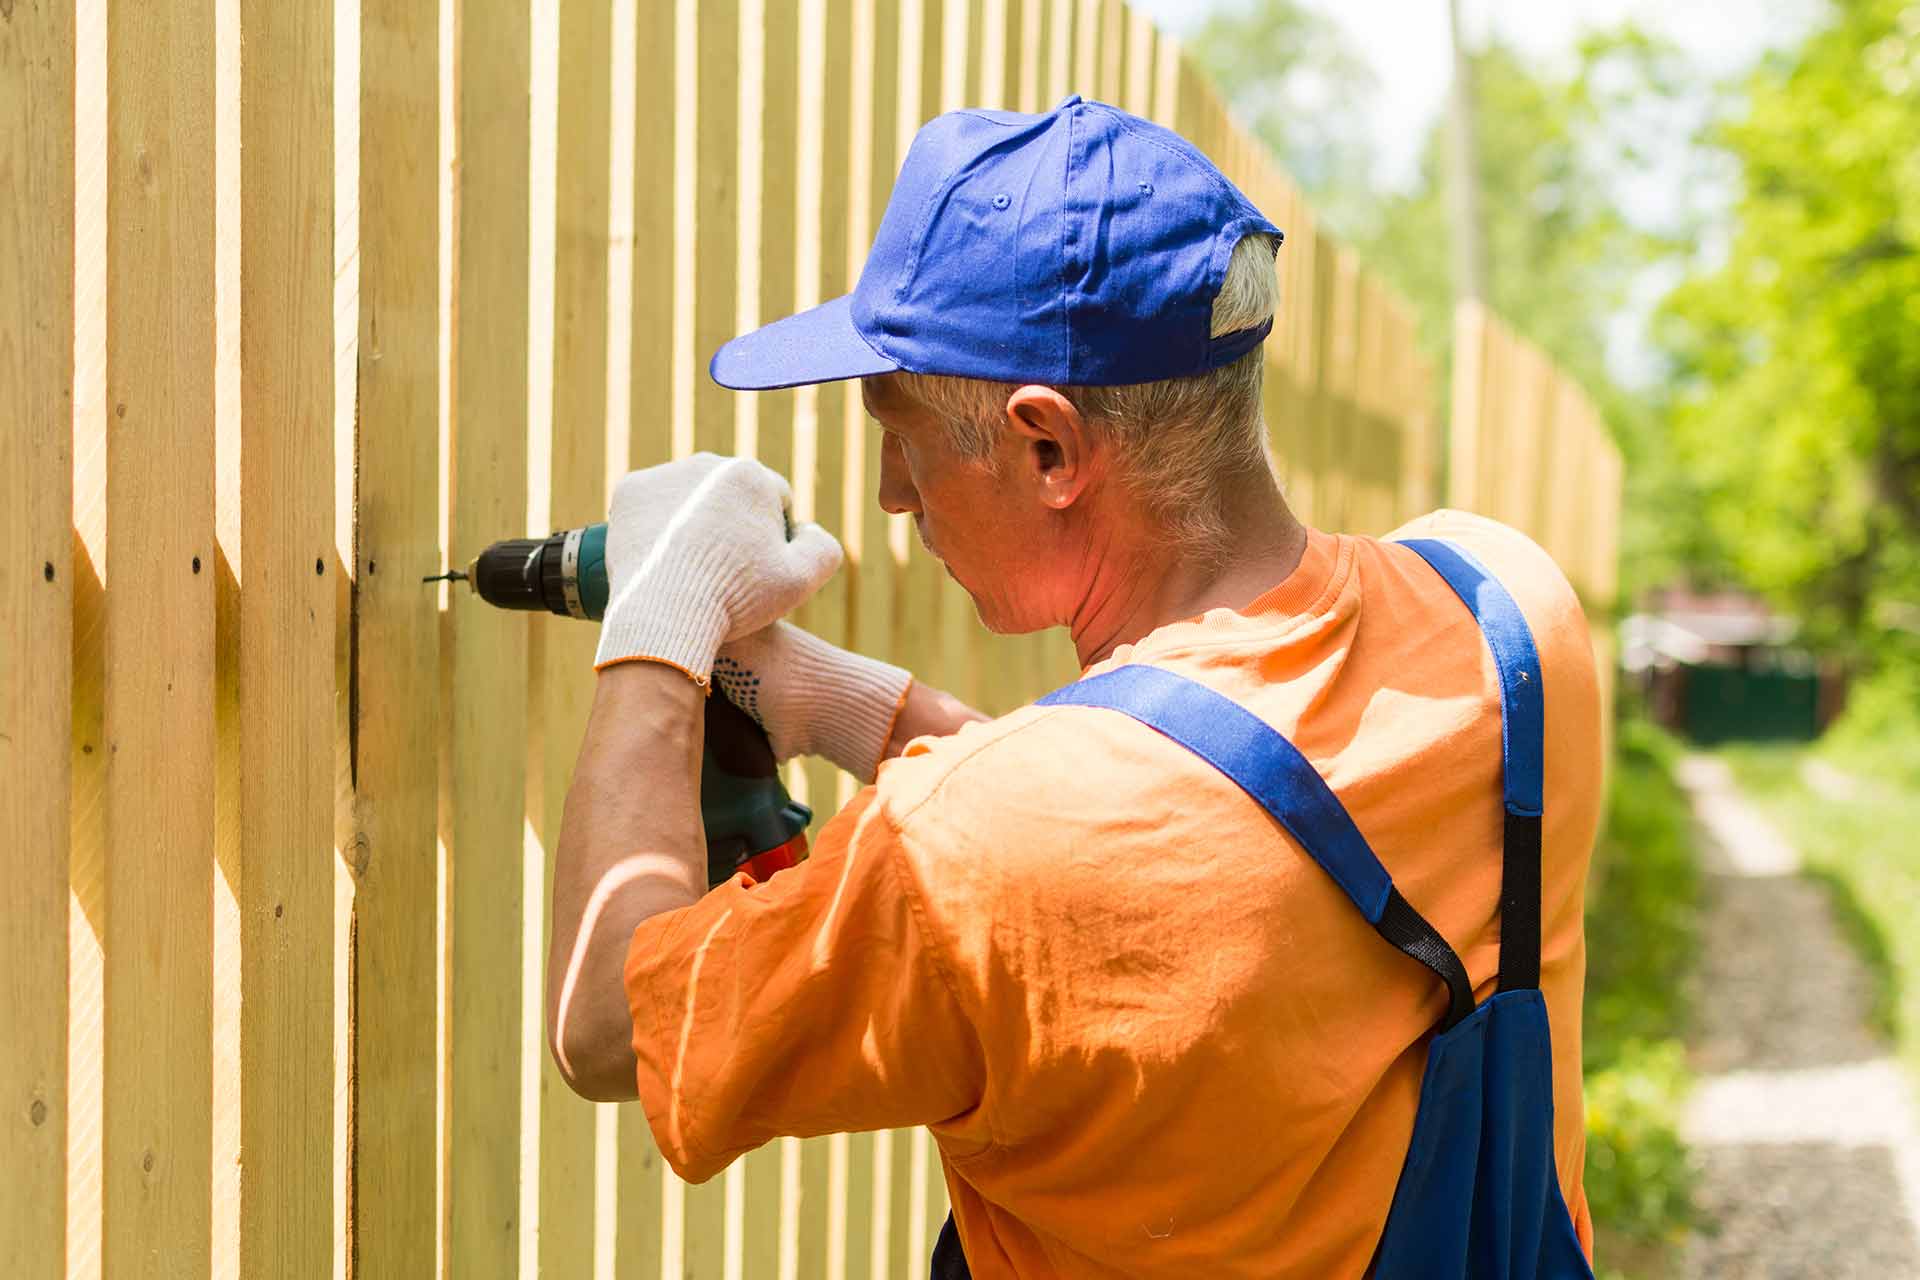
Without the need for mortar or specialised tools, building an interlocking retaining wall is a relatively straightforward process.
This makes it a manageable DIY project or a quick job for an experienced tradesperson.
Multiple design options
Interlocking wall blocks create level terraces or raised beds in sloped areas, adding visual appeal to your garden.
They also come in a variety of materials, shapes, sizes, and colours, providing a broad choice of options to complement your existing landscape.
And when not to choose an interlocking retaining wall...
There are some instances when interlocking retaining walls are not appropriate:
Excessive height. A freestanding retaining wall should not be higher than around 4ft. For walls higher than this, you'll need to hire the services of a structural engineer
Extreme slopes. Similarly, if the slope is too steep or the soil is highly unstable, it's recommended to consult with a structural engineer. Find out more about the cost of hiring a structural engineer.
See the tradespeople we've checked and recommend for your job
How to build an interlocking stone wall
An interlocking stone wall adds a timeless and charming feel to an outdoor space.
The irregular shapes and texture of stone creates a rustic look that blends harmoniously with the natural environment.
Want to build an interlocking stone wall in your garden? Here's how:
Materials
Interlocking stone blocks (type and quantity suitable for your wall's dimensions and aesthetic)
Landscaping fabric (to prevent weed growth)
Gravel (for levelling and drainage)
Drainpipe
Construction adhesive
Backfill material (e.g. gravel or soil)
Stakes and string
Tools
Stanley knife
Measuring tape
Shovel
Tamper or compactor (for packing and levelling)
4ft level
Circular saw
Small sledgehammer or masonry hammer
Rubber mallet
Torpedo level (to help check your levels in tight spaces)
Bolster chisel
Caulk gun
Wheelbarrow
Safety gloves and goggles
Building an interlocking retaining wall: step-by-step
Before you begin construction, it's recommended to check with your local planning authority, especially if you live in a conservation area.
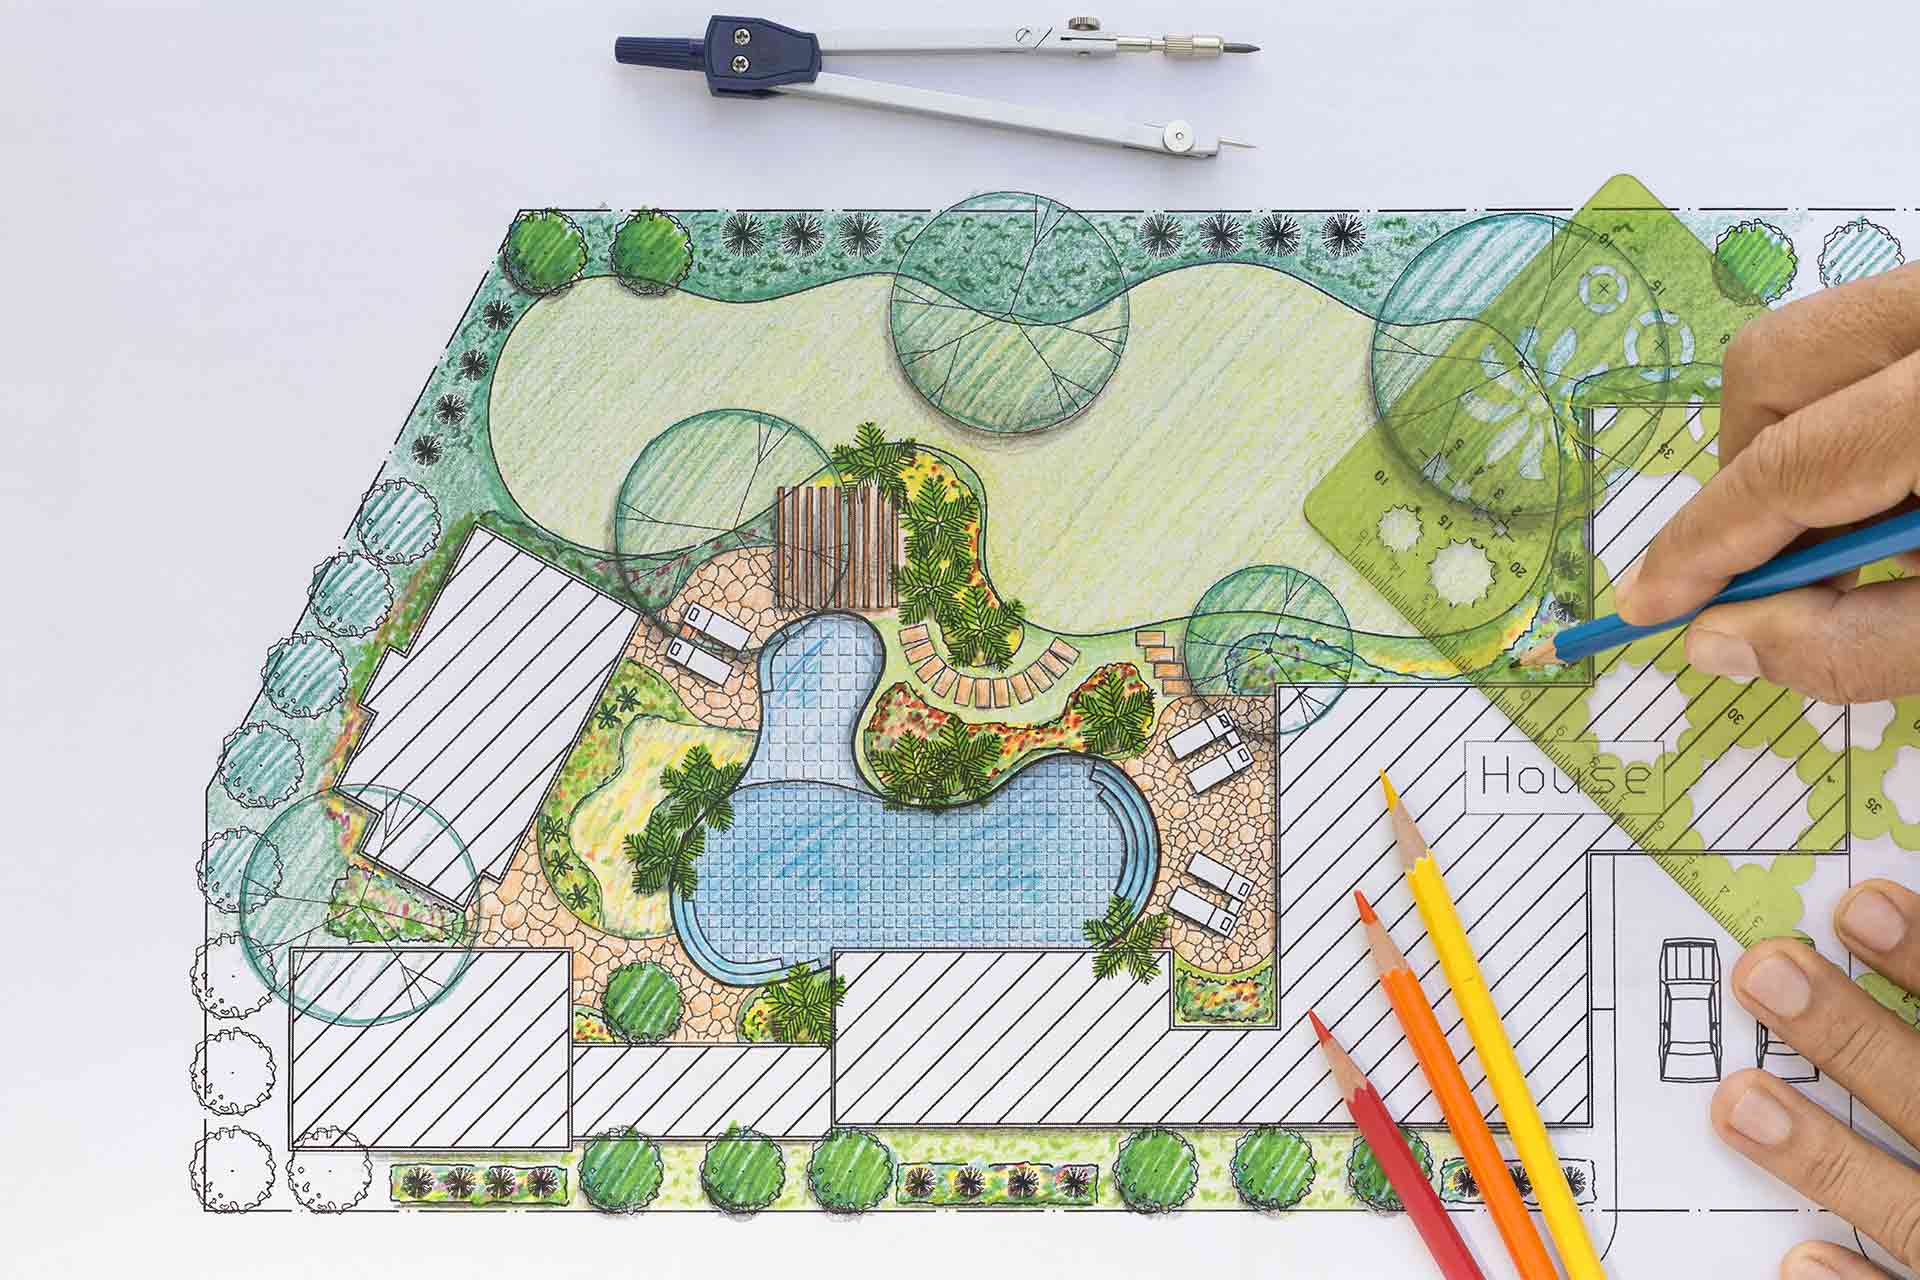
Step 1: Plan and prepare
Mark the area for your wall using stakes and string (this will help to align the blocks) and make sure your outline aligns with the desired slope and contours of your garden
Dig out a trenched area within the boundaries you've created. and ensure it's slightly wider than the width of your wall
Step 2: Prepare the base
Lay your landscape fabric over the base of the dug out area and up the vertical edge to help prevent weed growth, and overlap the fabric edges by about 6 inches
Add 3-4 inches of gravel to the dug out area to provide stability and proper drainage
Rake over and check the surface level with your spirit level
Step 3: Lay the first course
At the lowest point of your wall, lay the first course of interlocking stone blocks, using the edge of the trench to guide you
Check the level of the blocks from side-to-side and back-to-back
Tap the blocks into place firmly using a rubber mallet, checking the level periodically
Step 4: Build subsequent courses
Set the remaining courses with the flanges tight against the back of the preceding course
Stagger the joints between the blocks in each course by about 3 inches to enhance the structural integrity of the wall
Step 5: Insert drainage
After setting the third course, apply a layer of backfill material between the wall the slope so it's even with the level of the second course
Lay in a perforated plastic drainpipe on the gravel (holes down) ensuring the end of the pipe can see daylight
Step 6: Backfill the wall
Set the remaining courses and backfill every other course, covering the drainpipe, bringing the level up to just below the top of the last course you laid
Step 7: Cut and fit blocks
Where needed, use your chisel and masonry hammer to cut blocks to specific shapes or sizes
Make sure each cut block fits securely into the wall with proper alignment
Remember to check your levels as you go
Step 8: Tuck the fabric
At this stage, you're just one or two courses below the finished height of your wall and have backfilled to just below the last course you laid
Now, fold the landscape fabric over the backfill material and tuck it behind the block
Step 9: Turf
Shovel 2 inches of topsoil on top of the landscape fabric you've folded over and tamper lightly
Turf over the topsoil
Step 10: The finishing touch
Apply a layer of construction adhesive on the surface of the top course of blocks
Place the capstones on top of the adhesive to complete the structure
Level and tamper the ground around the base of the wall to even out the area
Find an experienced professional to help landscape your sloping garden
For a guaranteed professional job, call in an experienced tradesperson.
Find trusted and reliable tradespeople in your area in our leading directory.

On Checkatrade, you'll only find trades who meet our high standards and pass up to 12 checks.
More Expert Advice Articles


See the tradespeople we've checked and recommend for your job