Blog>Expert Advice>Tips for painting grout like a pro
Last updated: 4 July 2023

Tips for painting grout like a pro
Need some advice on painting grout? Follow our tips and tricks for a professional result to be proud of. We explain how to paint over grout with an expert touch.
Painting grout can transform a tiled area from grimy to good-as-new gorgeous in just a few simple steps.
It's not uncommon for grout to accumulate dirt, mould, and stains over time, but it's very easy to bring your tired grout back to life.
You may even choose to paint your grout a different colour if you're renovating the space and want a new look.
In this post, we explain how to paint over grout like an expert to get a truly professional finish.
See the tradespeople we've checked and recommend for your job
How to paint over grout: step-by-step
Ready to revitalise your tiled space? Here's what you need to get started:
Tools and materials
Specialist grout paint
Grout cleaner
Fine-grit sandpaper
Grout sealer
A small paintbrush or grout brush (ideally the size of the grout line)
A clean cloth
Painter's tape
Dust sheets
Protective gloves
Make sure the area you're working in is well-ventilated and you're wearing gloves to protect your hands.
How to prepare your grout for painting
To restore your tile grout like the experts, you first need to invest time in the preparation.
This will help to make sure the grout paint sticks, but it'll also stop it from peeling and cracking, so your hard work lasts longer.
1. Clean
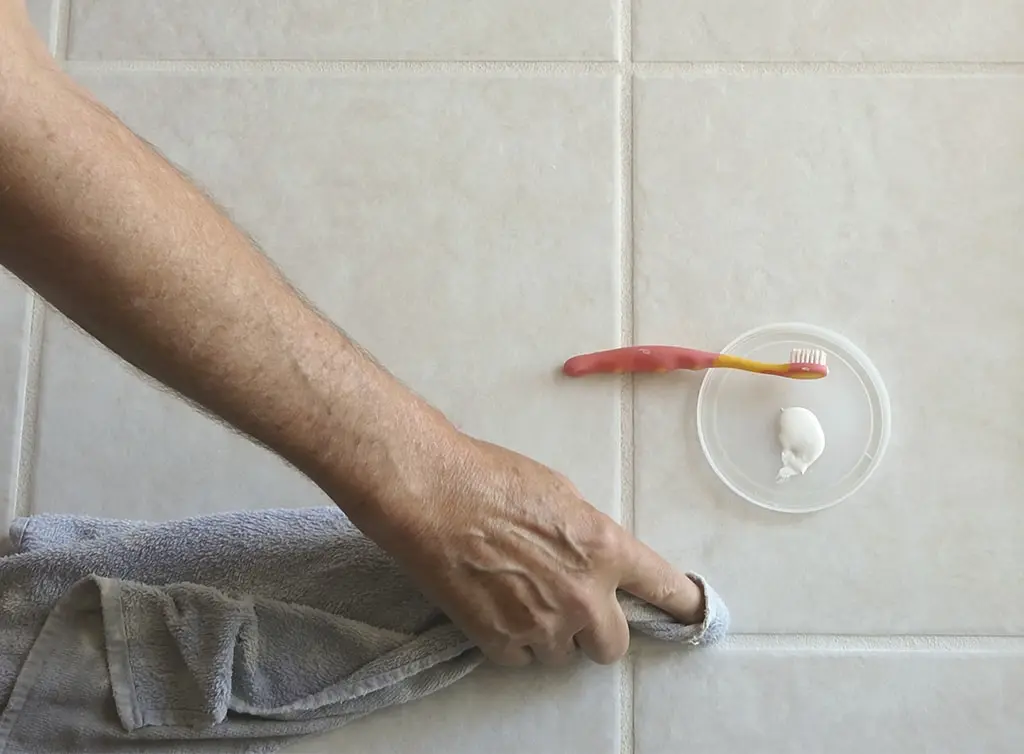
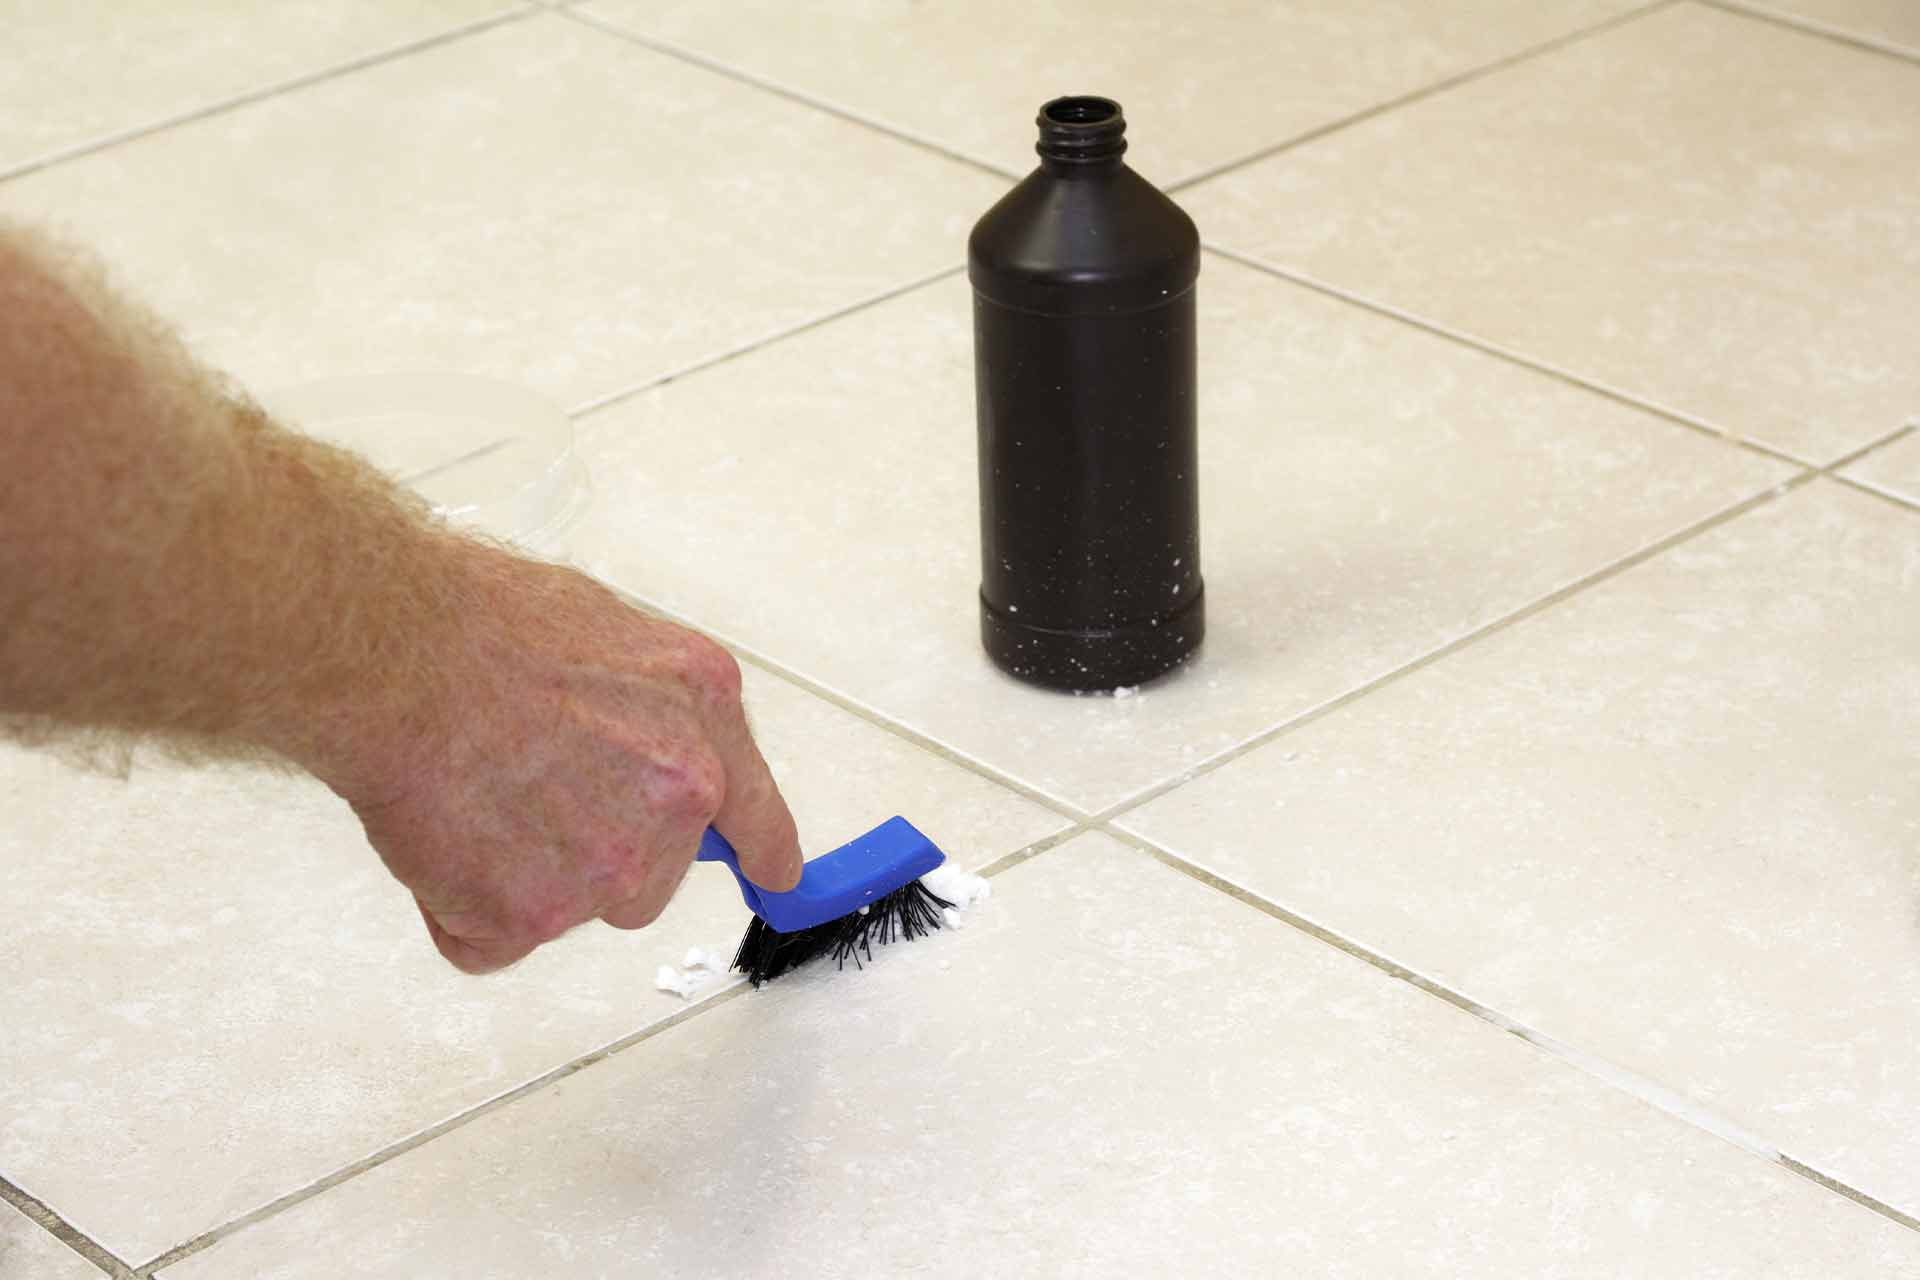
Use a grout cleaner and grout brush to thoroughly clean the grout lines, removing any grime and dirt.
Rinse the area with clean water and a cloth and allow it to dry completely.
2. Sand
To help the paint adhere, gently sand the grout lines using fine-grit sandpaper.
Wipe away the dust with a clean, damp cloth. Allow to dry.
3. Protect
Protect surrounding surfaces, for example, a kitchen worktop, shower tray, or floor, with painter's tape and dust sheets.
How to apply grout paint
When painting grout, we recommend testing your chosen paint colour on an inconspicuous area first.
1. Mix
Wearing your protective gloves, give the grout paint a good shake or stir before using.
2. Apply
Apply the paint to the grout using your grout brush working in small sections, with long strokes back and forth.
Using a damp cloth, wipe any excess grout paint from the surface of the tiles as you go.
3. Allow to dry
Once you've applied your first coat, allow it to dry as per the manufacturer's instructions before applying a second coat.
Tip: For smaller tiled areas, a grout pen can work wonders to refresh your grout once it's been cleaned.
How to protect your grout paint
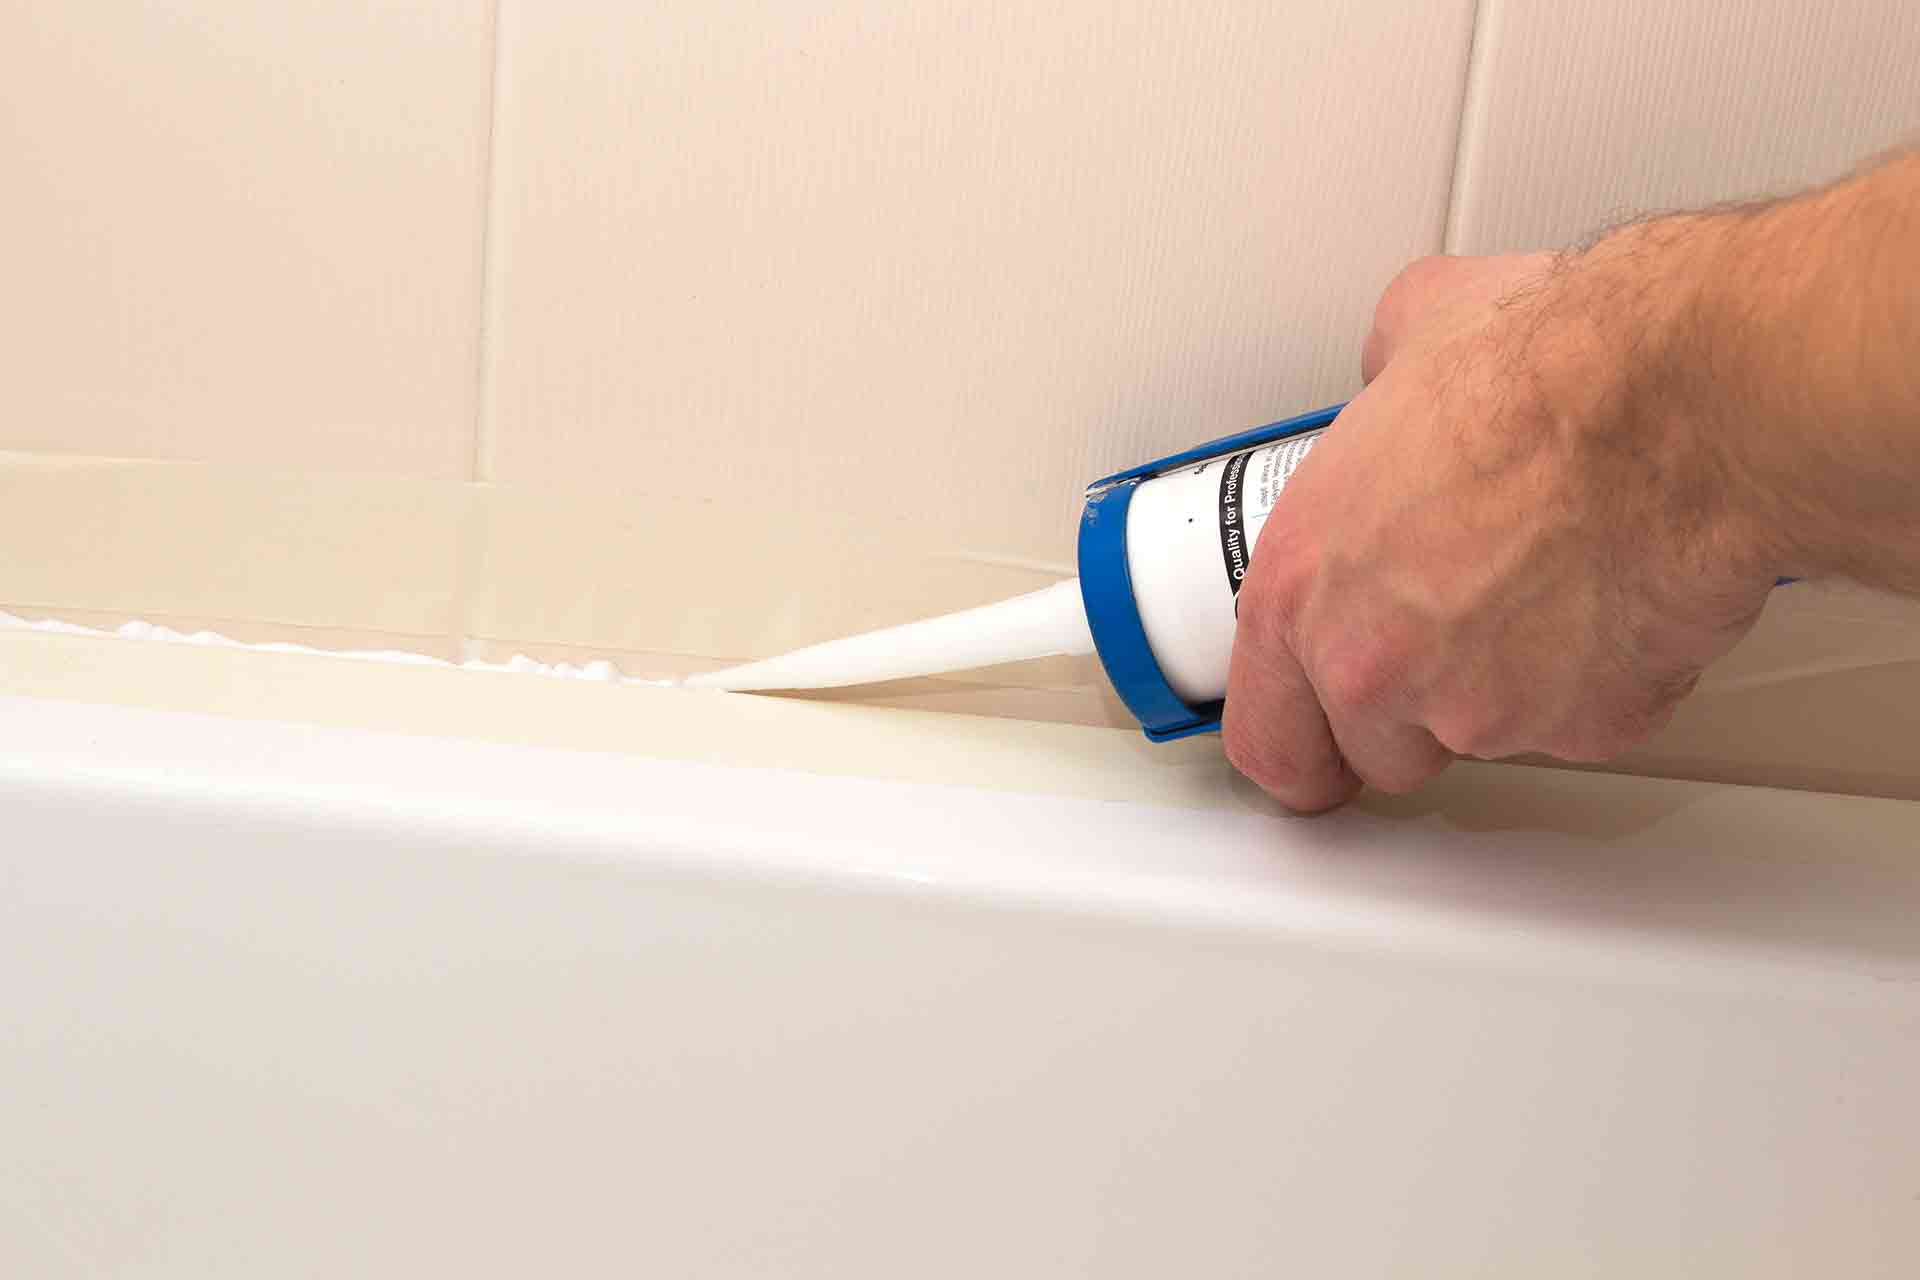
Once the grout paint is completely dry and you've cleaned away the excess paint from the surface of the tiles, it's time to seal the grout.
Apply the sealant to the grout in smooth, even lines and allow it to dry as per the manufacturer's instructions.
NB. It's not recommended to use grout paint on unfinished or raw tiles such as natural stone or terracotta due to their porous nature. If you do wish to do this, you'll need to apply a sealant to your tiles before you apply the grout paint.
See the tradespeople we've checked and recommend for your job
Mistakes to avoid when painting grout
While the result of painting grout is well worth the effort, it's a job you don't want to repeat unnecessarily.
So what are the pitfalls to avoid to ensure a successful and long-lasting end result?
Poor prep. Take the time to clean the grout thoroughly and lightly sand the grout lines before you start. This helps the grout paint to adhere better, which will prevent premature chipping or peeling
The wrong products. Regular wall paint is not suitable for painting grout. Choose a high-quality grout paint that can withstand moisture, cleaning, and foot traffic
Rushing the application. Not taking time and care over this job will result in an uneven, messy finish. Work carefully in small sections for a neat and accurate application and note the manufacturer's instructions regarding drying and curing times
Not sealing. Some people overlook the final step, which is to seal the grout after painting. Doing so will give the grout an extra layer of protection from stains, moisture, and wear & tear
When to hire a professional tradesperson
Want a guaranteed professional finish? Just call in an experienced tradesperson.
Find trusted and reliable tiling specialists in your area in our leading directory.

On Checkatrade, you'll only find trades who meet our high standards and pass up to 12 checks.
More Expert Advice Articles


See the tradespeople we've checked and recommend for your job