Blog>How-To Guides>How to paint kitchen cabinets
Last updated: 15 August 2023

How to paint kitchen cabinets
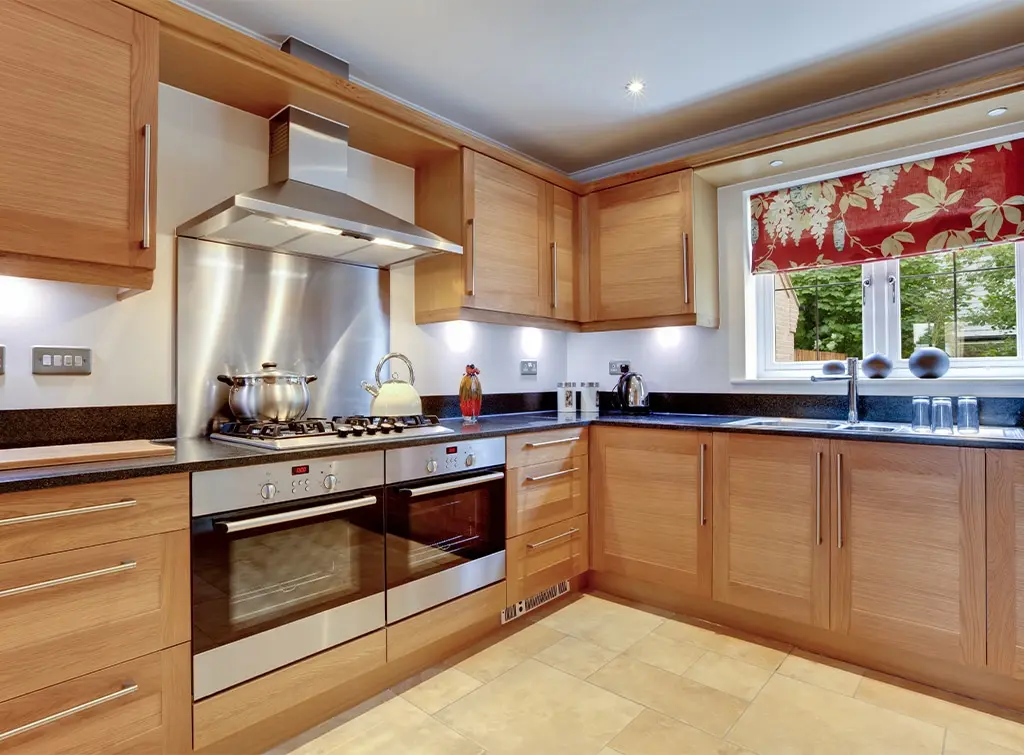
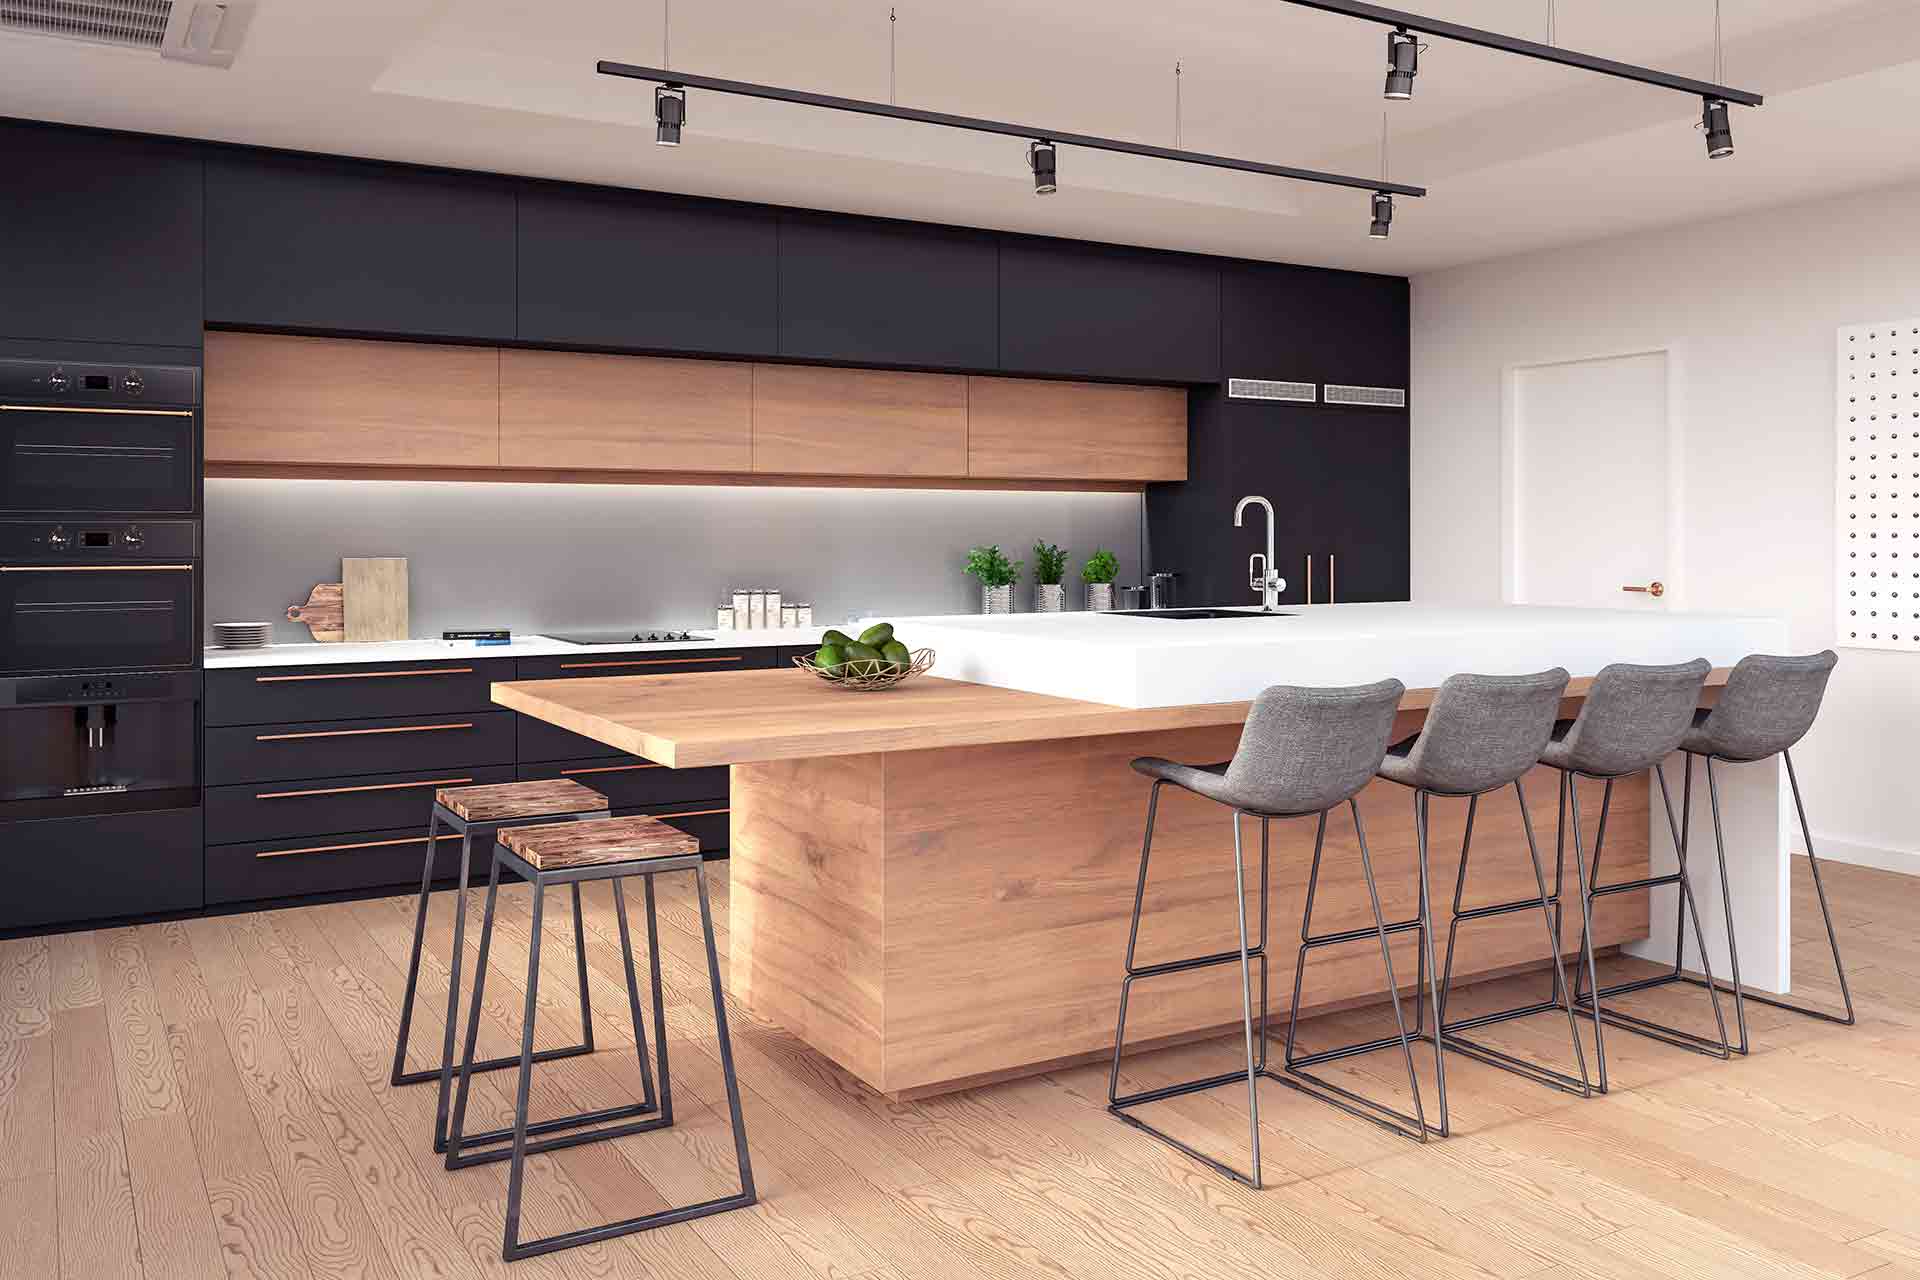
Painted kitchen cabinets can transform an old and tired kitchen into a vibrant one, without the need for a full kitchen refit. If your kitchen needs a revamp, our guide on how to paint kitchen cabinets will get you in the know.

Painting kitchen cabinets is a popular refurb trend, and it's no surprise really, as it can help to brighten and modernise your kitchen.
However, it's not as easy as just picking up a paintbrush and getting to it, there is prep and tools that are required to do it properly.
For the best results, we always recommend hiring a professional.
Tools required for a kitchen cabinet repaint
Ladder
Wood filler
Putty Knife
Drop cloths/sponges
Painter's tape
Degreasing agent
Drill or screwdriver
Sandpaper
Shop vac
Primer
Paint
Paint trays and liners
Applicators (sprayer or brush and roller)
Can you paint kitchen cabinets?
Yes, but you must familiarise yourself with the process first.
An entire kitchen repaint can take six to seven days, and your kitchen could be out of action.
Don't think you can rush a kitchen repaint either. Many DIYers often rush and end up with a messy finish, and they up calling in the professionals to make good.
Kitchen cabinet painting step-by-step
If you’re keen to repaint your kitchen yourself, follow our how to paint kitchen cupboards step by step guide.
Step 1: Assess your current cabinets
Before you even think about cracking out the paintbrush, assess your cabinets properly.
Ask yourself;
Are your kitchen cabinets the kind that can be painted?
Are any cabinets, doors or hinges damaged?
Are your cabinets covered in laminate, veneer or vinyl?
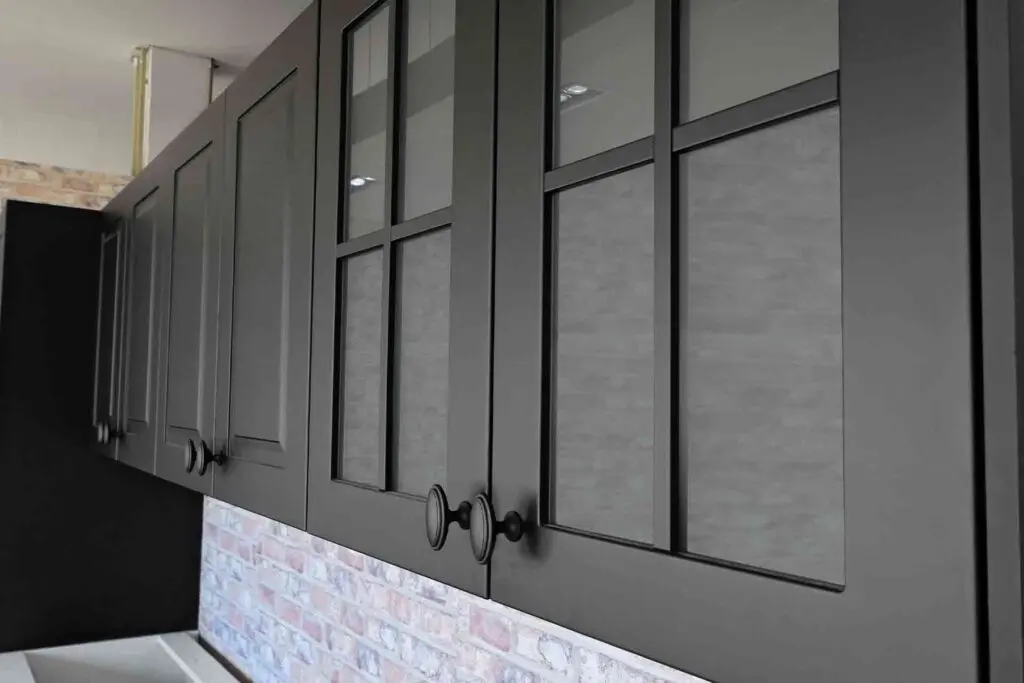
Plain wood cabinets with simple fronts are easier to paint. Kitchen cabinets with intricate details and applied mouldings will be harder to refinish.
Professionals don't recommend repainting plastic laminate or rigid thermofoil finished kitchen cabinets as paint doesn’t stick well to glossy surfaces.
However, you can usually paint over veneer and remove vinyl coatings once they have started to peel. Find out how to remove vinyl wrap.
If you're still unsure, test the inside of a base corner cabinet with a small amount of primer and leave it to dry overnight. If you can't scratch it off, your kitchen cabinets can be repainted.
But, if your hinges are damaged or rusted, or the doors are water-warped, it's better to replace the kitchen cabinets.
Step 2: Prep your cabinets
Preparing your kitchen cabinets before painting is essential for the best finish. These are our top tips:
Empty all of the kitchen cabinets and worktops, and move any furniture to give yourself plenty of space
Dust, wipe or hoover up any dirt or dust to avoid a gritty paint job
To stop counters, backsplash and floors from getting a paint job of their own, you can also use brown builders tape, plastic tarp or mastic tape
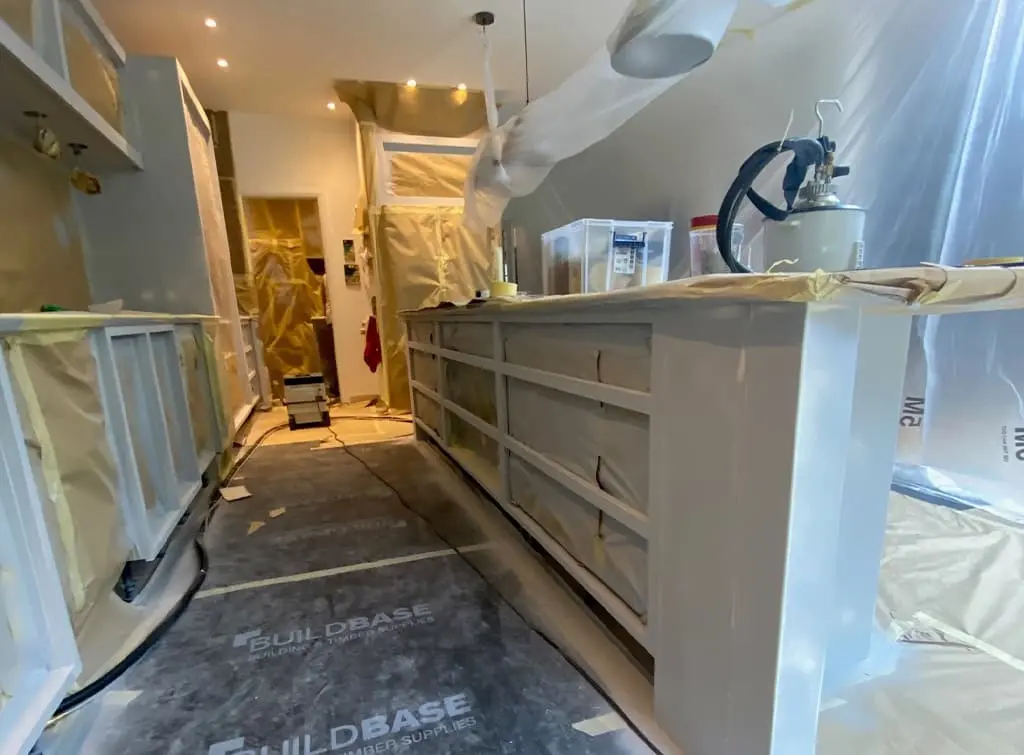
Step 3: Set up your workstation
Gather your tools and set up a workstation to make your kitchen cabinet repaint smoother. Use a garage, shed, or garden for extra ventilation. If working indoors, a few fans will help to increase air circulation.
You can also lay some builder's plastic down and use three to four sawhorses with two-by-fours on top to keep the cabinet doors in place. Store your paint, buckets, brushes, rollers, and sandpaper nearby.
Not got the tools? Hire a professional who will have all the tools and experience necessary to complete the job.
Step 4: Remove the doors and drawers
If you try to paint your kitchen cabinets still attached, the job will be harder, and your finish won't last as long.
Use a drill or a screwdriver to remove all the cabinet doors, drawers and other accessories.
Add matching numbered labels before removal to avoid any confusion when reassembling your kitchen. Don’t forget to keep screws and hinges somewhere safe.
Step 5: Clean all surfaces
Wipe the cabinets down after spraying a degreasing solution to remove oil and grease. Try stronger cleaners like trisodium phosphate (TSP) for particularly stubborn stains (available at most DIY shops).
You cannot miss this step if using water-based paint on an oil-covered door.
Once clean, rinse them all down and let them dry.
Step 6: Prep
First, use wood filler to repair any cracks or chips. Then, use 180-grit sandpaper or sponge sandpaper to remove that shine and give your paint something to stick to.
Hoover and then use a damp microfibre rag to get any of those last traces of dust.
If your kitchen cabinets need a tougher pre-treatment, use a liquid deglosser.
Step 7: Prime
Using a primer before painting will help your new coat of paint stick and stop any stains or graining coming through your final finish. An oil-based or 100 per cent acrylic latex primer is fine in most cases.
After priming, lightly sand the kitchen cabinets with ultrafine 220-grit sandpaper until you have a smooth finish.
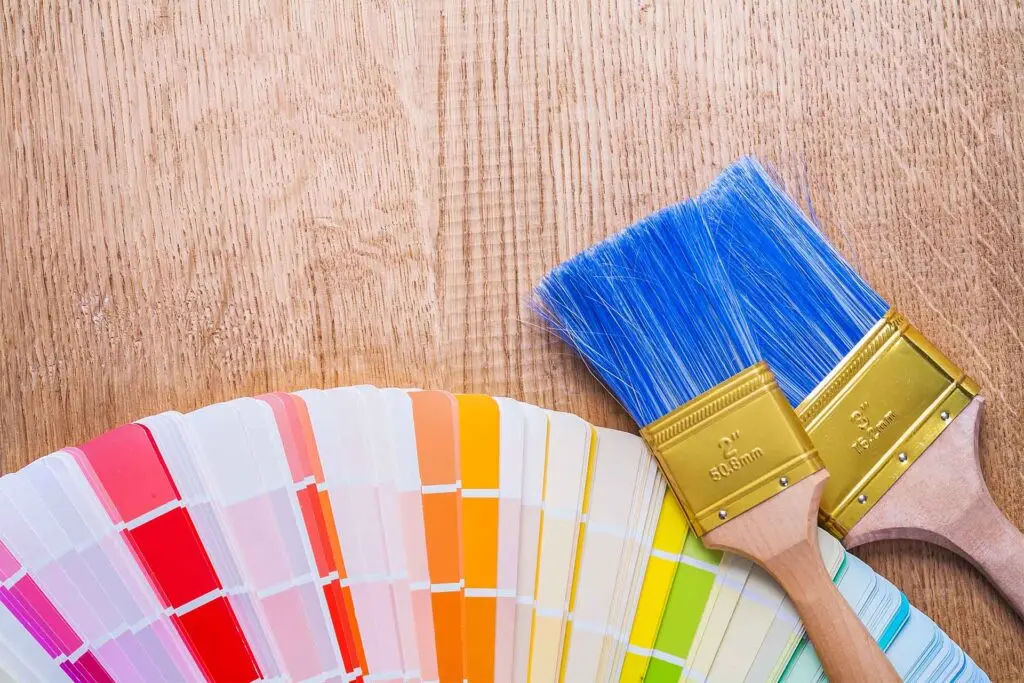
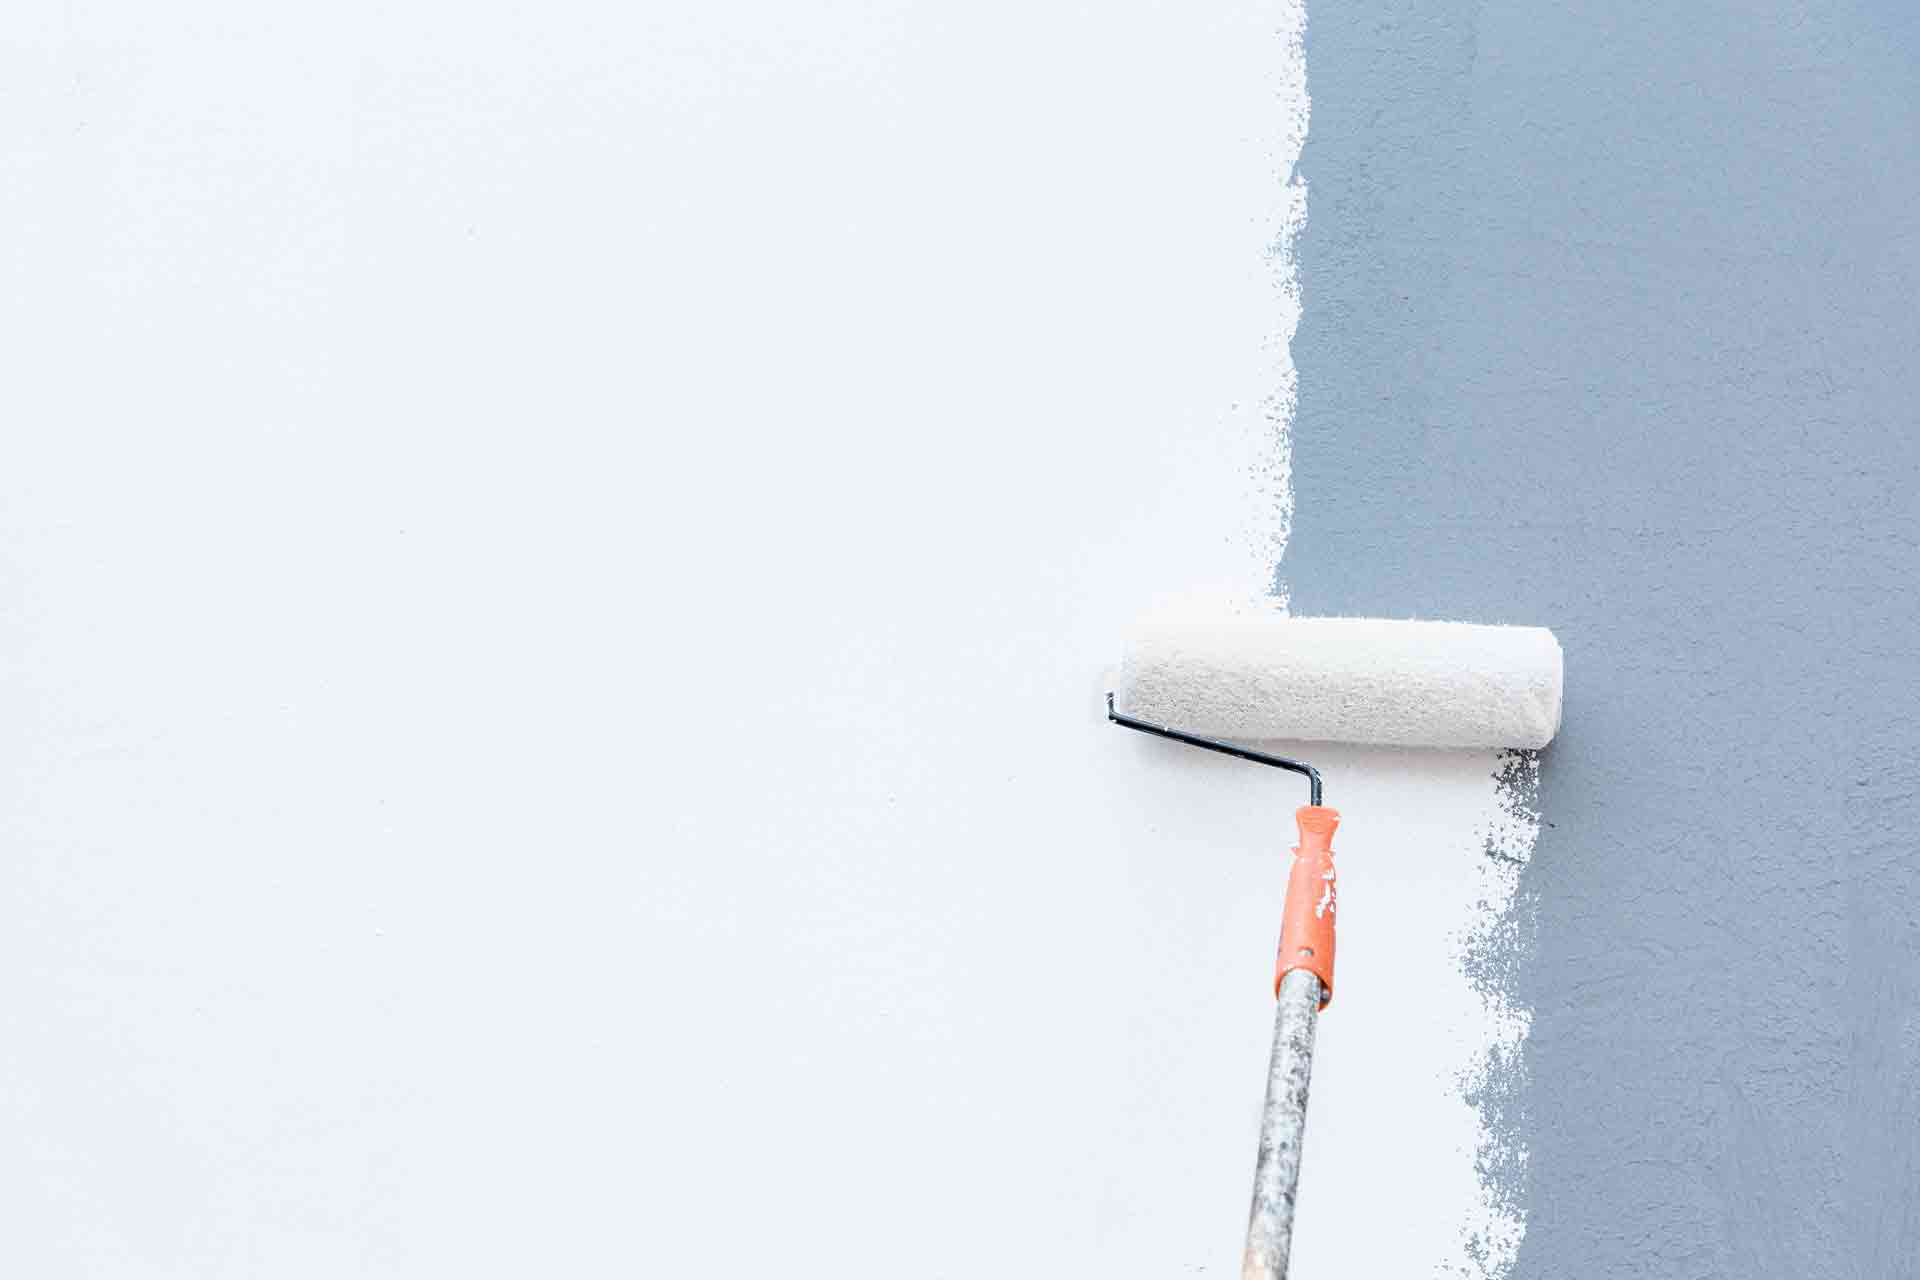
Step 8: Paint
Be sure you’re happy with your paint choice before painting. Try painting a poster board with a sample can of paint, then hang it next to your appliances and backsplash to test.
Follow these steps:
Start with the doors and drawers
Paint both sides and leave them dry completely in between top coats
Apply one coat to the back sides, then wait a day before applying a second coat
The next day, flip the doors and drawers to paint the front-facing sides with their top coat
Wait another 24 hours before painting the second coat - you can use the drying time to paint the insides of the cabinets
Two coats should be enough if you use roughly the same paint as the existing paint. But, topping a dark finish with a light shade will likely need three coats.
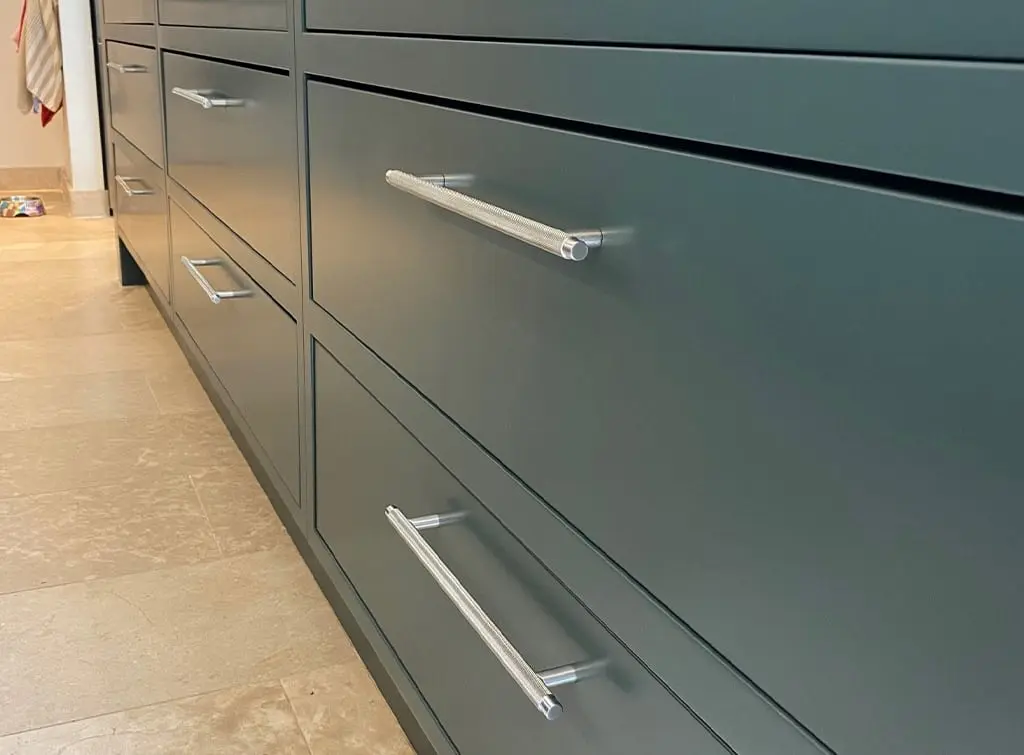
Step 9: Reassemble
Wait at least 24 hours between applying the final coat and reinstalling the doors and drawers. Let kitchen cabinets dry adequately to achieve a complex, enamel-like finish.
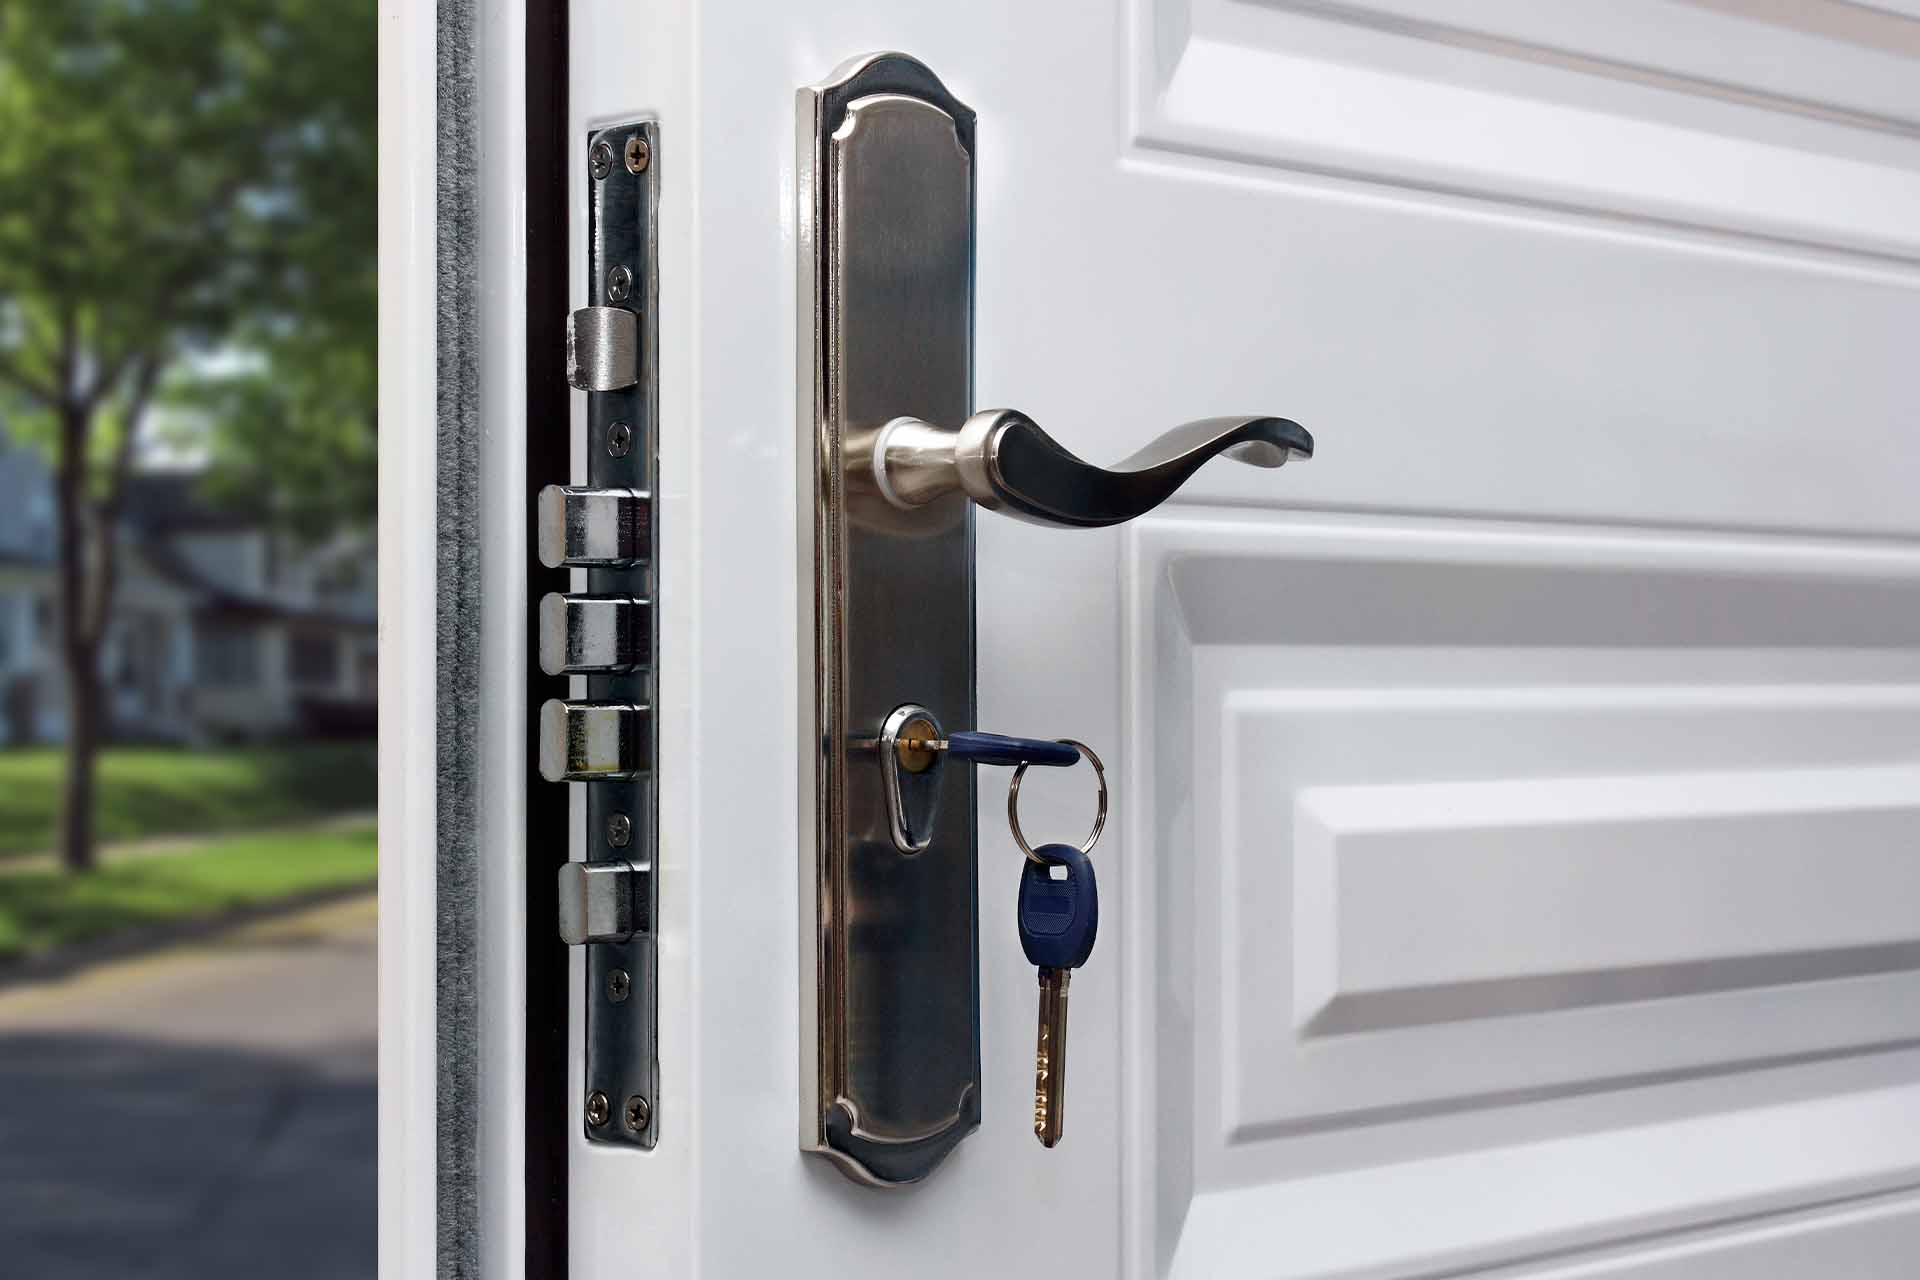
Don’t forget to remove the numbered tape and door handles/drawer pulls. Or, you can replace the drawer pulls and door handles for an updated look.
What paint to use on kitchen cabinets
For a more durable finish, always use a quality paint and applicator. A paint sprayer is the easiest way to achieve even coverage, but a two-inch angled brush is helpful for small spots and cutting in.
If not using a spray applicator, use a roller for flat surfaces, or a mini roller for smaller surfaces. A microfiber roller will create a smooth finish with less texture.
Professionals usually recommend enamel paints specially formulated for cabinets and high-touch surfaces. Look for a hard, furniture-grade finish that can cope with high traffic.
If you'd rather pay a professional, find out the average kitchen respray costs.
How to paint laminate cabinets
To get the best finish, complete all the steps listed above, but pick a satin finish paint specifically designed to work on laminate surfaces.
Paint made for laminate surface should dry to the touch in one hour, be tough, chip resistant, and easy to clean with soap.
Take a look at our guide to painting laminate kitchen cupboards for more information.
See the tradespeople we've checked and recommend for your job
More How-To Guides

More Painting Kitchen Cabinets Articles

See the tradespeople we've checked and recommend for your job