Blog>Planning Guides>How to plan for screed flooring
Last updated: 12 July 2024

How to plan for screed flooring
Screed flooring creates a smooth, flat surface in readiness for your new carpet, tile, wood, or vinyl to be laid on top. Discover how to prep for screed flooring with our helpful planning guide and get your project off to the best start.
If you're installing new flooring, it's well worth investing in screed to create a smooth and even surface. Here's how to plan for screed flooring and create the best foundation for your new laminate, tile, vinyl, carpet, timber planks, or stone floors.
Read on for a masterclass in screed flooring to help get your home improvement project off to a great start.
What is screed flooring?
You've probably heard about screed flooring but not entirely sure what it is.
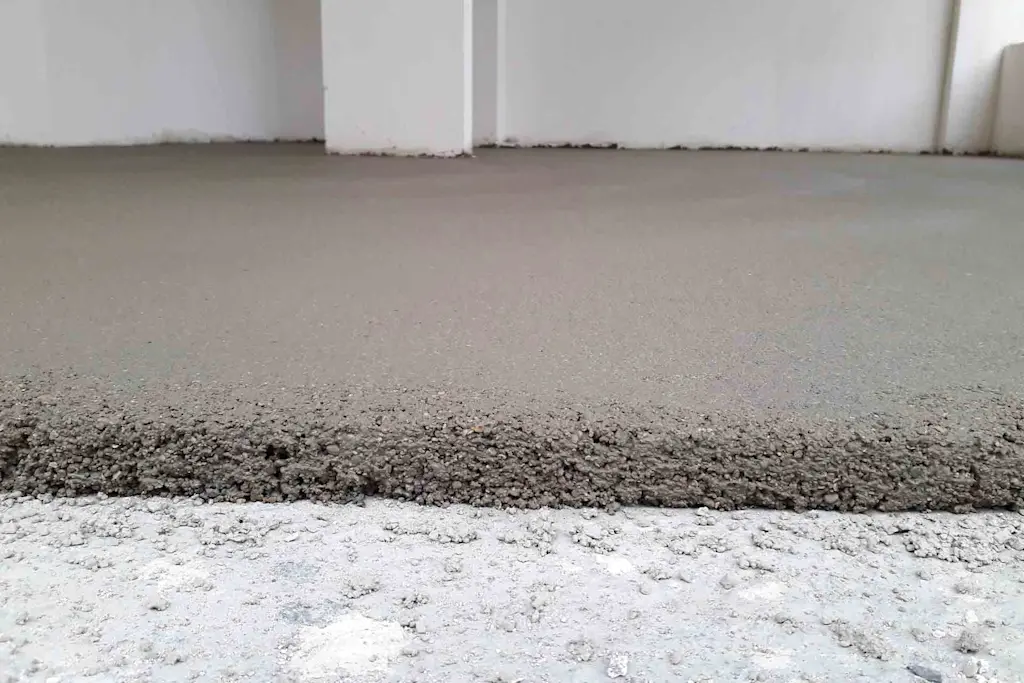
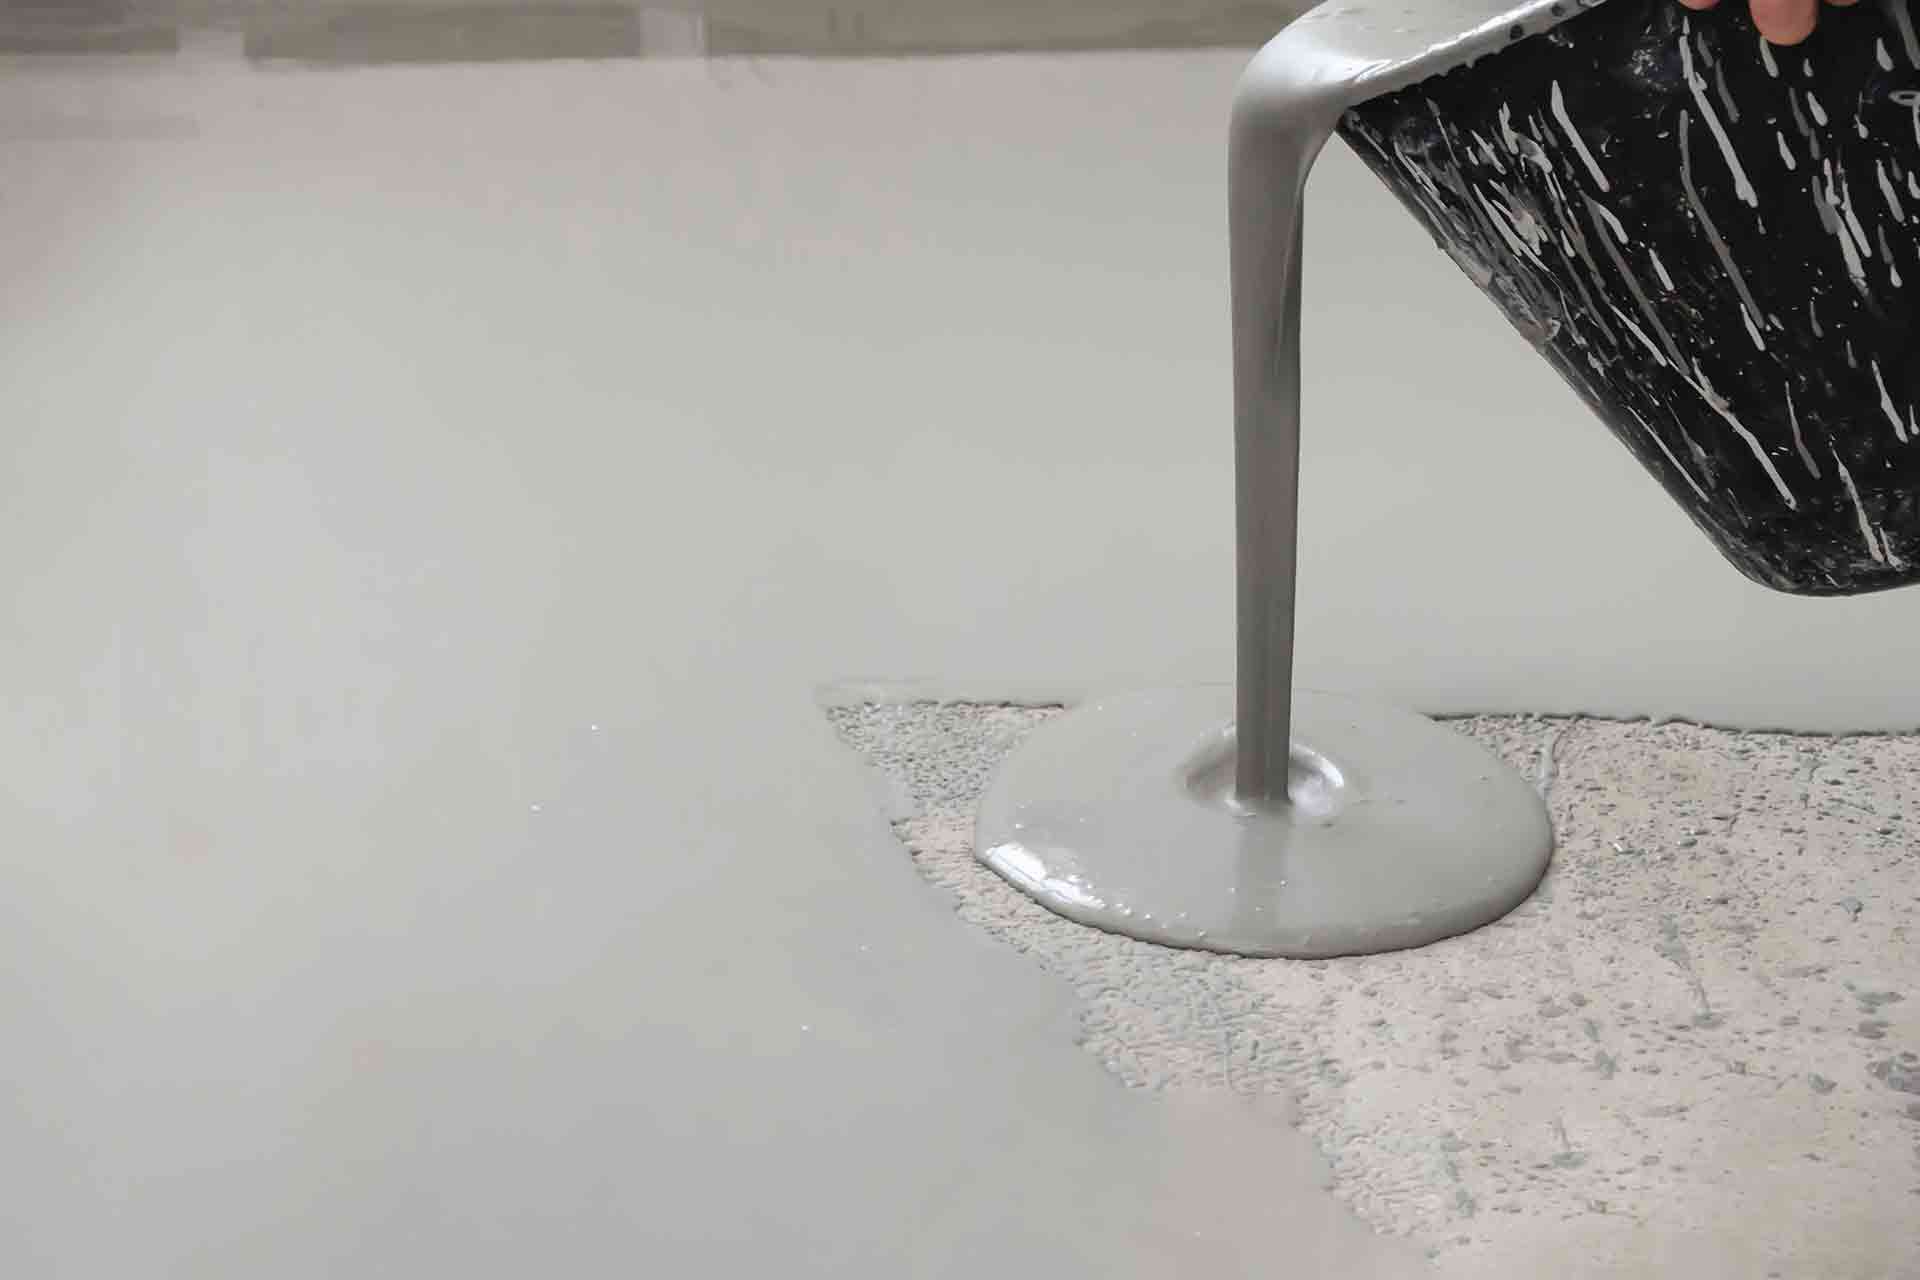
Screeding a floor involves pouring a thin, top layer of material, similar to concrete, over your concrete subfloor. Screeds are used to level out a previously uneven surface so you can lay your new flooring on top.
Floor screed consists of a layer of well-compacted material, usually a mix of cement, water, and sharp sand. However, it can also include other ingredients such as latex.
Screeding can be an effective option for supporting the floors of your home, although achieving flawless results can be very tricky. Beginners will likely struggle with this as a DIY job.
If you’d prefer to hire a qualified tradesperson to screed your floor, add your postcode to the search box below to see who comes highly recommended in your area.
See the tradespeople we've checked and recommend for your job
Why is screed flooring used?
Screed is used to make a surface smoother and more stable in preparation for the addition of a final floor layer. It's applied before your new flooring to ensure a level and supportive surface for walking on and for furniture to rest on.
The benefits of screeding
Screed increases the floor's durability and improves its appearance
Suitable for use under laminate, tile, carpet, vinyl, stone, resin, or timber planks
Eliminates any concerns regarding damp, due to screed's waterproof nature
Ideal for covering underfloor pipes
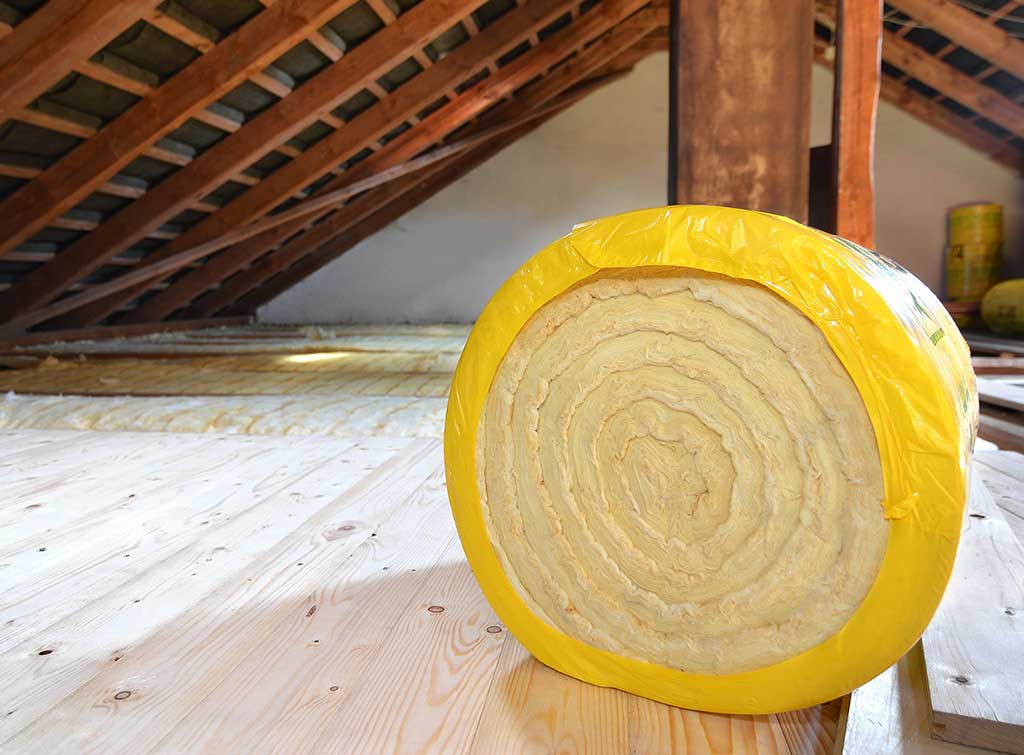
Floor screed can also be used to add insulation, saving on energy bills
Screeding can also improve acoustic insulation
Provides a better surface for adhesives to cling to
Creates a solid, strong foundation so no need to worry if you have heavy furniture
Types of screed flooring
Even though your screed isn't visible once your floor covering is down, choosing the right type for your project is still important.
While new types of screed are always being created, there are a few that are commonly used in residential settings.
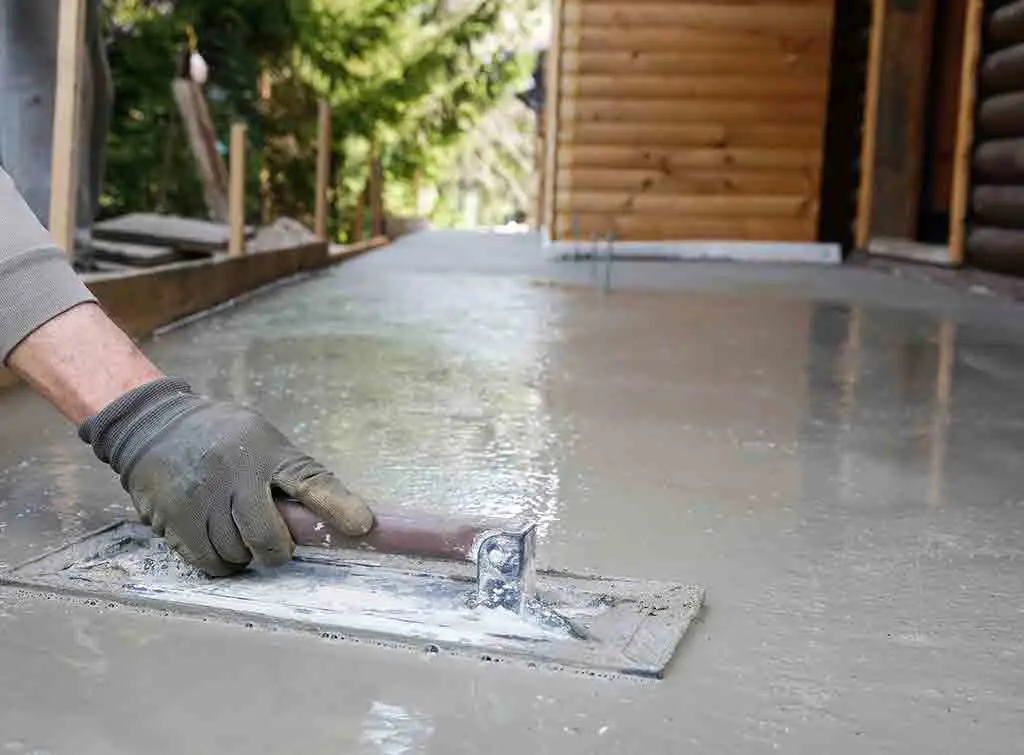
Sand and cement screed
Conventional sand and cement screed is not runny but is semi-dry, making it easy to work with. Traditionally it would be prepared on site by shovelling sand and cement into a mixer. But this is very labour-intensive and prone to inconsistency. Instead, ready-made screeds come with added retardants to delay the set, so a single load can last all day.
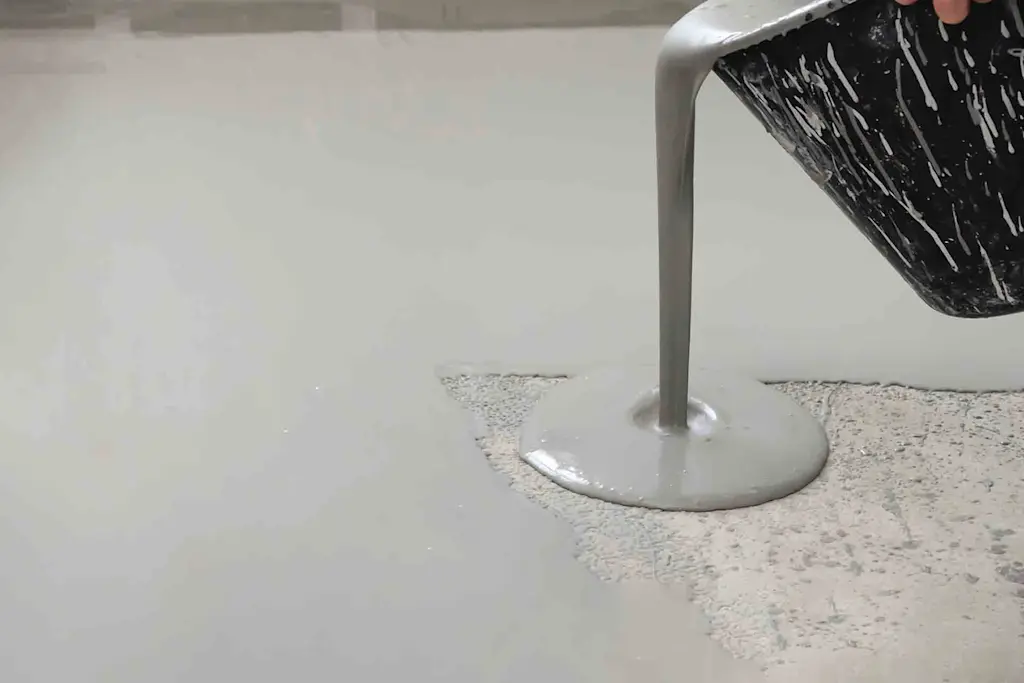
Liquid or flowing screed
Becoming more and more popular, liquid screed is self-levelling, so creating an even, level surface is much easier. Options include cement or anhydrite (dry calcium sulphate) formulas. It's also great for use with underfloor heating and can be more than ten times quicker to lay than the traditional type of screed. Liquid screeds offer minimal drying shrinkage and are ready for light foot traffic within 24-48 hours.
Fast drying screed
Screed can take a while to dry, making it difficult for busy families to access their homes during this time. Fast drying screed vastly reduces this time and can dry in as little as 12 hours.
Latex floor screed
Fast-drying and self-levelling, modern latex screeds are applied in an extremely thin layer (as little as 2mm), which creates very quick curing times. It can be ready for light foot traffic between 2-4 hours. It works well with underfloor heating allowing effective heat transfer and energy efficiency.
Bonded, unbonded, or floating screed: which do I need?
As well as different material screed mixes, there are three main methods of installing screed to your substrate: bonded, unbonded, and floating screeds.
Let's discover what these mean and which is best suited for your home improvement project.
Bonded screed
Bonded screed is connected to the concrete subfloor (substrate) with an adhesive. It becomes an integral part of the floor and requires making the concrete surface rough and using a bonding agent.
Bonded screed takes longer to install as the surface preparation is more extensive, and time must be allowed for the bonding agent to cure.
It's ideal for thinner applications where heavy loading is expected and comprises a thickness of 15mm to 50mm but 24 to 40mm is optimum. Before bonding screed, you need to prepare the area by thoroughly cleaning it.
When would you use bonded screed?
Jobs where levelling of the substrate is not required
Bedrooms and living spaces where loads and impacts are low
Floor coverings with limited thickness, such as vinyl
Apartments where fire resistance is important
Wet areas such as bathrooms and laundries
Under vinyl, carpet, or tiles
Unbonded screed
Unbonded screed is laid on top of a PVC/damp-proof membrane separating it from the concrete substrate. There is no bonding to the concrete slab.
It's an excellent choice in buildings where damp presents a serious problem. Be aware that unbonded screed may require a compatible levelling compound to smooth any variations before floor coverings can be successfully installed.
With unbonded screed, it's important to monitor the drying process because if it dries too fast, the edges of the screed can warp. This type of screed is ideal for thicknesses that exceed 50mm.
Unbonded screeds can be installed more quickly as less surface preparation is needed and curing times are faster.
The benefits of unbonded screed
A smooth, even surface is achieved regardless of minor variations in the slab underneath
Guards against damp thanks to the damp-proof membrane between the screed and the concrete
More crack resistant and less shrinkage
Provides better sound insulation and improved acoustic performance - ideal for home cinemas
Prevents settlement, that is when the floor begins to sink due to large amounts of pressure
Floating screed
Floating screeds are unbonded and typically installed over an insulation layer or an underfloor heating system.
Since it is unbonded, it's recommended that a membrane is added below or above the insulation layer, particularly if it has a silver foil as a backing. This will create a separation between the insulation and the screed.
Floating screed requires a minimum thickness of 65mm, or up to 75mm for heavily loaded floors.
An experienced screeding contractor will have all the expert knowledge and skills to advise on which type of screed you need for your project.
Head to our blog to find reputable screeding companies in your area.
See the tradespeople we've checked and recommend for your job
Prepping your floors for screeding
Hiring a screeding expert - rather than attempting the job yourself - is a sensible option.
With the knowledge and tools to carry out the job to a high standard, you can rely on a professional finish that's achieved quickly and efficiently.
However, there are some things you can do to prepare a floor for screeding. In fact floor preparation is crucial so that your screeding has the perfect base:
Begin by completely stripping away the current flooring until you reach the concrete sub-base
Then thoroughly clean the concrete by sweeping up any dust or debris and scrubbing with sugar soap
Ridding any grease or dust from the surface is key otherwise your bonding mix might not settle evenly
In addition, there are slightly different ways to prepare your floor when using bonded and unbonded screed. You may want to save money by attempting this yourself, but it's normally best to leave it to the experts. If in doubt, ask your screeding contractor for their advice before you go ahead.
How to prepare for unbonded screed: step-by-step
Step 1: Clean the concrete floor
First, clean the concrete floor to remove any dust or grease. Any particles of dirt or grease can prevent the mixture from settling evenly.
Step 2: Lay polythene sheets
Once the flooring area is clean and free from dirt or dust, lay down polythene sheets, or another form of membrane, to keep the concrete flooring separate from the screed. Don’t forget to overlap the sheets by 20-30cm and tape them together to prevent any leakage onto the concrete subfloor. The sheets should also go up the walls by around 10cm.
Step 3: Install insulation or edging foam
Use insulation, edging foam, or polystyrene to run around the walls. This will prevent any damage from occurring to the walls when the screed shrinks in the drying process.
Step 4: Reinforce the screed
If necessary, reinforce the screed with fibres – these will prevent the screed from cracking when it dries, and help to increase its overall strength. Alternatively, take screed reinforcement mesh and lay it over the subfloor. This should then sit in the top half of the screed when it has been laid.
Step 5: Lay the screed
Now the area has been prepared, you or your screeding contractor are ready to lay the screed.
How to prepare for bonded screed: step-by-step
Step 1: Roughen the surface of the concrete
The first step is to roughen the surface of the concrete, to maximise adhesive potential. This can be done by using a chipping hammer, or a pick, but you can also choose to use a shot blaster or floor scabbler. The aim is to expose the aggregate in the concrete, as this is what will bond with the screed.
Step 2: Remove dust and debris, and sprinkle with water
Next, remove any dust, debris, or dirt with a vacuum cleaner and sprinkle with water – this will reduce the number of airborne particles.
Step 3: Apply bonding agent
Now apply your bonding agent to the concrete. The most popular options tend to be a mixture of PVA glue, water, and cement, or styrene-butadiene rubber (SBR), which is ideal to use in rooms that will be in contact with water. Whichever you choose, follow the manufacturer’s instructions to prepare the bonding agent.
Step 4: Apply screed immediately
Once this has been done, add the screed immediately – don’t leave it for any length of time or the screed and bonding agent will not mix.
How much do screed floors cost?
Laying a screed floor yourself might save you money initially. But if you don't get it right the first time around, it could cost you more in expensive repair and replacement work.
Depending on a range of factors, the average screed floor cost can be quite affordable. And due to its versatility and variety of benefits, using screed is always a wise choice.
The typical cost to screed a floor is around £19 per m², assuming the screed is 75mm thick. You'll also need to factor in the average labour costs on top of this, which are £14 per m².
That said, the exact cost of screeding your floor will depend on several factors, including:
Type of screed
Thickness of screed
Size of the area you want to cover
Location
Whether you need help moving your furniture
Head to our screed floor cost guide to find a more detailed breakdown.
We'd always recommend getting at least three quotes from reputable screeding companies near you so that you can find the best price.
Ready to hire a recommended professional and get your screed flooring job off to a great start? Use our free search feature and find a local, reputable, tradesperson in your area.
See the tradespeople we've checked and recommend for your job
FAQs
How long does floor screed take to dry?
It can be exciting to install a new floor in your home, so it’s easy to rush ahead without considering screed floor drying times. Many people ask, "How long does floor screed take to dry?" but the answer will depend on the type of screed you use.
When it comes to the standard sand and cement screed mixture, it shouldn’t be walked on until at least 48 hours have passed. After that, you’ll need to add a day of drying time for each mm of thickness of screed used. Alternatively, liquid cement screeds will generally take about three weeks to fully dry.
Can I screed floors myself?
While it is possible to screed a floor yourself, it is no easy feat. It's vital to consider the below points before deciding whether to tackle screeding yourself or hire a professional:
It is extremely difficult to mix cement and sand properly, smoothly and evenly
It takes a lot of experience to create a flat, level surface and if not done well, you'll be left with a bumpy, uneven floor that's a trip hazard with wobbly tables or chairs. Once the screed is laid it can also be tricky to remove and redo
You will probably need to remove and reinstall your skirting boards which can be difficult to do without damaging them
A professional can explain the different types of screeds and help you choose the best type for your needs
More Planning Guides

More Floor Screeding Articles

See the tradespeople we've checked and recommend for your job