Blog>How-To Guides>How to extend downstairs to add a new level or garage
Last updated: 20 October 2023

How to extend downstairs to add a new level or garage
Expanding the downstairs of your property to add a new level or garage is a complicated and potentially costly process, but it's certainly achievable with the right team, planning and execution.
Expanding the downstairs of your property to add a new level or garage is a complicated and potentially costly process, but it's certainly achievable with the right team, planning and execution.
Such a project requires various considerations, such as who to hire, which building regulations to observe, how to get planning permission and, last but not least, how to actually carry out the project.
In this article, we cover everything you need to know about downwards extensions, including how to plan and prepare and a detailed overview of what the construction process involves.
See the tradespeople we've checked and recommend for your job
1. Research and initial assessment
Before you can start properly planning your downward extension, it's important to get your head around relevant regulations to ensure the project complies with health, safety and energy rules.
With the help of a structural engineer, assess the site and determine the project's feasibility, checking things like the property's foundation, soil and underground utilities.
Careful budgeting is also very important. Consider all possible expenses, including legal fees, mishaps and how much it will cost to construct the extension.
Having a solid plan in place helps you stay on budget and complete the project more smoothly. Check out this extension planning guide for more advice.
2. Planning permission and regulations
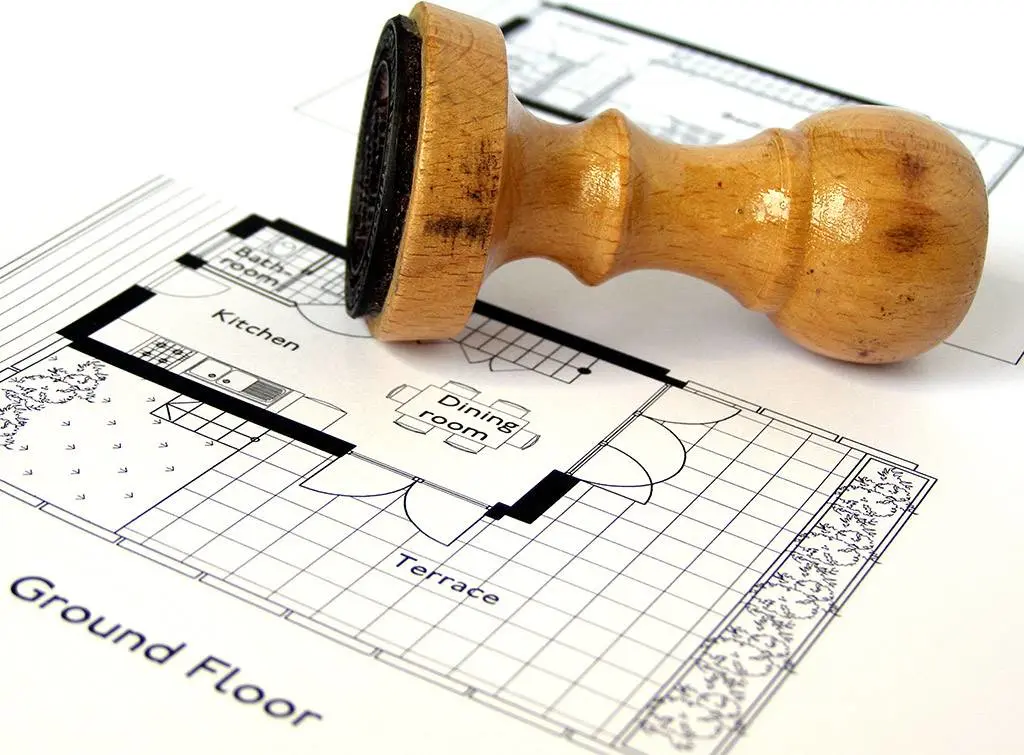
Next, contact your local council and get all the necessary approvals, as you can't begin work without them. It's also essential for all your designs to comply with UK building regulations.
If you live in a terraced or semi-detached house, you may need to secure something called a Party Wall Agreement, which is an official form of consent from your neighbours, proving they're happy for you to carry out the work.
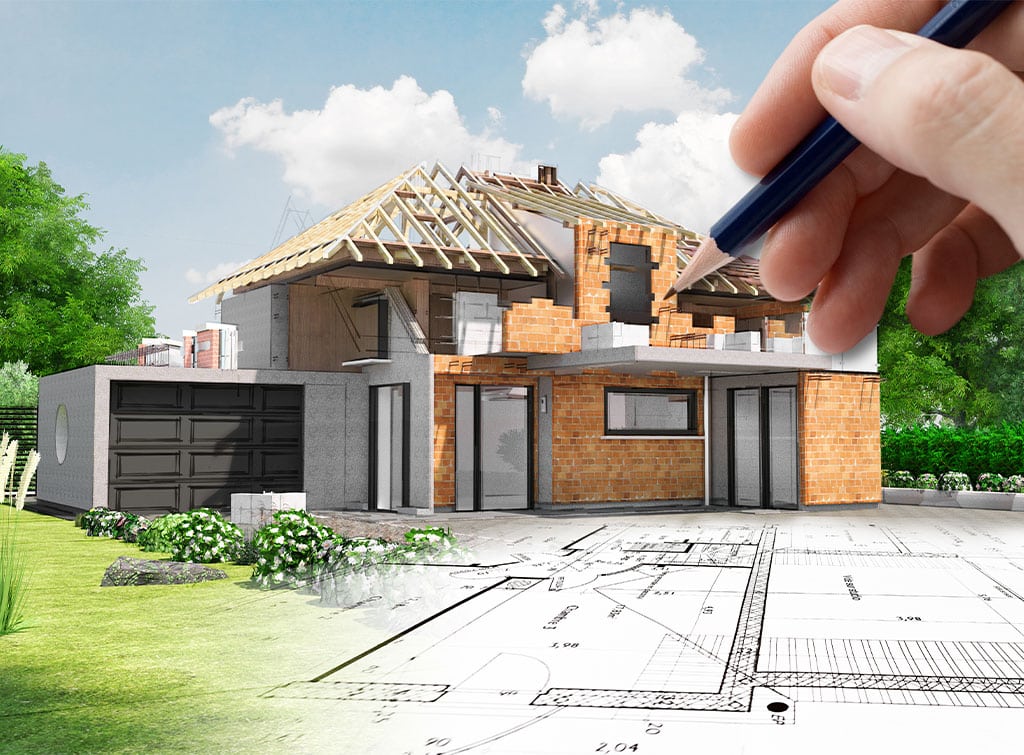
3. Design and planning
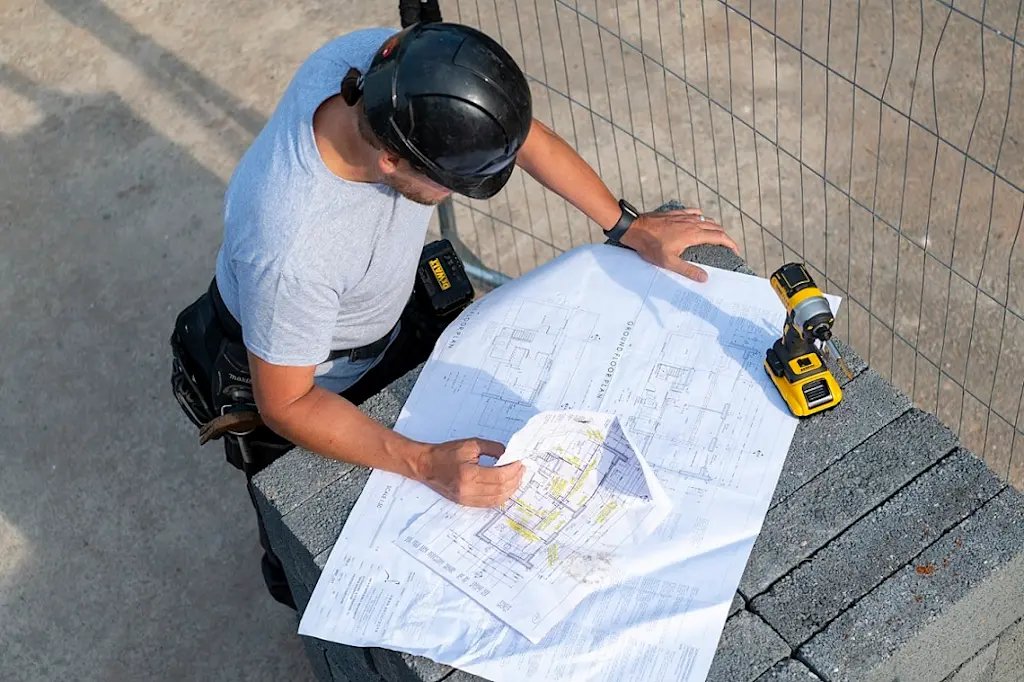
You may already have a preliminary design that you submitted to the council for approval, but now it's time to develop and finalise a more detailed design with the help of an architect.
Architects can help you create a design that not only aligns with your vision, but that complies with UK building regulations. These comprehensive designs represent the project more precisely, including details such as:
Detailed drawings. These illustrate all aspects of construction in detail, providing a complete view of the building.
Specifications. Detailed descriptions of materials, workmanship and dimensions are presented.
Schedules. List of items like windows, doors, fixtures and finishes with their respective details.
Building services. Details about electrical, plumbing, HVAC and other utility services.
A structural engineer will also work closely with the architect during the design and planning stage, as they will evaluate your property's structural integrity and make sure it can bear the added load of the extension.
4. Contractor hiring

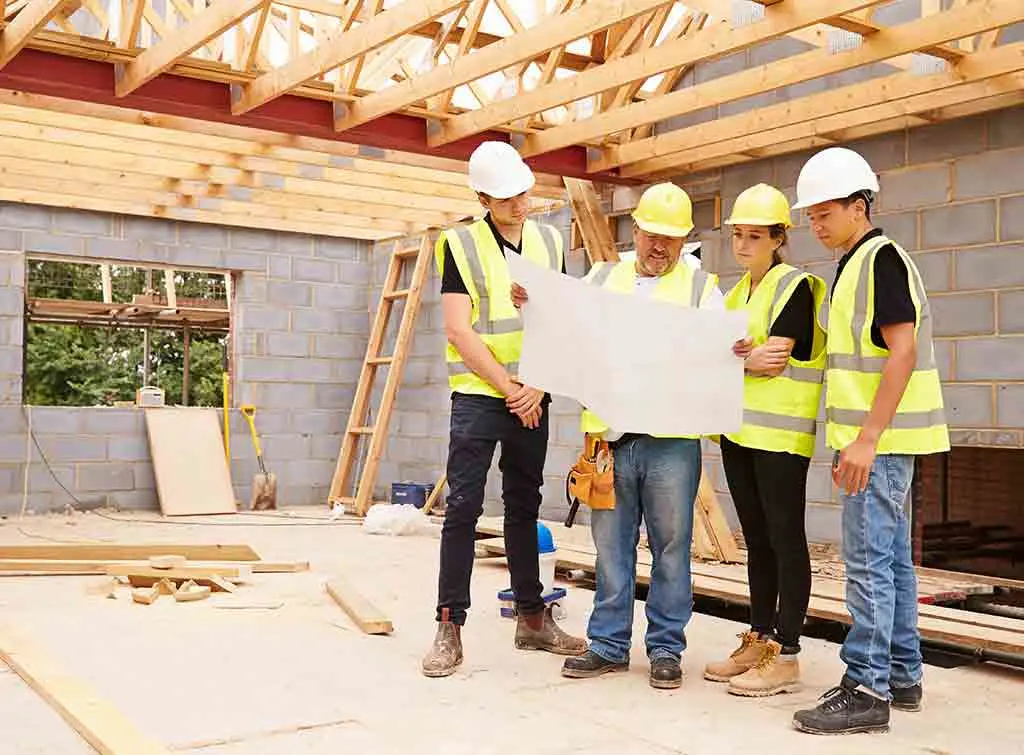
Once you have a solid design in place, it's time to hire a diverse team of professionals that can bring it to life. Hiring the right tradespeople is the most crucial step, as it directly affects the quality of outcomes.
Luckily, Checkatrade makes this step simple. All you need to do is enter your postcode into the search box below to connect with highly reviewed local experts.
See the tradespeople we've checked and recommend for your job
Because you'll need such a diverse range of expertise, it's a good idea to hire a general contractor to act as a project manager, as they can then manage subcontractors, like plumbers, masons and electricians.
They'll also handle compliance and quality control, the procurement of materials and on-site health and safety management.
5. Construction phases
Now you've completed the planning stages, gained the necessary approvals and hired a team of contractors, the construction process, which is divided into five main stages, can begin.
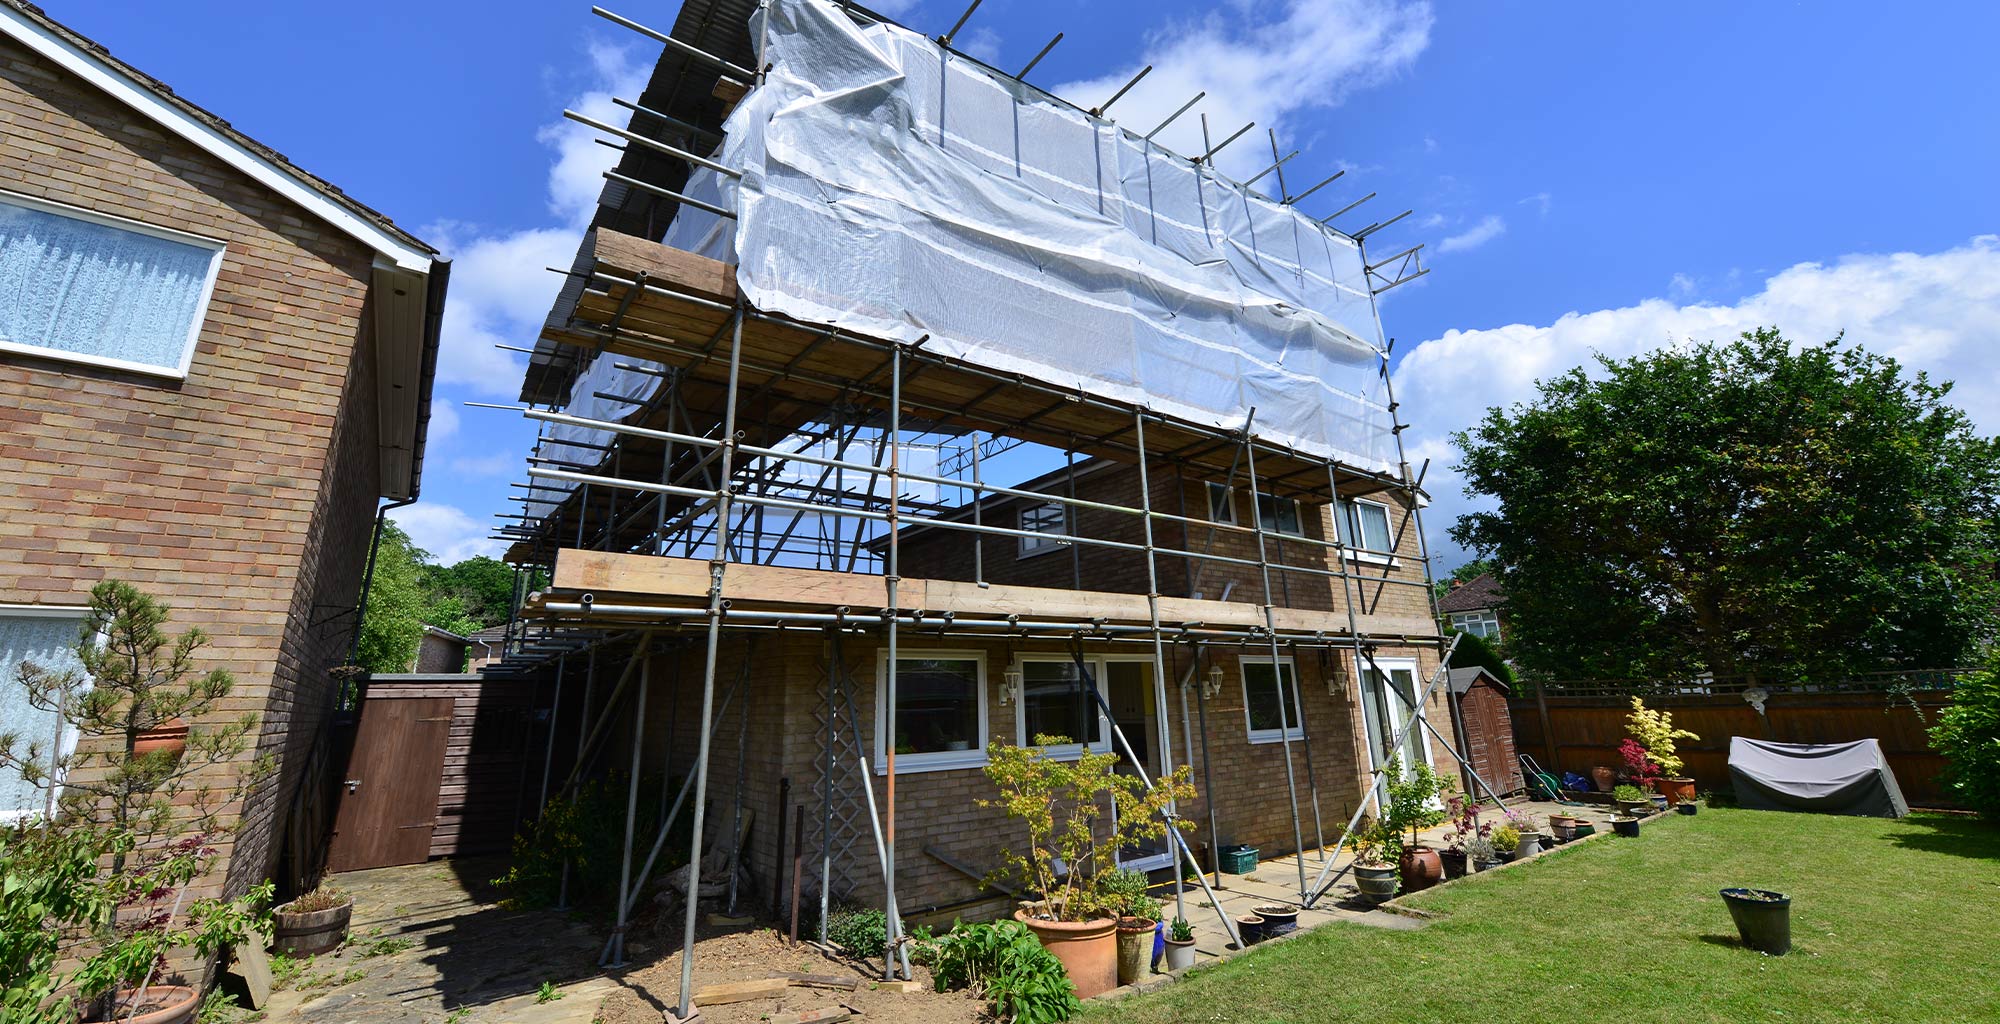
Excavation
The first step is to excavate the area where you want to install a garage or new level to your property.
This involves preparing the site, such as by removing obstacles and marking out the excavation area, and implementing shoring and underpinning to protect the existing structure and the workers.
Soil conditions are also continuously monitored during the digging process to prevent likes like collapses.
Foundation and structural work
Next, the foundation will be built, whether that's a slab, crawl space or a full basement, based on the structural requirements and soil conditions.
Then, steel bars and other structural reinforcement devices are installed to increase structural strength and durability.
Lastly, weatherproofing measures are taken to prevent water ingress and damp, which also increases the longevity of the structure.
Utility installation
This stage involves a range of contractors, such as plumbers, electricians and HVAC technicians.
Plumbers will establish any required sewer lines, the water supply and drainage systems, installing them in compliance with local building regulations.
Electricians will install all necessary electrical outlets, wiring and fixtures in accordance with planned usage and any regulations that apply to their work.
If the structure requires it, a HVAC technician will install things like heating, ventilation and air conditioning systems to ensure climate control.
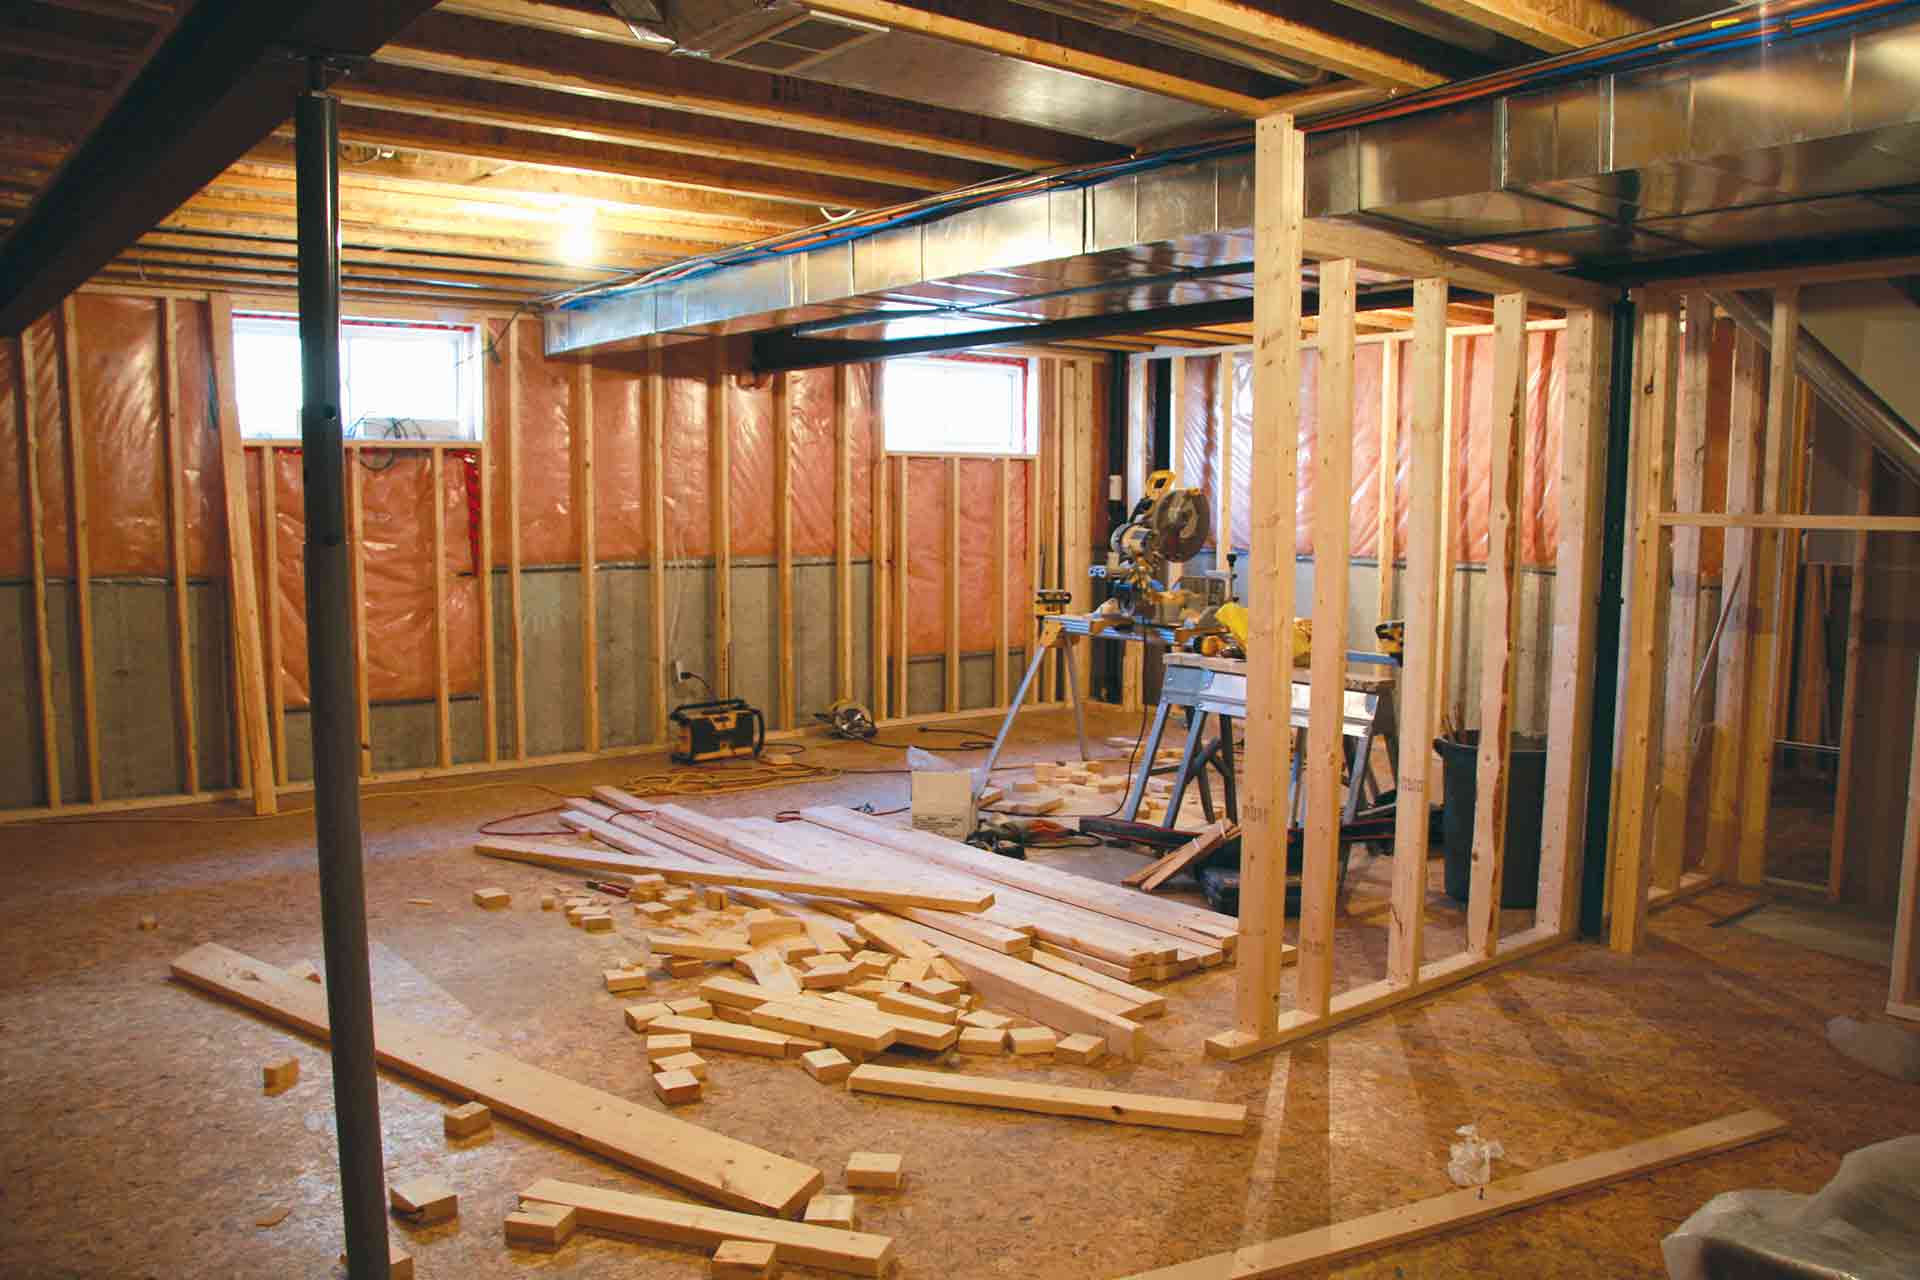
Building
After the foundations are constructed and the utilities set up, walls are erected and securely anchored to the foundation. It's important for these to be plumb and level.
Next, flooring and roofing is installed according to the design specifications. Floors must be stable and level, and the roof needs to be watertight durable and compliant with local building regulations.
Finishing
This stage brings the new room to a liveable state, and includes things like installing drywall, flooring and ceiling materials according to the aesthetic and functional aspects of the design.
Cladding, paint, brickwork, fixtures and fittings are also installed to finalise the project, with everything aligning with design specifications and quality standards.
6. Inspections and approvals
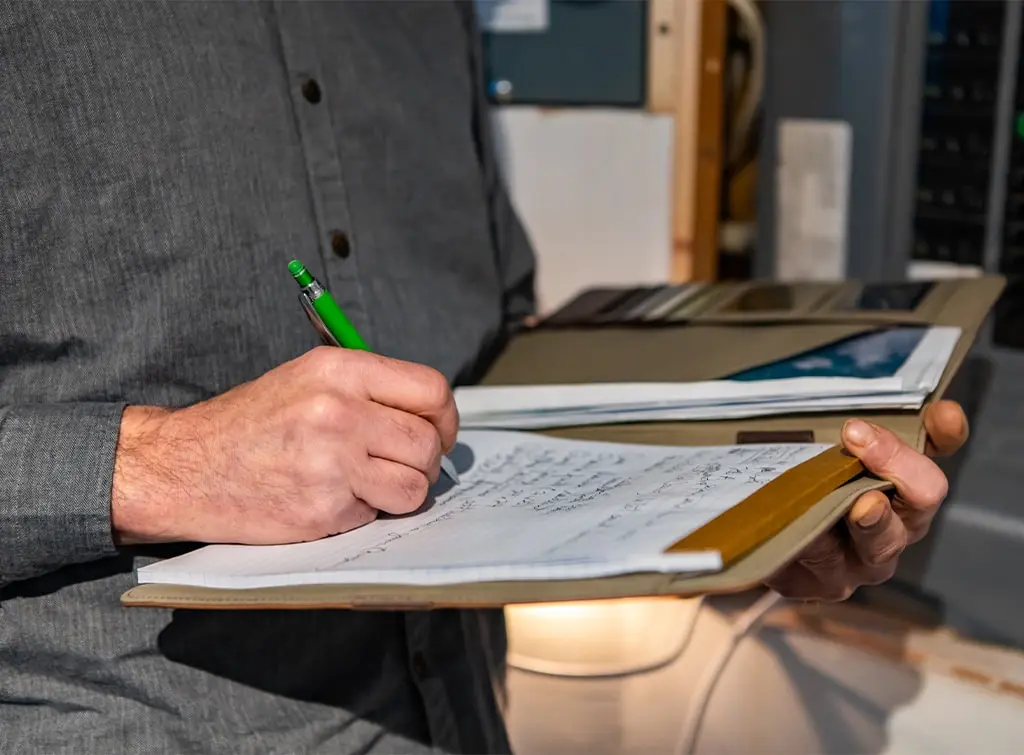
Inspections must be carried out at critical stages in the construction, such as when the foundations are built, to ensure everything aligns with building regulations. This also allows you to correct deviations early on.
Maintain detailed documentation of inspection results and any corrective actions taken, as this helps you ensure transparency and accountability.
At the end of all five construction phases, you need to schedule a final inspection and receive a completion certificate from the Building Control Body, assuming everything meets the requirements.
Keep the completion certificate and all other documents safe, as you might need them in the future for things like selling the property, insurance purposes or for any future alterations.
7. Finalisation
This stage you can either complete yourself or get some help from a professional such an interior designer. It essentially involves furnishing the room according to its intended function, such as by adding cabinets or a couch, for example.
If you've built a garage, you might also need to arrange for a driveway or other external works to be completed. You might also want to work on the exterior aesthetics of the structure to ensure it complements the rest of the property.
Remember, when hiring local contractors, the safest approach is to go through our network of verified experts. It also saves you a lot of time. Simply enter your postcode into the search box below and connect with highly reviewed talent in your area.
See the tradespeople we've checked and recommend for your job
More How-To Guides


See the tradespeople we've checked and recommend for your job