Blog>How-To Guides>How to install an extractor fan through a wall
Last updated: 30 May 2024

How to install an extractor fan through a wall
Looking to install an extractor fan through a wall? Follow this expert guide to learn how to complete this job to a professional standard.

Extractor fans are great devices for keeping the air quality high in your home, reducing humidity, and removing unwanted smells from kitchens and bathrooms.
If you're looking to tackle a mould problem, improve ventilation, or hide the fact that you're always burning the cooking, installing an extractor fan through a wall might be the solution you need.
This task requires some basic electrical and carpentry skills, as well as knowledge of safety measures. It's therefore best suited to an experienced DIYer.
In this article, we offer a step-by-step guide on how to install an extractor fan through your wall, including what tools and materials you'll need.
For professional help, enter your postcode into the search box below.
See the tradespeople we've checked and recommend for your job
How to install an extractor fan through a wall
Tools and materials required
Extractor fan unit
Measuring tape
Pencil
Drill with a masonry bit (if drilling into brick or concrete)
Jigsaw or reciprocating saw
Screwdriver set
Wire strippers
Electrical cable and connectors
Wall anchors and screws
Caulking gun and exterior caulk
Ducting pipe (if applicable)
Vent cover (external grille)
Safety goggles
Dust mask
Electrical tester or multimeter
Level
Ladder
If you've got the skills and tools to carry out the job yourself, follow these steps to install your extractor fan into a wall:
Step one: Preparation
The first step is to prepare and plan. Think carefully about where you want to install the fan, ensuring it's in a spot that's easily accessible for ducting and electrical work.
There must be no obstructions, for example, pipes or wires, in the location you want to install the fan. Also, cut the power supply in the area in which you'll be working, as this will keep you safe when doing electrical tasks.
Step two: Create the hole
Using a pencil and some measuring tape, mark the centre point where you want the extractor fan to go and drill a small, level hole from the inside to the outside of the wall.
This will help you maintain alignment through the installation process, and also allows you to double-check for any obstructions within the wall.
Refer to the manufacturer's specifications or take measurements yourself to ensure you cut the right-sized hole, making sure to leave adequate room on all sides.
Using your pilot hole as a guide, take your jigsaw or reciprocating saw and cut the required hole for the fan unit. You might need to do some additional drilling to make room for the saw blade.
Step three: Install fan housing
Carefully insert the fan housing into the hole. It should fit snugly if you've done your measurements correctly. Use screws and wall anchors to fasten the housing to the wall, making sure it's perfectly level.
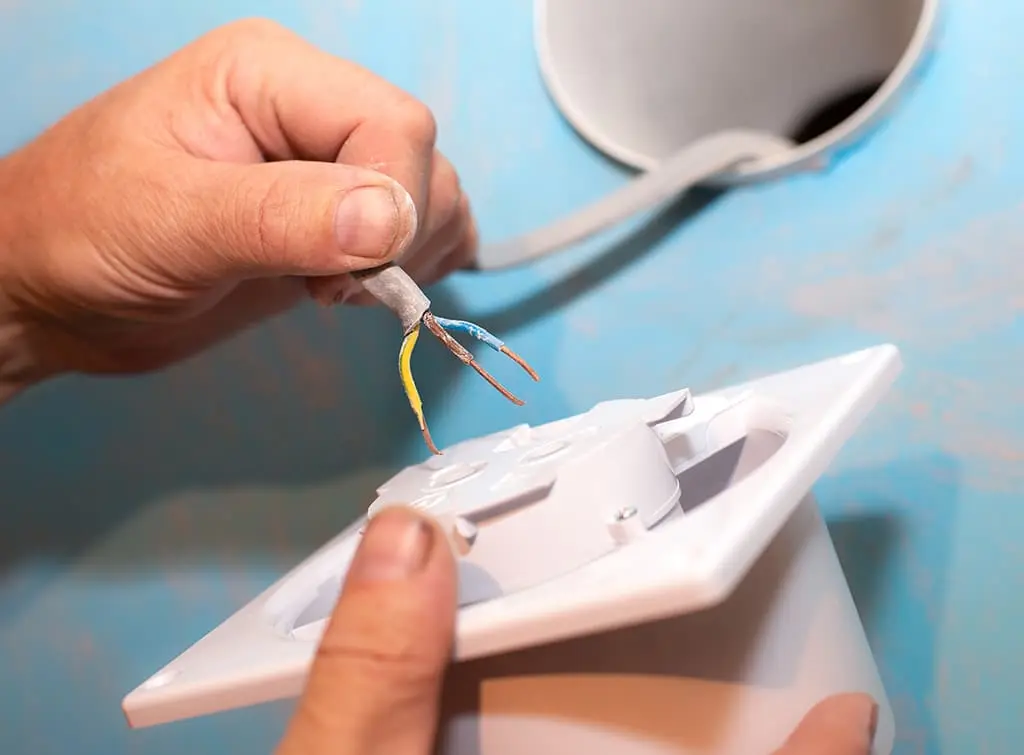
Step four: Complete electrical work
Following electrical standards and approved codes of practice, run an electrical cable from the power source to the fan and connect it.
You'll need to strip the ends of the wires with wire strippers and connect them according to the manufacturer's instructions.
Before securing everything completely, run a quick test by turning on the power and making sure the fan works properly.
Step five: Attach ducting (if required)
Some fan models require ducting. If this is the case for you, connect the ducting pipe to the fan housing and run it to where it can vent outside. Secure the duct in place using clamps or duct tape.
Step six: Final touches
Finally, install the vent cover or grille over the hole on the exterior wall, using screws and caulk to seal the edges. Also, apply some caulk to any gaps around the fan housing to make it airtight.
Once everything is in place, run a final test to check everything's working as it should. Dispose of any debris and clean the work area to finish the job.
Congratulations! And, if you're wondering how much it costs to install an extractor fan, check out this guide.
Find a qualified electrician for the job
Remember, if this is beyond the scope of your DIY skills, don't worry, simply pop your postcode into the box below to find the Checkatrade-approved electricians who come highly rated in your area.
See the tradespeople we've checked and recommend for your job
More How-To Guides


See the tradespeople we've checked and recommend for your job