Blog>How-To Guides>How to repair a cracked bath or shower unit
Last updated: 20 June 2023

How to repair a cracked bath or shower unit
If you need to repair a cracked bath or shower, you've come to the right place. We're going to take a deep dive into the common issues, how to fix them, and when it's best to call a professional to help you out!

Having to repair a cracked bath or shower is a pain for most homeowners. Not only do these unsightly blemishes affect the aesthetics of your bathroom, but they also lead to water leakage and potential structural damage if left unattended for too long.
Fortunately, with the right knowledge and tools, it's easy to fix many common issues with showers and baths.
That's why we're going to explore the types of ceramic damage, provide step-by-step guides on repairing them, discuss when you need to contact a professional tradesperson for more complex repairs, and how much their help will set you back.
And if you'd rather skip all that and contact a bathroom repair specialist straight away, pop your postcode in below and we'll introduce you to the best professionals in your area.
See the tradespeople we've checked and recommend for your job
Common bathtub and shower tray issues
Before we get started, let's take a look at some of the common types of cracks you might need to deal with.
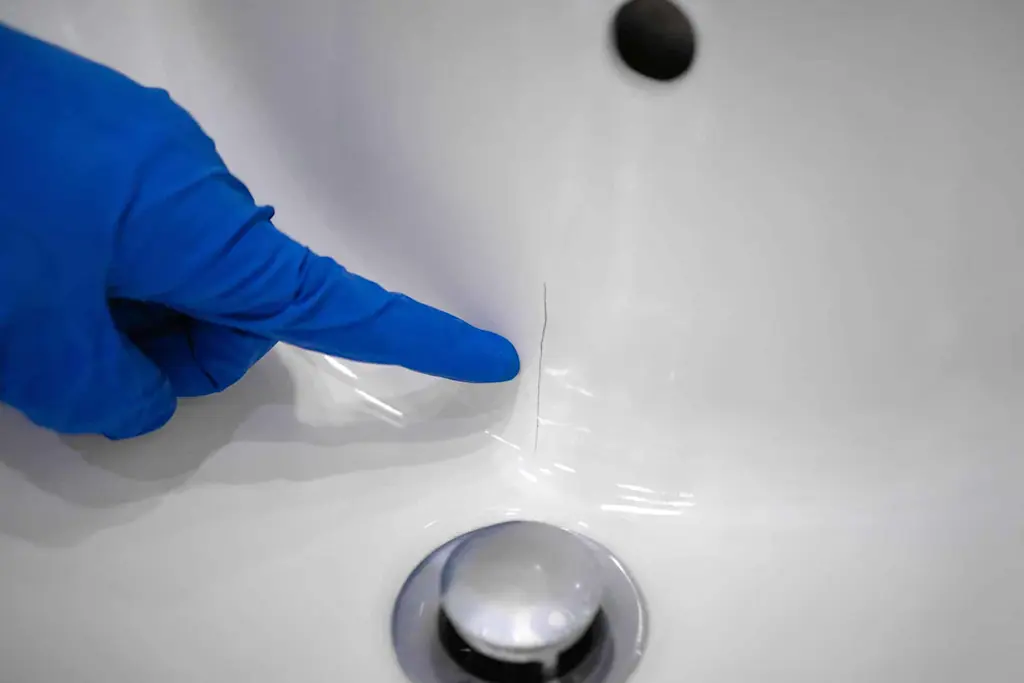
Hairline cracks
Hairline cracks are the most common type of bathtub or shower tray damage. They usually occur because of normal wear and tear and are often superficial, which means they don't cause significant structural problems.
However, it's worth addressing them as soon as you see them to prevent further deterioration and bigger issues in the future.
Structural cracks
These cracks are deeper and compromise the integrity of your bath or shower. They may occur due to faulty installation, movement in your home (e.g., settling) or excessive force.
Structural cracks require immediate attention to prevent water leakage and flood damage to the rest of your bathroom.
Leaky seals
Over time, the seals around your bath or shower start to wear out, which lets water escape. This leads to dampness, mould growth, and even structural damage if it isn't resolved quickly.
Fixing leaky seals is crucial for maintaining the functionality and longevity of your bathroom.
How to repair a cracked bath
Tools you'll need:
Non-abrasive cleaning agent
Epoxy putty that matches the colour of your bathtub
A putty knife
Fine-grit sandpaper
Step 1: Clean and dry the area
Before you begin, use a mild cleaning agent with some warm water to clean the cracked area. Leave to thoroughly dry before moving on to the next step.
Step 2: Fill in the crack
Apply your epoxy-based putty to the crack, making sure to follow the manufacturer's instructions. Smooth the surface with a putty knife and leave it to dry completely.
Step 3: Sand and polish the area
Once the filler is dry, sand the repaired area with fine-grit sandpaper to achieve a smooth finish. Finally, polish the surface using a non-abrasive cleaner to restore your tub to its original shine.
Step 4: Congratulate yourself on your tub crack repair
You are now an accomplished DIY master.

On Checkatrade, you'll only find trades who meet our high standards and pass up to 12 checks.
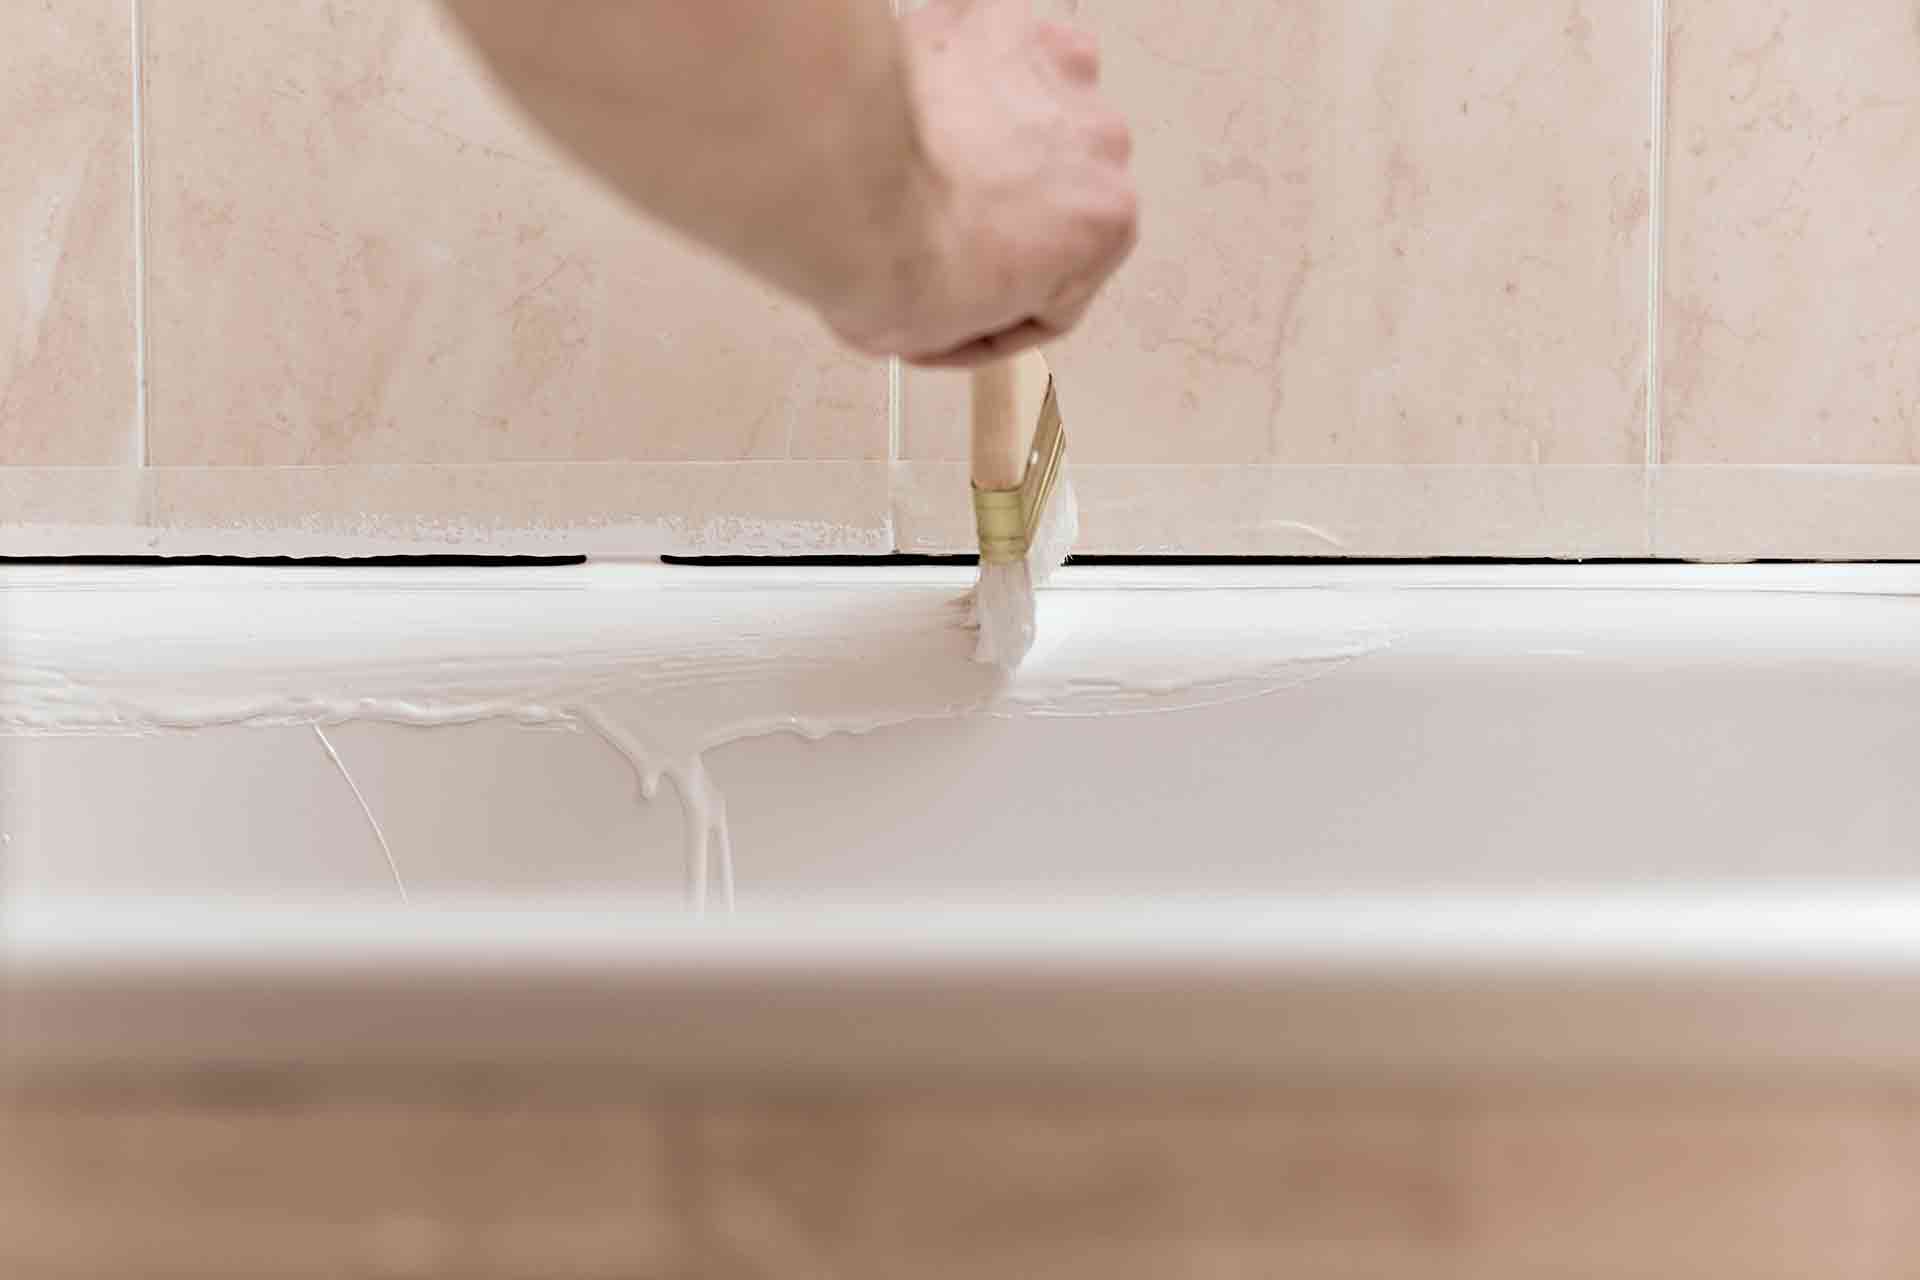
Fixing leaky seals
Tools you'll need:
Scraper/utility knife
Waterproof sealant
Caulk smoothing tool
Step 1: Identify the source
Carefully check the seals around your bath or shower to pinpoint where the leak(s) are coming from. Common trouble spots include corners, edges, and joints.
Step 2: Remove the old sealant
Use a scraper or a utility knife to remove the old sealant. Once fully removed, clean the area and leave it to dry before moving on to the next step.
Step 3: Apply new sealant
Choose a high-quality waterproof sealant, preferably one that is suitable for the material of your bath or shower.
Apply a smooth, continuous bead along the joint, making sure it's properly covered.
For a professional finish, smooth the sealant with a wet finger or a caulk smoothing tool.
Related content: Read our How to reseal a bath in 3 easy steps for more information.

Fibreglass tub crack repair
Fibreglass tubs are durable and affordable, making them popular options for several homeowners.
So, if you notice a crack in your fibreglass tub, here's how to quickly repair it to prevent further damage.
Step 1: Prepare the surface
Clean the cracked area with a mild cleaning agent and warm water.
Remove any debris or loose particles around the crack and make sure the area is completely dry before moving on to the next step.
Step 2: Sand the crack
Use fine-grit sandpaper to gently sand the edges of the crack. This slightly roughens the surface of your tub and helps the repair material bond more securely.
Step 3: Apply fibreglass repair kit
Purchase a fibreglass repair kit from your local hardware store or online. These kits typically include epoxy resin, a fibreglass cloth or mat, and a hardener.
Follow the instructions provided with the kit to mix the resin and hardener into a paste.
Step 4: Reinforce with the fibreglass cloth
Cut a piece of fibreglass cloth or mat slightly larger than the crack.
Next, apply the mixed resin onto the cracked area and press the fibreglass cloth over it.
Smooth out any air bubbles or wrinkles using a brush or roller.
Finally, apply additional layers of resin and fibreglass cloth, if necessary, to reinforce the repair.
Step 5: Allow to cure
Let the repair cure according to the manufacturer's instructions, which usually takes several hours or overnight.
Avoid using the tub during this time to let the repair set properly.
Step 6: Sand and finish
Once the repair is fully cured, use fine-grit sandpaper to smooth the surface of the repair.
Clean the area and apply a gel coat or bathtub refinishing product to match the colour and finish of your tub.
Follow the product instructions for the best results.
See the tradespeople we've checked and recommend for your job
Shower tray crack repair
Shower trays, also known as shower bases or pans, are prone to cracks due to the heavy traffic and impacts they endure. So, learning to repair a cracked shower tray will help extend its lifespan and prevent water damage. Here's how you do it:
Step 1: Clean and dry the area
Thoroughly clean the cracked area using warm water and a mild cleansing agent of your choice. Make sure you remove any grime or soap residue and let the area completely dry before proceeding to Step 2.
Step 2: Fill the crack
Apply a waterproof epoxy filler into the crack, making sure it's smothered completely.
Then, smooth the surface with a putty knife or a plastic scraper.
Remove any excess filler to achieve a level surface.
Step 3: Reinforce with fiberglass mesh
Cut a piece of fiberglass mesh slightly larger than the repaired area. Press the mesh onto the wet filler, making sure it overlaps the crack.
Next, apply a second layer of epoxy filler over the mesh to fully embed it.
Step 4: Leave to cure
Let the repair cure as per the manufacturer's instructions. This typically takes a few hours.
NB: Avoid using the shower while the repair sets properly.
Step 5: Sand and finish
Once the repair is fully cured, use fine-grit sandpaper to smooth the surface.
To finish, clean the area and apply a waterproof sealant or paint. This offers additional protection and restores the appearance of the shower tray.
NB: In some cases, if the crack in the shower tray is extensive or the damage is severe, it may be necessary to replace the entire tray. Consult a professional if you're unsure about the extent of the damage or the best course of action.

See the tradespeople we've checked and recommend for your job
Repairing structural cracks
Step 1: Assess the severity
If you need to repair a cracked bath for structural reasons, you may require professional assistance. For example, if the crack is extensive, growing, or causing water leakage, it's best to consult a qualified tradesperson.
Step 2: Consult a professional
Contact a reputable bathroom repair specialist or a plumber to evaluate the damage. They will determine the best course of action, which may involve patching, reinforcing, or replacing the affected area.

We check the reviews on Checkatrade are from real people, and that trades meet our high standards.
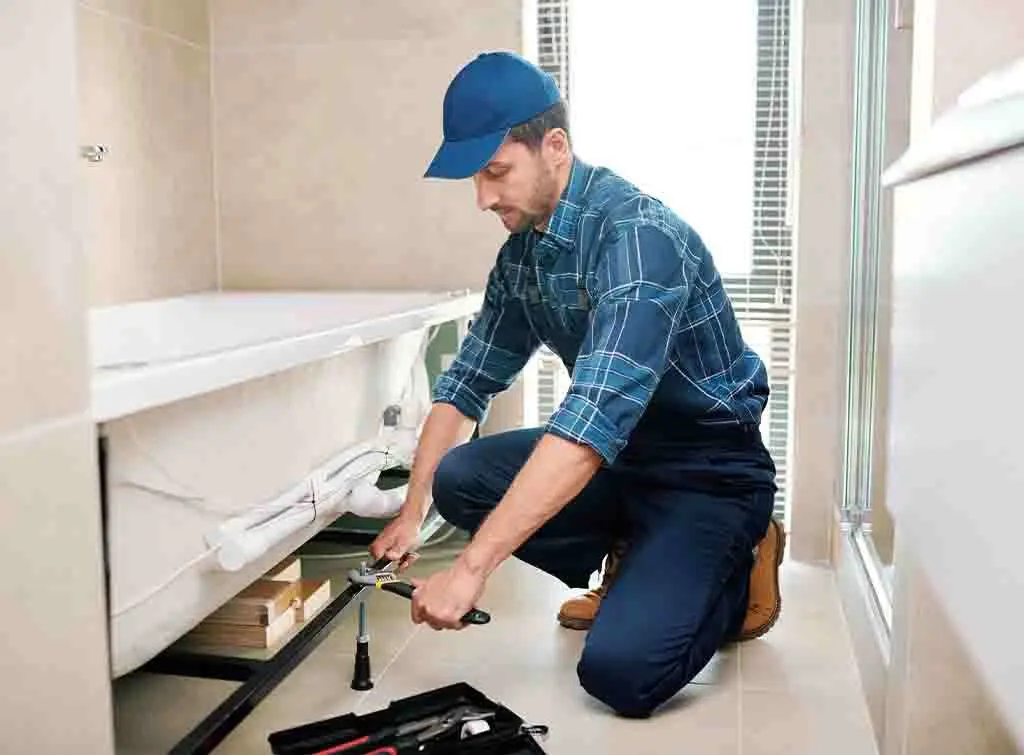
When to hire a tradesperson and their costs
For more complex repairs or if you lack the necessary skills or time, hiring a professional tradesperson is recommended. Here are the types of professionals you may need and the approximate costs involved.
Bathroom repair specialist
A bathroom specialist will handle structural repairs, replace damaged components, and ensure a high-quality finish. The costs will vary depending on the extent of the damage and the specialist's rates.
However, on average, expect to pay between £200 and £500 for a professional repair service.
Plumber
If the crack or leak is related to the plumbing system, consult a qualified plumber. Their expertise will help diagnose and repair the underlying issue.
A plumber's hourly rate, on average, is £50. However, expect additional charges for materials and travel.
Related content: Read our Plumber cost guide for more comprehensive information.
Final thoughts
Maintaining the integrity of your bath or shower is essential for a functional and aesthetically pleasing bathroom.
Thankfully, most cracked bath or shower repairs can be repaired relatively easily. For example, repairing a hairline crack is relatively simple with a bit of patience and the right materials.
However, for structural cracks or extensive damage, we always advise asking for professional assistance to make sure your repair is safe and lasts a long time.
Did you enjoy this article on How to repair a cracked bath or shower unit? If so, check out our blog for more how-tos, cost guides, and helpful advice.
See the tradespeople we've checked and recommend for your job
More How-To Guides

More Bath / Sink / Shower Trays Articles


See the tradespeople we've checked and recommend for your job