Blog>How-To Guides>How to fix drywall corner damage
Last updated: 26 June 2023

How to fix drywall corner damage
Cracks in your drywall driving you nuts? This article covers how to fix it yourself and which tradesperson you might need to call in.
Cracked drywall is an eyesore, and it’s often a tricky issue to resolve without the help of a plasterer. These blemishes have multiple causes, including physical impact, moisture and humidity and poor-quality materials or craftsmanship.
While it’s advisable to hire a professional to carry out repair work, this guide offers the required steps to complete the job yourself.
Tools you’ll need for the job:
Tape measure
Hammer and nails
Utility knife/drywall saw
Metal snips
Level
Joint compound
Drywall taping knife
Mud pan
Sanding block
Primer and paint
Paint brush
Drop cloth
Safety glasses
Dust mask
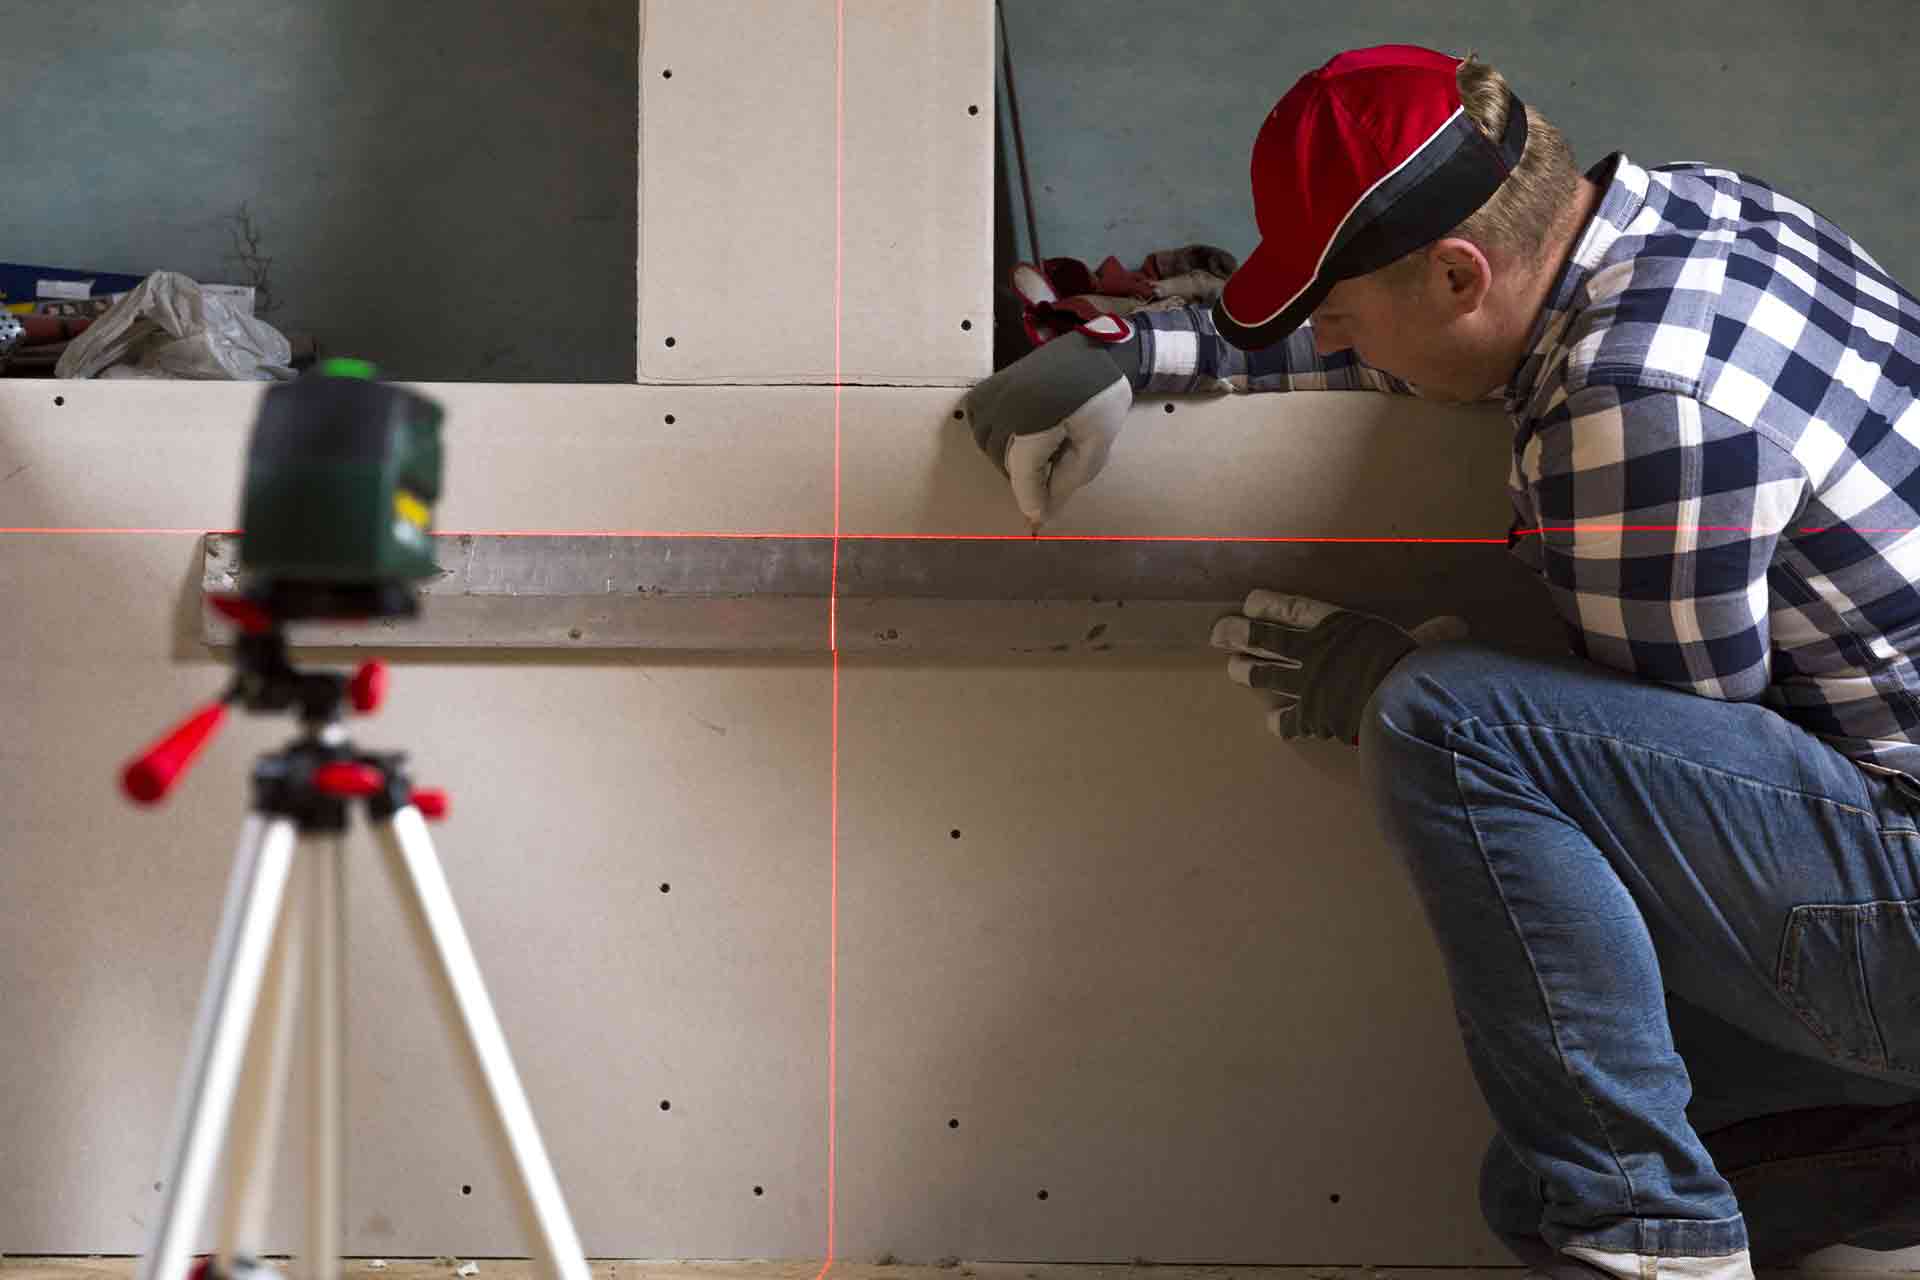
How to repair drywall corner bead
There’s always a risk of making the problem worse if you aren’t trained, so it’s best to consult a professional when carrying out a task like this.
See the tradespeople we've checked and recommend for your job
If you’re feeling confident and want to give DIY a go, carefully follow these steps:
Step 1: Assess the damage
First, inspect the damage to determine the extent of the repair. Is the corner bead loose, dented or rusting? Give it a slight press to see if there’s any movement.
If the corner bead is significantly damaged, you might need to replace it, but if it’s just a few dents and scratches, you can likely fix it with a bit of filling and sanding.
Step 2: Remove the damaged portion
To replace the corner bead, take your utility knife and carefully cut the joint compound around the damaged section.
Next, use a drywall saw or some pliers to remove the damaged corner bead. Be extra careful not to cause further damage to the drywall when removing the corner bead.
Step 3: Cut a replacement section
After removing the damaged section, grab your tape measure and check its exact size to cut a replacement section. Depending on whether you’re using metal or vinyl corner beads, you may need either metal snips or a utility knife to cut to size.
Cut it slightly longer than you need so you have a bit of wiggle room, as you can trim it down later.
Step 4: Secure the corner bead
Place the new corner bead against the corner of the drywall, making sure it’s straight using a level. Use either nails or drywall screws (screws typically have better holding power) to secure the bead, spacing them about 10 inches apart.
Vinyl corner beads will need adhesive to hold them down.
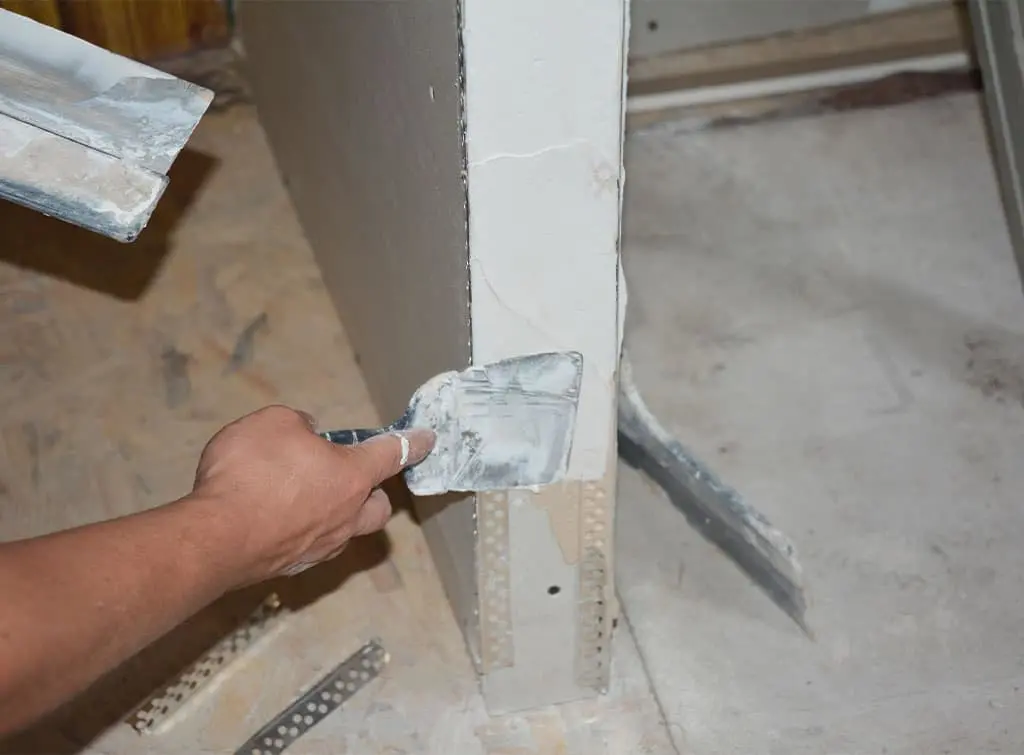
Step 5: Apply high-quality joint compound
Take your drywall taping knife and apply some good joint compound over the corner bead and out onto the wall slightly.
Try to avoid the cheaper joint compounds, as they crack much more easily and create further issues down the line. Make sure to apply a layer that’s thick enough to cover the corner bead, but not too much so as to create a noticeable bump.
Step 6: Feather the edges
Feathering is a technique that smooths out the joint compound and blends it seamlessly with the rest of the wall. To do this, take your knife and angle it slightly, then make long strokes along the compound to thin it down and blend it in. This makes sanding much easier.
Step 7: Leave it to dry
Leave the compound to dry completely. It may take longer in warmer, more humid conditions. It’s usually best to leave it overnight to make sure it’s fully dry.
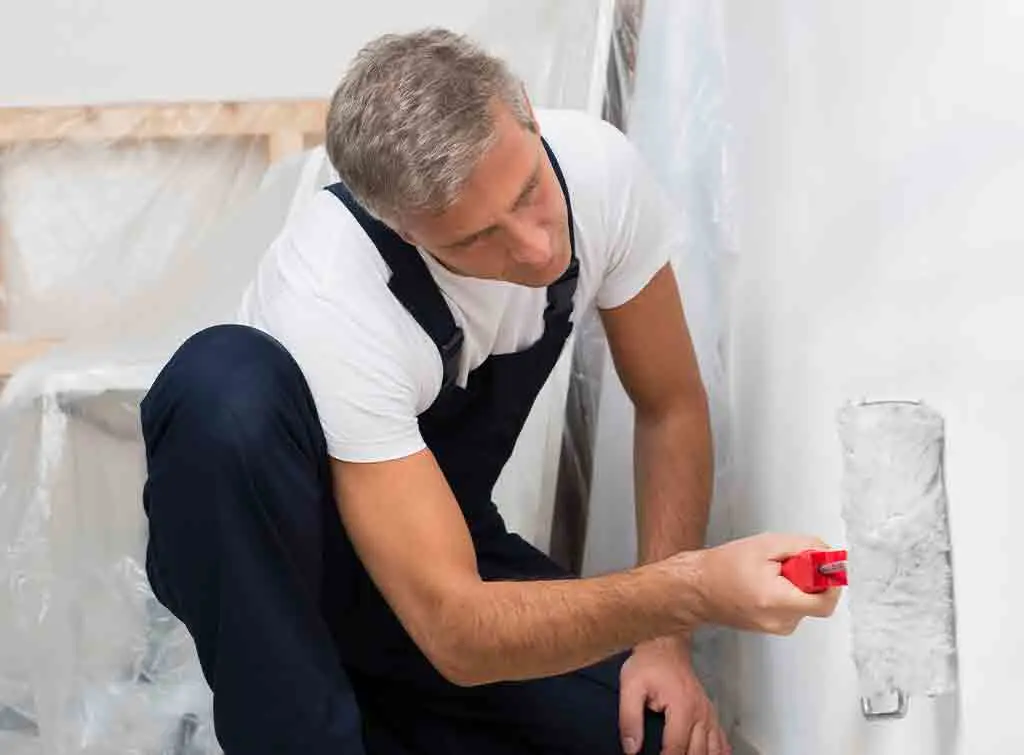
Step 8: Sand it down
Once dry, use a sanding block or a sanding sponge with fine-grit sandpaper to further smooth out and blend in the joint compound. If done correctly, the newly applied joint compound should seamlessly blend in with the rest of the wall. Be careful when sanding to avoid exposing the corner bead or creating new damage.
Step 9: Clean the area
It’s important to clean the area to remove any dust or debris, as this will negatively affect the finish. Take a slightly damp cloth and gently clean the area and surrounding wall.
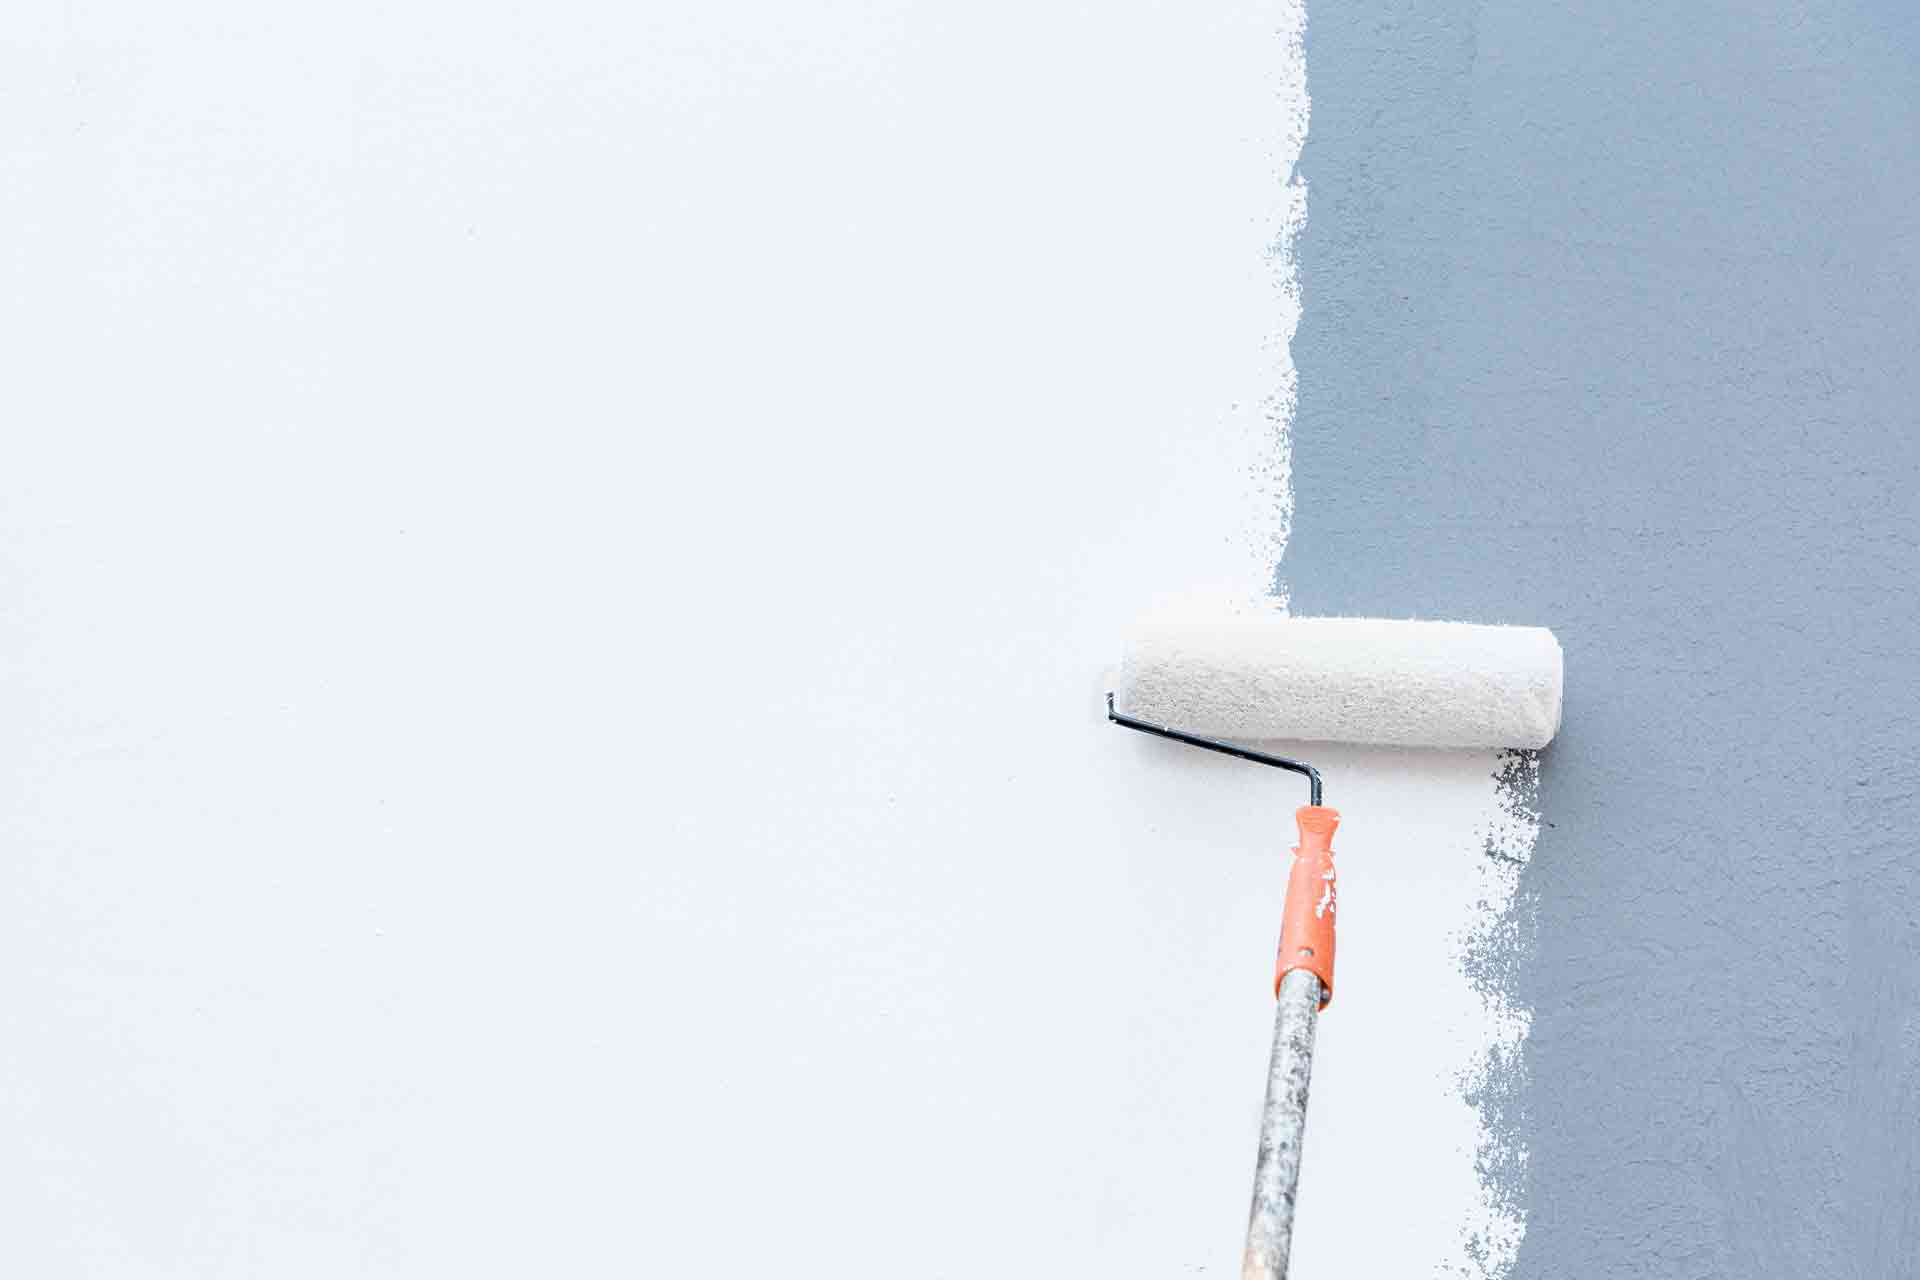
Step 10: Prime and paint the area
Apply a coat of primer before applying paint to ensure the paint sticks properly. Once the primer is dry, paint the area. You may need a couple of coats of paint to achieve your desired look.
How to fix drywall corner bead cracking

If there’s cracking around your corner bead, but the bead itself doesn’t need repairing, the process is a bit simpler.
Still, without proper experience, there’s a good chance you could make the problem worse, turning your cracked drywall into something more costly.
See the tradespeople we've checked and recommend for your job
Here are some steps you can take to fix drywall corner bead cracking:
Step 1: Remove loose material
Take your utility knife or scraper and remove any loose, flaking or protruding joint compound surrounding the cracks.
Be careful not to damage the corner bead in the process.
Step 2: Check the corner bead
Inspect the corner bead to make sure it’s still properly fixed to the wall. If it’s loose, add some extra screws to pin it down.
Step 3: Clean the area
Use a damp cloth to remove any remaining dust or debris, as smaller particles are hard to see at first, but can ruin the overall finish after applying paint.
Step 4: Apply paper tape or mesh tape
Applying some tape over the crack can help prevent future damage and strengthen the joint compound that you’ll apply next. This step is optional, but can be useful.
Step 5: Apply joint compound
Apply some good-quality joint compound to the area with your taping knife, feathering the edges so it blends seamlessly with the rest of the wall. You may want to use an inside corner trowel for inside corners.
Step 6: Let it dry
Leave the compound to dry completely. It’s typically best to leave it overnight to ensure it’s fully dry.
Step 7: Sand smooth
Gently sand the area down using your sanding block or sanding sponge, taking care not to create more damage.
Step 8: Clean again
Give the area a final wipe with a damp cloth to prepare it for priming and painting.
Step 9: Prime and paint
Prime the area, wait for the primer to dry, then apply a layer of paint. A second coat may be required to achieve a uniform look.
How much does drywall repair cost?
Drywall repair costs roughly £120 depending on the severity of the damage. Minor repairs may cost a bit less.
Here’s a helpful cost guide covering drywall repair.
Quick roundup
Corner beads are essential to keep your drywall corners strong and looking good, so it’s important to keep them well maintained. While the process of fixing corner beads and corner bead cracking may seem straightforward in theory, it’s definitely something that requires a skilled hand and some experience.
Untrained DIY attempts can create further problems, some of which you may not even notice, so it’s good practice to hire a professional to ensure you get the seamless finish you’re looking for.
If you enjoyed this article, check out this post on what causes drywall damage and learn how to prevent future problems.
See the tradespeople we've checked and recommend for your job
More How-To Guides


See the tradespeople we've checked and recommend for your job