Blog>How-To Guides>How to make a shoe rack in 10 steps
Last updated: 25 October 2021

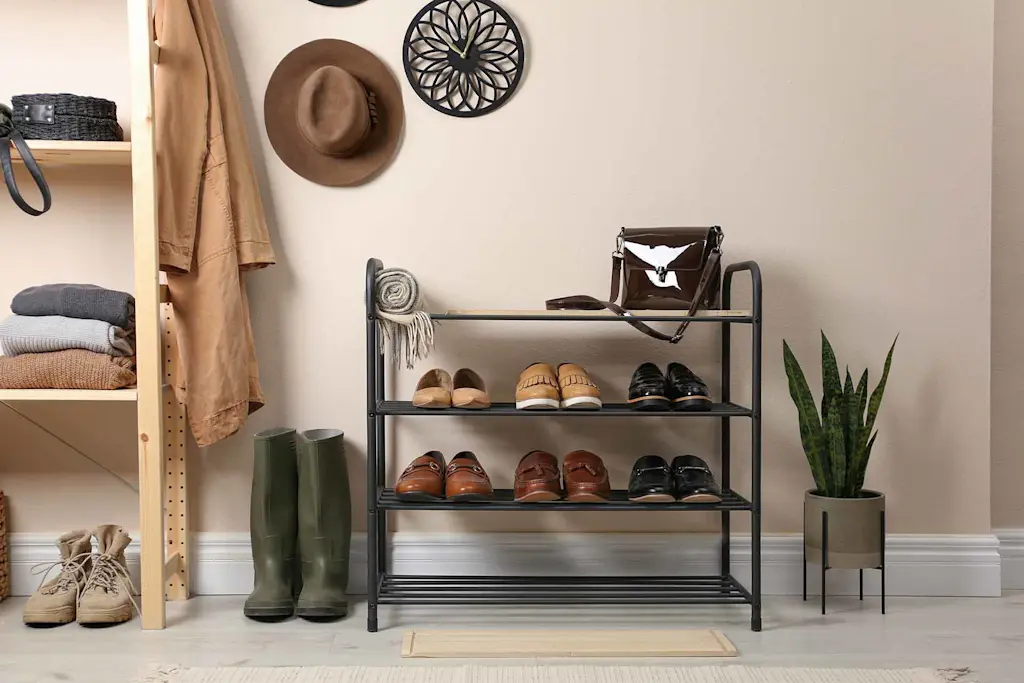
How to make a shoe rack in 10 steps
We're going to show you how to make a shoe rack and minimise clutter. Why not tidy away your pumps in a lovingly homemade design that's both eco-friendly and carbon neutral?
We're going to show you how to make a shoe rack and minimise clutter. Why not tidy away your pumps in a lovingly homemade design that's both eco-friendly and carbon neutral?
Sure, there are ways to store your shoes, that includes hiding them under the stairs, but this guide is going to teach you how to make a shoe rack out of wood pallets. It's worth noting that working with wood, drills and saws requires a basic grasp of DIY techniques. If you're in any way unsure of your skills, don't hesitate to hire a professional to build you a bespoke design.
If you're ready to tackle this project yourself, read on for our top tips and expert guidance.
How to make a shoe rack out of wood pallets
To make this wood pallet shoe rack, source your pallets or reclaimed wood from a local and trusted supplier.
Tools you’ll need for the job
Before you get started, add the following equipment to your arsenal:
4-5 pallets or reclaimed wood
Drill and drill bit set
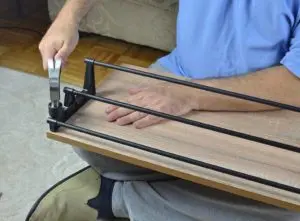
Hand and mire saw
Clamps
Set square
Tape measure
Electric sander
Screws
Wood glue
How to make a shoe rack out of pallets
Step 1: Deconstruct the pallets
Once you've sourced your pallets, it's time to carefully deconstruct them so there are no nails sticking out.
Step 2: Cut the pallets down to size
Measure the pallet's out and decide on the height and length of the shoe rack you want (e.g. 1m H x 1m L). You should have 4 planks that are the same length for the height and 12 planks that are the same length for the shelves. Next, cut 6 planks roughly the length of your shoes (e.g.12 inches).
Step 3: Arrange the pieces of wood
Take two of the pieces of wood for the height of your shoe rack and stand them horizontally on their sides. Then, take one of the smaller planks and place it at the end horizontally on its side – joining the two larger planks together to create a U. After that, place 3 of the smaller planks flat along the top of the structure, starting from the other end of the U at the bottom to create your shelf supports. Leave around a 20cm gap between each so there's enough space for your shoes.
Top tip: Leave a larger area at the top for boots!
Step 4: Screw the wood together
To stop the wood splitting, drill some pilot holes where you're going to secure the planks. Add some wood glue for extra security and screw in the screws to keep it all together. Do the same for the smaller top plank at the top of the structure. You should now have a U shape with three planks on one side of the structure.
Step 5: Repeat this process again
Make another U structure, then line it up with your first structure so you can accurately measure where the shelf support planks are, which will help you make sure your shelves are level. Screw it all together like before so you're left with two identical U shaped structures.
Step 6: Make the shelves
Stand the U structures vertically so the bottom of the U is at the top (like a rainbow). Make sure the ladder planks are facing out so the concave of each structure faces each other. Next, take 3 of the shelf planks of wood and slide them on the top of the bottom shelf support planks on each U structure. Arrange them neatly and line everything up, making sure the middle plank is an equal distance from the outer planks of your shelf.
Step 7: Screw in the shelves
Drill pallet holes like before and screw in the shelves on each rung so you're left with a sturdy finish.
Step 8: Fill in the top gaps with offcuts
After you've secured the three planks at the top of your shoe rack, you'll see there are two small gaps between the planks at each end. To cover these, get some offcuts of the planks you've already cut and measure the distance you need to fill, marking it with a pencil and cutting them to size. Glue these small pieces of wood first and then screw them in.
Step 9: Sand down the shoe rack
Now you've made your shoe rack from old pallets, it's time to sand it all down and prepare it for its final touches. Use a belt sander or industrial hand sander to achieve a smooth and professional finish.
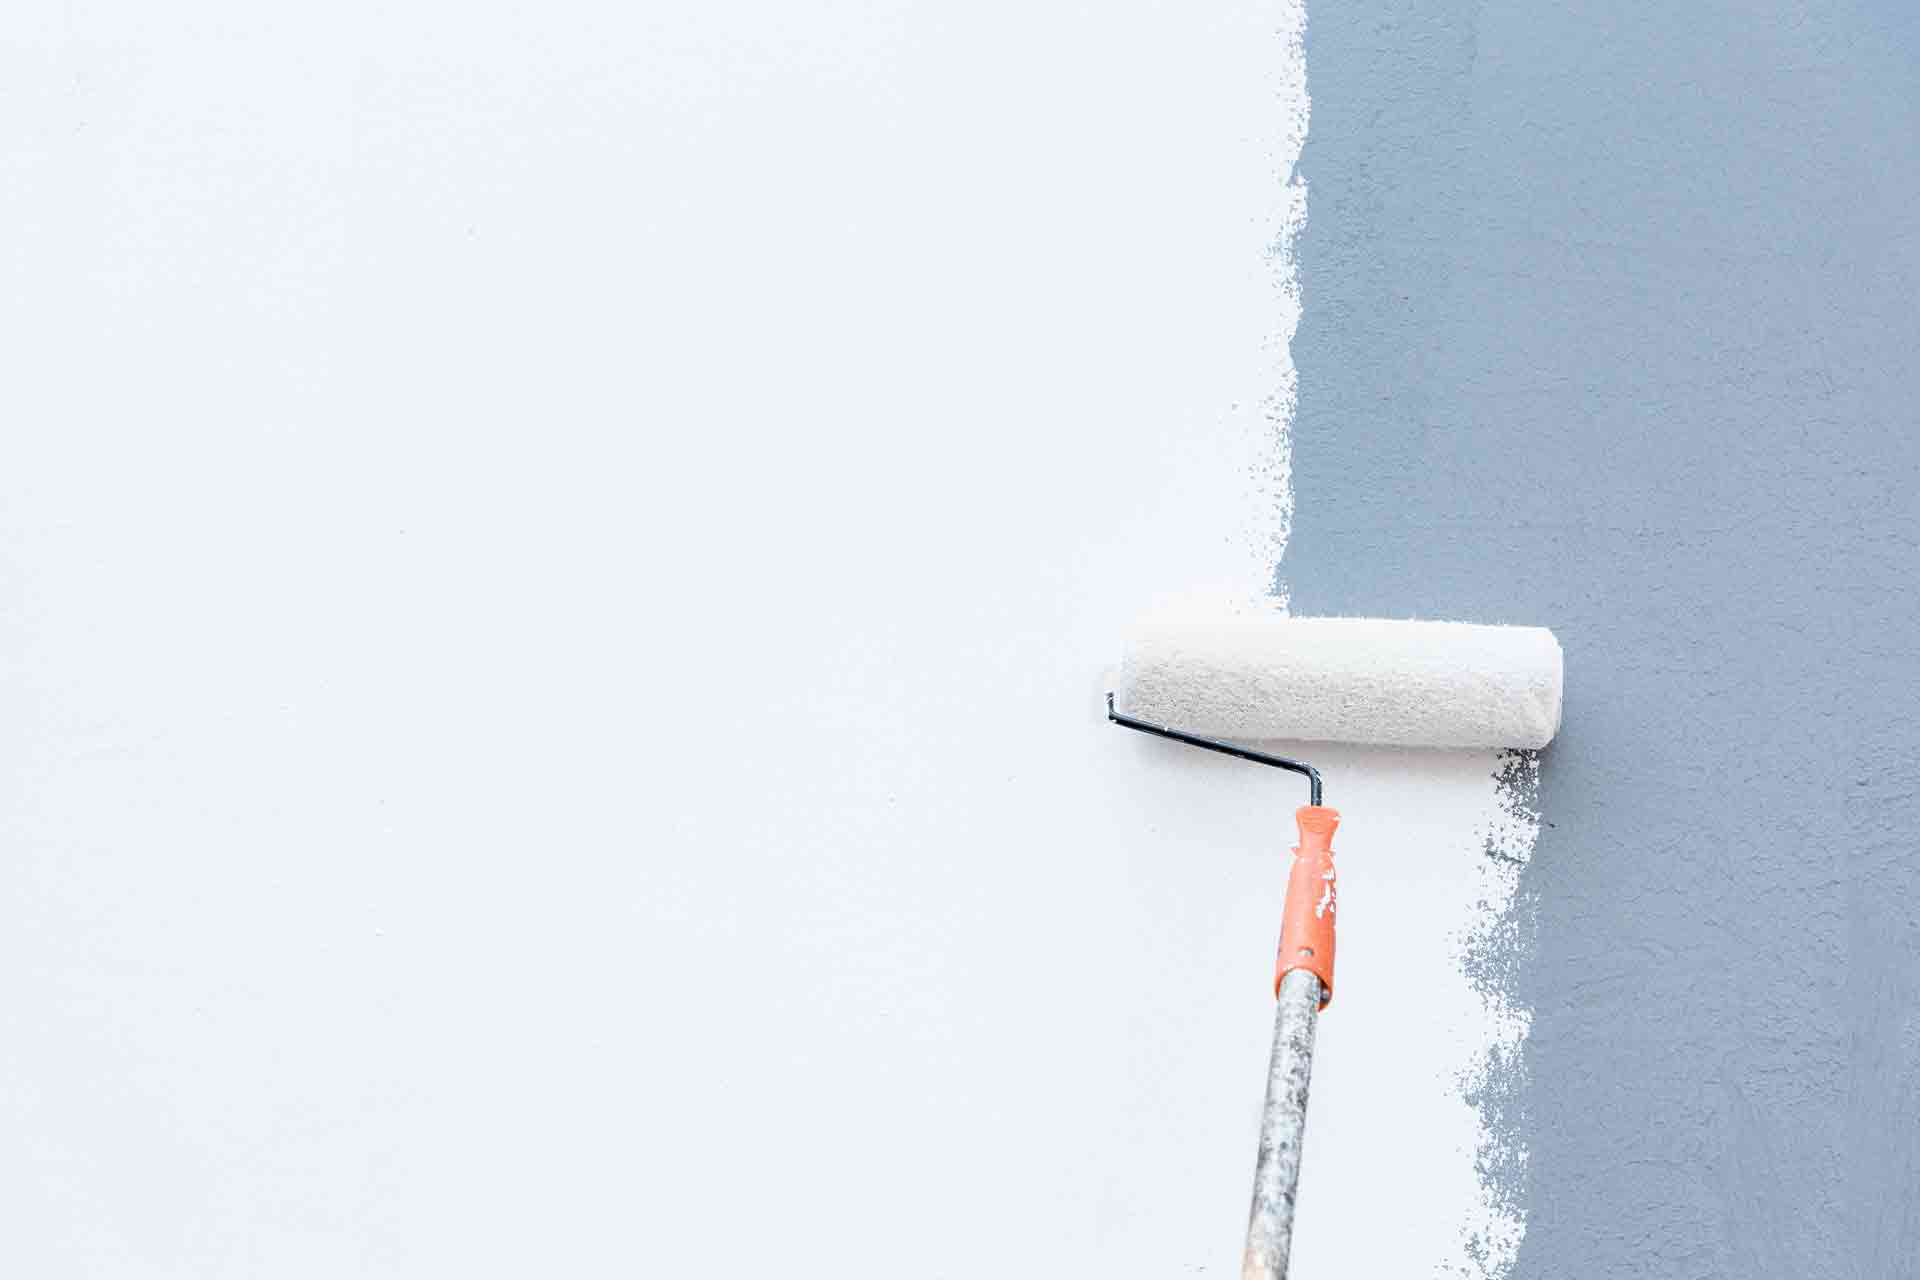
Step 10: Paint your shoe rack
Treat your shoe rack with a pre-wood treatment. Let it dry before going over it with the stain or paint of your choice. Now all that's left to do is store your shoes and admire your handiwork!
Congratulations, you've just learned how to make a wooden shoe rack!
If this sounds like a carpentry nightmare, then why not hire one of our professionals instead? Our experts are trusted by your neighbours and double-checked by us for greater peace of mind.
See the tradespeople we've checked and recommend for your job
FAQs
How to make a cheap shoe rack?
If you want to reduce your spending, think about upcycling or repurposing old household items. For example, an old cabinet, bookshelf or crate can all double up as a shoe rack. All you need is some imagination and flair for crafts!
How do you make a homemade shoe rack?
If you want to know how to make a simple wooden shoe rack, our above DIY guide offers the best and easiest way to build a shoe rack with a professional finish. However, you can also
How do you make a shoe rack out of PVC pipe?
A new trend hitting the interior design world is repurposing PVC pipes, which otherwise end up in landfills. It's a simple process that requires sourcing the pipes (ones that are large enough to house shoes), cutting them all to size, glueing them together to create whatever shape you like, painting them, then hanging them on a wall or leaving them on the floor near your door.
Should I hire a professional?
If you’re thinking of attempting any DIY work, we ask you to think about the risks associated with bad repairs – not to mention the extra costs involved when it comes to correcting any mistakes. If you’re in any doubt about taking on a task, we highly recommend hiring a local expert your neighbours know and trust.
When you hire one of our trusted professionals, you’re able to see their profile and view their customer reviews. Even better, those reviews are from your neighbours and checked by us to make sure they’re legitimate. Not only that, but if you book one of our members for the job, we guarantee their work, which gives you the extra peace of mind and security that you and your house is in safe hands.
More How-To Guides


See the tradespeople we've checked and recommend for your job