Blog>Planning Guides>Replacing your floorboards: everything you need to know
Last updated: 26 July 2024

Replacing your floorboards: everything you need to know
If you’re fed up living with scratched, warped, or creaking flooring, help is here! We’ve put together our top tips for replacing your floorboards.
It’s no surprise that wooden flooring can suffer from various issues over the years. So, if you’re planning on replacing your floorboards, this guide is for you.
We’ll talk you through the common issues with wooden floorboards and what to do when replacing them. Keep reading to find out more…
Step 1: Identify the problem
Wooden floors can add charm and character to a home. However, over time they can present numerous problems to deal with.
The key to keeping your floorboards in optimum condition is to spot the signs of damage early.
That way you can deal with them before long-term damage sets in, causing expensive repairs – or replacement.
5 common problems with wooden floorboards
Here are some of the most common problems you might face with your floorboards:
1. Creaking floorboards
It’s not just in scary movies that floorboards creak. Squeaky floors are a common issue in homes with wooden floorboards.
Creaking floorboards might be a minor issue to fix. But they can sometimes be a sign that there are underlying structural issues.
In some cases, professional assistance may be necessary to resolve the issue, especially if the squeaking is due to structural damage or improper installation.
Need help fixing noisy floors? Check out our guide on how to fix squeaky floorboards.
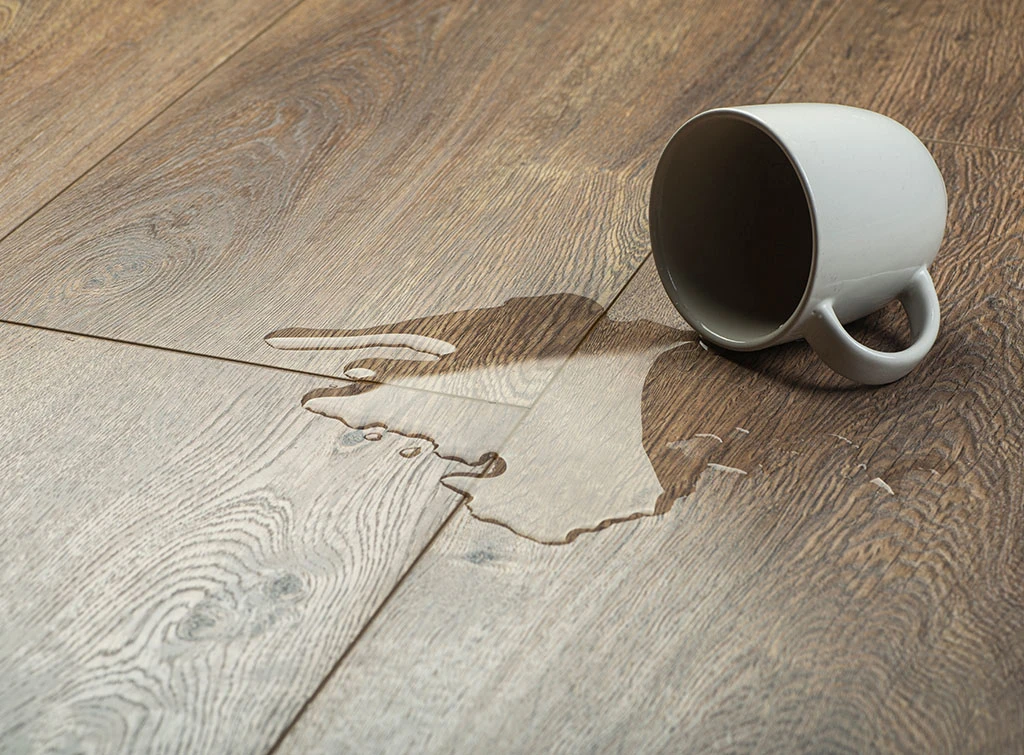
2. Water damage
This is probably the most common issue with wooden floors as exposure to moisture can cause issues, such as warping, cupping, and staining.
To avoid water damage, clean up any spills or fix leaks immediately. You might also want to use protective mats in high-moisture areas, such as kitchens and bathrooms.
3. Scratches, dents and marks
If you have a busy household, chances are your floorboards will get scratched, dented, and marked.
You can minimise physical damage to your floorboards by using felt protectors on furniture legs.
Avoid wearing high heels or sports boots with cleats on your wooden floors. And, if you have pets, keep their nails trimmed to stop them from scratching the floorboards.
4. Fading and discoloration
The combination of sunlight, wear and tear, and particular cleaning chemicals can cause your floorboards to discolour and fade over time.
One of the best ways to reduce this effect is to use window coverings, such as curtains, blinds, or UV-blocking window film.
5. Wonky flooring
Some say that wonky floors are part of an old property’s 'charm'. But they can be a trip hazard and may represent bigger issues lying underneath.
If you notice that your floorboards are uneven, you’ll want to address the issue sooner rather than later.
The issue might be warped or damaged floorboards, which you can repair or replace. But you may find the subfloor or joists need attention.

On Checkatrade, you'll only find trades who meet our high standards and pass up to 12 checks.
Step 2: Research local floorboard experts
For minor issues with your floorboards, you might want to attempt DIY repair work to address the issue.
For example, scratches and dents can often be dealt with by using wood putty.
However, if the damage is more severe, it’s time to call in a professional floorboard specialist. And it’s important to hire the right tradesperson for the job.
Good news… we’ve put together our top tips for finding the right floorboard experts in your area. Check out the handy guides below:
Ready to get started? Enter your postcode in the box below and browse a list of approved wooden flooring experts near you.
See the tradespeople we've checked and recommend for your job
Step 3: Plan your budget
Once you’ve recognised the issues with your floorboards, you can start researching how much it will cost.
Do your homework to find out the going rate for the work. This will give you a benchmark to compare against the quotes you receive from local tradespeople.
To give you a rough idea, here are some average costs for replacing floorboards in the UK:
Lift the carpet, fix creaky floorboards, and lay carpet again (1-4 hours) – £200
Fix broken floorboards and screw loose floorboards (1 day) – £250
Replace a floor joist and several split floorboards (1-3 days) – £400
Learn more in our guide to the cost of replacing joists and floorboards.
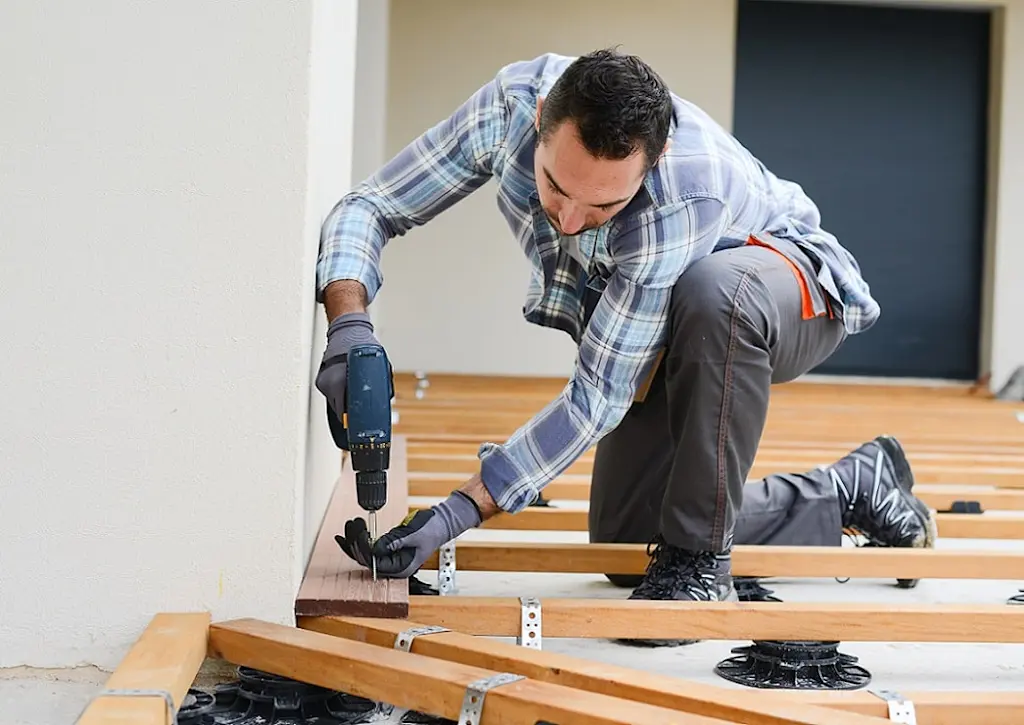
Step 4: The process of replacing floorboards
Whether you’re attempting a DIY job or planning to hire a professional to replace your floorboards, it’s helpful to understand what’s involved…
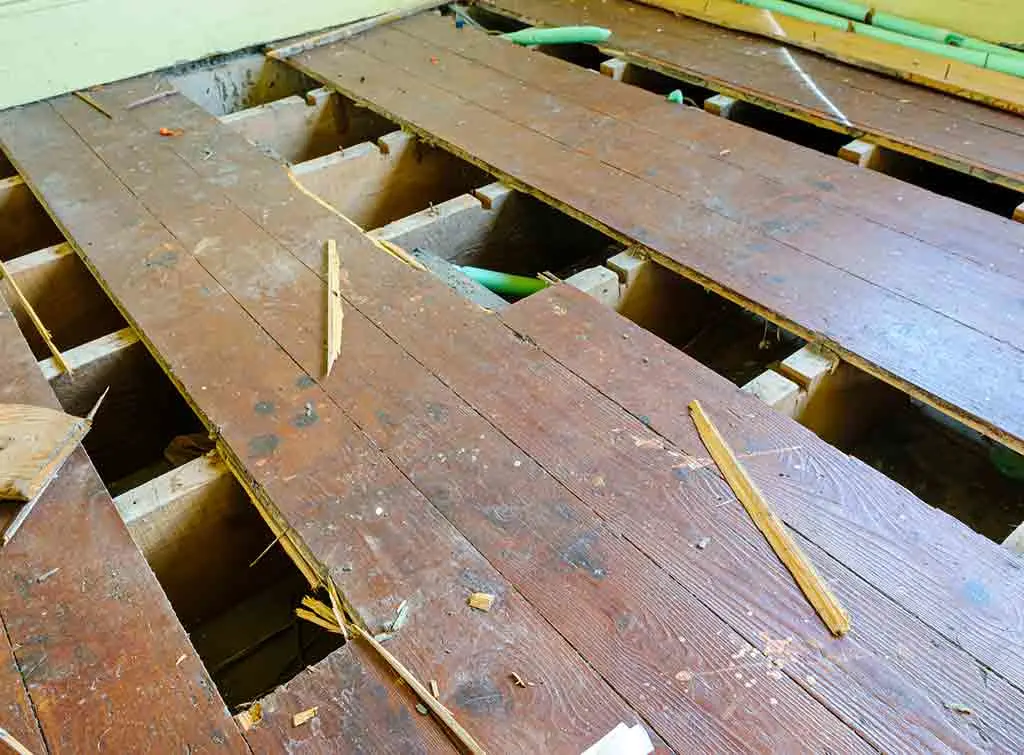
Replacing whole floorboards
When dealing with flooring that has major damage, you’ll most likely want to replace whole floorboards.
Here’s an overview of how to replace them:
Decide which floorboards need to be removed so that you can remove them in one go
Cover your space with dust sheets and masking tape to avoid damaging the other floorboards while you’re replacing the damaged ones
Prepare the new floorboard(s) and make sure they are cut to the required dimensions
Remove the old floorboard(s) one by one, taking care not to damage surrounding floorboards
Lay the new floorboard(s) in place and make any adjustments to get a perfect fit
Secure the floorboards with nails or screws
Sand and polish your whole floor to help match the new floorboards with the older ones – you may also want/need to varnish too
If you’re a confident and experienced DIY enthusiast, you could try replacing your floorboards yourself.
However, if not, we would always recommend hiring a professional floorboard fitter to do the job.
Replacing a section of floorboard
If most of your flooring is in good condition, you might only need to replace a section of floorboard.
Here’s a quick summary of how to cut out and replace a section rather than the whole floorboard:
Lift one end of the damaged board just enough so you can slide a length of wood underneath it
Use a try square and pencil to mark cutting lines, making sure they run along the centre line of the joists below
With a tenon saw cut the section of floorboard, taking care not to damage other floorboards nearby
Measure up the piece of floorboard you’ve removed and prepare a replacement board of the same dimension
Insert the replacement floorboard and secure it in position with ring shank nails or cut floor brads
Drill pilot holes for the nails to stop the wood splitting and fix in place with nails or screws
Are you laying wood flooring for the first time? Take a look at our guide to planning for wood flooring.
Checklist for replacing your floorboards
Take time to identify the type and extent of the problem with your floorboards
Find the right local tradespeople for the job
Research the costs and prepare a suitable budget to cover the work
Only attempt to replace floorboards yourself if you’re confident and experienced at DIY
If in doubt, search Checkatrade for approved tradespeople in your area
See the tradespeople we've checked and recommend for your job

See the tradespeople we've checked and recommend for your job