Blog>Expert Advice>Concealed cistern toilet problems and how to fix them
Last updated: 26 November 2024

Concealed cistern toilet problems and how to fix them
Explore the most common concealed cistern toilet problems and DIY solutions (without the rigmarole of removing bathroom tiles or panelling!) in this handy guide.
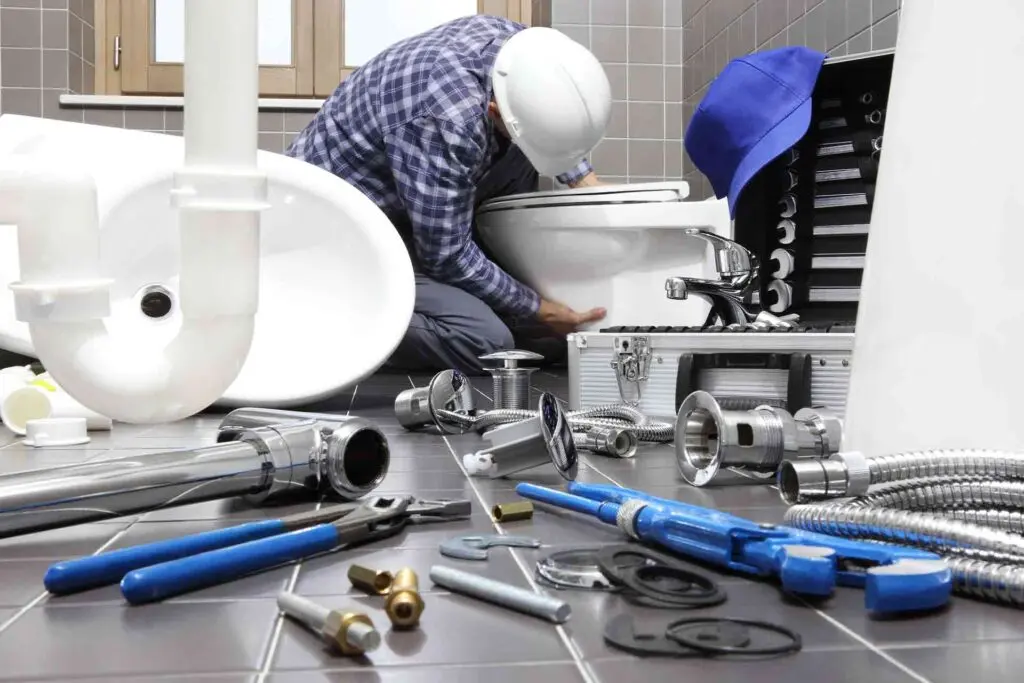
If you're an inexperienced DIYer, just accessing the inside of a concealed cistern toilet can feel like a mystery – let alone fixing it.
Before calling a professional, try this troubleshooting guide. There might be a simple DIY fix, but mainly it will help you establish the problem.
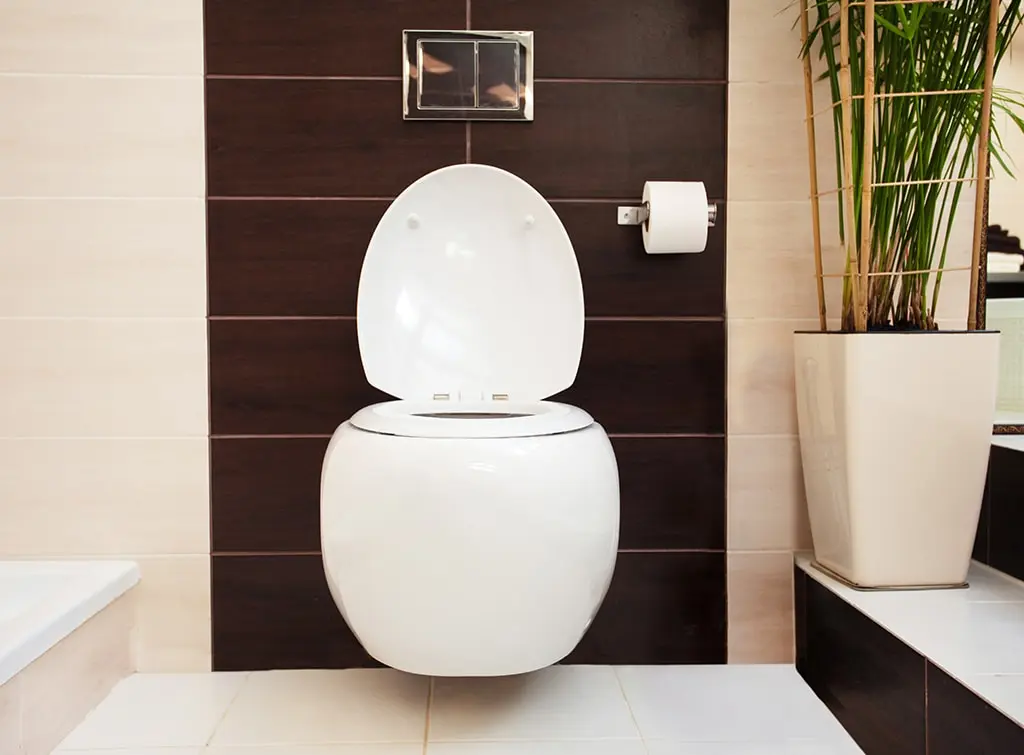
What are concealed cistern toilets?
Concealed cistern toilets are a great option if you’re looking for a sleek, minimalist look in your bathroom.
A concealed water tank (cistern) is hidden behind a wall, panel, or inside a bathroom furniture unit
This contrasts to traditional cisterns, which are visible and mounted
Cisterns are usually on the wall or connected directly to the toilet bowl
Concealed cisterns are exactly that - concealed
This ‘concealed’ feature is all well and good until you experience a problem. Because the cistern is hidden, leaks or faults can be difficult to spot, and repairs may be trickier than in traditional setups.
So, what are the most common problems with concealed cistern toilets? That’s up next.
Common concealed cistern toilets problems
If left ignored, a faulty or leaking cistern could wreak havoc behind the scenes.
That’s why watching for early warning signs of problems is vital. They include:
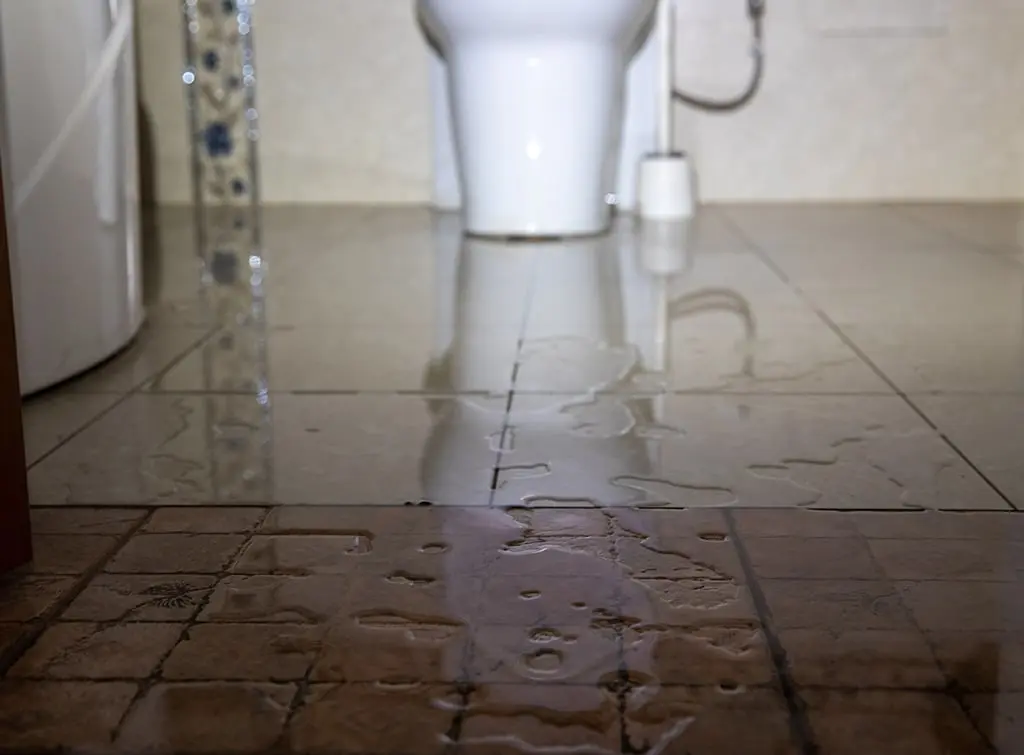
Leaks
Constant sound of running or dripping water – Even without being flushed
Puddles of water – Around the base of the toilet or the surrounding wall
Sudden increase in your water bill – A warning sign of a hidden leak
Weak flush – The cistern may take longer to refill after flushing because of a leak
Visible damp patches, peeling paint, or mould – You’ll most likely see this below the concealed cistern if it’s mounted on a wall
Soft or warped wood – Tap around the area to check for surfaces damaged by water
Flush and other issues
Weak or inconsistent flush – Could be due to reduced water pressure caused by a leak, or you may need to alter the flush rods (more on that below)
Stuck flush buttons – Something mechanical is wedged or dislodged
Slow refilling after flushing – Could be a valve issue (more on that later)
Access issues
No access – You could find your cistern hasn’t been fitted with an access maintenance panel or tile

Accessing the cistern
Many homeowners will be surprised to learn that accessing the cistern via the flush plate or access panel can solve most problems with some DIY know-how.
Better still, in most cases, there’s no need to rip out tiles or surrounding panelling either.
But if you’ve not had a concealed cistern toilet before, just gaining access can feel like entering Fort Knox. Here’s what to do:
1. Turn off the water supply
First things first, turn off the water supply at the mains. You don’t want to add flooding to your problems!
2. Find the access point
Most concealed cisterns have an access panel or a flush plate that provides entry to the cistern. Normally it’s above the toilet bowl or integrated into the wall.
3. Remove the flush plate or access panel
Flush plates on newer models are usually detachable.
The most common is a push-to-release flush plate. To pop it out, press on one side of the plate.
If that doesn’t work, it might be a screw or a clip-on mechanism which you can gently slide off.
On access panels, you might see a small slot for an Allen key or similar to pop the panel out.
4. Access through the panel
Once the flush plate or access panel is removed, the debris panel behind it should be visible. This needs to be removed, too.
Most panels are clipped in. However, sometimes, you might find the debris panel is secured by the flushing rods. In this case, you’ll need to turn the rods anticlockwise to remove the panel.
Once the debris panel is off, you can inspect the internal components and cistern. That's all up next.
Can’t figure out access? If your cistern has been poorly designed or the access panel is obstructed, removing tiles or surrounding panelling might be the only option. We recommend hiring a plumber to take a look.
DIY solutions for concealed cistern toilet problems
Top marks if you've now figured out how to access your cistern!
Now, you can troubleshoot the problem by inspecting the components and the water tank (cistern) for signs of:
Leaks
Damage
Blockages
Loose connections
If you’re an inexperienced DIYer, this might sound daunting. Don’t worry. A cistern's key components are designed to be easily clipped out. Just be patient and don’t force anything.
Top tip: Take a photo of each component before you remove it. That way, you’ll remember how to reassemble the parts again. Most manufacturers have manuals online for you to download, too.
See the tradespeople we've checked and recommend for your job
Checking for leaks
Have you noticed a constant, subtle trickle of water into the bowl? Or perhaps it's more obvious, with water constantly filling up and emptying simultaneously? Either way, it sounds like your toilet is leaking into the bowl.
While ignoring a subtle trickle to avoid costly repairs might be tempting, it’s not worth it. Ignoring the issue could increase your water bills and damage the internal system components.
If you’re sure there’s a leak, there are three steps you can take.
1. Adjust the water flow rate
That constant water trickle could be because the cistern's water flow rate has been set too high.
This is a simple fix, but you’ll need to find the isolating valve. This is usually positioned near the water inlet pipe feeding the concealed cistern. Refer to your cistern manual or download one online if you're unsure.
A screwdriver slot or a lever operates most isolator valves. Turn clockwise to reduce the water flow rate or anticlockwise to increase the water flow rate.
Once you’ve turned your water back on, you can test the toilet flush and see how quickly the cistern refills.
2. Inspect the overflow pipe
If this doesn’t do the trick, it could be a crack in the overflow pipe, causing the water to trickle out constantly.
While you can buy replacement overflow pipes, they must be like-for-like replacements. We recommend taking the existing component to a plumber’s merchant to match it with a replacement part.
You can also learn more about fixing a running toilet in our advice guide.
3. Tighten the inlet valve fixing nut
Another reason for the overflowing could be that the cistern's fixing nut has become loose.
This is a more complicated job and requires draining the cistern first, as the fixing nut is located at the bottom of the cistern.
You’ll also need to be careful not to overtighten the fixing nut, as this could crack the cistern (especially if it’s plastic).
Use your cistern manual (or download one online) for a step-by-step guide. However, if you’re not a confident DIY-er, we think this is one job best left to the professionals.
Top tip – An easy way to check for a leak in the bowl is to do a dye test. Add a few drops of food colouring to the cistern and wait about 30 minutes without flushing. If the coloured water appears in the bowl, there’s a leak.
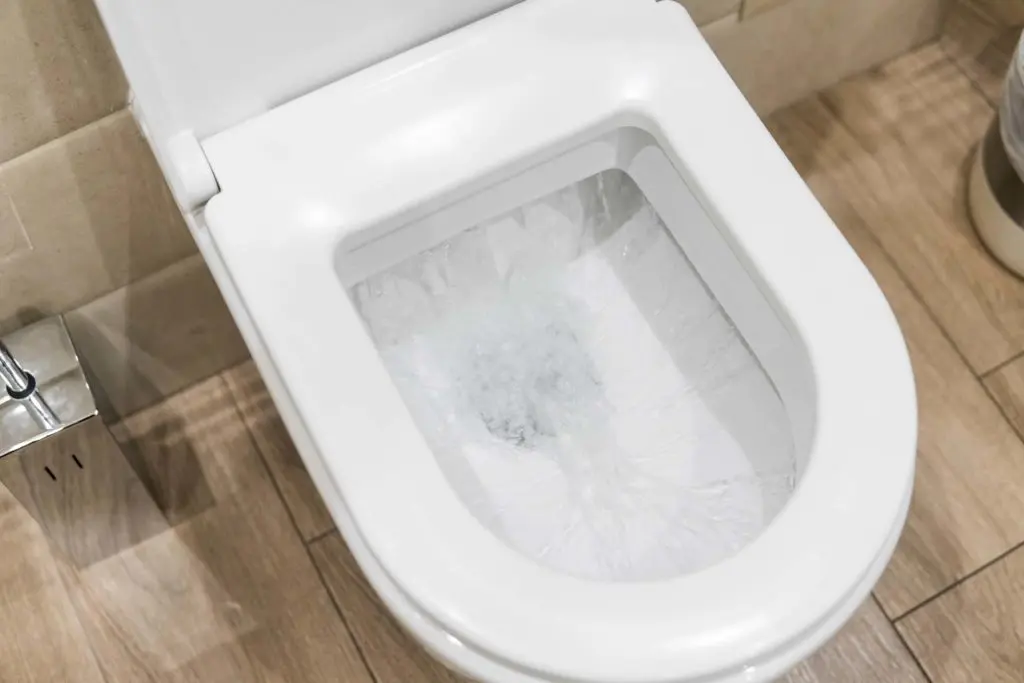
Checking for flush issues
A lack of resistance in your flush is annoying. But it can be quite an easy fix – if you know what to look for.
Follow these steps to sort out the problem:
1. Adjust the flush rods
Are the flush buttons not working correctly? Your flush rods may not be set to the correct size. This can sometimes be overlooked when cisterns are first installed.
Most flush rods are designed to be screwed in or out to fit the required length that connects the flush buttons to the internal flush mechanism. Luckily, it's one of the first components you'll see when you remove the debris panel.
To make your flush more powerful, it might be a simple case of tightening the rods to engage with the internal flush mechanism fully.
Just make sure the rods align properly with the buttons when reassembling.
2. Check the flush valve
It might be that the flush level on the valve isn’t set correctly.
Removing a flush valve to see what level the flush is set at can be fiddly because it’s the largest component in the cistern. However, you should be able to remove the component with some patience and wriggling around. Again, refer to your manual if in doubt.
Once you’ve removed the flush valve, look for a lever (normally red) to adjust the height of the water level. Move the red lever up or down for a reduced or full flush.
3. Clean out limescale
It’s rare that you’ll ever need to order spare parts for a cistern. Nine times out of ten, internal components simply need a good clean.
Over the years, limescale and other debris can build up on the cistern parts. Removing and cleaning key components could give the cistern a thorough maintenance check.
However, it’s essential not to use bleach or bleach-based products to clean the components, as this can damage the seals.
A soak in a limescale remover should do the trick.
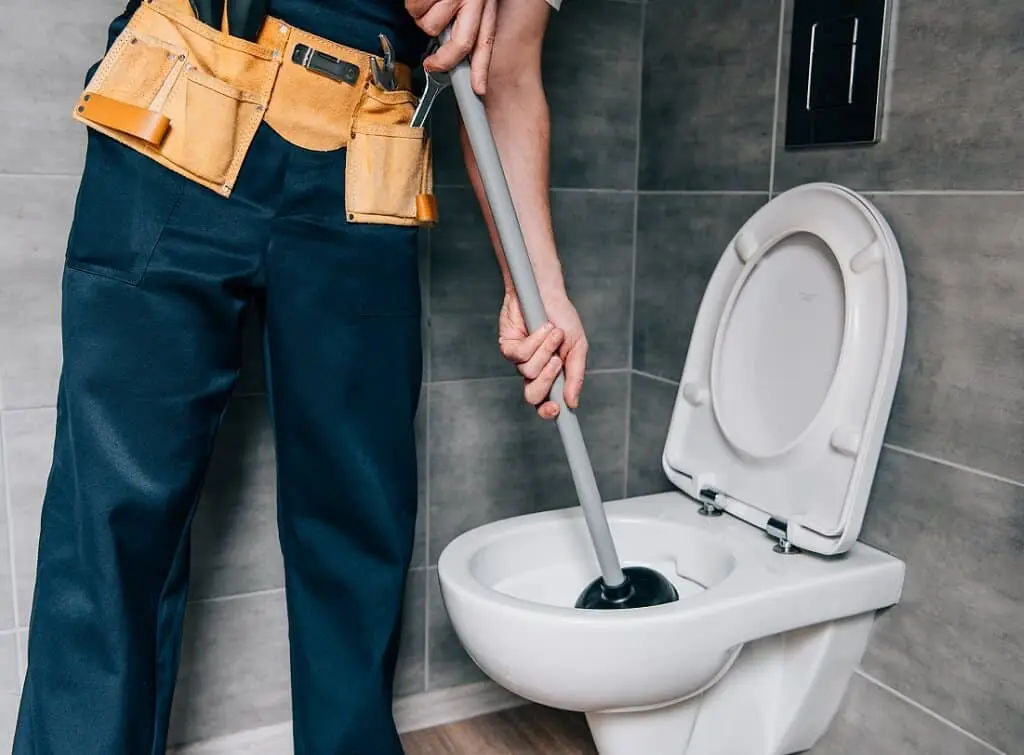
When to hire a professional plumber for your concealed cistern toilet problems
As we’ve explored above, some issues can be tackled with some DIY know-how.
However, other problems need the expertise of a professional plumber to avoid causing further damage – or flooding disasters!
Issues we recommend leaving to the professionals include:
Replacement parts
While there’s nothing to stop you from trying to replace a part yourself, finding like-for-like replacements can be tricky. That’s because not all cisterns are the same size, and there are slimline models.
That’s why we think it is best left to the professionals.
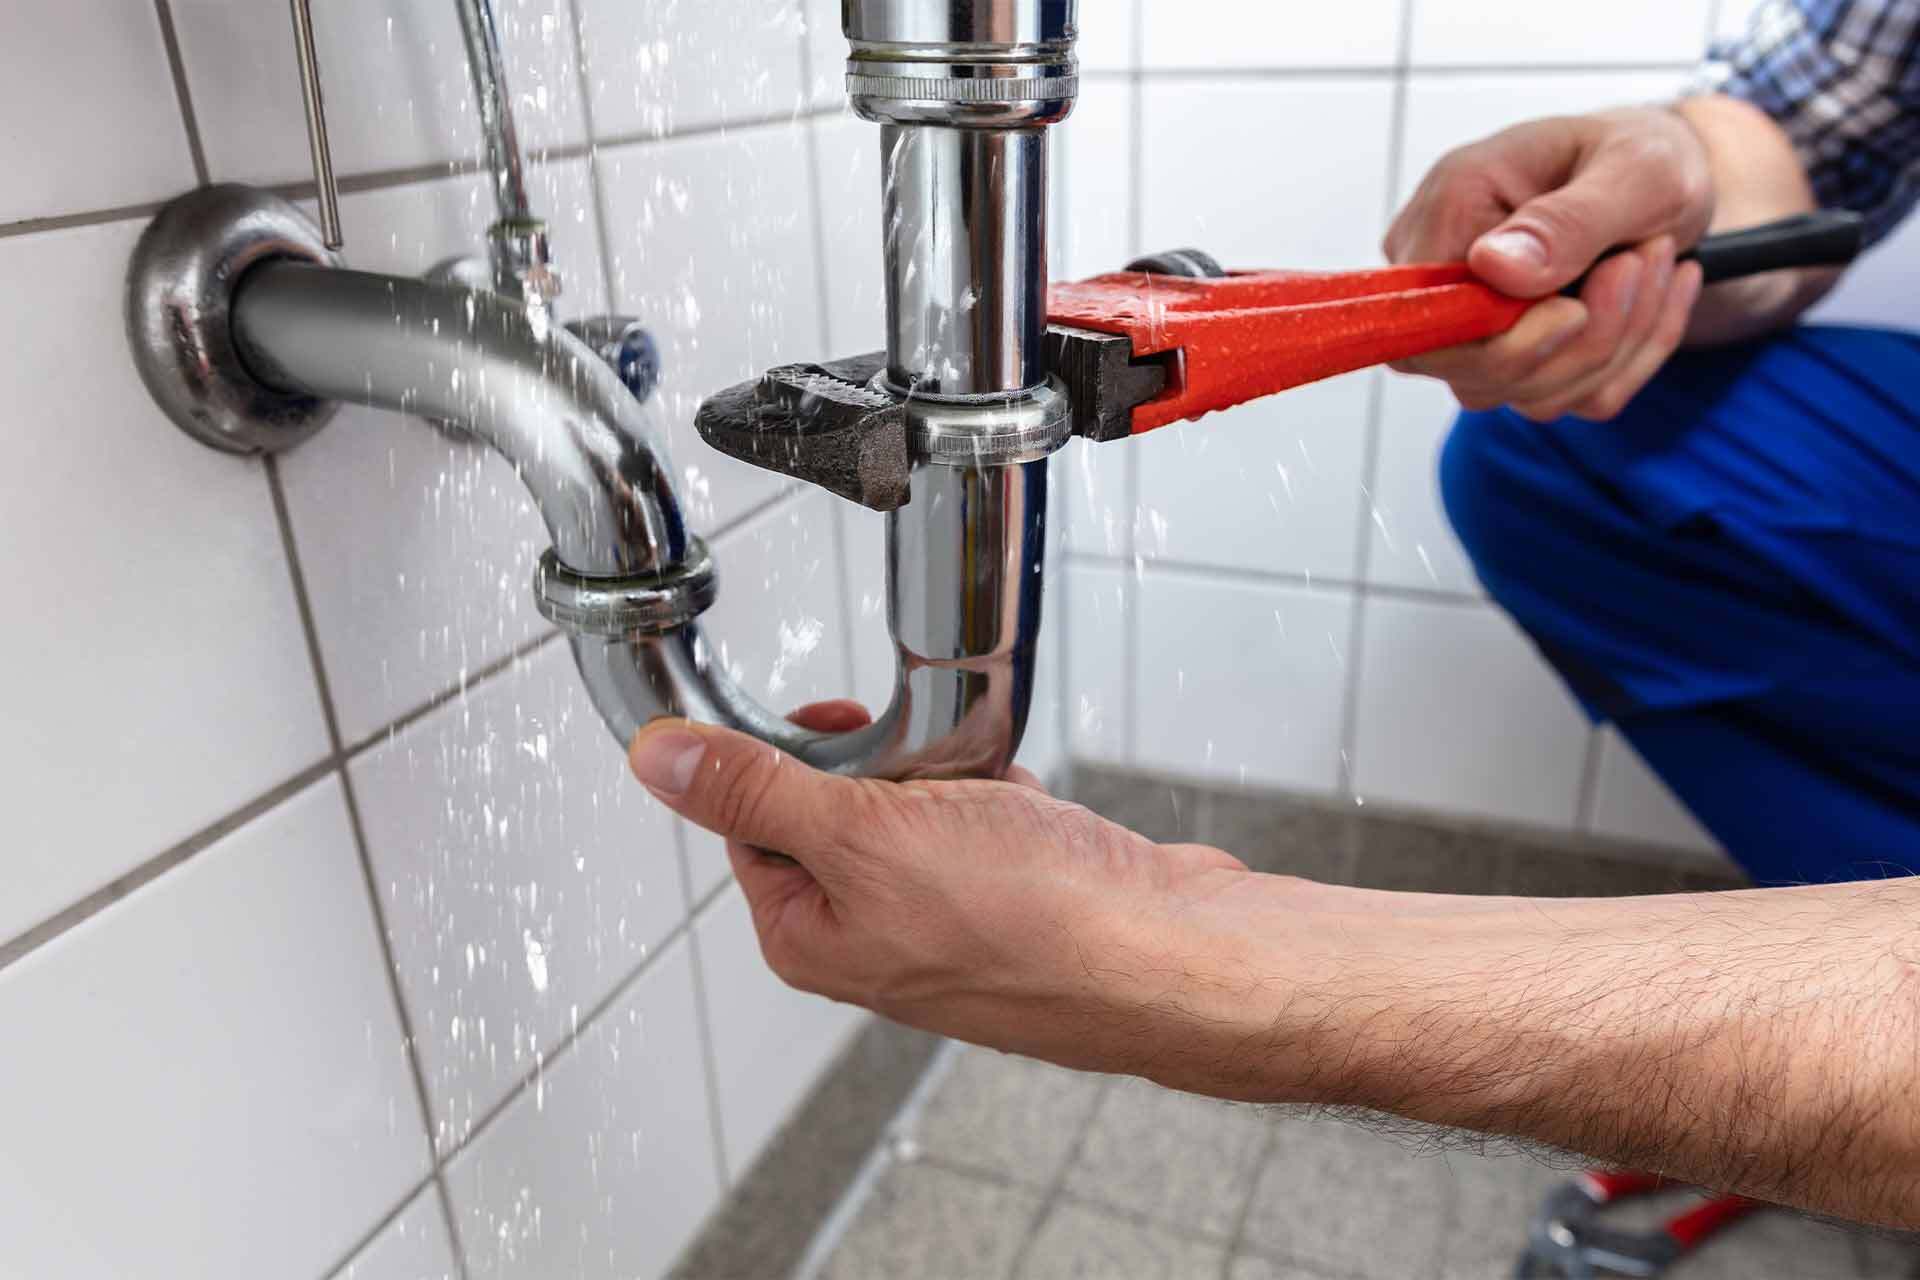
Persistent leaks
If water continues to leak into the bowl or onto the floor despite attempts to fix the flush valve or seals, there might be a hidden fault that needs a plumber's expertise.
Low or inconsistent water pressure
If the cistern fills too slowly or the flush is weak, there could be deeper plumbing issues, such as blockages, damaged pipes, or problems with the water supply line.
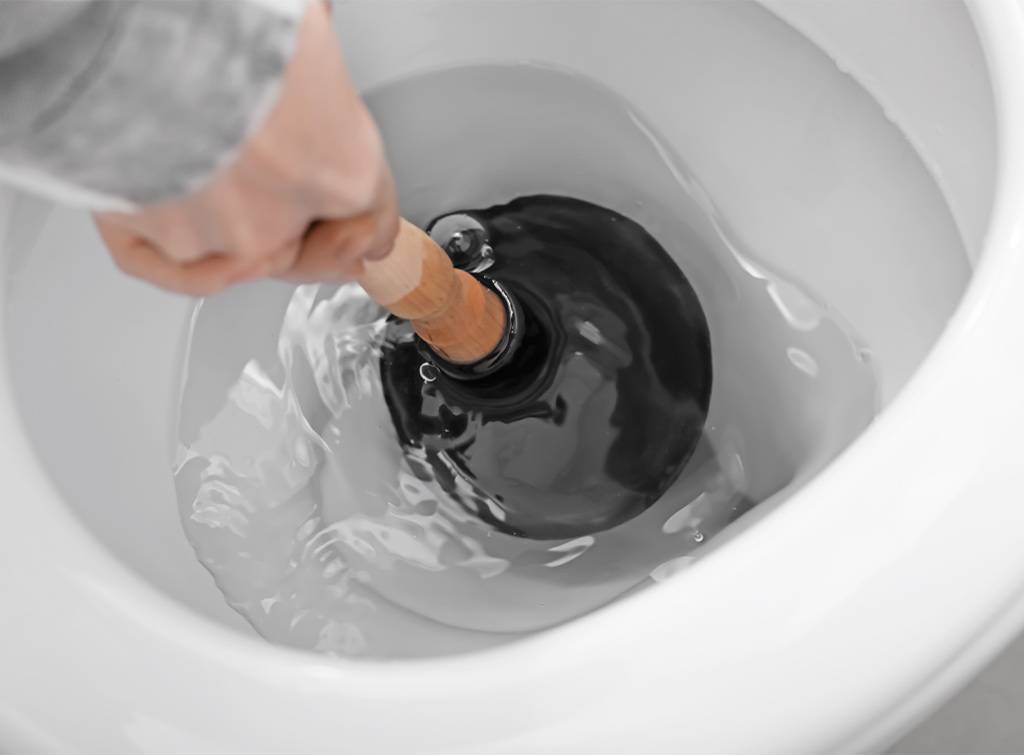
Drainage issues
If the toilet backs up and doesn’t flush, the issue may be a blocked or damaged drainpipe. This is not typically a DIY fix and requires specialised equipment.
Access issues
Can’t access the concealed cistern because it is poorly designed or obstructed? Hiring a professional rather than damaging the surrounding panelling or tiles might be better.
This is especially important if you are renting, as you don’t want to be responsible for any unnecessary damage.
How to find a reputable plumber in the UK

Find and book plumbers near me
Looking for local plumbers in your area? A quick search for 'plumbers near me' online and the options can feel overwhelming. Let Checkatrade take out the guesswork by searching and booking using our free directory instead.
Ready to find an experienced and reliable plumber near you?
Here are three simple ways to help nail down your search:
Use a professional directory
Save time by using our professional directory.
We're so confident in the quality of the trades on Checkatrade that if you book through us, we guarantee their work up to £1,000. Guaranteed for 12 months – Eligibility criteria and T&Cs apply.
Contact or pay a trade through Checkatrade and you’re covered by our 12-month guarantee of up to £1,000*

Read online reviews
A review from a previous customer is one of the best ways to check a tradesperson's professionalism.
At Checkatrade, we check all online reviews to ensure they're from real people and that trades meet our high standards.
We check the reviews on Checkatrade are from real people, and that trades meet our high standards.
Compare quotes
Get at least three quotes from experienced plumbers. That way, you can be sure you're getting the best tradesperson and price for the job.
Search your postcode to get started.
See the tradespeople we've checked and recommend for your job
How much will a professional plumber charge?
Decided it’s time to call in the professionals?
To help you budget, you're looking at paying a plumber £50 per hour or £350 per day.
Don't forget that replacement parts will be an additional cost on top of the plumber's rate.
Check out our comprehensive toilet installation cost guide to find out more.
See the tradespeople we've checked and recommend for your job
Concealed cistern toilet problems – key takeaways
Never ignore small leaks or other niggles like constantly trickling water – if ignored, you could have water damage or a broken cistern on your hands
If you can gain access to the concealed cistern, there are some simple DIY fixes you can do yourself
Not a confident DIY-er or struggling to gain access to the concealed cistern? You might be better off hiring a professional plumber to help
The going rate for a plumber is approximately £50 per hour
More Expert Advice Articles


See the tradespeople we've checked and recommend for your job