Blog>Expert Advice>Restoring your home after the school holidays
Last updated: 13 September 2023

Restoring your home after the school holidays
The school holidays mean one thing for parents: a whirlwind of excess energy unleashed on your home. Find out how you can restore order and cleanliness.
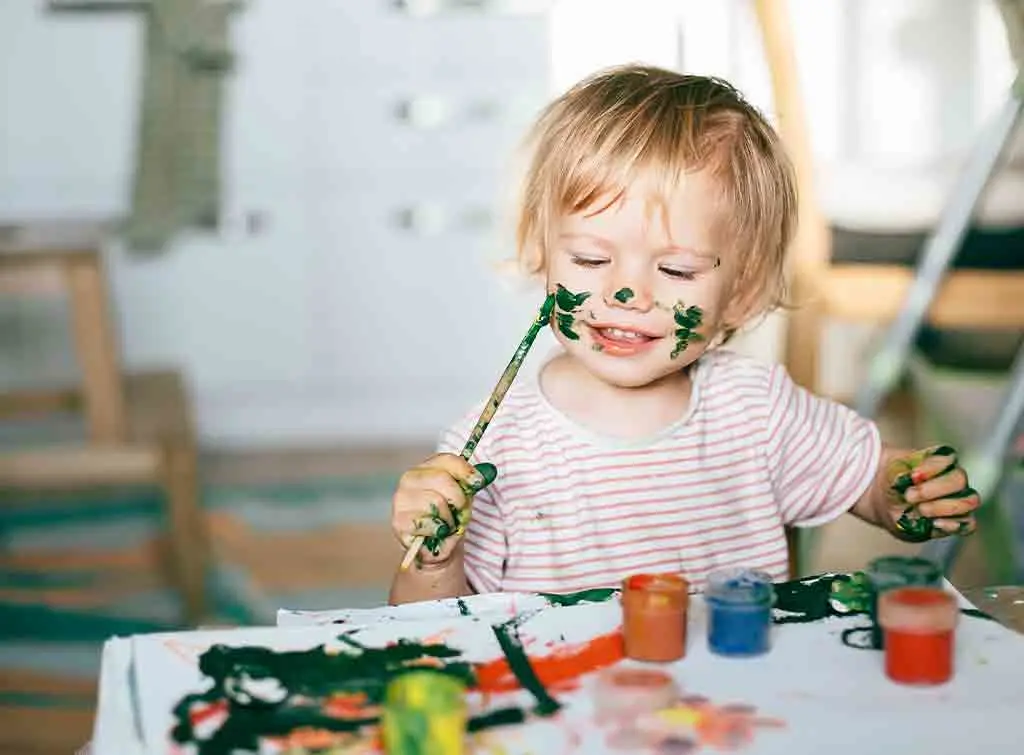
The school holidays can be great and all, but as they come to a close, you'll probably notice your living room looks like the Tasmanian Devil has been on the loose.
Handprints on windows, colourful drawings on bedroom walls, every single toy in the house strewn about; we know the struggle.
If you're looking around with a sense of amazement and mild aggravation, wondering where on earth to begin, don't worry, we've got you covered with our step-by-step guide.
If you don't fancy taking it on yourself, you can always hire a local cleaner. Here's how much it costs to have your house cleaned.
See the tradespeople we've checked and recommend for your job
Declutter and tidy up
First things first: clear the debris. If your children haven't gone back to school yet, get them involved. Not only does this give you some extra pairs of hands, but it's also a good opportunity to teach them about accountability - they do the crime, they do the time!
So you're not wading through toys and standing on lego during the rest of the clean up, pick up everything that's too big for the vacuum cleaner.
Store toys away in their usual place, collect rubbish with a bin liner, grab any dirty washing and throw it in the laundry basket and put any used plates and bowls in the sink, ready for washing.
Once the floors and worktops are clear, you can move on to the next stage of cleaning.
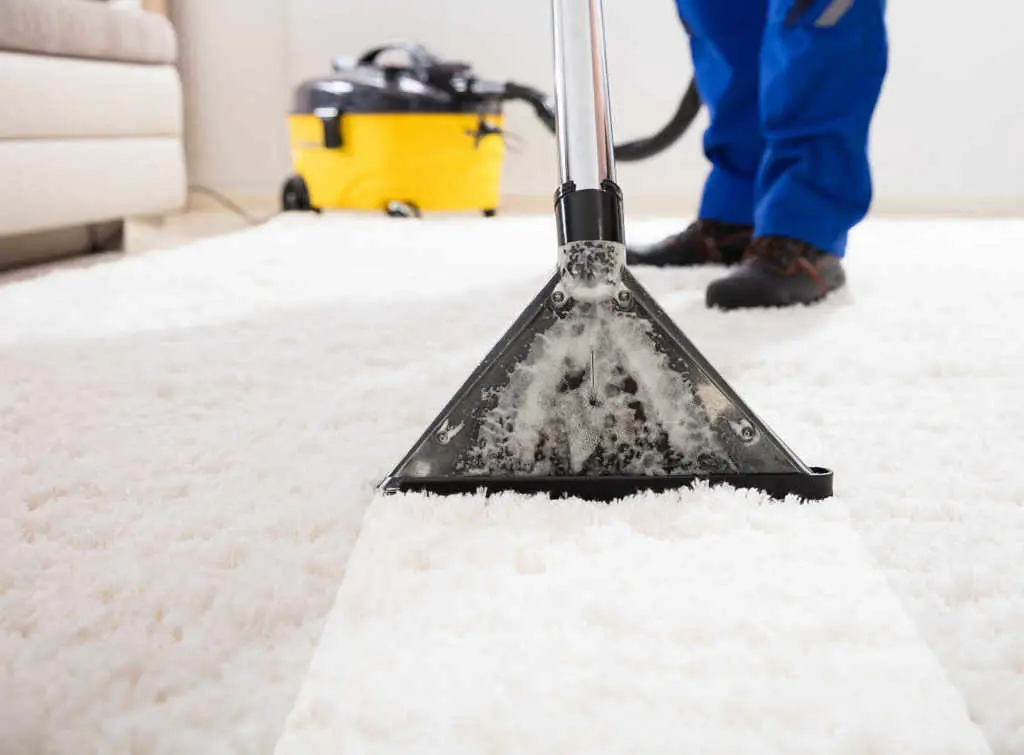
Cleaning the carpets
Carpets often soak up the brunt of the action, whether it's spilt drinks, muddy footprints, or even spilt paint.
The best way to restore your carpets to their original condition is to contact a professional because they'll have the specialist equipment to really make a difference.
Often, they use steam cleaners, which spray hot water mixed with a cleaning solution onto the carpet to break down dirt and stains, and then they extract the water and debris with a high-powered vacuum.
This can also be done to rugs and the carpet on the stairs.
If you want to DIY, you can still achieve a professional-level effect - most of the time, depending on the mess - by following a few steps. This will save you money, but it'll cost you time and elbow grease.
To help you, here's some expert advice from Viesturs Silneiks of Chichester Carpet Cleaning, a member of Checkatrade for over 5 years:
“If you have a fresh stain, you should not rub it or scrub it with force, instead, dab it gently with a dry cloth, starting from the edges.”
“If you get mud prints on your carpet, always leave it to dry and then remove it after, to avoid spreading the dirt around.”
Once you're ready to begin, simply:
Vacuum the carpet to remove loose dirt and debris
Apply a carpet-cleaning product, like carpet shampoo, following the manufacturer's instructions carefully
For specific stains, like ink or blackcurrant, use an appropriate stain remover, like Vanish Carpet Care, and apply it directly on the stain
Gently scrub the stain with a brush, working from the outside inwards
Grab a basin filled with warm water and scrub the entirety of the carpet, working from one side of the room to the other
Allow a good supply of air in the room/s until the carpet is dry, at which point you can fluff the carpet using a dry brush
After following these steps, your carpet should look much better. If you're wondering what to do about your sofas, here's how much it'll cost to have them cleaned.
See the tradespeople we've checked and recommend for your job
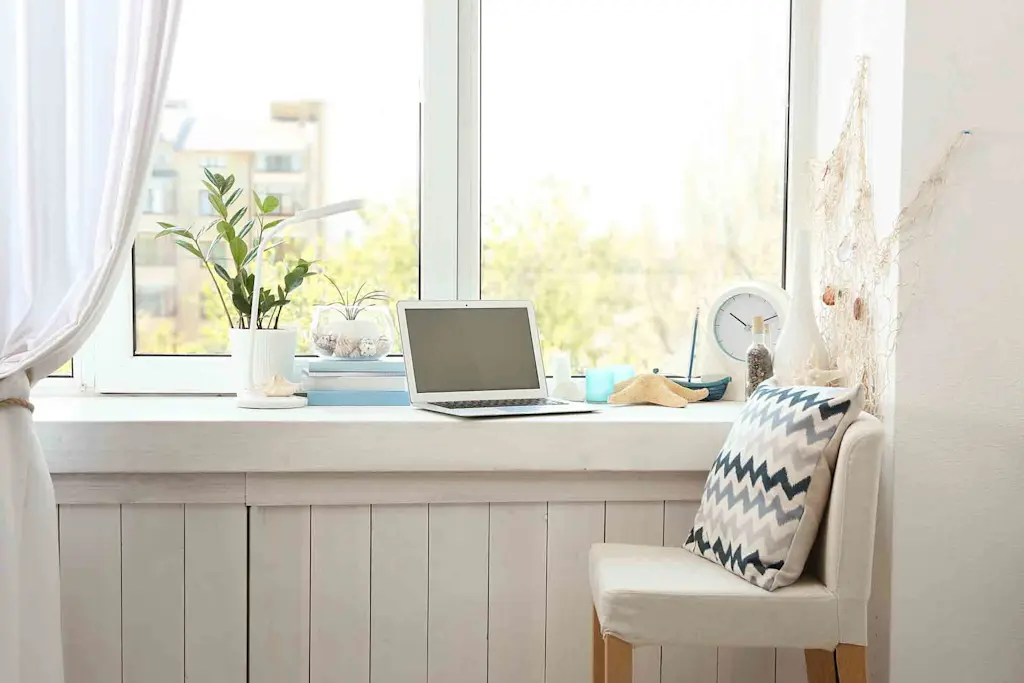
Window cleaning
Cleaning the insides of your windows to remove things like handprints is a straightforward process.
All you'll need is:
A bucket filled with water and a few drops of dish soap
A sponge
A squeegee
A microfibre cloth
Once you have these items, follow these steps:
Dip your sponge into the soapy water and scrub the windows, giving extra attention to handprints and other marks
Using a squeegee, remove the soap with straight wipes from top to bottom, cleaning the blade after each wipe
Wipe down the frame and windowsill with a dry cloth
Now, your windows should be crystal clear. If there are some streaks left over, give it another wipe with a clean, damp microfibre cloth.
Removing scuff and paint marks from walls
Marks on the wall are an eyesore, but you can usually remove them without damaging the surface of the wall.
Here's what you'll need to remove scuff and paint marks:
Clean cloths
Mild washing up liquid
Warm water
Eraser sponge (like an Elbow Grease Magic Eraser)
Toothbrush
Rubbing alcohol
Painter's tape
Touch up paint
Once you've collected the required supplies, follow these steps to remove scuff marks:
Wet your cloth in soapy water and gently scrub the scuff mark. Scrubbing hard can remove paint
If you can still see the scuff mark, wet your magic eraser and gently rub the mark again
Paint stains are a bit more difficult to remove. Here's what to do about them:
Try the same methods you used for the scuff marks to see if this works before trying harsher methods
If it doesn't work, dip your cloth into rubbing alcohol, test it on a hidden area for discolouration, and then gently rub the paint mark
You may need to gently scrub with your toothbrush
If all else fails, touch up the area with some new paint, using the painter's tape to tape off the area
If you have older kids (or young adults!) who have gone off to university for the first time, or you just have a spare room, you might want to consider converting the empty space into a playroom to contain the chaos and save yourself some hassle.
Bathroom deep cleaning
You're almost finished! After deep cleaning your bathroom, you can sit back and relax in your newly restored home. This process will make the space much more pleasant to use, as well as more hygienic.
Grab the following supplies:
All-purpose cleaner
Disinfectant
Glass cleaner
Bleach
Rubber gloves
Scrubbing brush
Microfibre cloths
Mop and bucket
Toilet brush
Once you have everything ready, follow these steps:
Remove all rugs, towels and other personal items
Empty the bin and replace the bin bag
Dust exposed surfaces
Apply some bleach around the toilet bowl and let it sit until you're ready to come back to it
Clean the exterior of the toilet with your all-purpose cleaner or disinfectant
Scrub the inside of the toilet with your toilet brush and flush it to rinse
Apply some all-purpose cleaner to tiles and grout, letting it sit for a few minutes
Scrub the tiles and grout, then wipe them down
Follow this guide to deep clean your shower head
Clean sinks and countertops with a clean cloth
Spray glass cleaner on mirrors and other glass surfaces
Wipe them down with a microfibre cloth
Finally, sweep and mop the floors
Remember to use gloves when handling chemicals. You can also use milder options like baking soda, lemon and white vinegar.
If you're not ready to take on an entire messy house, pop your postcode into the box below and connect with a quality local cleaning service.
See the tradespeople we've checked and recommend for your job


See the tradespeople we've checked and recommend for your job