Blog>Expert Advice>How to stop a leaking radiator
Last updated: 12 September 2024

How to stop a leaking radiator
Think your radiator might be leaking? Here, we’ll show you how to stop a leaking radiator so you can prevent further damage.
When it comes to radiator leaks, you’ll need to act quickly to prevent further damage to your flooring and electronics.
Don’t worry, here we’ll show you how to stop a leaking radiator so you can turn your heating up and your worry down.
Not sure you have the confidence or DIY skills needed for a job like this? Don’t worry. A trusted plumber near you will be happy to get your radiator back in working order again in no time.
See the tradespeople we've checked and recommend for your job
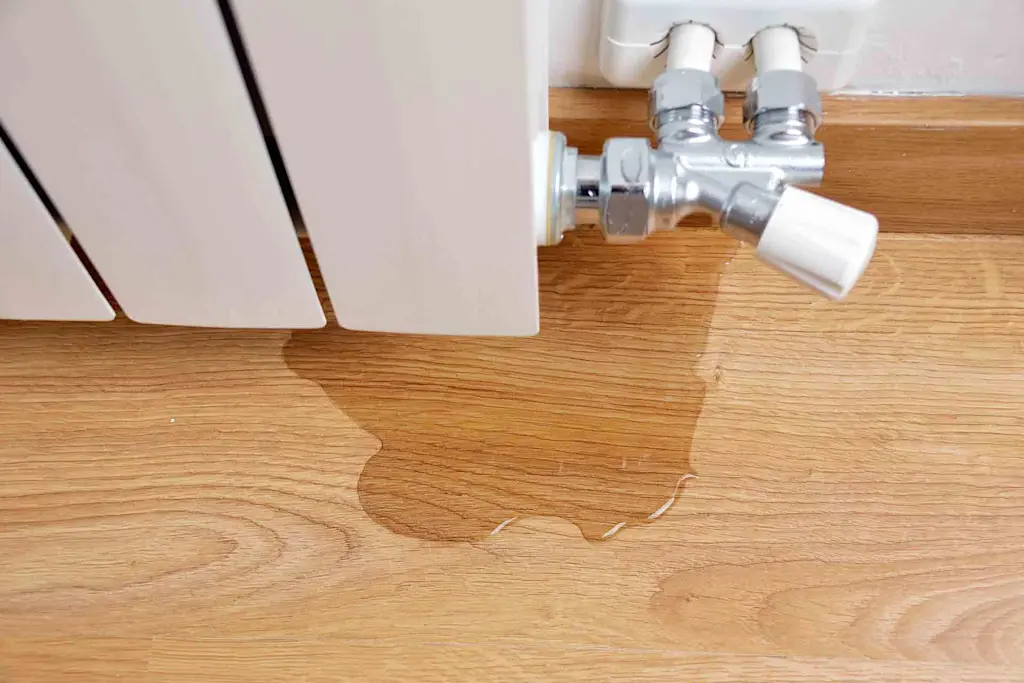
Why is my radiator leaking?
The first step to stop a leaking radiator is to work out why it’s leaking in the first place.
Radiator leaks can come from lots of different places. So, you’ll need to work out where exactly the leak is coming from to understand what fix is needed.
Some common places for radiator leaks include:
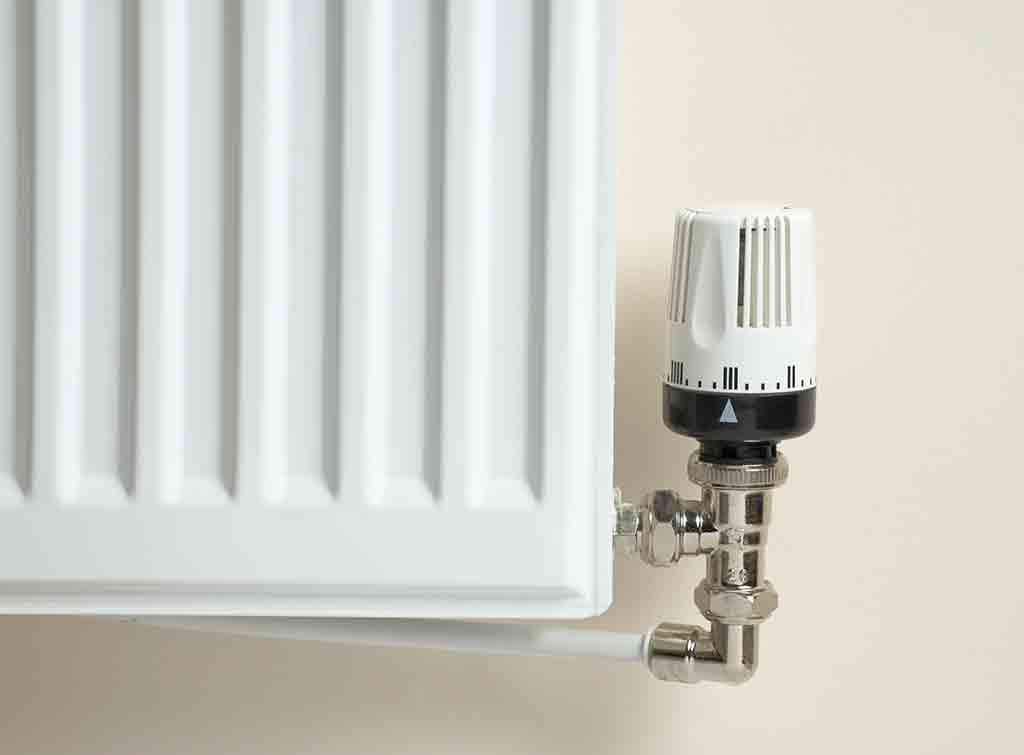
Radiator valve
Spindle
Gland
Pipe joint
Often, this will be due to a worn-down connection thread, which lets water escape.
However, radiators can also corrode and rupture over time, so if you have a very old radiator, this is a possibility.
To work out where your radiator leak is coming from, simply dry your radiator completely and then place some dry toilet roll over your radiator’s fixtures.
You should be able to tell where the leak is coming from based on where the toilet roll gets wet.
How to isolate a radiator
Isolating your radiator won’t fix the issue.
But it will allow you to carry out work on your radiator without water continuously flowing through the leak—or help you prevent damage to your home’s interior while you wait for professional help to arrive.
With that in mind, isolating your radiator is an important first step.
Here’s how to isolate a radiator.
Turn off your heating
Wait for the radiator to cool down
Protect the floor with an old sheet or towel
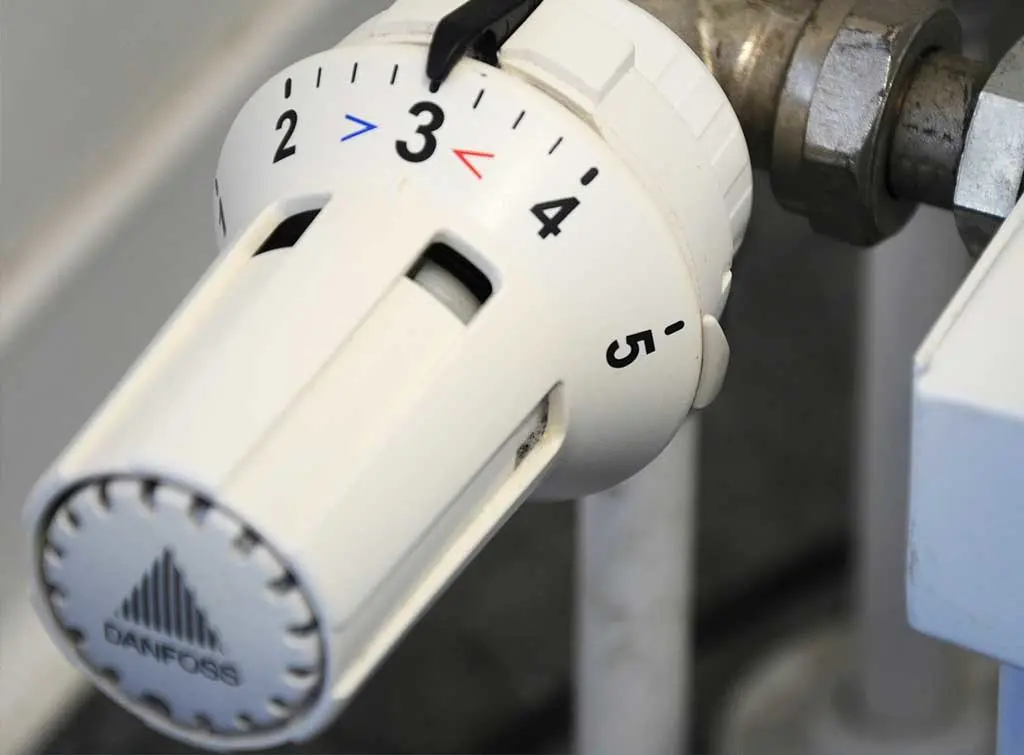
Turn off the manual or thermostatic valve
Remove the plastic cap from your lockshield valve
Use pliers to turn off the lockshield valve
Ta-da! Your radiator should now be isolated.
You can double-check that it is by turning back on the heating. If the other radiators in your home heat up but this one stays cold, it means you’ve successfully isolated your radiator.
How to stop a radiator leak
Now that you’ve isolated your radiator, you can attempt to stop the radiator leak.
Safety should always come first. So, always make sure your radiator is cool before you start.
If you’re not fully confident, don’t go any further. Instead, contact a qualified plumber who knows what they’re doing and can get the leak fixed properly the first time around.
See the tradespeople we've checked and recommend for your job
Stop a leaking radiator valve
Radiator valves will only leak when the valve is partly open. So, if the leak stops when the valve is closed, you’ll know this is the root of the issue.
Most radiator valve issues are caused by damage to the internal spindle packing.
Here’s how to stop a leaking radiator valve:
Drain the leaking valve below the leak
Catch the water that escapes
Undo the union nut
Release water by opening the bleed valve
Wrap PTFE tape around the valve tip
Tighten the union nut
Open the bleed and lockshield valves
Let your radiator fill back up
Check there are no leaks
Close the bleed valve
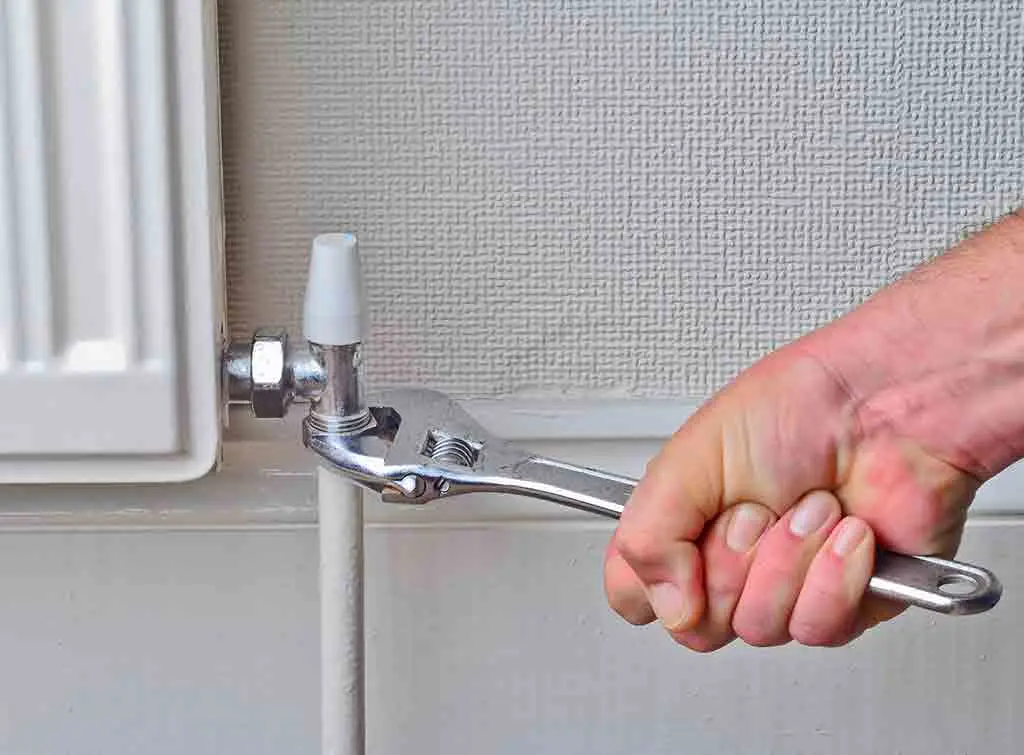
Stop a leaking radiator spindle
If your radiator spindle is leaking rather than the valve itself, you’re in luck! This is another simple problem to repair.
To start, simply try tightening the gland nut with a spanner.
Fingers crossed, this should stop the leak. If it doesn’t…
Undo the gland nut
Wrap some PTFE tape into the spindle
Tighten the gland nut again
Stop a leaking radiator gland
If you’ve tried to stop a leaking radiator valve but had no luck, this is likely because the leak is actually coming from the gland.
Your radiator gland is a tiny piece that lives beneath the plastic lid of the valve. Here’s how to fix it.
Remove the plastic cap
Unscrew the gland nut
Wrap PTFE tape around the valve spindle
Push the tape into the valve with a screwdriver
Screw the gland nut back on
Replace the plastic cap
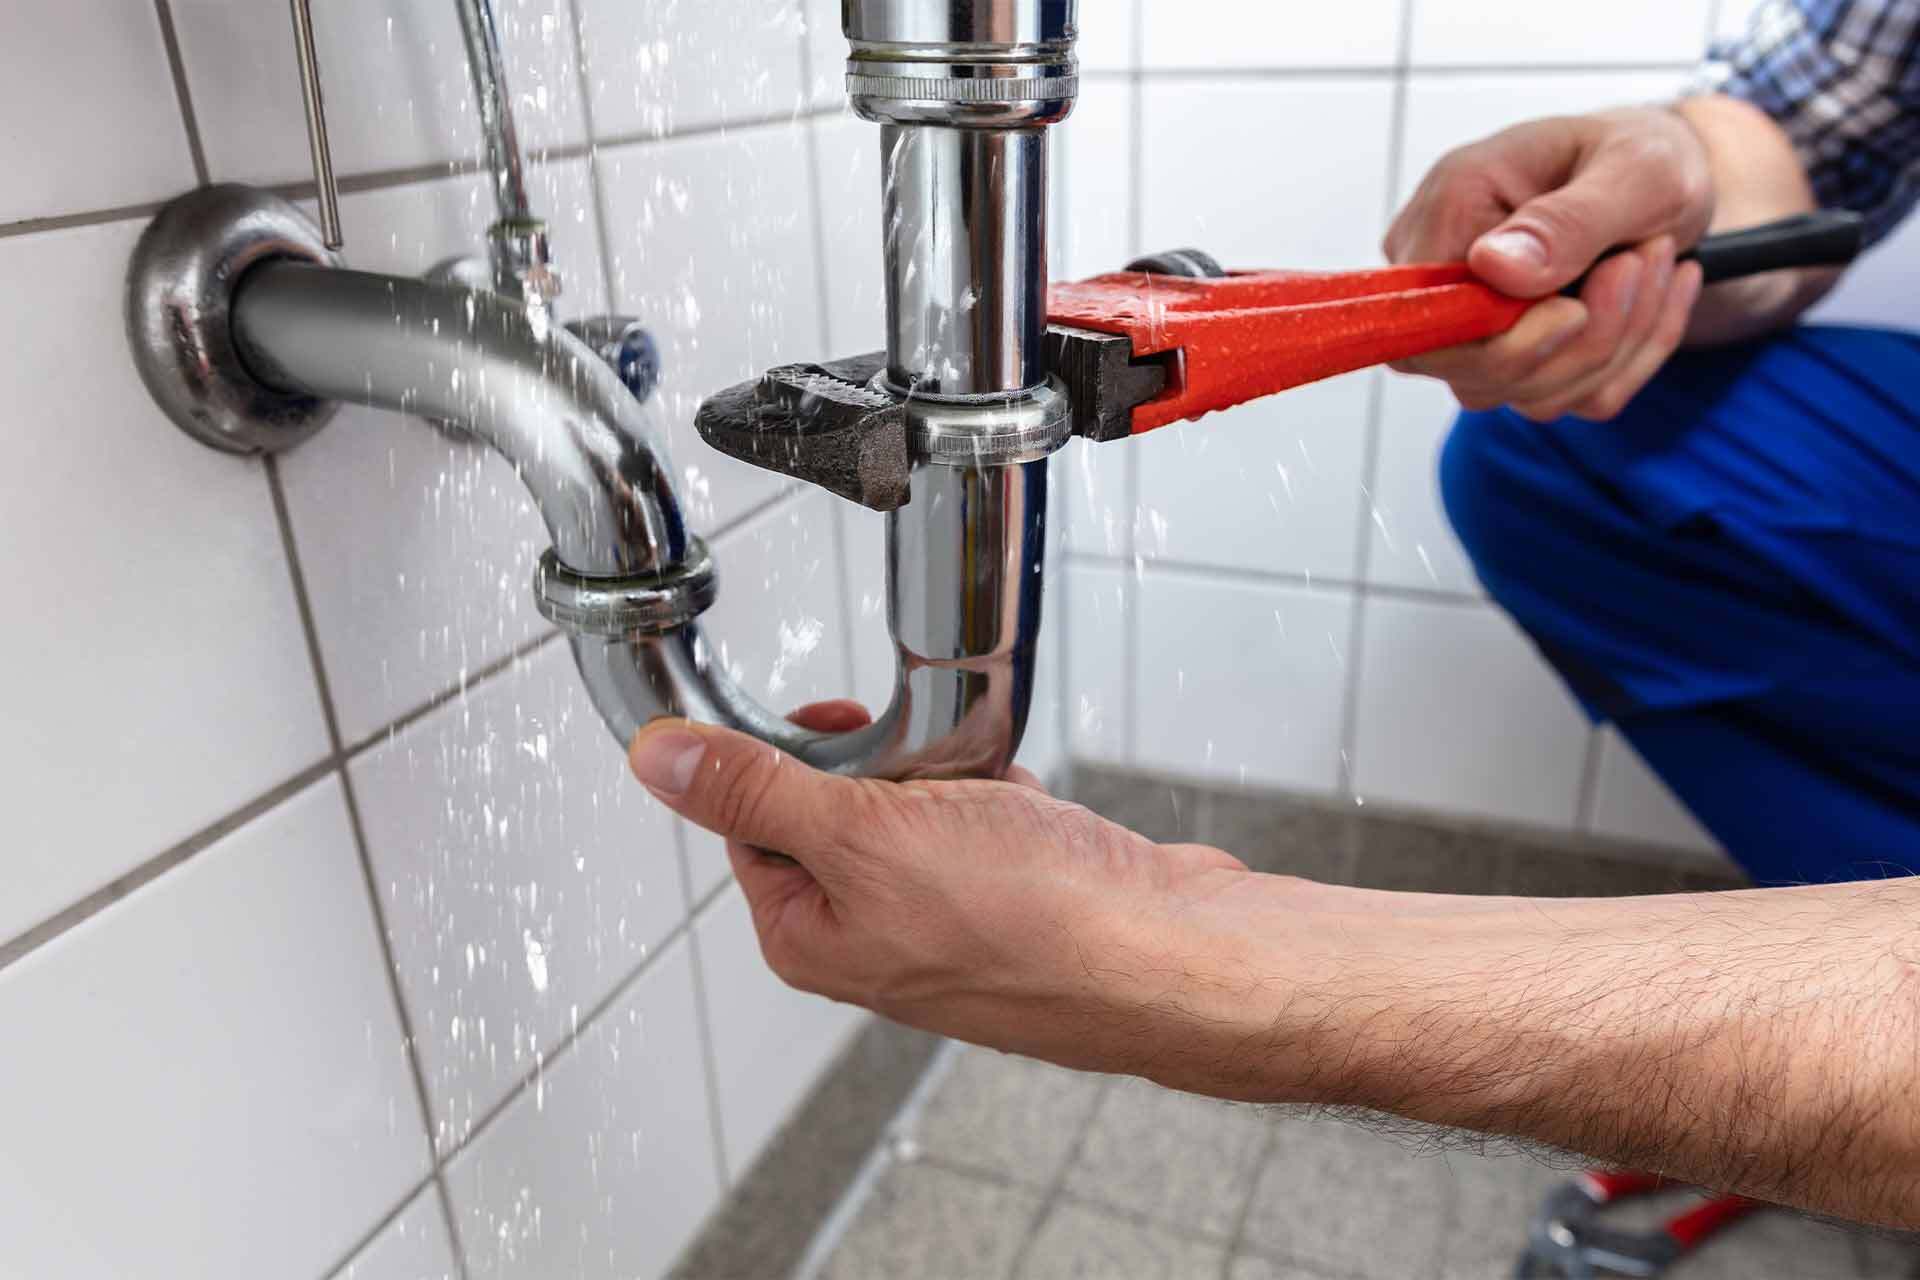
Stop a leaking radiator pipe joint
If you have a compression heating system, you’ll see several joints connecting the pipes to your radiator. If these get loose, leaks could start to make an appearance.
Start by tightening the joints up using a spanner.
Hopefully, this will fix the issue. But if not, here’s what to do.
Drain your radiator to below the leak
Remove the nut from the leaking radiator pipe with a spanner
Wrap PTFE tape around the spot where the olive meets the joint
Use your spanner to tighten the nut
Stop a radiator leak from the body
Noticed that there’s a leak coming from the body of your radiator?
Unfortunately, this kind of leak is caused by corrosion. So, there isn’t really a permanent fix – instead, it’s best to find a plumber to replace your radiator.
But look on the bright side. It’s the perfect excuse to buy a more efficient radiator, in a style that you love!
Find a pro to fix your leaking radiator
Have you tried the fixes above and are still experiencing radiator leaks? Or are you lacking the time and confidence to try a fix like this yourself?
It's time to hire a pro.
All Checkatrade members have to pass up to 12 checks to to be a member.
We’re so confident in the quality of the trades on Checkatrade that if you book through us, we guarantee their work up to £1,000 (Guaranteed for 12 months – Eligibility and T&Cs apply).
Enter your postcode into the search box below to get started.
See the tradespeople we've checked and recommend for your job
More Expert Advice Articles


See the tradespeople we've checked and recommend for your job