Blog>How-To Guides>How to replace a radiator
Last updated: 5 October 2023

How to replace a radiator
Radiator technology has improved massively over the years particularly with regard to performance. It may be time to replace your radiator, so read our how-to guide to navigate this task.

While replacing a radiator brings a host of benefits, it's something that many DIYers will assume that they can replace their radiator on their own.
It is possible, but you'll need to make sure you know what your heating system is and how it all works. Otherwise, you could get yourself into a difficult situation.
Following our clear step-by-step guide, you can learn how to replace a radiator without the help of a professional.
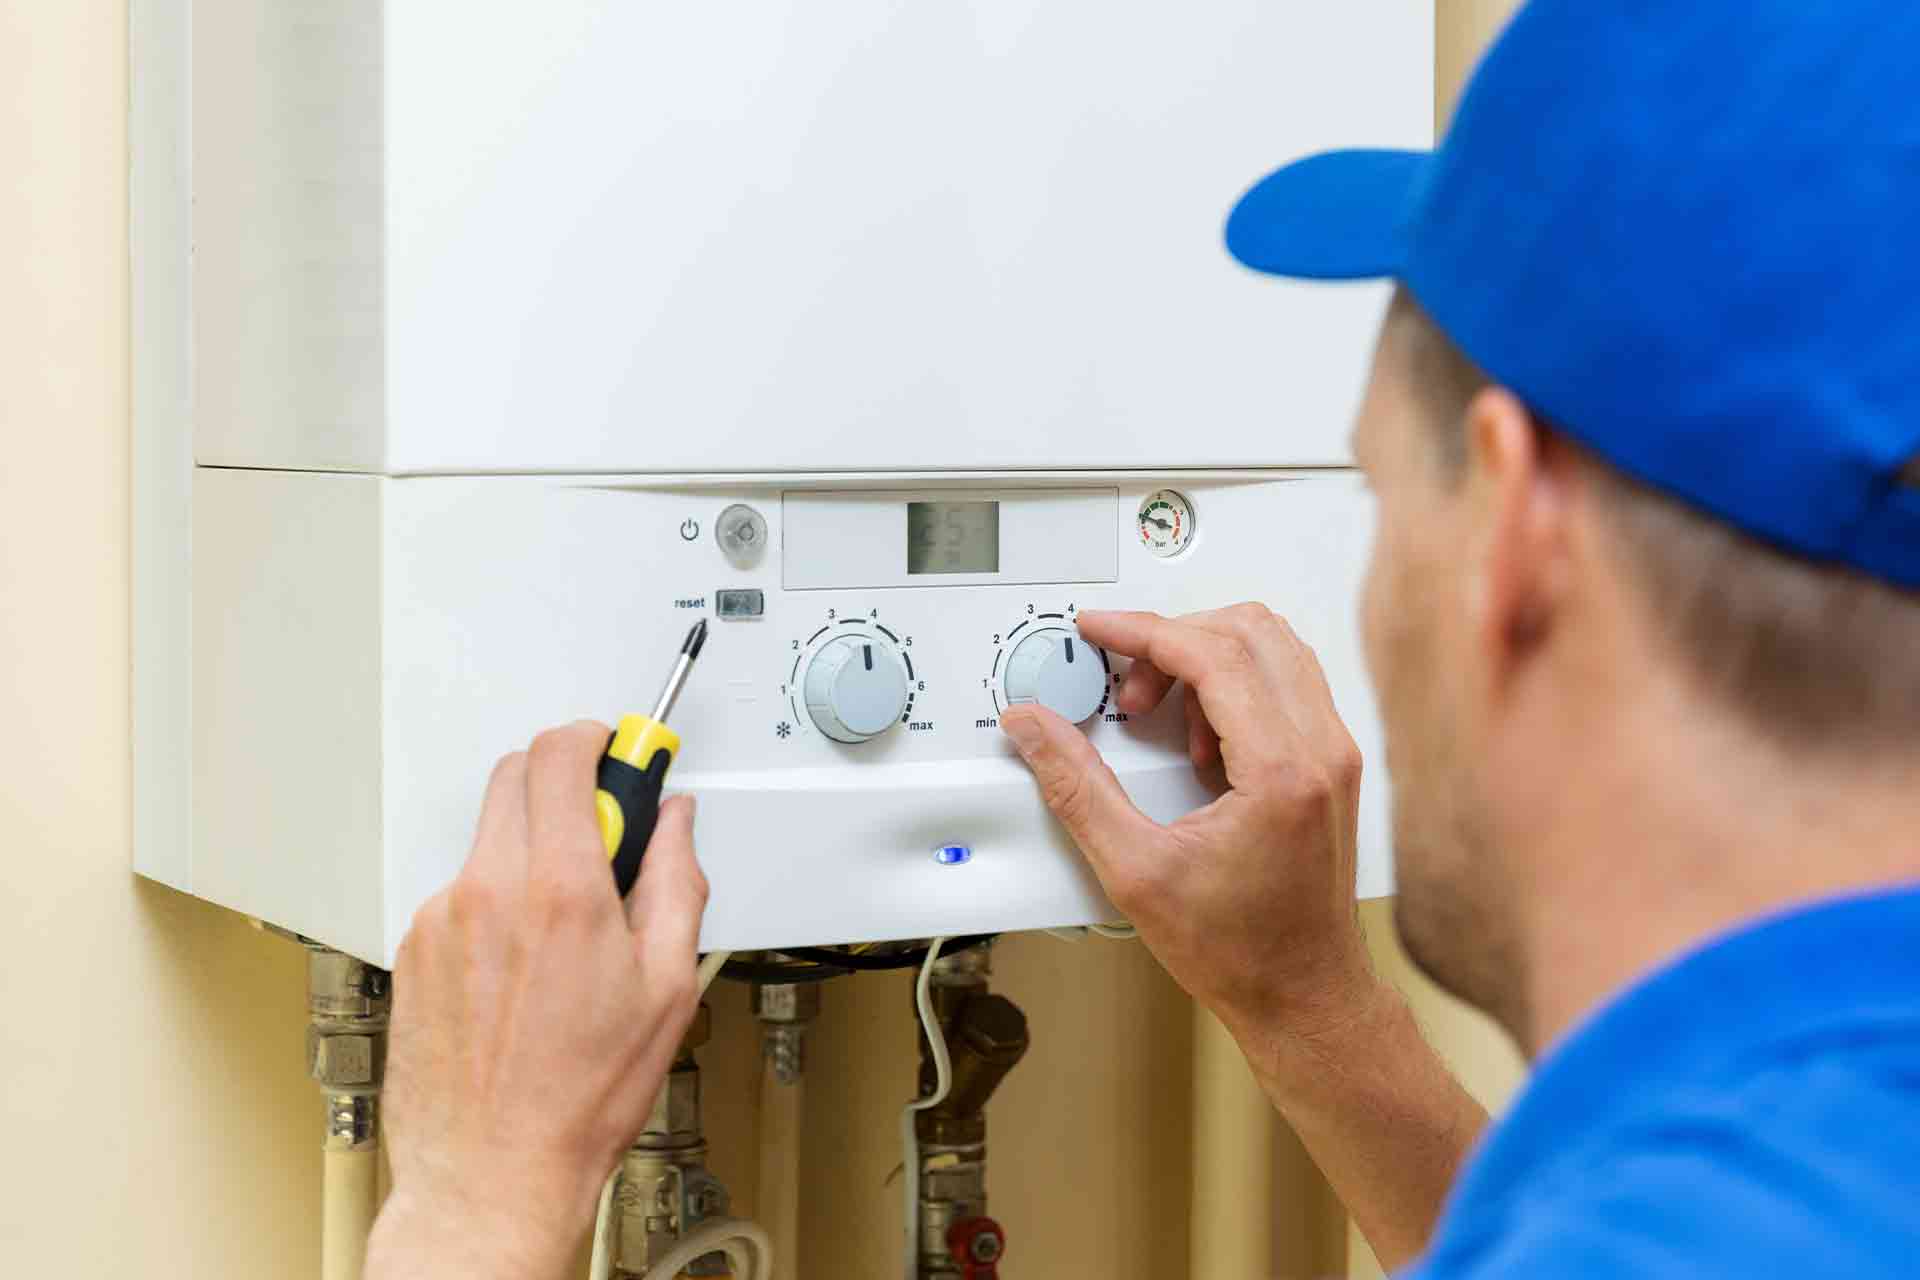
However, if you want to guarantee a quality job and good results, hiring a tradesperson is the best option for you.
Find a trusted plumber near you
How to change a radiator: before you begin

Well, here you are, you've moved to read the steps to replace your radiator. So you're super confident in your DIY ability, right?
Well then, let's get to it!
Consider the following points before beginning:
If your new radiator is differently shaped from your old one, it may be essential and a good opportunity to replaster and decorate your wall.
Will you need to move or alter your radiator pipes? If your new radiator has different pipe feeds, it may be a good time to speak to a contractor about changing these.
It is often necessary to drain your entire central heating system before replacing your radiator.
Be sure of the specific heat output you require. Your new radiator will need to have the right output. For example, towel rails have a lower output than radiators so won’t keep your bathroom as warm as a radiator would.
If you feel that you are in over your head, use our free search feature to contact a local tradesperson at any time. To learn more about prices for professionals please see our guides on the cost to remove and replace a radiator and the cost to move a radiator.
Why change your radiators?
Unfortunately, a wide range of homes are still operating with dated central heating systems. And, although less popular than boiler changes, radiator replacements can increase efficiency and save you money in the long run.
The technology used to manufacture radiators is always improving, with better materials, designs, quality regulations and performance.
In fact, radiators that were built prior to the year 2000 may only be half as efficient as those manufactured today. This in part is due to the larger surface of modern radiators. These newer radiators can reach optimum temperatures in a fraction of the time and use less water.
Furthermore, newer models can offer higher energy efficiency, up to 50% more heat output and the ability to reach ideal temperatures in nearly 25% less time.
Find a trusted plumber near you
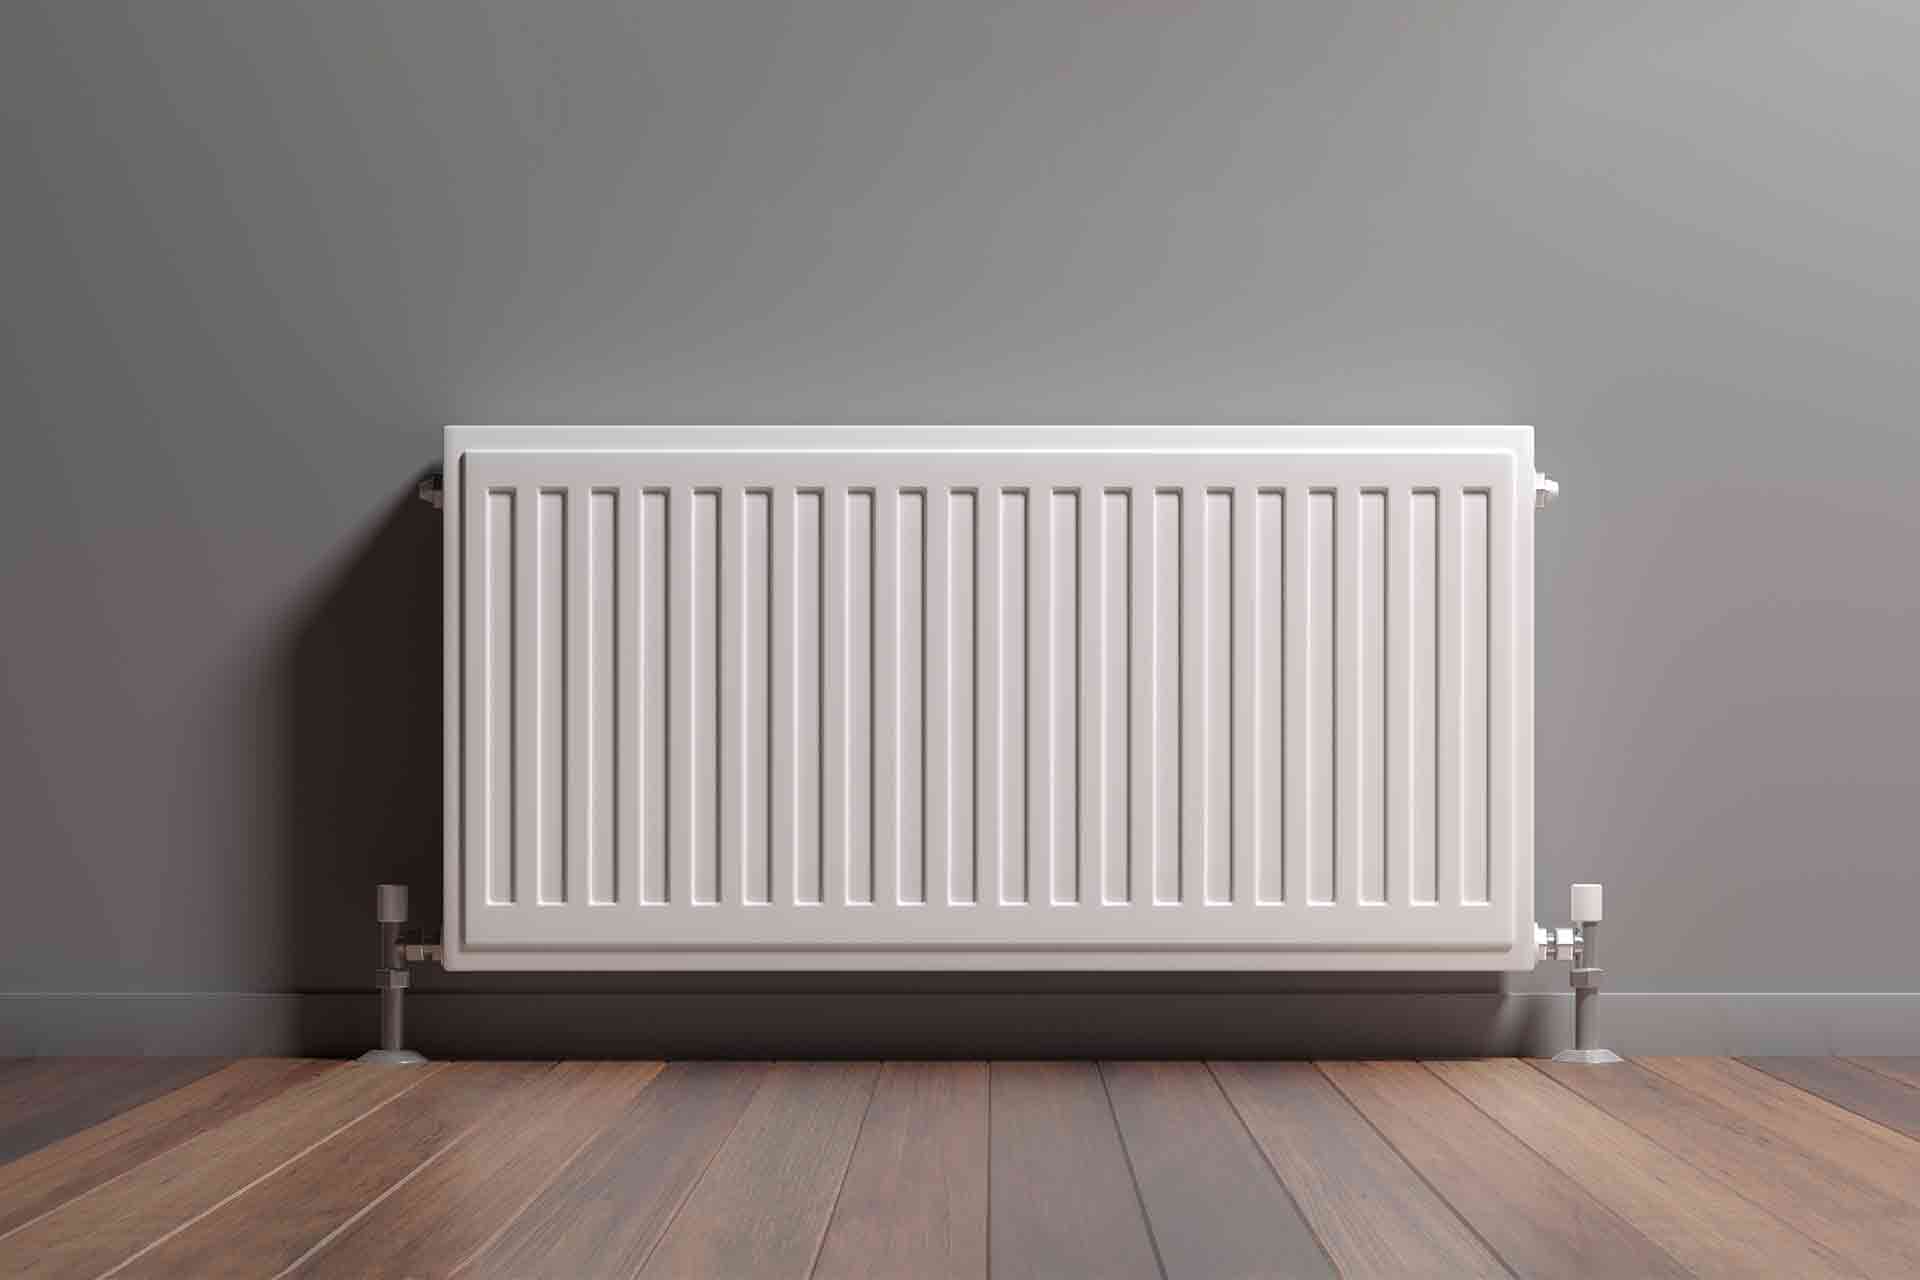
How to replace a radiator
Fret not, we've got your back with our this step-by-step guide for how to change a radiator in your home:
Step 1: Preparation
It is essential that before you undertake a job of this magnitude you gather the necessary materials and tools. The below checklist covers everything you will require:
Replacement radiator (preferably one of a similar size and with similar pipe connections for a simplified installation)
Radiator fixing kit (including wall plugs, fixing brackets, wall connectors, bolts, washers, a bleed cap, and screws)
Pipe cable
Hammer drill or drill driver
A masonry drill bit suitable for use with wall plugs
Adjustable wrenches
Radiator valve
Radiator bleed key or a flat-head screwdriver
Drip tray
Bucket
Cup or small container when bleeding the radiator
Large Allen key
PTFE tape for the threads of the new fitting
Digital stud detector
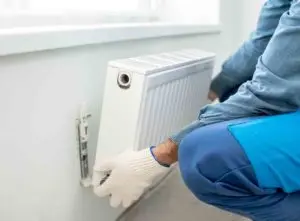
Step 2: How to remove your existing radiator
Please note if your new radiator is a different shape or size, it may be necessary to hire a professional to change your pipe connections.
Turn off your central heating and the valves at both ends of your radiator. You may have manual, thermostatic or lockshield valves so it is important to check you have correctly closed off these valves.
Using a drip tray placed below your valves, collect the water that comes out.
Taking the spanner, untighten the swivel nut joining the radiator and valve.
Next, locate the bleed valve near the radiator top and using the bleed key or a screwdriver, loosen the cap nut.
Ensure you tighten up the swivel nut before your drip tray is full. Empty the water into your bucket then repeat this process until water no longer drains out.
You can then do the same with the other valve.
Remove your radiator from the wall brackets and be ready to tip and collect any extra water. Please note, radiators can be heavy so you may need assistance with this step.
It is a good idea to use a rag at this point to block the outlet and prevent any leaks.
Remove the old brackets, unless they perfectly line up with your new radiator, and fill in the bracket wall holes.
Step 3: How to hang your new radiator
Use a stud detector to check for pipes before using your drill.
Drill and attach your new radiator brackets.
Shut the bleed valve and connect your new radiator valves and piping.
Turn your central heating back on and check your new radiator is working properly.
Find a trusted plumber near you
How much does it cost to change a radiator?
Here are some of the average prices for how much it costs to change a radiator in the UK:
Remove a small radiator – £80
Remove and repair radiator – £125
Remove and replace a double panel radiator – £200
Replace a large radiator – £300
Move a radiator – £275
To find out more about how much it might cost, check out our guide on the costs to remove and replace a radiator.
How to replace a radiator with a smaller one
It can be frustrating when your new radiator is smaller than the old model as you will likely need to do significant pipework when installing. Please be aware this job will likely involve moving floorboards as well as completely redoing old piping.
If you are unsure how to replace a radiator with a smaller one, consider hiring a tradesperson for a speedy, professional result.
It is possible to use telescopic radiator extensions, but you may have to compromise on the quality of the finish. Unless you have the skill level and knowledge to undertake this job, use our guide on plumber rates to find a suitable specialist.
How to replace a radiator bleed valve
If your radiator valves are old and worn, this can lead to issues with heating your home. This is a good opportunity to test your DIY skills and learning how to replace a radiator bleed valve can be useful knowledge to have.
Follow the below steps to replace your old valve:
Begin by closing the valves at both ends of your radiator.
Unscrew the bleed point with an adjustable spanner.
Always prepare a drip tray to catch excess water.
This may be a good time to flush and clear any debris from your radiator.
Next, use the spanner to screw the new washer until it starts to fully tighten.
You may wish to use PTFE tape or joining paste at this point to seal your new bleed valve.
Find a trusted plumber near you
How to replace a radiator with a heated towel rail
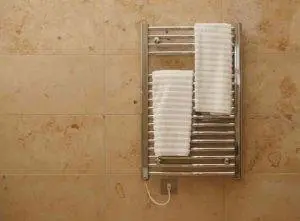
Heated towel rails not only look great in any modern bathroom, but they also help to keep the room warm. Although they give out less heat than radiators, they take up less room and can warm multiple towels at the same time.
If you are curious about how to replace a radiator with a heated towel rail and are considering doing this yourself, read the following steps:
You should already have pipework in place from your old radiator, but this may not match up with your new towel rail. You may even wish to install new chrome pipes to complement your towel rail. In both these cases, it is a good idea to hire a professional plumber for safety and a high-quality job.
Before beginning it is essential to switch off your central heating and drain the system.
Remove the radiator, following the steps in our ‘how to replace a radiator’ section.
You will need to expose the old pipes which may mean lifting up floorboards and removing skirting boards (if hiring a professional, they may take on this step).
Connect the towel rail to the new pipes and attach it to your bathroom wall.
Switch your central heating back on and ensure it is functioning well.
Move your skirting and floorboards back into place.
To budget for this job view our guide to heated towel rail installation costs.
Find a trusted plumber near you
How to change a radiator without draining the system
It is possible to change a radiator without draining your central heating system. This is a great option if removing a radiator to allow access for painting. Follow the below steps to quickly remove your radiator.
Turn off your radiator valves.
Isolate and drain your radiator by releasing the nut.
Remove the radiator valve.
Lift the radiator off its brackets and tilt over a bucket to allow any water to drain out.
Now your radiator is removed and can be reattached using the same steps in reverse.
How to change a radiator thermostat
Using a thermostatic radiator valve (TRV) can give you complete control over the heating in any given space. These ingenious valves are constantly measuring the temperature of the room and adjusting the radiator’s output to reach your chosen room temperature.
Use the following steps to help you understand how to replace a radiator thermostat:
Switch off your central heating system.
Follow the above steps to drain your radiator (see our section on how to replace a radiator for step-by-step instructions)
Loosen the cap nuts on the bleed valves throughout your home, using a bleed key.
Remove the old valve by putting pressure on the securing nut and unscrewing the nut. Use a drip tray or old towel to catch any excess drips.
It is worth taking the time to ensure all your radiator pipes are clean at this point.
Install the new thermostatic radiator valve in the same way as you removed the old thermostat.
Checklist for how to change a central heating radiator
Finally, a few things to look out for when changing your central heating radiator include:
Ensure the wall where you will install your new radiator is strong and secure.
Don’t forget to check for studs and pipes before drilling into any wall.
Consider flushing your central heating system during your radiator replacement.
If at any point you are unsure how to proceed or make a mistake, the best option is to seek professional help using our free search feature.
Find a trusted plumber near you
FAQs
Should I consider using a corrosion inhibitor?
Adding a corrosion inhibitor to your heating system can protect your radiators and boiler from black sludge. The inhibitor liquid flows throughout your central heating pipes, keeping them functioning well. Corrosion can be a real issue and protecting your home is always worth the investment.
Should I install thermostatic radiator valves in my home?
Thermostatic radiator valves are not essential but can give you complete control over the temperature in your home. You can set your radiators to your preferred temperature in every room of your property. These valves can also save you money in the long run by reducing your energy bills.
Is the placement of my radiators important?
Thanks to modern advances in technology and insulation, radiator positioning won’t impact the temperature of your home. Unfortunately, the same cannot be said for older homes. Here it is crucial radiators are placed in the chillier locations throughout your home. This will usually be under windowsills and radiators should be spread out with around four metres of space between them.
See the tradespeople we've checked for your job