Blog>Expert Advice>Gravel driveways: pros, cons and advice
Last updated: 3 April 2024

Gravel driveways: pros, cons and advice
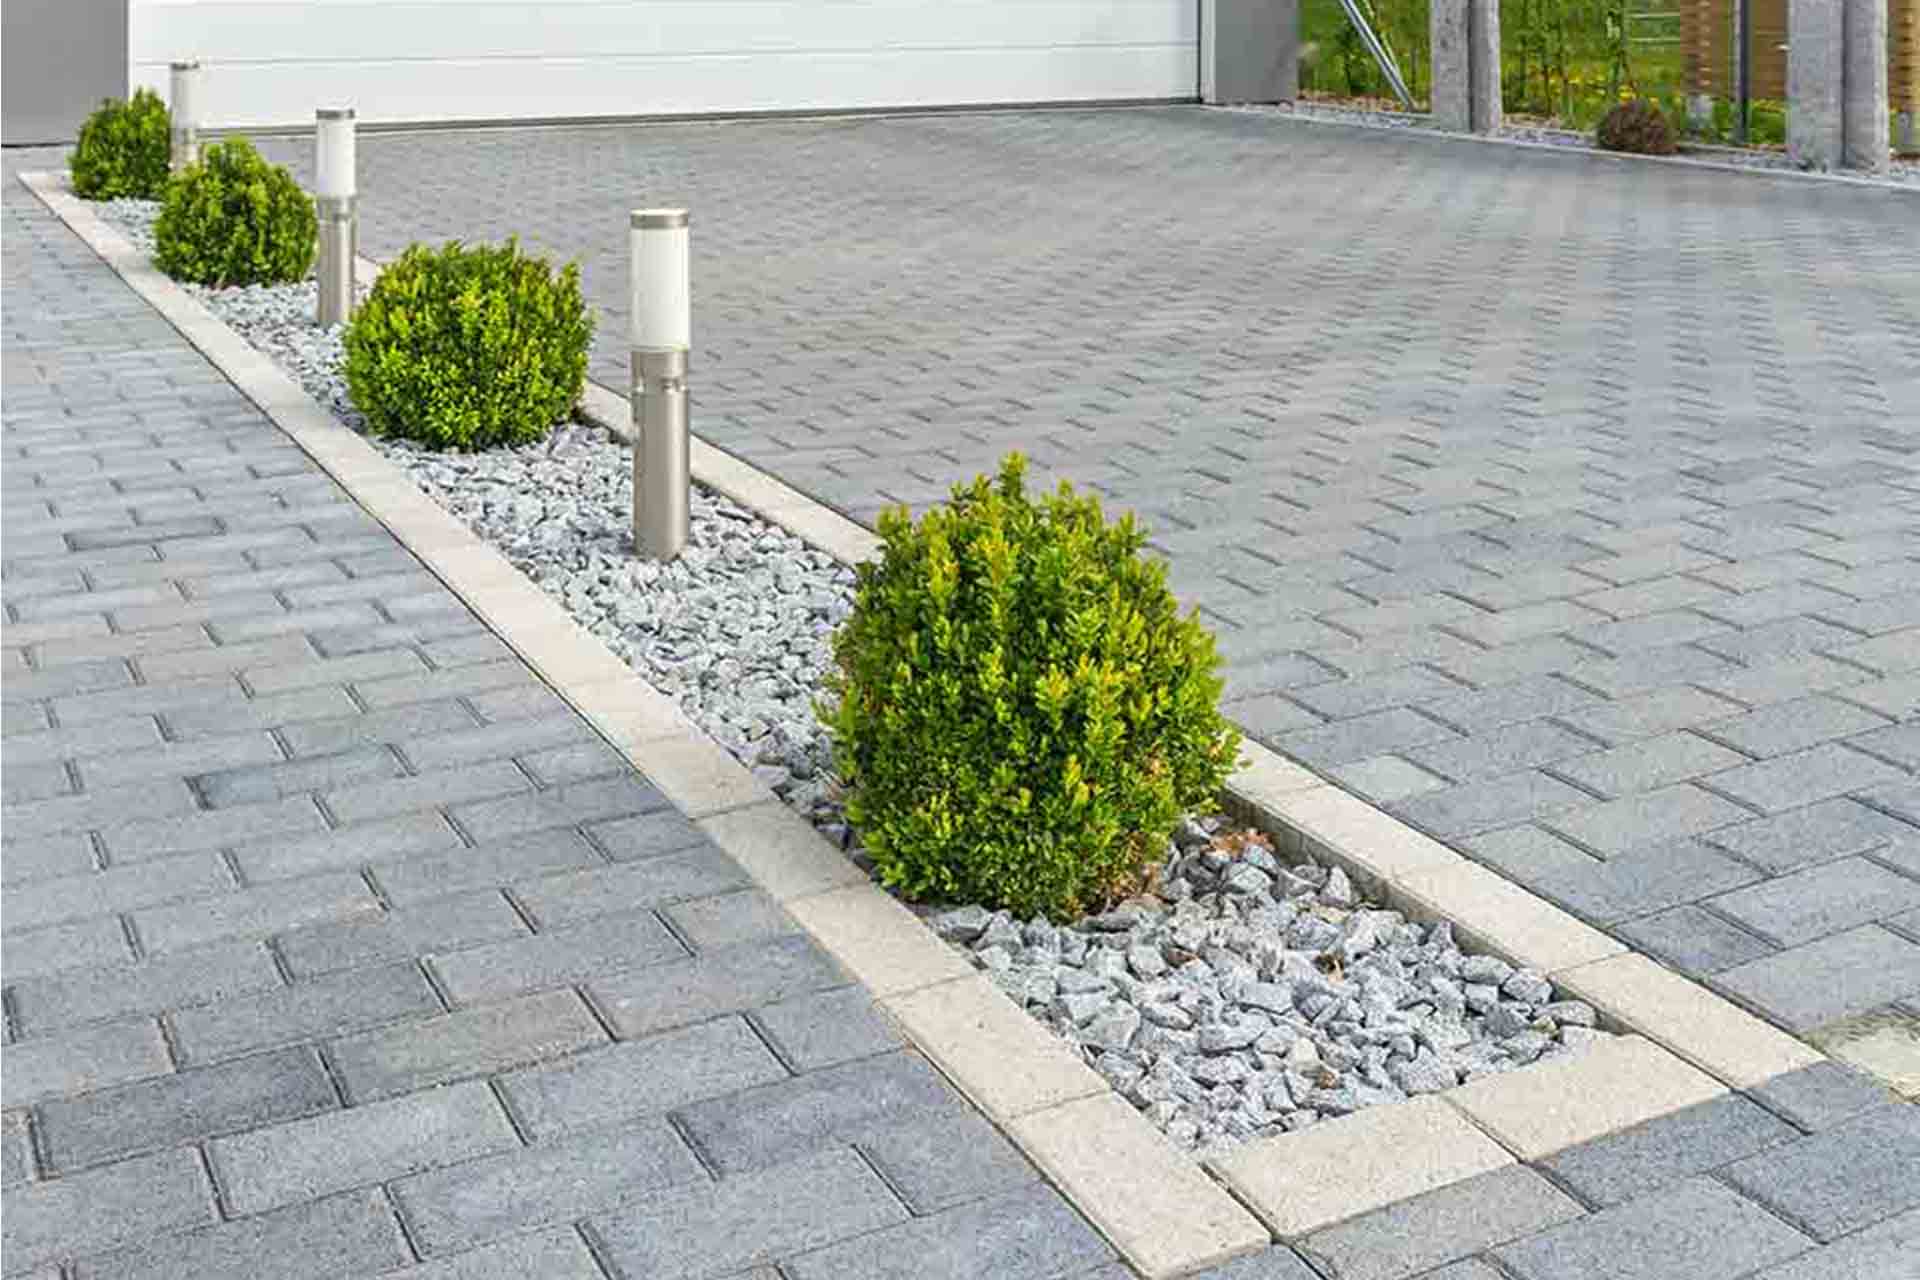
Gravel is one of the most popular materials for a driveway. And for good reason! In this guide, we'll explore the pros and cons of gravel driveways, and take a peek at the different types of gravel you can choose.
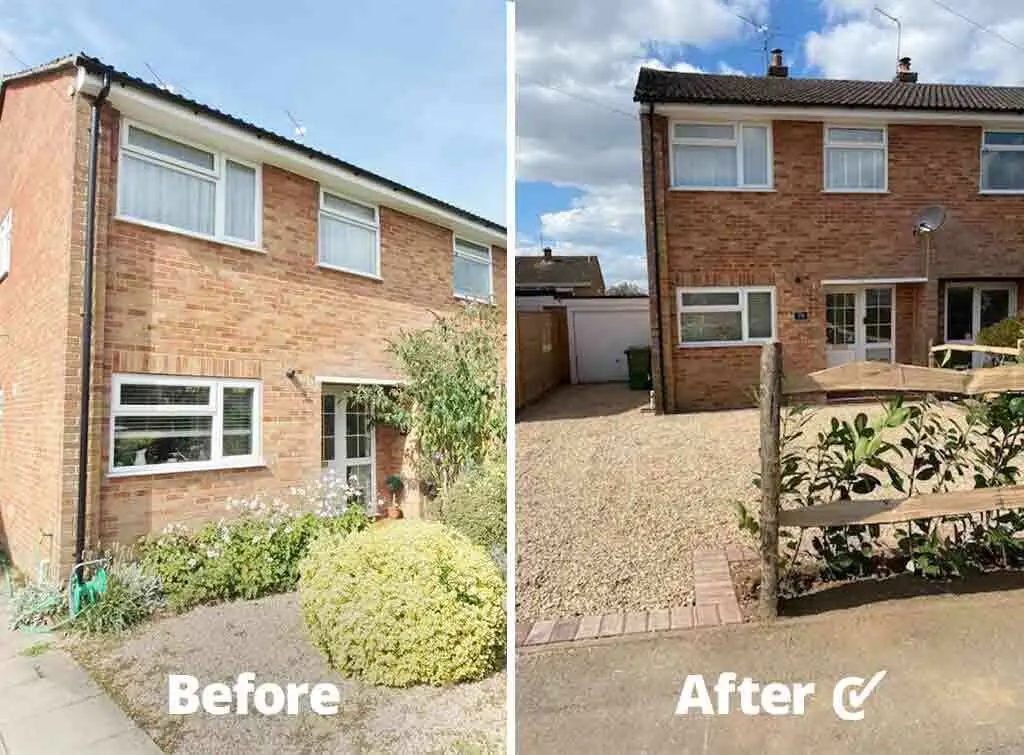
When it comes to driveways, gravel is a popular option. It's cost-effective but still delivers the performance and durability of the more expensive materials. With the right care and maintenance, it can last for years to come.
We'll look at the different types of gravel and the pros and cons of having a gravel driveway.
Gravel driveway pros and cons
Gravel driveways have plenty of advantages, but they're not for everyone. These pros and cons will help you decide whether gravel is the right material for you.
Gravel driveway pros
Lower cost than surfaces such as tarmac
Good drainage
Easy maintenance and easy to fix when a pothole occurs
You can add more gravel all year round
Quick to install
Long lifespan
Gravel driveway cons
Gravel can wash away
You need to keep on top of the maintenance
Weeds can grow amongst it
Potholes can easily happen
It can be hard to clean
See the tradespeople we've checked and recommend for your job
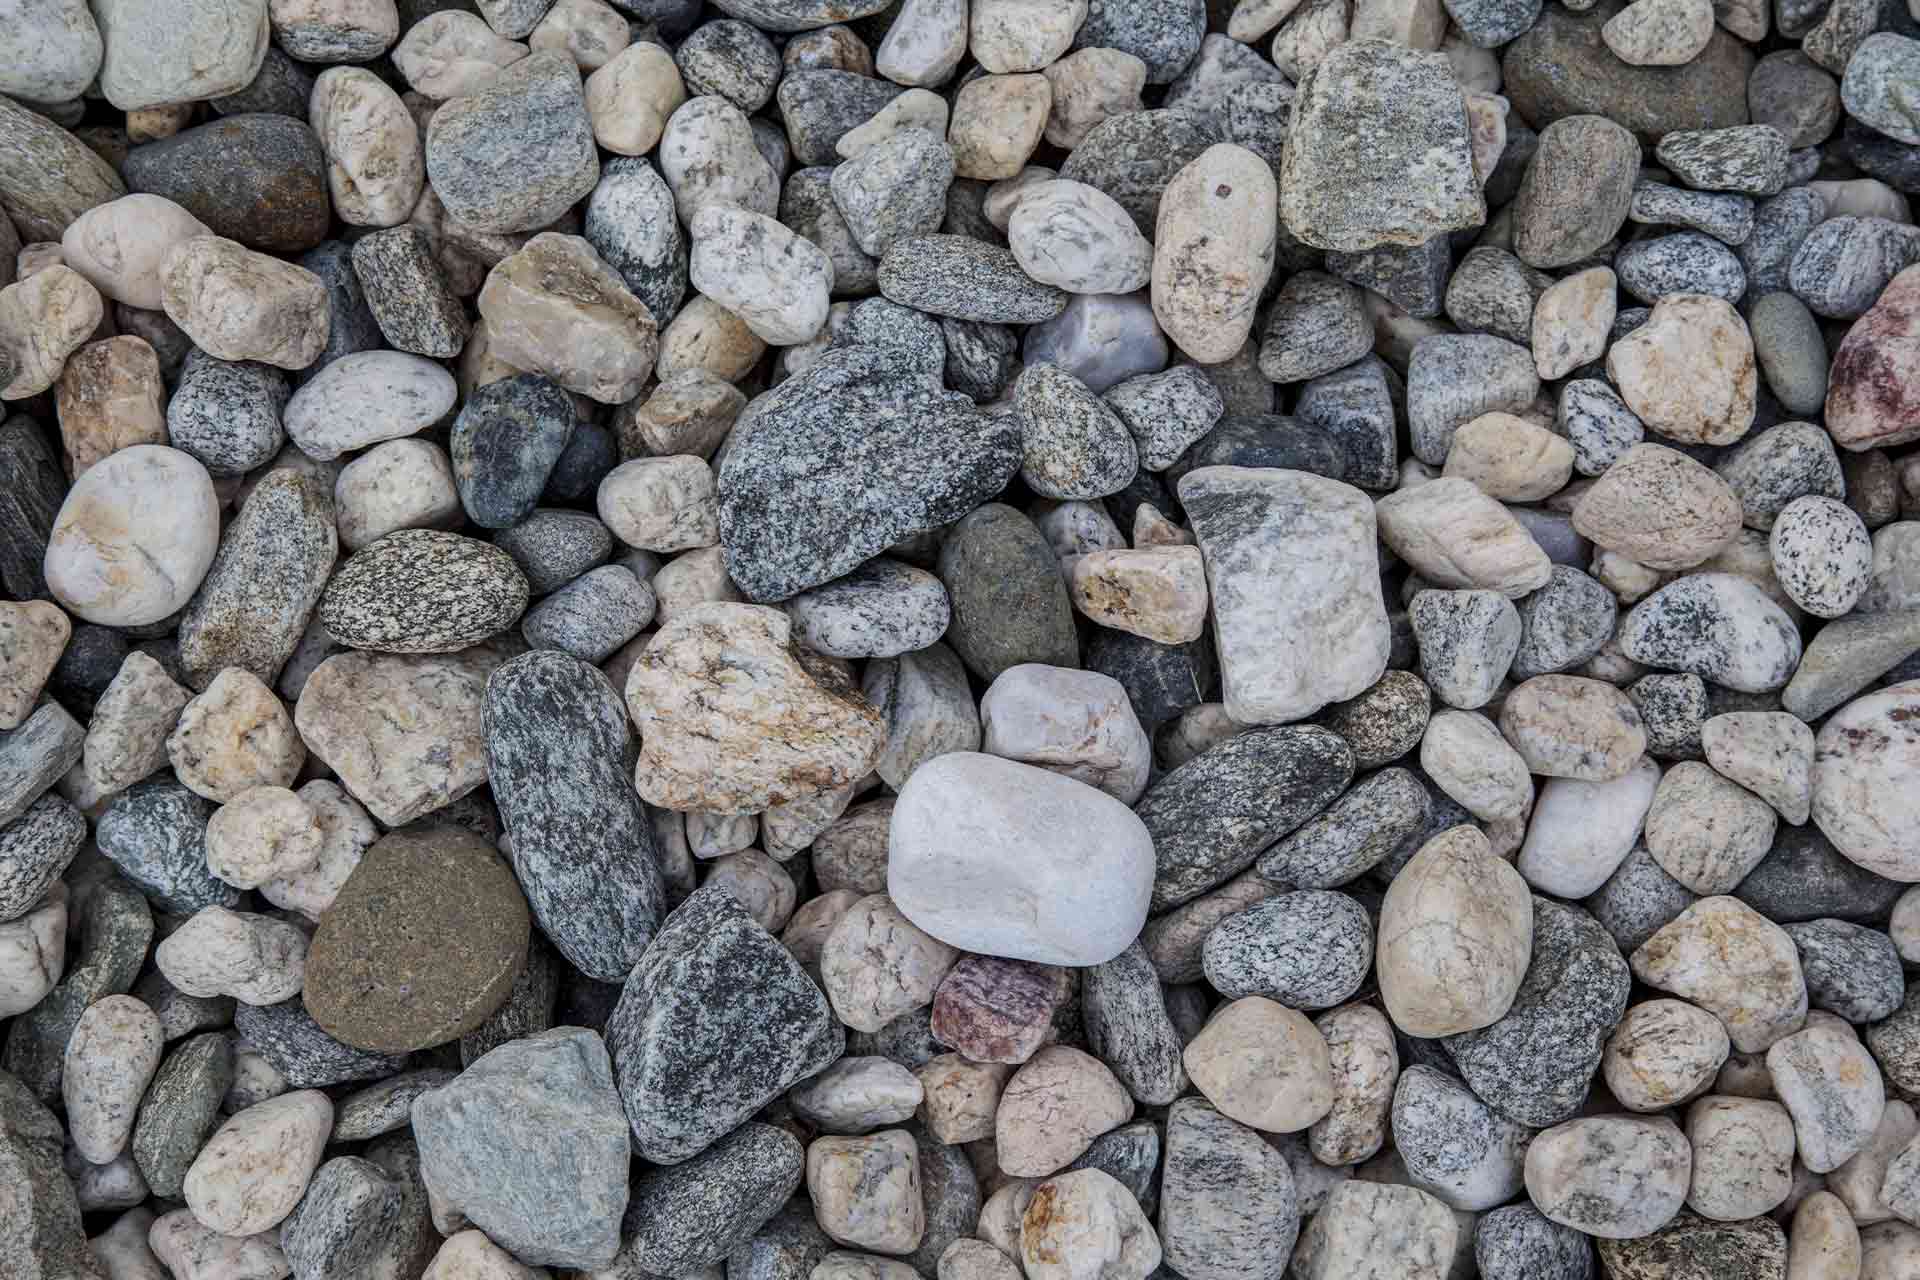
Different types of gravel
There are many different types of gravel and materials that have the same qualities as gravel but aren't technically classed as such.
Each has its own properties and uses. Here are the pros and cons of some types you might come across.
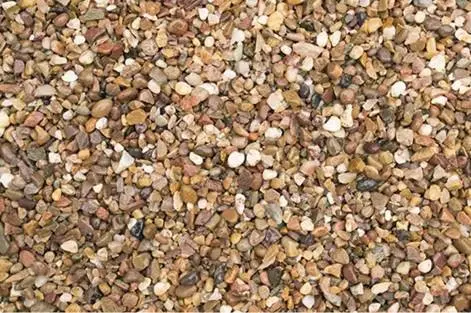
Pea gravel driveway pros and cons
Pea gravel is also known as ‘pea shingle.’ It's a quartz-based aggregate that’s naturally rounded and ideal for use on a driveway.
Pros
Inexpensive
Versatile
Easy to maintain
Easy to install
Natural, rustic look
Colour variation adds depth and texture
Excellent drainage
Cons
Needs to be contained with edging material
Can shift and scatter
Prone to weed growth
Tends to accumulate debris
Self-binding gravel pros and cons
Self-binding gravel has had significant quantities of dust added to it to improve its self-binding ability. This knits the gravel together to form a surface that's less susceptible to scuffing. It's commonly used in parks but also for domestic driveway projects.
Pros
Less susceptible to scuffing and scattering
Inexpensive
Low maintenance
Natural-looking
Easy to lay
Cons
Weeds can grow into the surface
Can stick to the soles of shoes and be carried indoors
Crushed concrete driveway pros and cons
Crushed concrete is similar to gravel. It's made up of tiny pieces of concrete that have been ground and crushed to make them suitable for paving.
Pros
More affordable than natural stones
Recycled material
Versatile
Can be permeable if installed correctly
Cons
Need to select the right grade (21AA crushed asphalt, 21AA crushed concrete or 22AA crushed concrete)
Can create dust
Can shift, scatter and wear thin
Decomposed granite driveway pros and cons
Decomposed granite, also known as crushed granite, is a very popular choice for driveways. It's derived from regular granite but has been weathered to the extent that it breaks down easily into small pieces.
There are two main types: natural and stabilised. While natural decomposed granite can be useful for gardening projects, you'll need to opt for stabilised if you're planning to use it for a driveway.
Here are the pros and cons of stabilised crushed granite driveways:
Pros
Inexpensive
Comes in lots of colours
Very permeable
Longlasting
More stable than gravel
Cons
Can stick to the soles of shoes and be carried indoors
Could scratch indoor flooring if carried inside
Can wash away in heavy rain
Crushed limestone driveway pros and cons
Crushed limestone driveways are made mostly from limestone that's been finely crushed. As a natural material, it's a visually appealing driveway material.
Pros
Superior drainage
Easy to install
Durable
Longlasting
Affordable
Cons
Costs more than crushed concrete
Can become uneven
Can get embedded in tyre treads
Not as durable as concrete or asphalt
Can be tough on tyres if not compacted correctly
Hoggin pros and cons
Hoggin is a blend of gravel, sand and clay that occurs naturally. The material produces a buff-coloured bound surface, which allows water to drain through it easily.
Pros
Makes for a very stable surface when compacted
Excellent drainage
Costs considerably less than driveway options like tarmac and concrete
More durable than gravel
Versatile
Self-binding properties
Cons
Nowhere near as durable as options like tarmac and concrete
Can generate dust
Susceptible to errosion
Coal ash and cinders pros and cons
Coal ash and cinders are by-products from coal-fired power stations. They create a surface that's as good as gravel.
Pros
Can create a striking visual contrast in the right place
Compacts well
Makes a hard, dense layer
Cons
Only available in a black, charcoal or deep red colour
Some grades won't be effective for a driveway, e.g. PFA (Pulverised Fly Ash)
Becoming hard to find
Can become claggy when wet
See the tradespeople we've checked and recommend for your job
Essential steps to laying a gravel driveway
Once you've decided to install a gravel driveway, it's time to lay it, or hire a professional to do it for you!
If you're planning to lay your gravel driveway yourself, you'll be pleased to hear that it can be done - but it is hard work. With lots of lifting and carrying, you'll need a good level of strength and fitness, so be sure to consider this before you begin.
You should also work methodically and make sure that your site is well-prepared to avoid any future problems with your gravel driveway.

1. Preparing the base
The first thing to do when laying a gravel driveway is to prepare the base. This is, perhaps, the hardest part of the process and requires a lot of digging.
Depending on the size of the driveway, you may want to hire a digger, bulldozer, or excavator. For smaller driveways, you can possibly dig out the driveway by hand.
When digging out your driveway, you should remove all topsoil so that you have a solid base to work on. Always be careful when digging to make sure that you don’t hit any water or gas pipes or any electrical, phone, or internet cables.
2. Creating a sub-base
Once you have dug out your driveway, you need to prepare the sub-base. The sub-base is the foundation of your driveway. It should be strong enough to support a heavy load of gravel and stable enough to prevent future movement.
Your sub-base should be made from compacted aggregate. It’s best to use various-sized pieces of aggregate and to lay it to a depth of at least 50mm.
Once you have laid your aggregate, you need to compact it down to create a firm and supportive layer. You could use a roller or wacker plate for this purpose.
It's really important that your sub-base slopes away from your house or garage. This helps to direct rainwater away from your property. It's well worth hiring a professional to get this right.
3. Laying a weed membrane
Now, it’s time to lay your weed membrane. This will help to prevent stubborn weeds such as dandelions from growing out from underneath your driveway.
A heavy-duty weed membrane is best. One made from a protective material such as polypropylene is a good option.
Lay the weed membrane directly onto the sub-base, overlapping where necessary. Peg the weed membrane in place and make sure that the entire sub-base is covered.
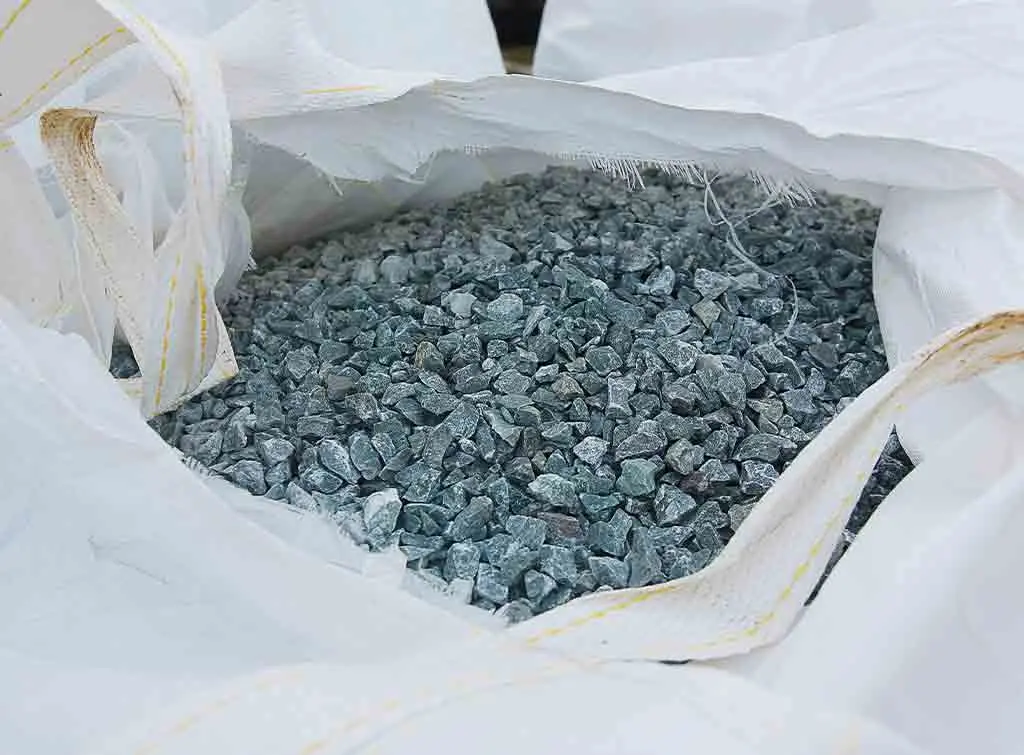
4. Selecting your gravel
There are lots of different types of gravel available. Angular, hard-wearing gravel is best for a driveway as it needs to withstand the constant pressure of cars and footfall.
The ideal gravel size for a driveway is between 14mm and 20mm. 14mm gravel will create a smoother look, while 20mm gravel will create a more textured appearance.
Gravel that is smaller than 14mm will potentially get stuck in your car tyre tread or the grips of your shoes. Pebble driveways can also cause a problem as they will move around too much when driven or walked on.

5. Calculating your gravel amount
Once you have chosen the type of gravel you prefer, it’s time to work out how much you need. Measure the length and width of your driveway and multiply the measurements together.
This will give you the area of your driveway in square metres. For example, a driveway that is 3 metres wide and 5 metres long will have an area of 15m².
A large bag of gravel will usually cover around 10 square metres of land. This is based on laying the gravel to a depth of 50mm.
6. Installing a gravel grid
At this point, you need to decide whether you want to install a gravel grid. A gravel grid is a solid reinforced mesh structure usually made from durable plastic.
They are designed to withstand excessive amounts of weight and to stop your gravel from spreading around once the driveway is in use.
An added benefit of installing a gravel grid is that you won’t need as much gravel.
If you are using a gravel grid, it can be laid directly onto the weed membrane or sub-base if you’re not using a weed membrane.
Gravel grids are made in various sizes and come in separate square pieces that interlock together.
To install gravel grids, start at one corner of the driveway and interlock the grids along the driveway. Gently tap the grids into place with a rubber hammer and cut any excess areas with a fine-toothed saw or circular saw.
A professional can advise you on what's best for your driveway.
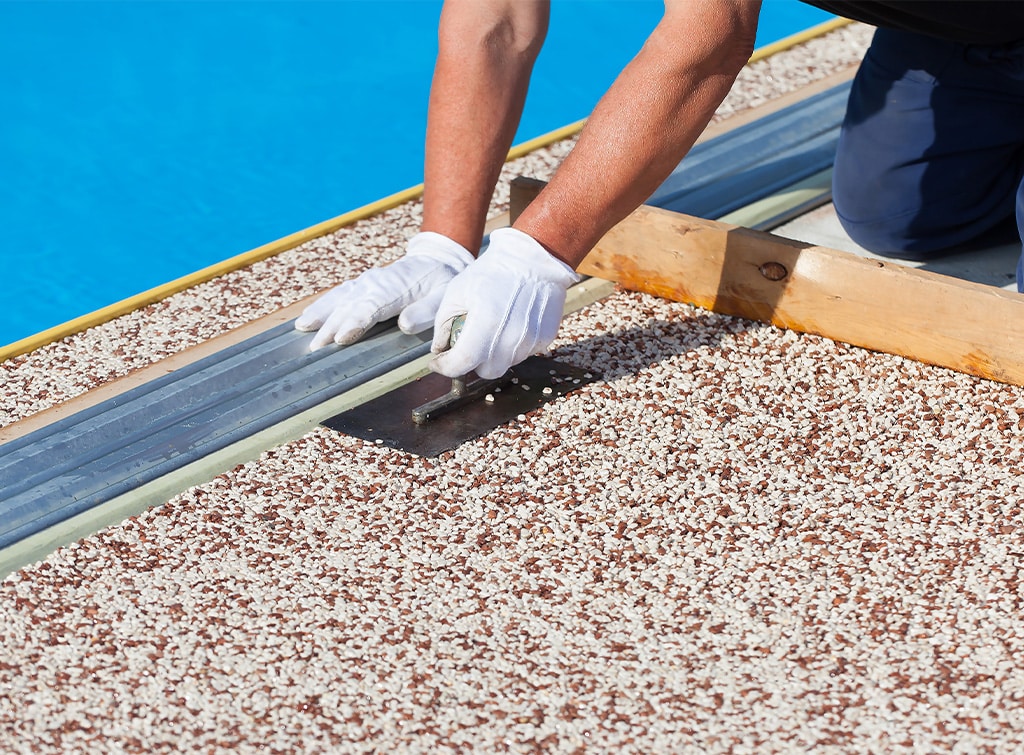
7. Laying your gravel
The final step is to lay the gravel. A wheelbarrow is useful at this stage, reducing the amount of heavy lifting and spade work required.
If using one, pour the gravel evenly onto the weed membrane or gravel grid. Rake the gravel into place, then brush it into any corners for complete and even coverage.
Once you’ve laid your gravel, rinsing it with water will help to bring out the stone's natural colour and create an attractive finish for your new gravel driveway.
For best results, we always recommend hiring a professional.
Enter your postcode into the search box to start looking.
See the tradespeople we've checked and recommend for your job
How do you maintain a gravel driveway?
Properly maintaining your gravel driveway is key to making it last.
Here's how to maintain your gravel driveway.
Raking
Over time, your gravel may shift and become uneven. Regularly use a rake to spread it back into place and fill in any dips and ruts.
This will help prevent uneven areas and keep your driveway smooth and neat.
Weeding
Even with a weed membrane, weeds can sprout up in your gravel driveway.
Regularly removing them will help you to stay on top of the problem and catch weeds before they get out of hand.
Tidy edges
From time to time, gravel might spill over the edges of your driveway onto surrounding lawn or flowerbeds.
Redistributing stray gravel is a good idea. Using a spade or edging tool to define the borders can also help prevent overspill.
Top up gravel
As time goes on, your gravel will start to thin out. This is because weather and traffic will cause it to migrate slowly.
Topping up your driveway with fresh gravel is an easy fix. Generally, you should do this roughly every two years - or more often if you think it's needed.
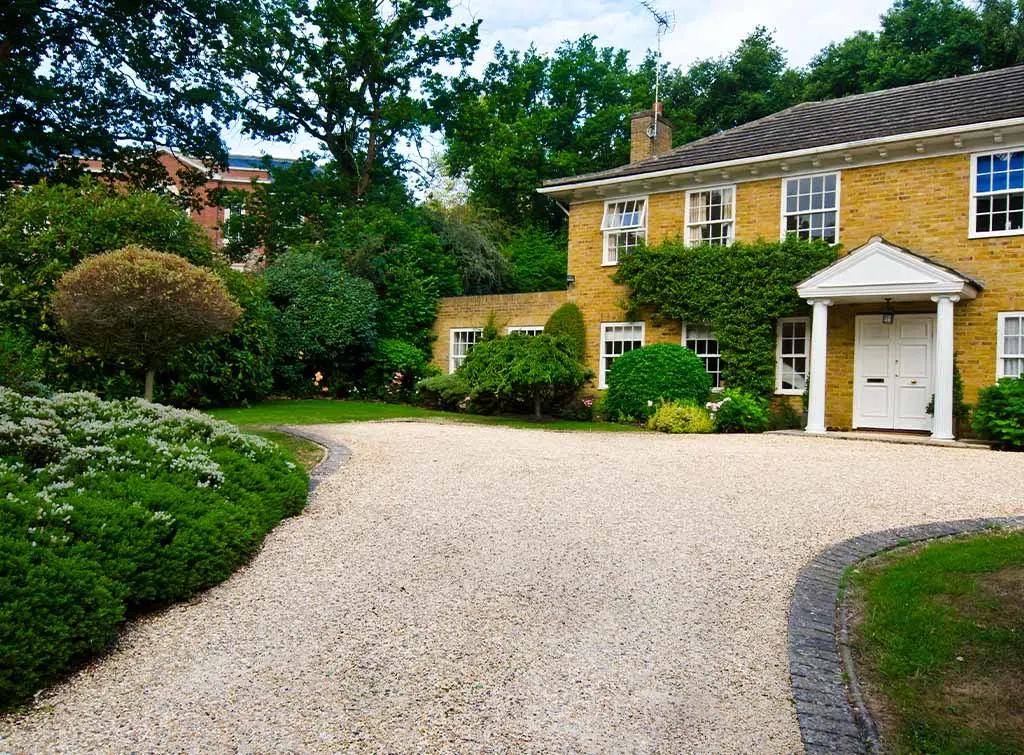
Key takeaways
Gravel driveways offer homeowners a cost-effective and reliable alternative to conventional slabs and brick pavers.
Not only do gravel solutions significantly reduce the risk of flooding. But unlike other options, they allow water to flow through into the ground to create a clear surface that's safe for use all year round.
See the tradespeople we've checked and recommend for your job
FAQs
Are gravel driveways a good idea?
Yes! Not only are gravel driveways quick and easy to install, but they're also cost-effective, durable and low maintenance.
Gravel is also available in a wide selection of shapes, sizes, and colours, making it suitable for all tastes, styles and homes.
How deep does gravel need to be for a driveway?
Gravel driveways should be at least 30cm deep. This allows for adequate drainage through the aggregate and into the topsoil.
Do you need planning permission for a gravel driveway?
No. Planning permission is not required as long as a gravel driveway is sufficiently permeable to allow for adequate drainage.

Everything you need to know about landscaping planning permission
Making sure your garden design doesn't fall outside of approved landscaping planning laws lets you implement your vision without the fear of legal ramifications.
Is gravel cheaper than paving?
Yes. Gravel is a far cheaper way of creating a driveway than laying paving slabs.
Is bigger or smaller gravel better for a driveway?
Driveway gravel should be between 14mm and 20mm. Anything smaller will get trapped in car tyre treads and shoe grips. Anything bigger can get flicked up and cause damage to nearby cars and buildings.
How much is a gravel driveway?
A gravel driveway will cost around £30 per square metre.
Head over to our guide to driveway resurfacing costs or the cost of a ton of gravel to learn more.
How long will a gravel driveway last?
With the right care and maintenance, a gravel driveway could last for up to 100 years. However, you'll usually need to top it up with fresh gravel roughly every two years.
Should you put anything under a gravel driveway?
Yes. Laying a sub-base beneath your gravel driveway will help to keep it sturdy and prevent the ground from sinking when heavy vehicles park on it. Your sub-base should be made from compacted aggregate.
It's also sensible to add a weed membrane.
Do you need membrane for a gravel driveway?
Although a weed membrane isn't essential, it's strongly advised. Without a weed membrane, a gravel driveway will be prone to problems with weeds and become damaged over time.
See the tradespeople we've checked and recommend for your job
More Expert Advice Articles


More Gravel / Shingle Driveways Articles
See the tradespeople we've checked and recommend for your job