Find shed builders near me
Search your postcode to find your local Checkatrade-approved tradespeople

Find a tradesperson near me
to view most relevant local trades, or search your postcode to browse more
IRONCLAD CONSTRUCT LTD
10.00
(2 reviews)Services & skills
LandscaperShedsArtificial GrassShed BasesPlay AreasAll Seasons Tree Surgeons
10.00
(214 reviews)Services & skills
LandscaperShedsLandscape ContractorTree PlantingHard LandscapingDigs Gardens Limited
10.00
(40 reviews)Services & skills
LandscaperShedsArtificial GrassLandscape ContractorGarden DesignPrimescape Builders Ltd
10.00
(12 reviews)Services & skills
LandscaperShedsSoft LandscapingSleepersHard LandscapingBS Landscapes
10.00
(107 reviews)Services & skills
LandscaperShedsWater GardensPlay AreasTree PlantingHerts & Essex Landscapes
10.00
(99 reviews)Services & skills
LandscaperShedsGolf / Bowls GreensDeckingWater Features


Shed builders design, build, and install garden sheds and other outdoor structures.
If you need secure storage, a workspace, or a custom garden building, search for a checked shed builder near you with Checkatrade.
How to find shed builders near you
1. Search your postcode
Enter your postcode to browse shed building companies who cover your area, whether you're in Reading, Rochdale, Rotherham, or any other part of the UK.
2. Compare options
View company profiles, compare shed types and materials, look for experience with custom sheds, and check out real customer reviews.
3. Request quotes
Use our request-a-quote tool to receive a selection of quotes from shed builders who work in your area.
4. Use the Checkatrade app
Track messages, quotes, and job updates all in one place.
Find a local tradesperson
Find shed builders near you with Checkatrade
Only members who pass our checks and commit to upholding the Checkatrade Standard appear in our listings. That means you can browse and compare services with more confidence.
Enter your postcode and we’ll show you the checked shed builders that cover your area.
Decide how you’ll use the shed before it’s built — foundations, electrics, and insulation depend on its purpose.
Find a shed builder in your area
Find related services you may need
Why not download the Checkatrade app, for all the tradespeople you need at your fingertips?

Why might you need a shed builder?
A shed building service can help in many ways, including:
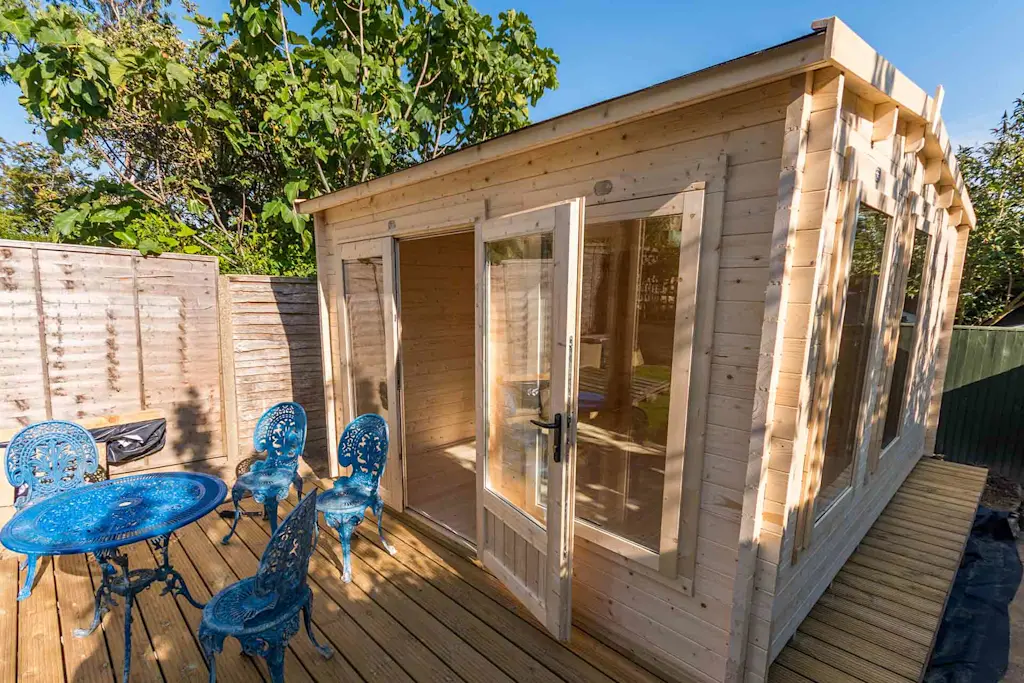
Building a new shed from timber or composite materials
Installing a pre-made or flat-pack shed
Replacing an old or damaged shed
Creating a workshop, office, or hobby space
Repairing or upgrading an existing garden building

On Checkatrade, you'll only find trades who meet our high standards and pass up to 12 checks.
What does a shed builder do?
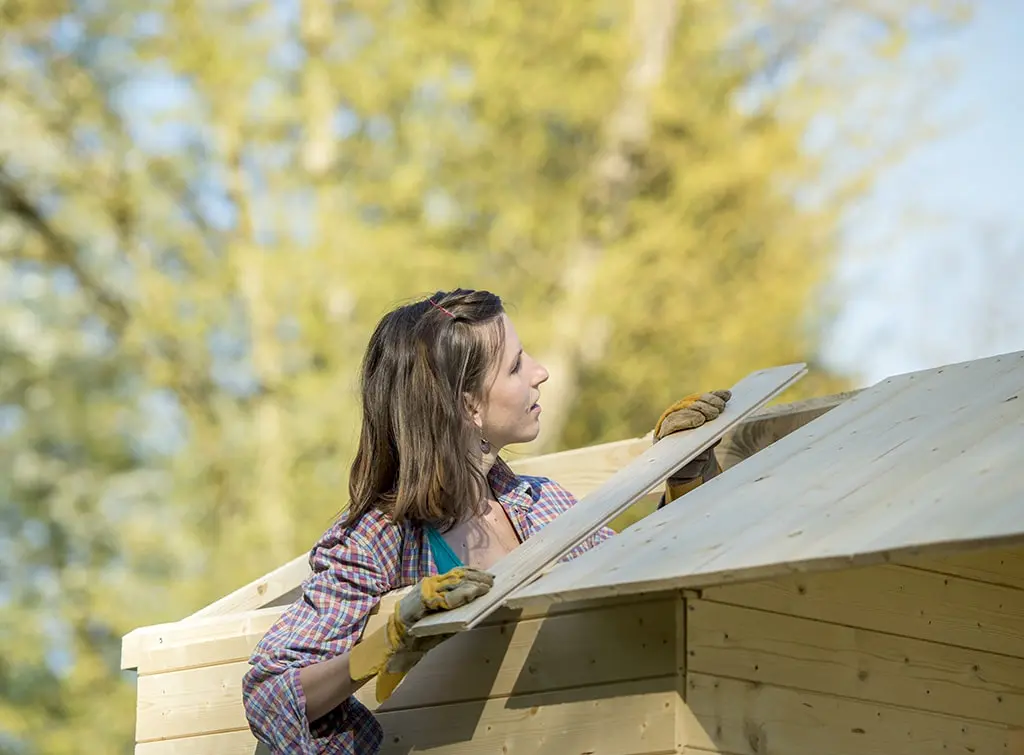
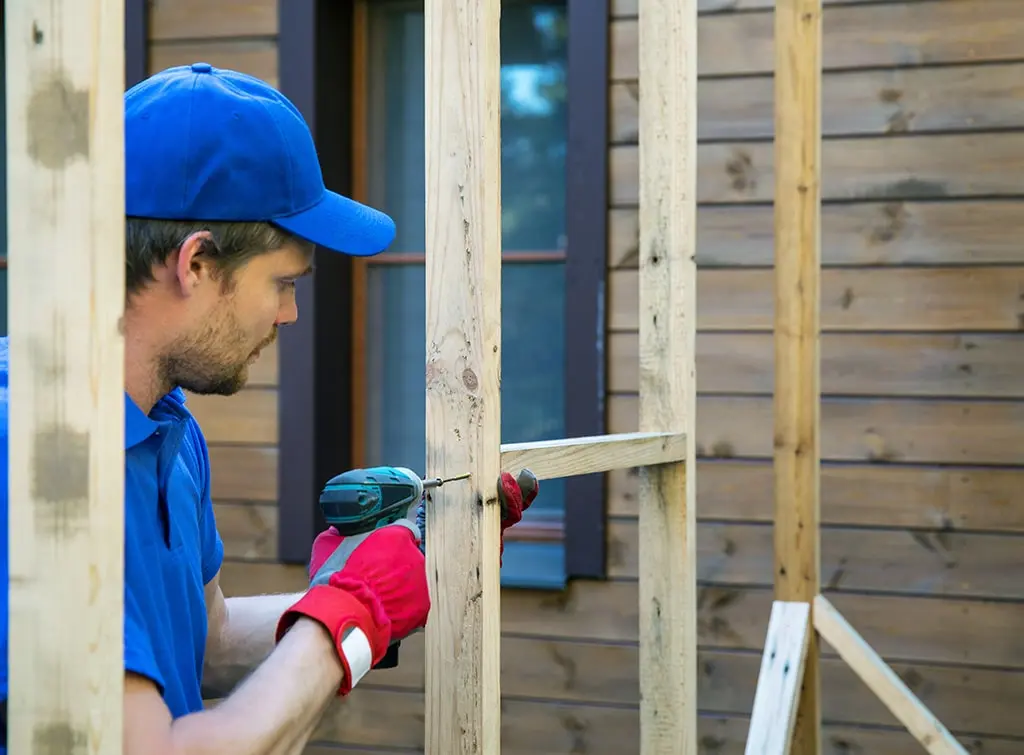
There are three key stages to shed construction:
Step 1: Planning and preparation
The shed builder will normally start by discussing size, materials, base type, and the intended use of the shed.
Step 2: Groundwork and base installation
Next, a suitable base is installed, such as concrete, paving slabs, or timber framing.
Step 3: Construction and finishing
The shed is then built or assembled, roofed, secured, and weatherproofed.
How much does a new shed cost?
Shed building costs depend on size, materials, and whether the shed is custom-built or pre-made.
As a guide, installing a plastic shed typically starts from around £285, while a new custom shed may cost around £850 or more.
Additional work such as shed removal, roofing repairs, or groundwork can increase costs.
When choosing a contractor, compare several quotes from shed builders near you to assess fair pricing and included services.
Job Estimate Calculator

Questions to ask before choosing a shed builder
Have you built sheds similar to this before?
Will you prepare the base or foundations?
Which materials are included in the quote?
How long will the build take?
Is insurance in place for the work?
Does the build come with a guarantee?
Why use Checkatrade to find shed builders near you?
Checked - Every Checkatrade member must pass up to 12 checks and commit to upholding the Checkatrade Standard
Reviewed - Over 6.2 million reviews have been published on Checkatrade on everything from communication, tidiness, timekeeping, and quality of work
Guaranteed - Jobs booked through Checkatrade are covered up to £1,000 (T&Cs apply)
Request a quote, search in the Checkatrade app, or enter your postcode below to find shed builders near you.
Find a local tradesperson
FAQs
Do shed builders install pre-made sheds?
Yes, many shed builders install flat-pack or pre-manufactured sheds.
Do I need planning permission for a shed?
Most sheds fall under permitted development, but size and placement rules apply.
How long does it take to build a shed?
Most sheds are built or installed within 1–2 days, depending on complexity.
Can a shed be insulated or powered?
Yes — shed builders can install insulation and prepare shed structures for electrics.
Is a concrete base always required?
A concrete base is not always required for a shed — base type depends on shed size, ground conditions, and intended use.

