HOW-TO GUIDES
How to skim a wall
Updated 02/26
By: Content Team

Skimming a wall can completely transform a room. A fresh skim creates a smooth, even surface ready for decorating — but it’s also one of those jobs that looks far easier online than it feels in reality.
If you’re wondering how to skim a wall properly, what plaster to use, and whether it’s worth attempting yourself, this guide has got you covered.
We break down the process into clear stages and highlight when calling in a professional plasterer might save you time (and a lot of sanding).
What skim plastering actually involves
The difference between multi-finish and finishing plaster
The tools and preparation required
How to skim a wall step-by-step
Common mistakes and how to avoid them
When it’s safer and more cost-effective to use a professional
What is skim plastering?
Skim plastering involves applying a thin, smooth finishing layer of plaster over an existing wall surface. The goal is to create an even base for painting or wallpapering.
It’s typically used to refresh:
Old, slightly uneven plaster
Plasterboard
Previously decorated walls
Walls with minor surface damage
The finish depends heavily on timing, pressure, and technique, which is why it can take practice to get right.
Can you just skim over old plaster?
In many cases, yes, you can skim over old plaster if it’s stable, dry and well bonded.
However, you shouldn’t skim over:
Blown plaster (loose or hollow areas)
Damp patches
Crumbling surfaces
Heavy paint build-up without preparation
If you tap the wall and it sounds hollow or flakes away easily, the issue usually needs repairing before skimming.
What plaster should you use?
Choosing the right plaster makes a difference to both the finish and workability. For most internal skim work, multi-finish plaster is the standard choice.
What’s the difference between multi-finish and finishing plaster?
Multi-finish plaster is the most commonly used product for skimming. It’s designed to go over plasterboard or undercoats and gives a smooth decorative finish
Finishing plaster is a broader term that includes products like multi-finish. In practice, most plasterers use multi-finish for skim work
What is the best finishing plaster?
For most internal skimming jobs, multi-finish plaster is considered the go-to option because:
It spreads smoothly
It has a workable setting time
It provides a fine finish ready for decorating
Ready-mix skim plaster is available, but many professionals prefer powder plaster mixed fresh for better control.
Tools you’ll need
Skimming isn’t tool-heavy, but the tools you do need matter:
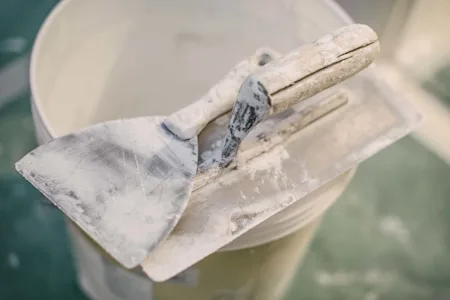
Plastering trowel (11–14 inch)
Plastering hawk
Bucket
Paddle mixer drill
Plaster powder
Clean water
PVA bonding agent
Paintbrush (for edges and finishing)
Spot board
Dust sheets or plastic sheets
Step ladder (if needed)
Protective goggles
And optionally:
Hammer (if removing loose plaster first)

Preparation
Preparation is often what separates a clean finish from a frustrating one.
Before skimming:
Remove loose material or flaking paint
Clean dust and debris
Apply diluted PVA to improve adhesion
Protect floors and furniture
Switch off radiators
Walls should be dry and sound before you begin. If you’ve recently removed wallpaper, take extra time to scrape back any damaged areas and remove leftover paste. Old adhesive can prevent new plaster from bonding properly.
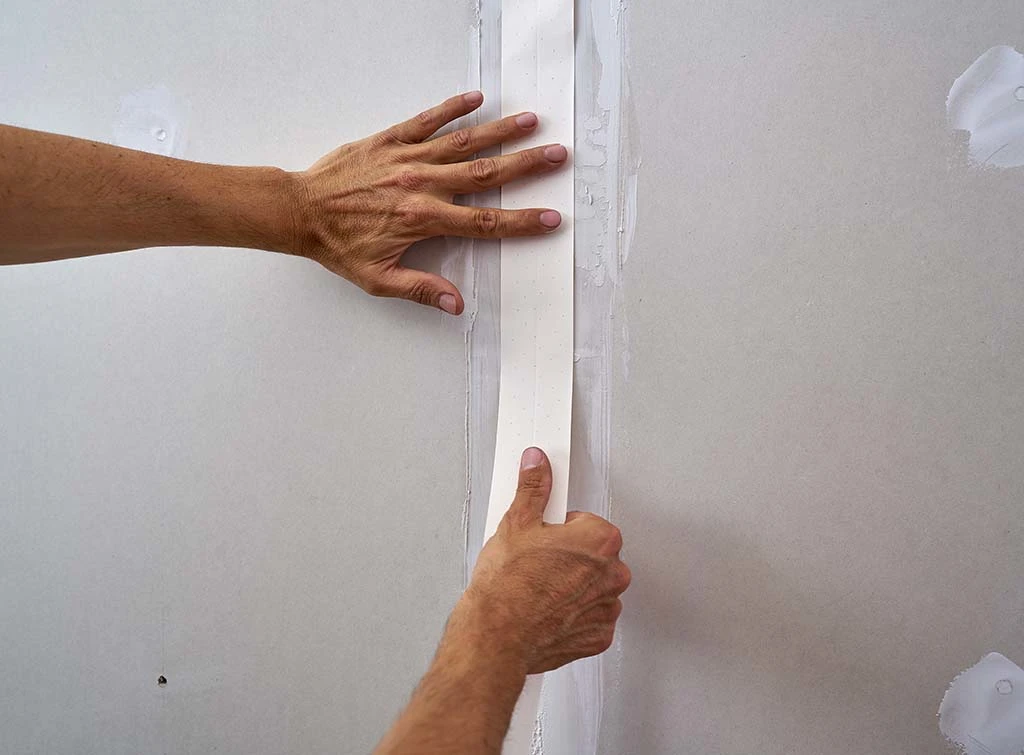
Plasterboard can usually be skimmed directly with multi-finish plaster — but make sure all joints are properly taped and the boards are firmly fixed first. Skimming won’t hide movement or loose fixings.
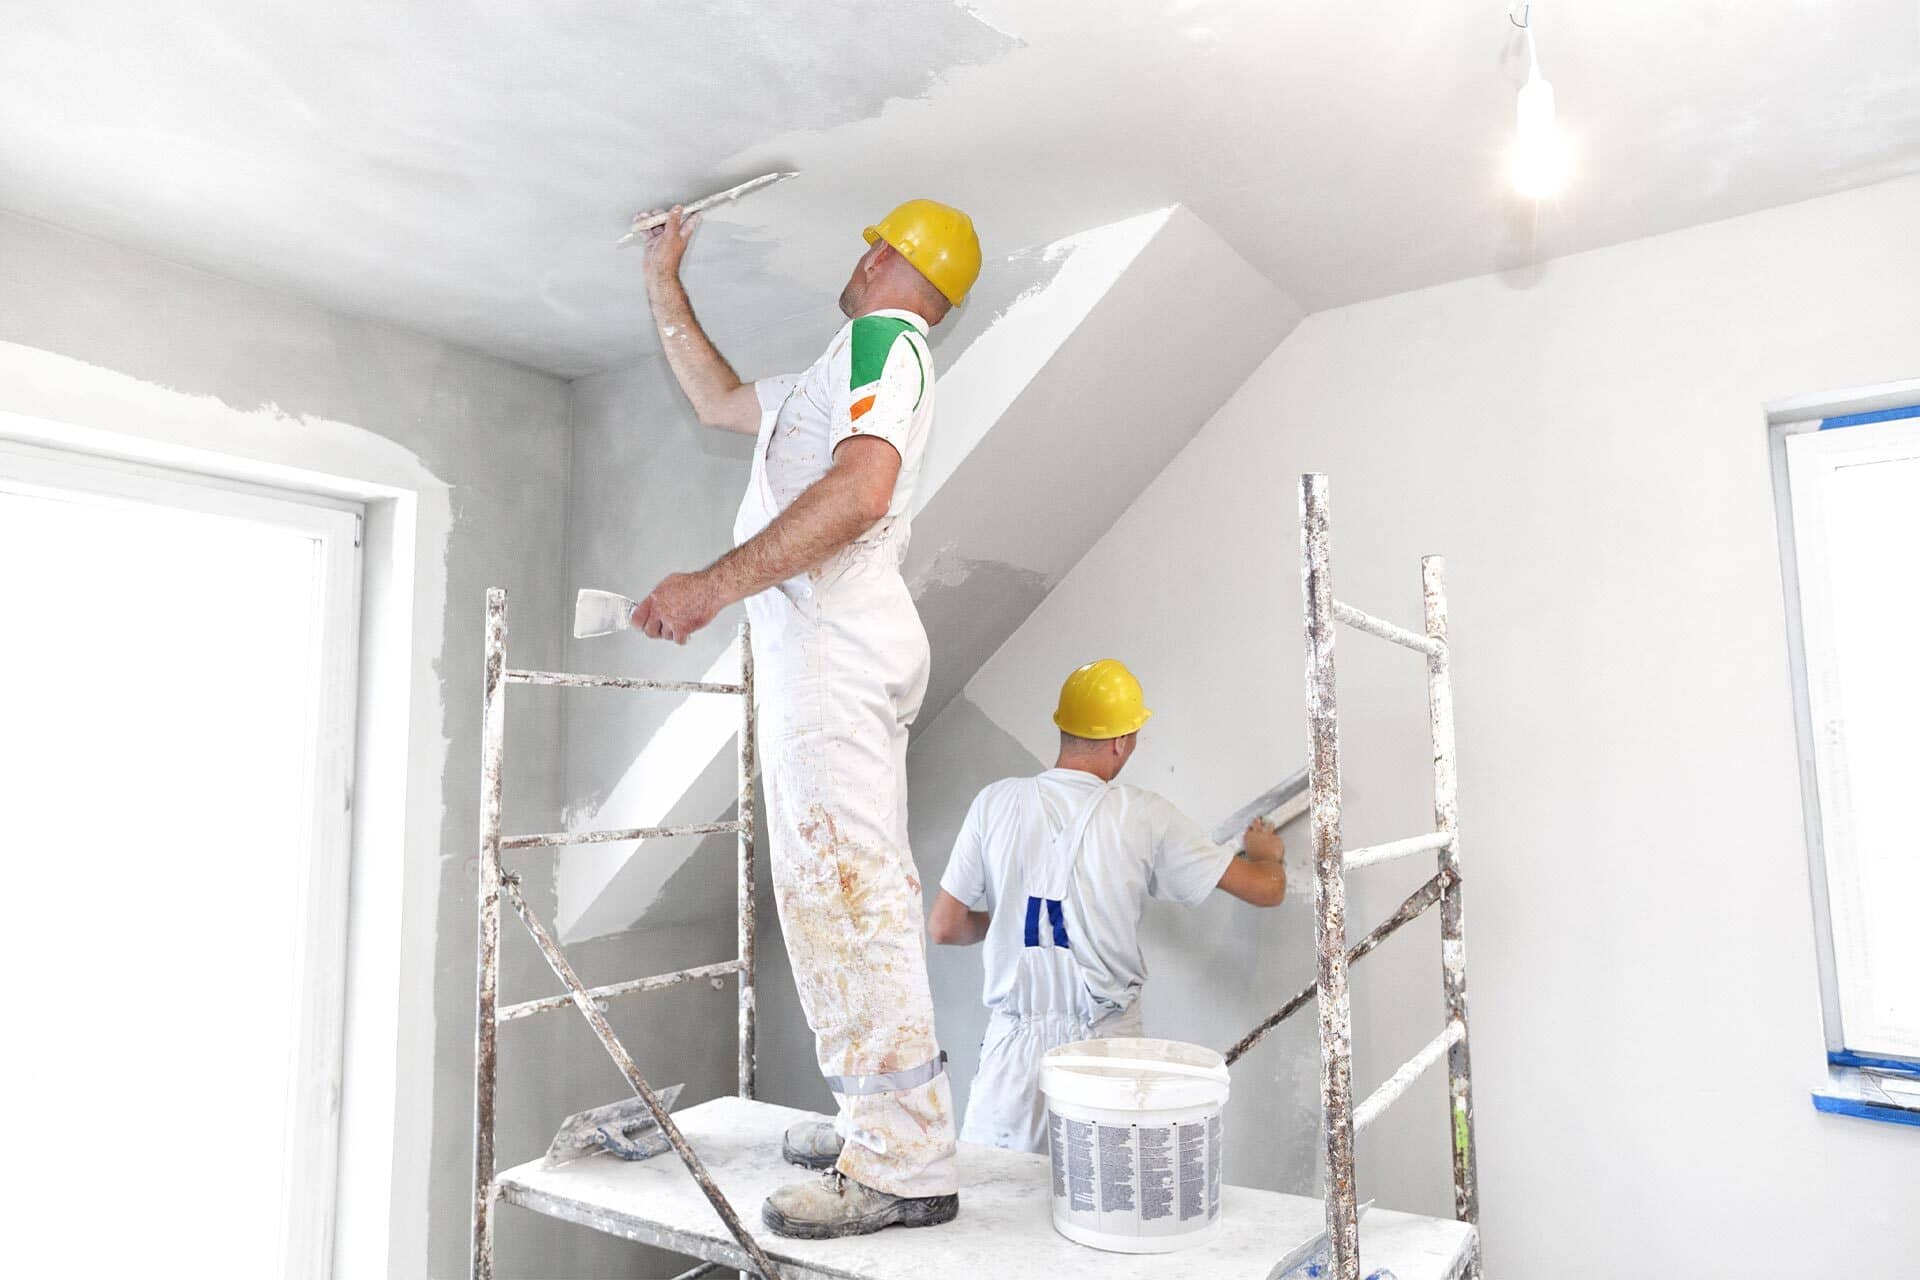
How to skim a wall (step-by-step)
Skimming usually involves two thin coats applied in fairly quick succession.
Step 1: Mix your plaster
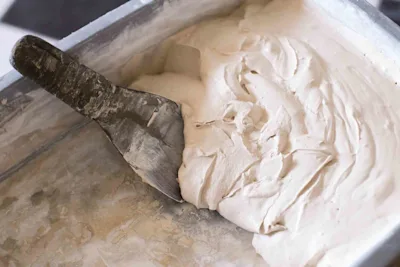
Add plaster powder to clean water (not the other way around) following the manufacturer’s instructions. Mix to a smooth, lump-free consistency — similar to thick custard.
Only mix what you can comfortably apply in 20–30 minutes. It’s usually best to mix smaller batches so you’re not racing the clock as it starts to set.
A paddle mixer attached to a drill makes it much easier to achieve a smooth, lump-free mix. Hand mixing is possible, but it’s harder to get the consistency right, especially if you’re new to plastering.
Step 2: Get it onto the spot board
Once it’s mixed, tip the plaster onto your spot board. It keeps the plaster workable and makes it easier to load your hawk without constantly scraping the bucket.
Step 3: Clean your bucket straight away
Give the bucket a quick rinse immediately after tipping the plaster out. Even small dried bits left behind can end up in your next mix — and they’re a nightmare for a smooth finish.
Step 4: Load your hawk
Scoop a manageable amount of plaster onto your hawk so you can work steadily without overloading your trowel.
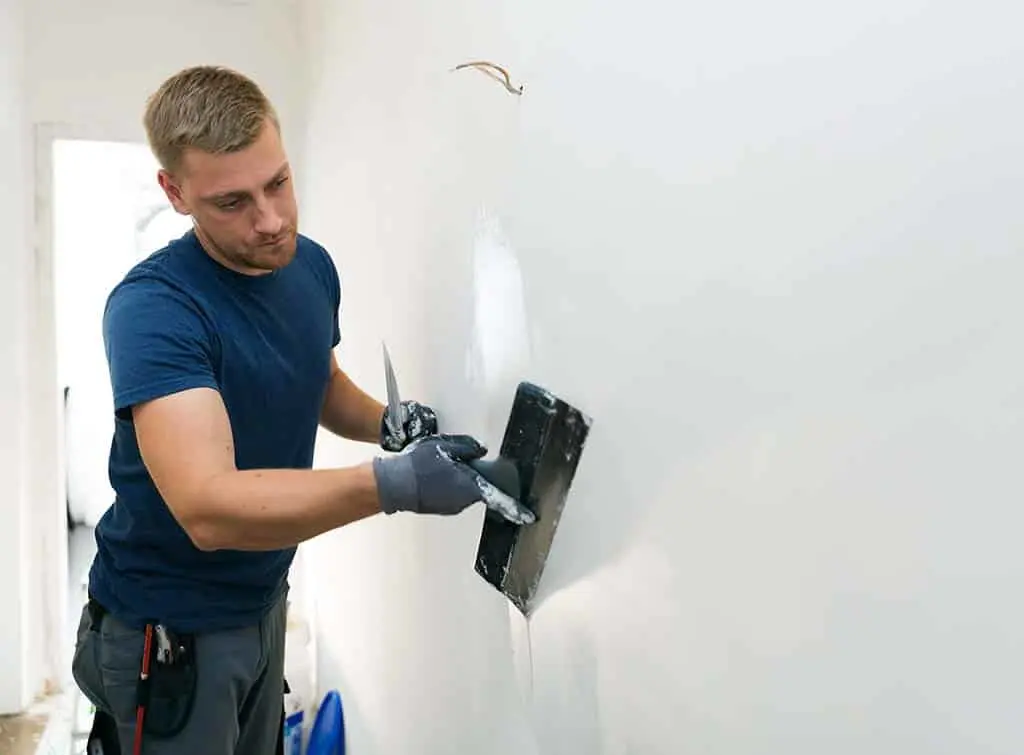
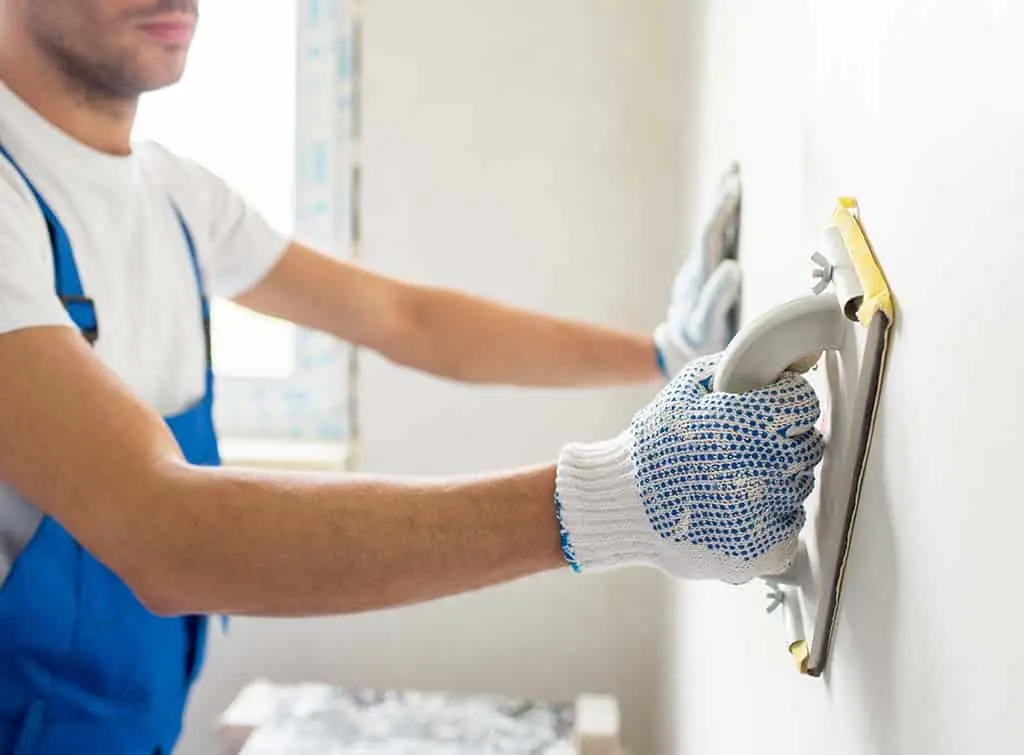
Step 5: Apply the first coat
Transfer small amounts to the wall and spread evenly with your trowel. Work at a steady pace, applying firm, controlled pressure and smoothing as you go.
The first coat doesn’t need to be perfect — it’s about coverage.
Step 6: Apply the second coat
When the first coat has firmed up (but isn’t fully dry), apply a thinner second coat in the same way. This stage is where the finish starts to take shape.
Step 7: Trowel up and smooth
Lightly dampen the surface and use your trowel to smooth out lines and imperfections as the plaster starts to set.
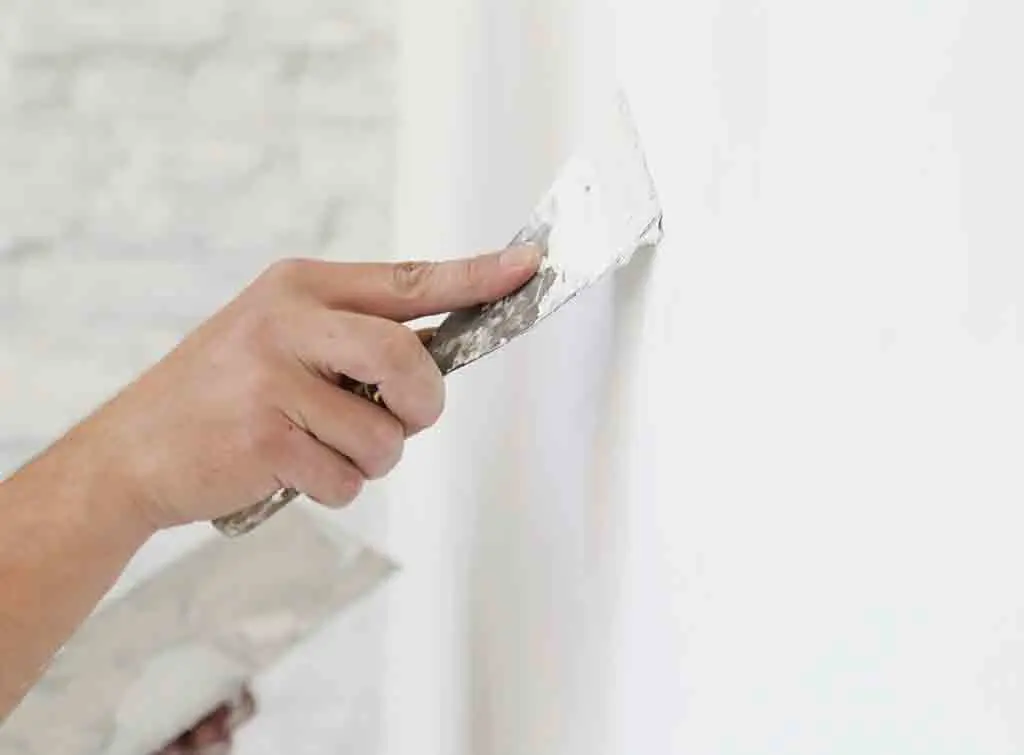
Step 8: Finish the edges
A damp paintbrush can help tidy edges and corners for a cleaner finish.
It takes practice to know exactly when to smooth and when to leave it alone; overworking plaster can cause dragging or marks. It’s at this stage that many DIY attempts start to show uneven patches.
How many coats of plaster when skimming?
Most skim jobs require two coats:
A base coat for coverage
A second coat for smoothing
Both coats are applied while the plaster is still workable — timing is crucial.
Never skim over blown plaster. If it sounds hollow or feels loose, it needs removing and repairing first — otherwise the new skim will only mask the problem temporarily.
How much does a plasterer charge to skim a wall?
Plastering costs vary depending on room size and condition.
On average, plasterers may charge:
£440–£650 to skim a room (cost range for small to large room)
Skimming cost per m² : In the UK, the average cost to skim a wall is around £24 per m²
For detailed pricing, see our guide to the cost to skim a room.

Can you skim a wall yourself — and should you?
Technically, yes. Many confident DIYers attempt it.
However, skimming is one of those skills where experience makes a visible difference. Even experienced DIYers often find their first wall needs more sanding than they expected.
Common DIY challenges include:
Trowel marks
Uneven thickness
Cracking
Drag lines
Rushed setting times
If a skim isn’t smooth, it often requires sanding, re-skimming, or even complete removal.
For feature walls, ceilings, or entire rooms, professional plasterers will achieve a flatter, longer-lasting finish in far less time.
Watch: How to skim a wall
To see the process in action, watch our quick video of a professional plasterer skimming a wall.
While videos make it look seamless, remember that the person demonstrating has usually spent years developing the timing and technique.
Thinking about hiring a professional?
Here’s what recent Checkatrade customers said about hiring a plasterer:
“Konrad came and skimmed our house that’s under renovation. Did an excellent job and would 100% recommend if anyone is considering.” Verified reviewer, Easyplast, (Location BA14)
“Extremely professional from start to finish. Chris turned up exactly when he said he would. The room he plastered looks fantastic — smooth, tidy, and finished to a very high standard. I wouldn’t hesitate to recommend him and would definitely use him again.” Verified reviewer, Whelan Plastering Services, (Location LE7)
Find plasterers near you
If you’d prefer a clean, even finish without the stress, we can help you find trusted plasterers in your area.
With Checkatrade, tradespeople are:
Checked - Every Checkatrade member must pass up to 12 checks and commit to upholding the Checkatrade Standard
Reviewed - Over 6.2 million reviews have been published on Checkatrade about real jobs, on everything from communication, tidiness, timekeeping, and quality of work
Guaranteed - Jobs booked through Checkatrade are covered up to £1,000 (T&Cs apply)
Enter your postcode to connect with reputable local plasterers near you.
Find a plasterer for room skimming near you
FAQs
Yes — plasterboard is commonly skimmed directly using multi-finish plaster. However, joints should be taped properly first, and boards must be securely fixed.
No. Blown plaster must be removed and repaired before skimming. Skimming over unstable plaster will only mask the problem temporarily.
Specialist plasters such as Dryzone systems should only be skimmed according to manufacturer guidance. In many cases, a compatible finishing plaster is required.
Ready-mix products can be useful for small repairs, but they often have different setting times and workability compared to traditional mixed plaster.
Two coats of plaster are standard for skimming — applied one after the other while the first is still workable, so they blend into a single smooth layer rather than two separate skins.
Most plasterers use an 11–14 inch stainless steel finishing trowel. Smaller trowels offer control; larger ones help create flatter surfaces, but technique matters more than size.

See the tradespeople we've checked for your job