HOW-TO GUIDES
How to brighten up your bedroom with paint: Our expert tips
Updated 04/26
By: Content Team
Reviewed: Kim Staples

If your bedroom isn’t creating the feeling you want from your own personal space, updating the colour of the walls with a lick of paint can work wonders.
Fast Facts
Painting your walls a light, pale shade can warm up a bedroom that feels dark and dingy
Get some samples and see how they look on your walls
Other ways to brighten up a bedroom include layered lighting, pale-coloured furniture, and clever mirror placement
You can paint your room yourself or hire a painter to tackle it for you
Before you grab your paintbrush, here are our top tips for painting your bedroom to brighten it up - and a few more ideas for lighting or brightening a dim space.
What paint colours make a bedroom look brighter?
If your bedroom feels a bit dull, the colour on your walls can make a bigger difference than you think. The right shade can bounce light around the room and make everything feel fresher. Here's what can work.
Once you’ve got an idea of the sort of colours you’re looking for, get some tester pots and try out colours in different places in the room.
Light neutrals
There's a reason magnolia is so beloved for walls. Neutral tones such as soft whites, warm beiges, and pale greys are a safe bet for helping a room feel bright. They reflect natural light and can help the room feel bigger and calmer.
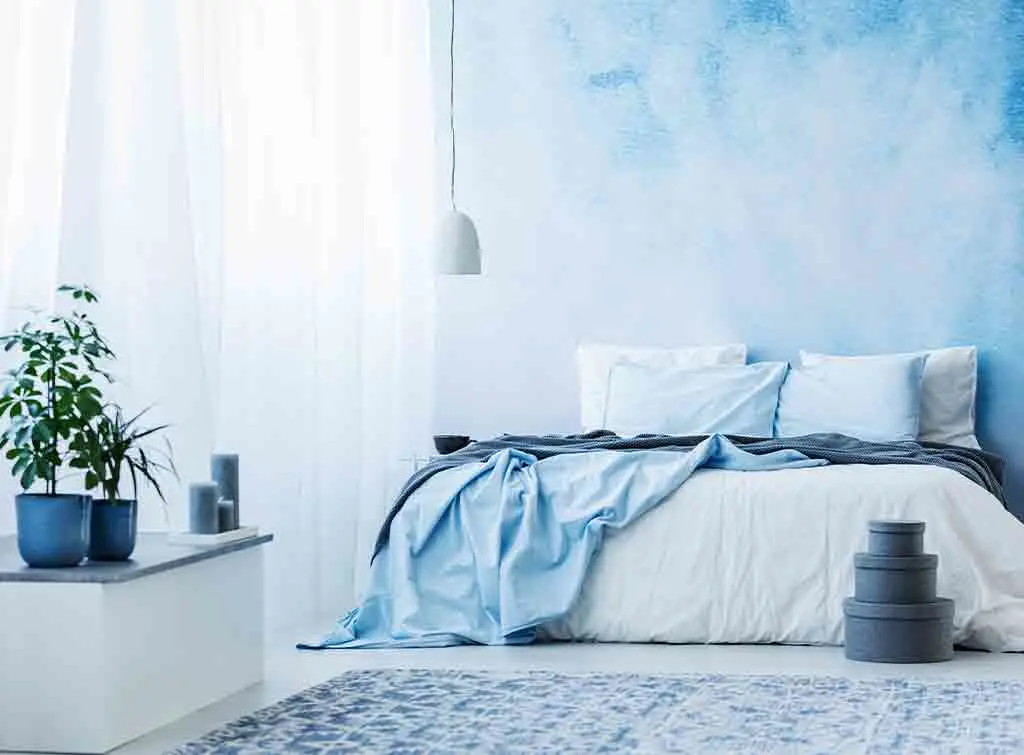
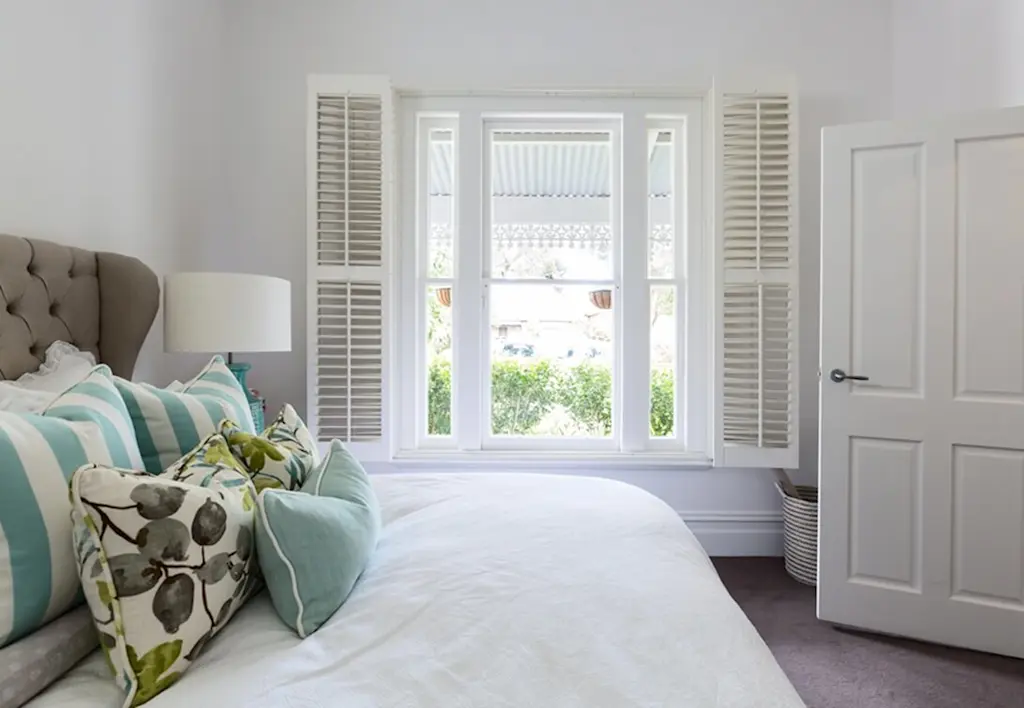
Cool tones
Light blues, soft greens, and lilacs can make a room feel airy and open. They’re great if your bedroom gets a lot of daylight, as the light shade helps reflect the light.

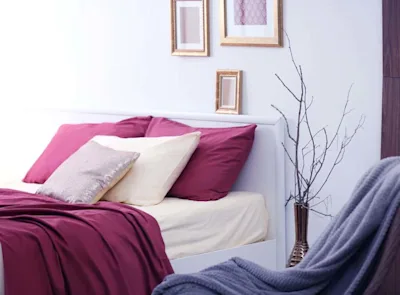
Warm, pale shades
Think blush pinks, light peach, or soft taupe. These kind of tones add warmth without making the room feel heavy or closed in.
Gloss and satin finishes
It’s not just about colour - paint finishes can make a difference too. Slightly shinier finishes reflect more light than flat matt paints, which can help brighten darker corners.
Remember to pay attention to how your samples look at different times of day, and in both natural and artificial light.

How to choose the perfect paint colour for any room
In this post, we share our secrets for choosing the best paint colours for your walls and the tools to use to steer you in the right direction.
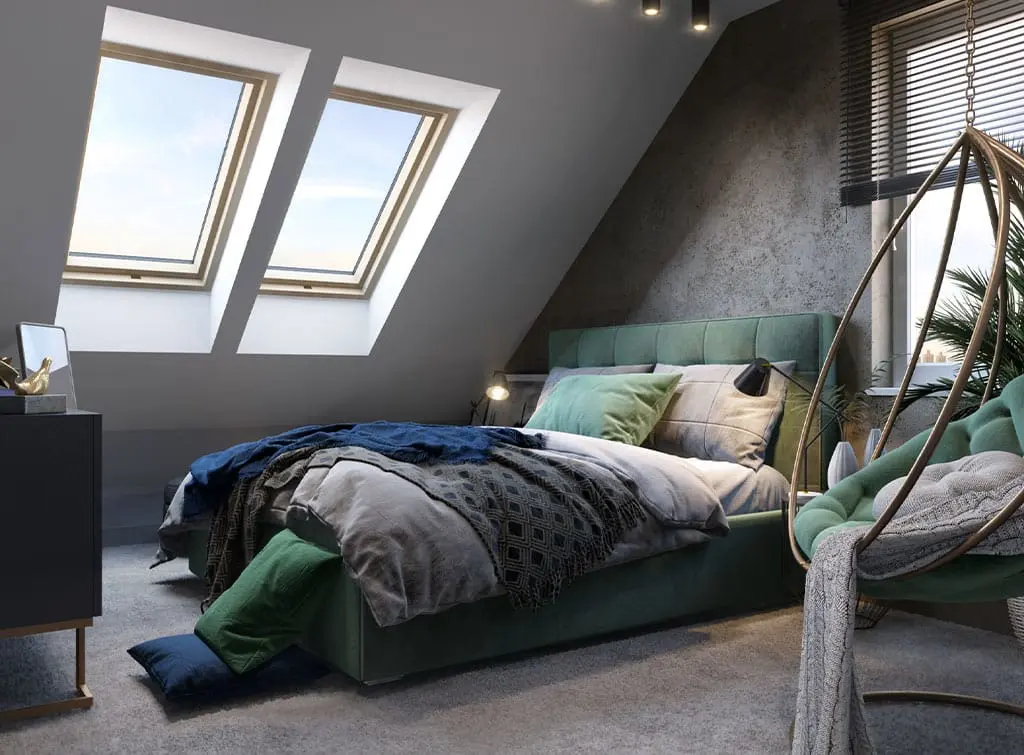
How to lighten a dark bedroom
Got a bedroom that feels gloomy, perhaps with small windows or not a lot of natural daylight? You're not stuck with it. A few smart tweaks can go a long way to lifting and brightening the space.
Give it a lick of paint
Switching to a lighter shade on your walls is the quickest win, especially if your current colour is dark or feels dated. Even going a few tones lighter can make a noticeable difference.
It's not just the walls
Ceilings in bright white can make the room feel taller. Woodwork - whether on your bed, wardrobe, or other furniture - in lighter shades can help brighten your bedroom up.
Painting the door can also help open up the space and make the whole room feel cohesive!
Keep the colour flow simple
Too many different colours can make a small or dark room feel busy. Stick to one main shade, with one or two complementary tones at most, to keep things calm and open.
Go minimalist
Less clutter helps a room feel wider and more spacious - and it means more light can move around the room.
Find a local painter-decorator
More ways to brighten up a bedroom
Paint can to a lot of heavy lifting to brighten your bedroom - but there are other options too.
Layer your lighting
A good overhead lamp is a big help, but 'layered' lighting brings brightness to every corner of your bedroom. Try a mix of:
Ambient lighting for overall brightness, from sources like ceiling lights
Task lighting for reading, getting dressed, and other activities, from sources like bedside lamps
Accent lighting for added mood, from sources like wall lights, LED strips, or even fairy lights
Encourage natural light
Don't block the natural light that your room gets - especially if you only have small windows.
Swap heavy curtains for lighter fabrics or paler colours
Hang your curtains higher and wider than the window, so you can push them right out of the way of the light
Keep window areas free of bulky furniture
Choose lighter furniture
Dark, bulky furniture can weigh a room down - but light wood and pale-coloured surfaces can help things feel more open.
You can also switch out solid bases (such as a divan bed) for a raised option (such as a metal bedstand), to give the light more places to go.
Get reflective with mirrors
Position mirrors opposite or near a window, and they'll reflect the natural light - and the overhead lighting too.
Placing mirrors behind lamps can also 'double' the glow you get from them in the evening.
And it's not just mirrors! Other reflective surfaces and colours can lend a hand here too. Try light-coloured bedding, glossy or metallic accessories, and rugs or carpets in pale shades.

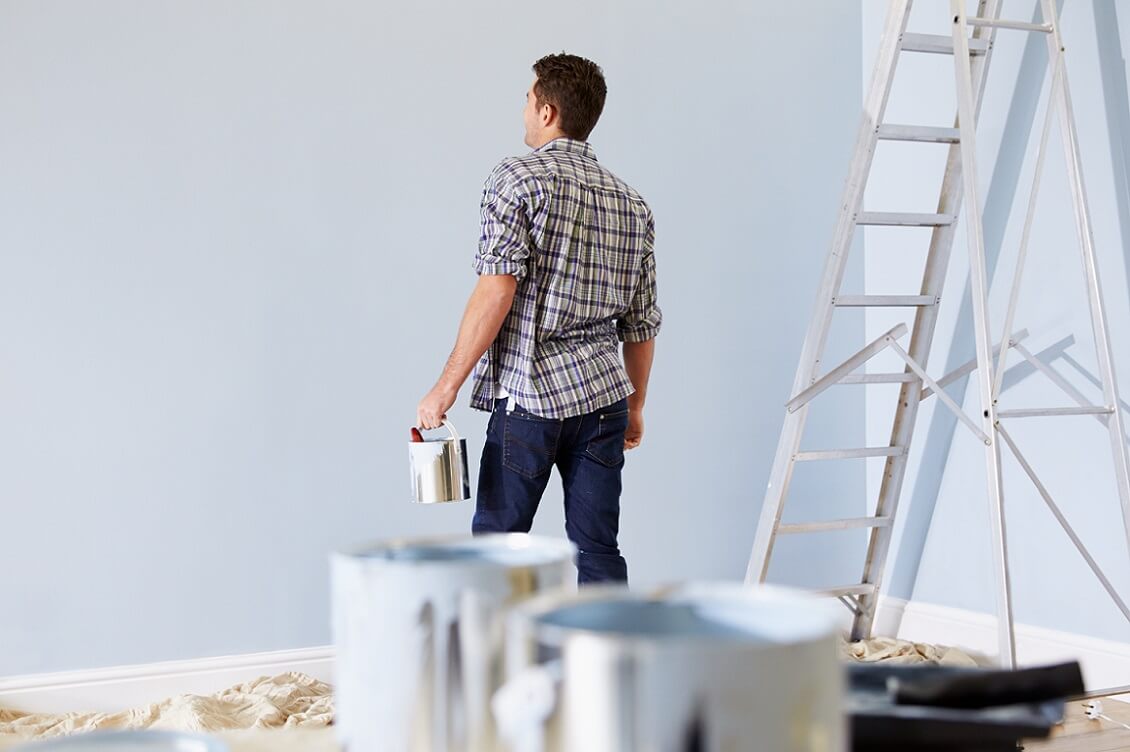
How to paint your bedroom to brighten it up
There are a few things to get straight before you start any home improvement project.
For example - go through our steps to check if you have everything in order before the room is decorated.
What tools do I need to paint a bedroom?
You'll need:
Paint
Primer
A paint roller, with an extension pole for higher areas
Paintbrushes
Paint trays
Painter’s tape
Sandpaper
See our guide on how to paint a room for the full lowdown.
1. Make a plan
Start with a plan. Are you going to paint all the walls the same colour? Does the ceiling need painting?
Then, think about how you’re going to approach the room. If you’re painting different walls different colours, do the lightest coloured walls first, so that if you have any spillages or slips, the dark paint will cover them up.
If you’re painting the walls a lighter colour than they currently are, you will need to apply three coats to ensure the old colour doesn’t show through or affect the finish – primer followed by two coats of paint.
2. Prep the room
Move as much furniture out of your bedroom as possible to ensure it won’t be caught by any paint spills or brush flicks. If you can’t move larger items, push them into the centre and cover them with sheets or plastic sheeting.
Next, take your painter’s tape and apply to the room’s corners, crown mouldings, skirting boards, door, and window frames.
You will also need to remove any sockets and light switch covers, protecting the outlets and switches with tape to ensure they don’t get dripped on.
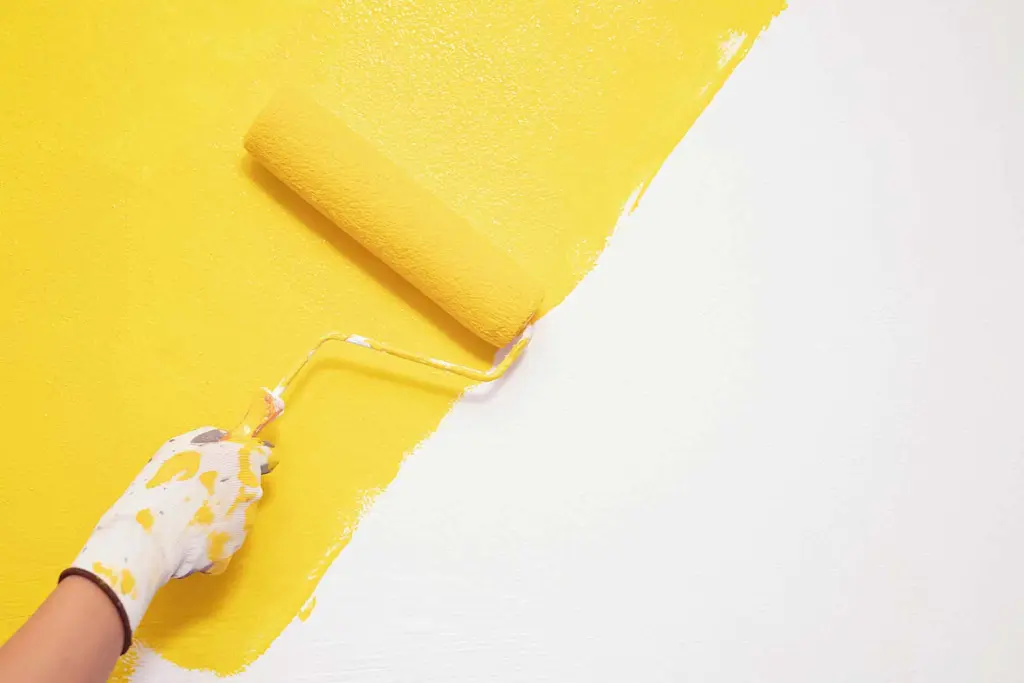
3. Mix and apply your paint
Remove the lids and use a wooden stick to stir the paint – this will ensure an even colour and coverage.
Then, you can get painting. Taking one wall at a time, paint along the moulding and corners of the room from top to bottom (this is known as cutting in in the trade). Then, use a roller to cover the main sections of the wall, avoiding more precise areas.
Apply the paint in a W pattern to avoid any roller marks!
4. Clean up
Once you’ve finished painting, clean up straight away. Remove all of the painter’s tape, gather the protective sheets and ensure any spillages are dry before you move them. Clean your brushes with soap and water for latex and water-based paints or white spirit for oil-based paints, and reshape the bristles using a painter’s brush.
Need some bedroom decoration inspo?
Take a look at our guides for more inspiration for decorating your bedroom.

Bedroom colour ideas
Discover our inspiring bedroom colour ideas to create a relaxing, calming space for sleep. With kids, small, teenage and master bedroom options.
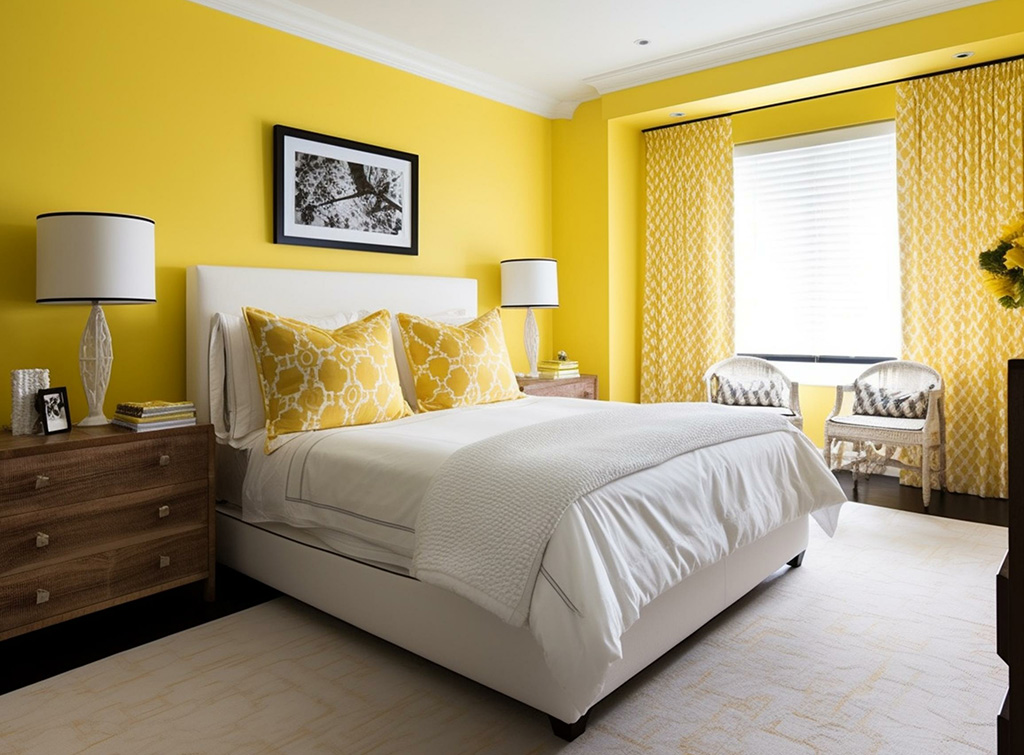
Yellow bedroom ideas: 20 uses for the sunshine colour
Do you need some help getting up in the mornings? Greet the sun before you even open those curtains by adding yellow to your bedroom walls or decor. Learn how to brighten up your bedroom with these sunny yellow bedroom ideas.

13 beautiful brown bedroom ideas
Learn how to transform your bedroom with beautiful brown tones with our inspiring gallery of ideas.

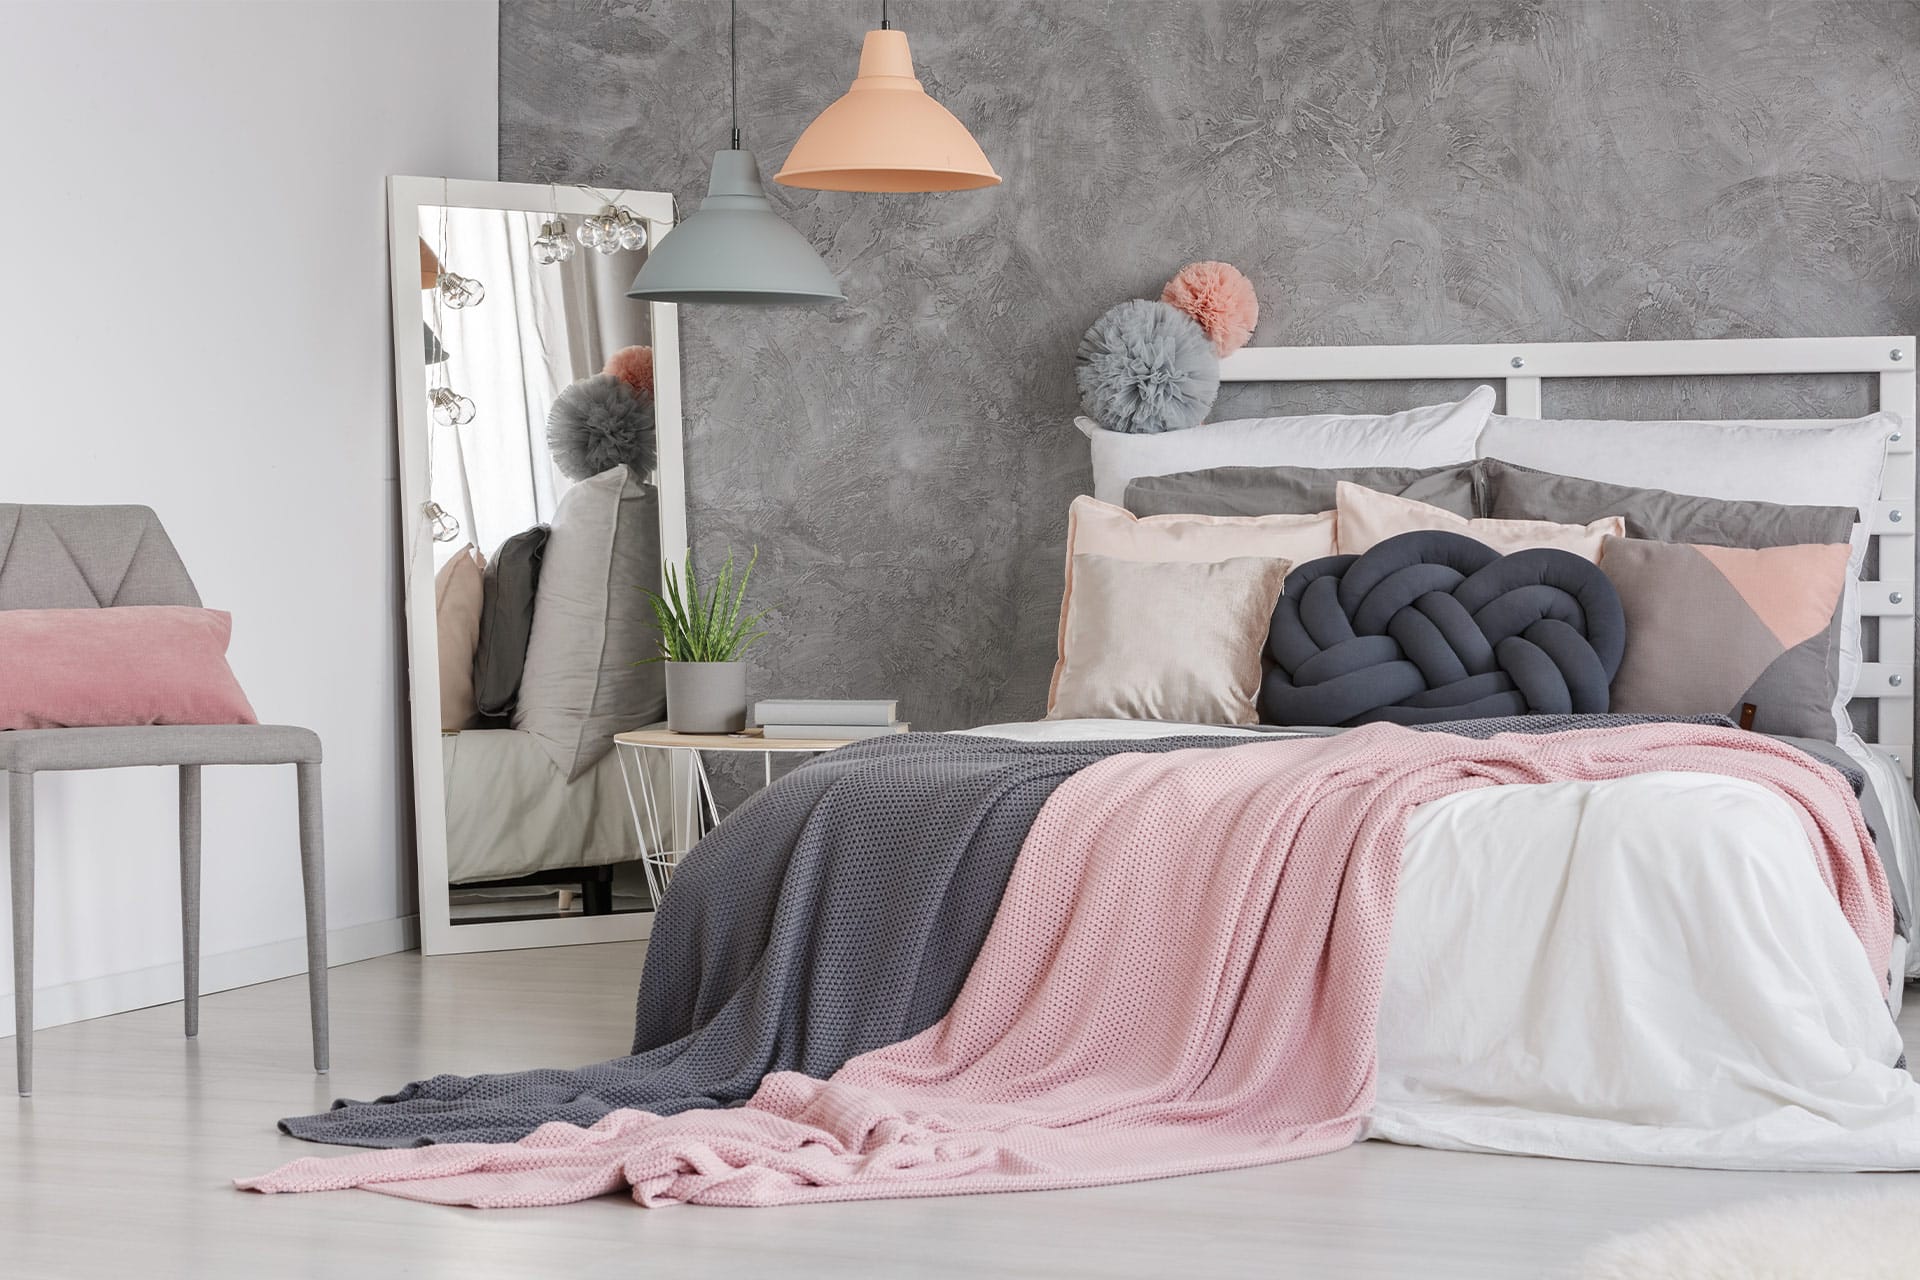
Pink bedroom ideas
Considering decorating a bedroom pink but looking for some more pink bedroom design ideas? Read on to be inspired.
Hiring a painter or decorator
Painting a bedroom is a simple task in theory, but like many DIY jobs, it can be far more complicated, time-consuming and problematic in reality.
Hiring a painter can be a great option, especially if you’re struggling to find the time to paint your bedroom. A trusted painter-decorator will have the skills, tools and experience to ensure your room bedroom is looking its best in no time at all.
Find a local painter-decorator

See the tradespeople we've checked for your job