Blog>How-To Guides>How to build a window seat
Last updated: 18 December 2024

How to build a window seat
Use our step-by-step guide to plan and make a window seat for your home, including details on the tools and materials you'll need for the job.
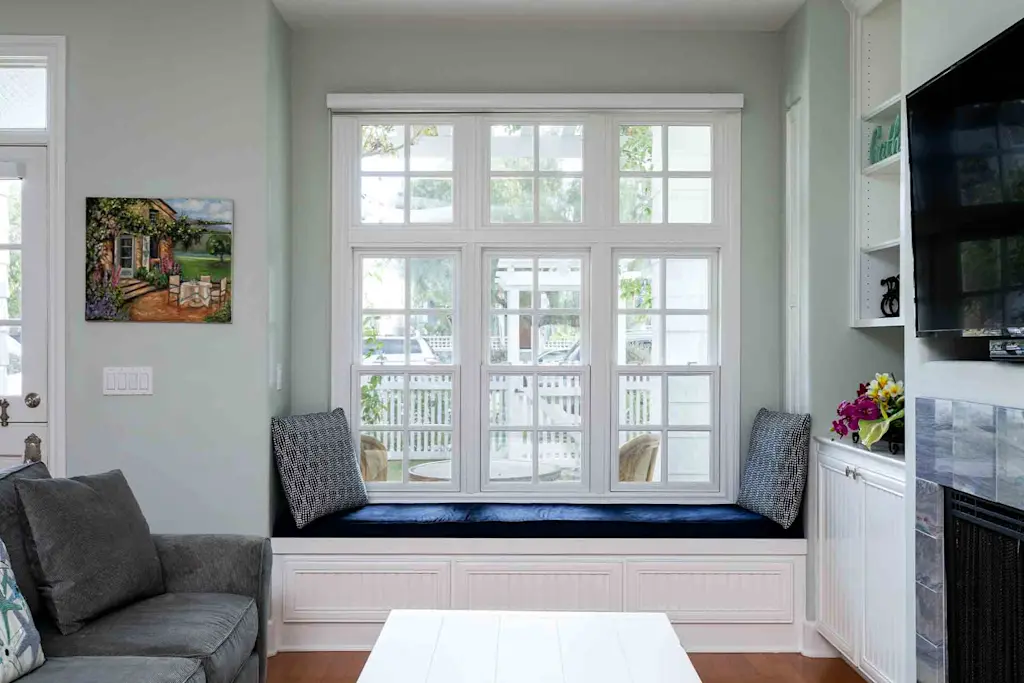
Whether you'd like a space to read and relax, or you want to make it possible for your children enjoy a view of the big wide world, when built correctly a window seat makes an attractive addition to any home and gives you a place to connect indoors with outdoors.
In this guide, we’ll take you through how to make a bay window seat, as well as the tools and materials needed.
How to make a window seat
Being methodical is the best approach to building a window seat that will stand (or sit) the test of time. And if you're wondering how to build a bay window seat, it starts the same way as any DIY project - you first need to put down your tools and pick up a pencil.
Step 1: Make a plan
You'll need to measure the angles of the walls, as each bay window will be different. The standard angle is 135°, but walls aren't always precisely straight and corners aren't always perfectly square.
With your angles established, how deep you'd like your seat to be is the next question. Typically a window seat will come out to meet the line of the side walls. Remember that with a bay window, how deep your seat is will also determine how wide it will be, as the more it heads away from the back wall the wider it gets as it follows the angle of the side walls.
Draw it all out as you see it and write your measurements on the paper for when you go shopping for materials.
Step 2: Get the tools and materials
While it's likely you'll need all of the tools listed here, this is a generic list of materials as when it comes to how to make a bay window seat that matches your individual vision, you'll probably need to shop for bespoke supplies to match.
Tools:
Tape measure
Hammer
Pencil
Spirit level
Mitre saw
Electric saw/handsaw
Drill with a drill bit and screwdriver bits
Paintbrush
Materials:
For a standard window seat frame:
Two 10' 2x4s
Four 8' 2x4s
Grooved MDF panel for the front
Wooden finishing trim
4'x8' sheet of 3/4" plywood for the top
Wood screws
Nails
Paint, 3 1/2" wood screws and nails
Why not do the sitting and let an expert do the hard work - simply enter your postcode in the free search tool below to get quotes from locally recommended carpenters.
See the tradespeople we've checked for your job
Step 3: Construct your window seat
After cutting it to length, fix your piece of 2x4 timber to the back wall at the height you want the seat, allowing for the 3/4" plywood and seat cushion on top. This will form the rear of the frame, use your spirit level to ensure it's level.
Using the 2x4s build a wooden frame for the front that sits flush to the side walls. It should be the width you want it to be at the front and level with the rear frame on the wall. At the top and bottom of the sides of your frame, cut 45 degree angles to be flush with the wall.
Inside the front of your frame, add one vertical piece of timber at the centre and two on either side as far left and right as possible for strength. Add more struts on wider frames.
Screw a 2x4 to each sidewall. Again, cut 45 degree angles at each end to be flush with the rear support and front frame. Screw your front frame into these side supports.
Add three 2x4 struts between the front and back walls to support the weight of your window seat users.
Cover the front of your bay window with your grooved MDF panel or desired finish.
Cut your 3/4" plywood to size and place on top. Secure with screws.
Add finishing trim where needed and paint your window seat.
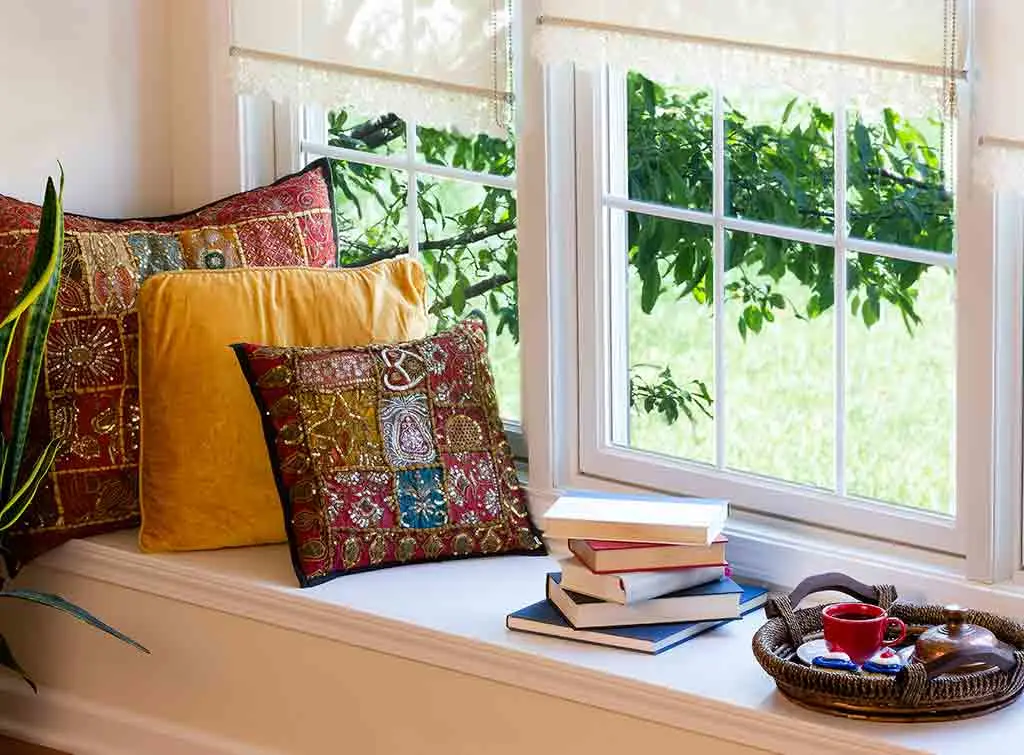
Add a cushion on top and enjoy the view!
How to achieve a professional finish
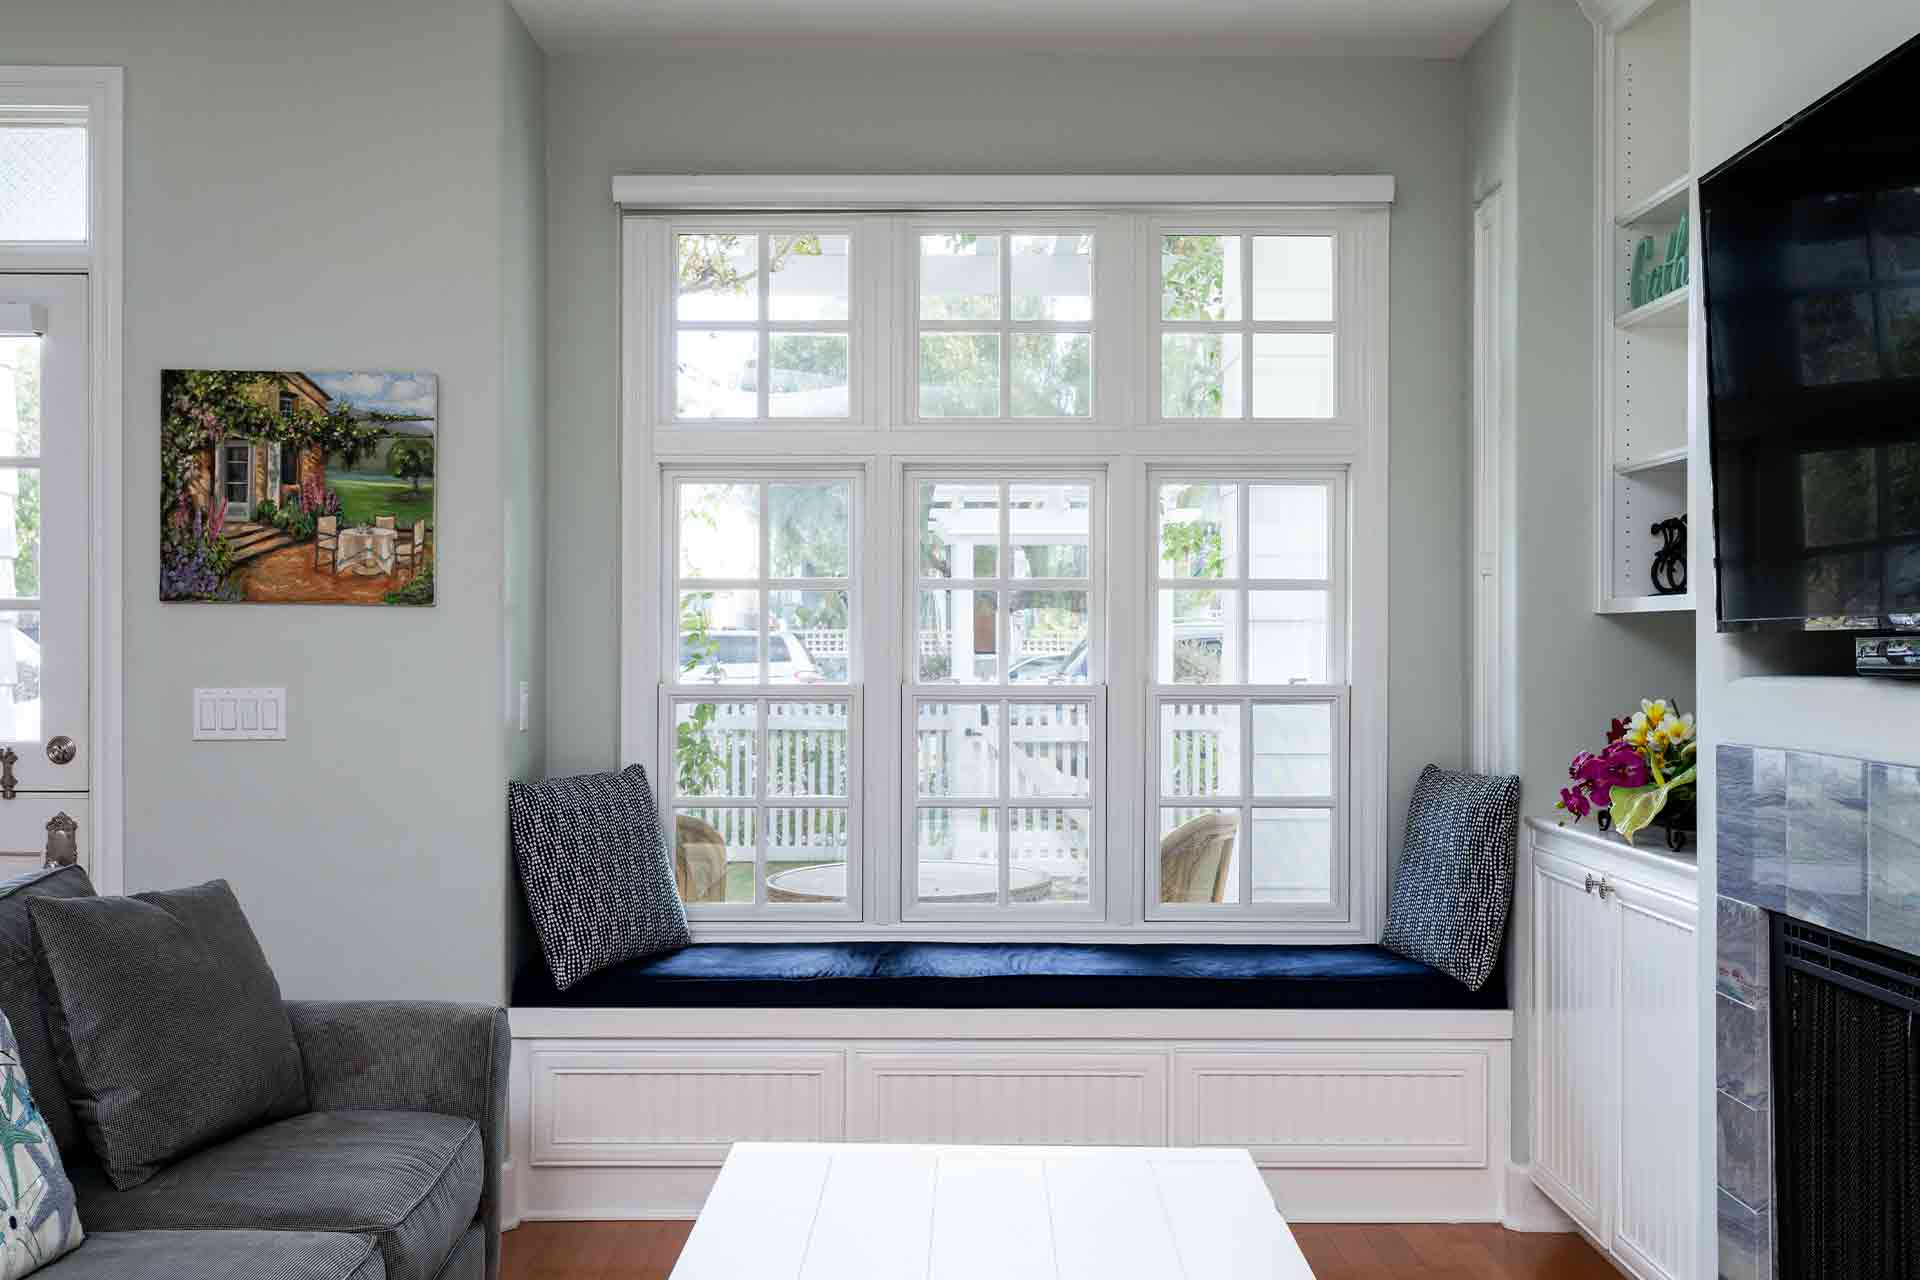
A well-built window seat is a great asset for any room and household, providing a space to be enjoyed by all ages for an entire lifetime.
To achieve the very best finish that can be used over and over for yours to come, it's always advisable to use a carpenter that knows how to create a window seat to the highest quality level.
See the tradespeople we've checked for your job
FAQs about building a window seat
How do I build a window seat with storage?
If you want to build a window seat with storage, then follow the process under 'Step 3: Construct your window seat' above until you reach point 5. At this stage, position your support struts leaving a gap in the middle to the width of your hinged lid. You may need to add more struts to fully support the weight of users.
Then, when you cut the plywood for the top, cut out a piece to form a lid, add a hinge to the rear of the piece, screw to the plywood top and add a fabric handle. You now have a window seat with storage!
How do I build a window seat with a hinged lid?
Again, follow the process under 'Step 3: Construct your window seat' above until you reach point 5, then position your support struts leaving a gap in the middle to the width of your hinged lid. Cut your plywood to size as normal, then cut out a piece to form a lid. Add a hinge to the rear of the piece, screw to the plywood top and add a fabric handle.
How do I build a window seat with cabinets?
To build a window seat with cabinets, follow the process in 'Step 3: Construct your window seat' above and when you reach point 3, position your front frame support struts in a way that creates gaps for the number and width of cabinets you want.
Then, when it comes to covering the front of your window seat, instead of an MDF panel you'll need to build your cabinets to the size of the gaps. Then simply place in the apertures, support the bottoms if needed and secure to the upright struts. Add doors on the front and you have cabinet storage in your window seat!


See the tradespeople we've checked for your job