Blog>How-To Guides>How to dot and dab
Last updated: 13 November 2023

How to dot and dab
Dot and dab is a method of attaching plasterboard to walls. Here, we’ll show you how to dot and dab step by step.
If you’re looking to attach plasterboard to walls, you might be considering dot and dab. This method will help you to turn uneven walls into a smooth, level surface that’s ready for decorating. Here, we’ll break down how to dot and dab. But first…
What is dot and dab?
Dot and dab, also known as drylining, is a method of attaching plasterboard to a solid concrete or brick wall (although it is also occasionally used on ceilings). It involves dabbing dots of adhesive across a wall surface and then simply pressing the plasterboard into place.
This technique is often used on uneven walls, as it’s a quick way to turn them into a smooth surface that’s ready for decorating. Best of all, it removes the need for wet plaster, which is much more messy and time-consuming.
How to dot and dab a wall
If you’re wondering how to dot and dab walls, follow these simple steps. But first, make sure to check what kind of walls you have.
Dot and dab is only a suitable method for attaching plasterboard to solid brick, block or concrete walls. If your wall is made of wood or metal studs, then you should generally use screws or nails to fix the plasterboard instead. You’ll also need to make sure that your walls are completely clean and dry before you start – otherwise, you’ll risk developing a damp problem.
Now, without further ado, here’s how to dot and dab walls.
What you’ll need:
PVA sealer
Measuring tape
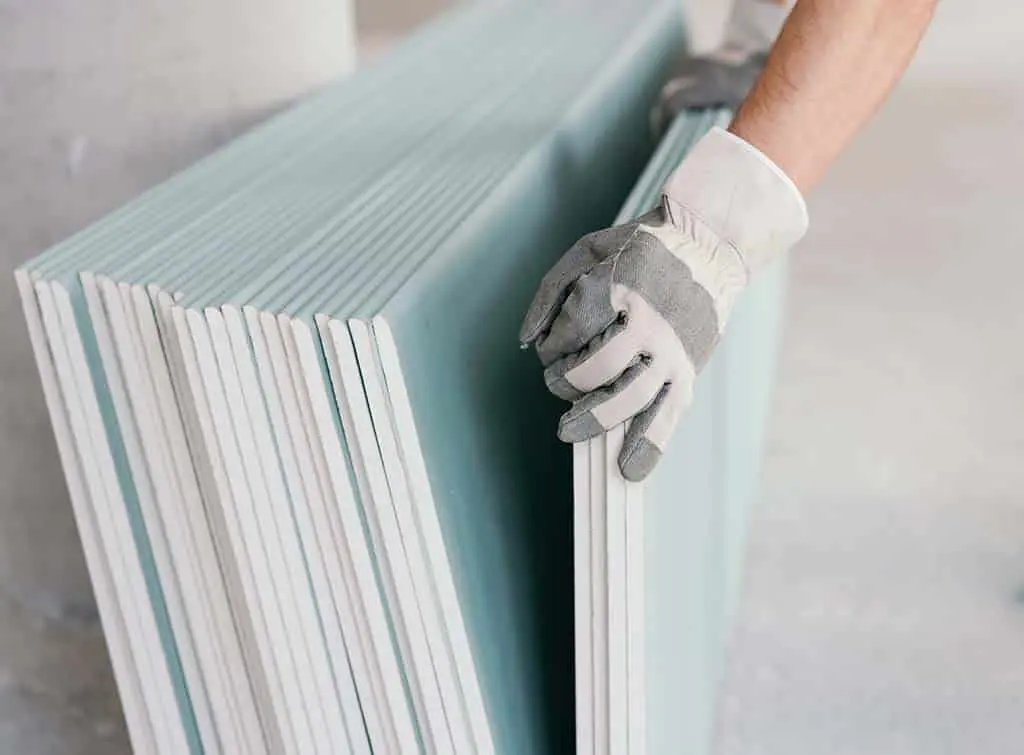
Plasterboard
Plasterboard adhesive
Mixing stick
Bucket
Plasterer’s trowel
Spirit level
Step one: seal your wall
First things first, apply a mixture of PVA sealer and water to your wall. This will prevent your bare masonry from sucking moisture out of the plasterboard adhesive when the time comes.
Make sure to let it dry completely before continuing.
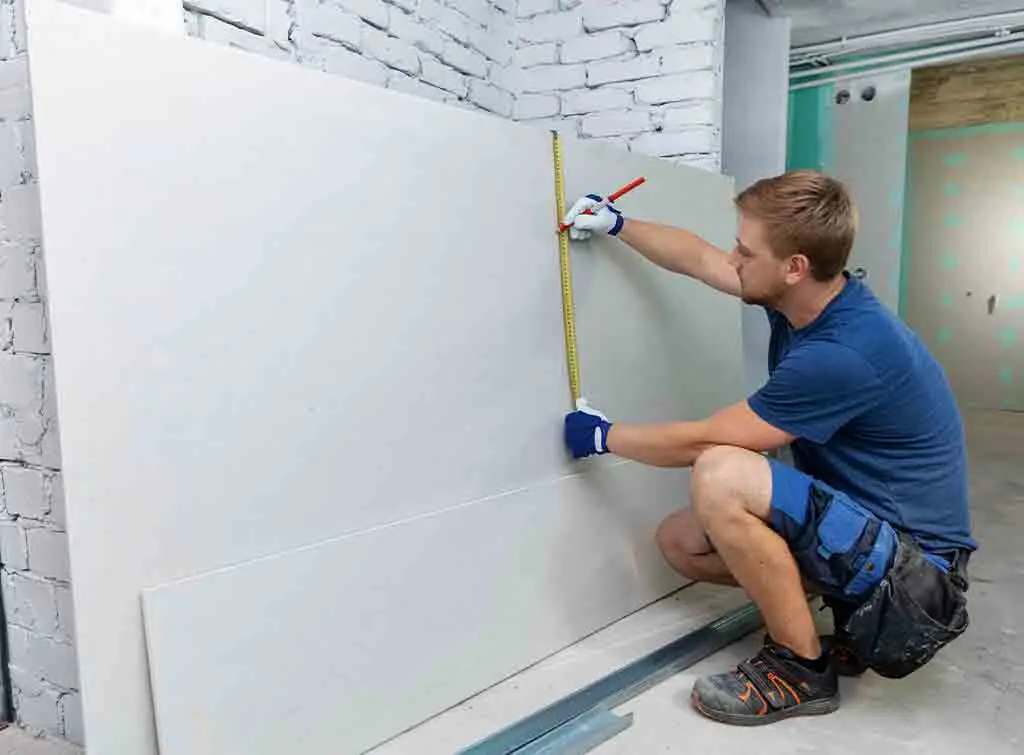
Step two: measure your walls
Next, measure your walls and mark them up so that you know how many plasterboard sheets you need – and how to cut them.
Step three: cut your plasterboards
Now take some time to cut all your plasterboards to size. You’ll want to do this before you start fixing them as the adhesive will dry quickly!
Step four: mix your adhesive
Use a mixing stick to mix your chosen adhesive in a clean bucket. Only mix enough for one sheet of plasterboard at a time, to prevent it from going off too quickly. We’ll cover how to mix dot and dab in more detail a bit later.
Step five: apply adhesive to the wall
Use your plasterer’s trowel to start applying adhesive to the wall in dots. Your dots should be fist-sized and around 10mm thick (25mm thick at the very most).
Aim to get your dots around eight inches apart. Press them firmly as you apply your dots to make sure they’ve adhered to the wall.
Step six: fix your plasterboard to the wall
Hold your plasterboard up and press it onto the wall. Hold it firmly in place until you’re sure it’s properly attached and pressed in evenly all over. Don’t forget to check that it’s straight using your spirit level.
Step seven: repeat
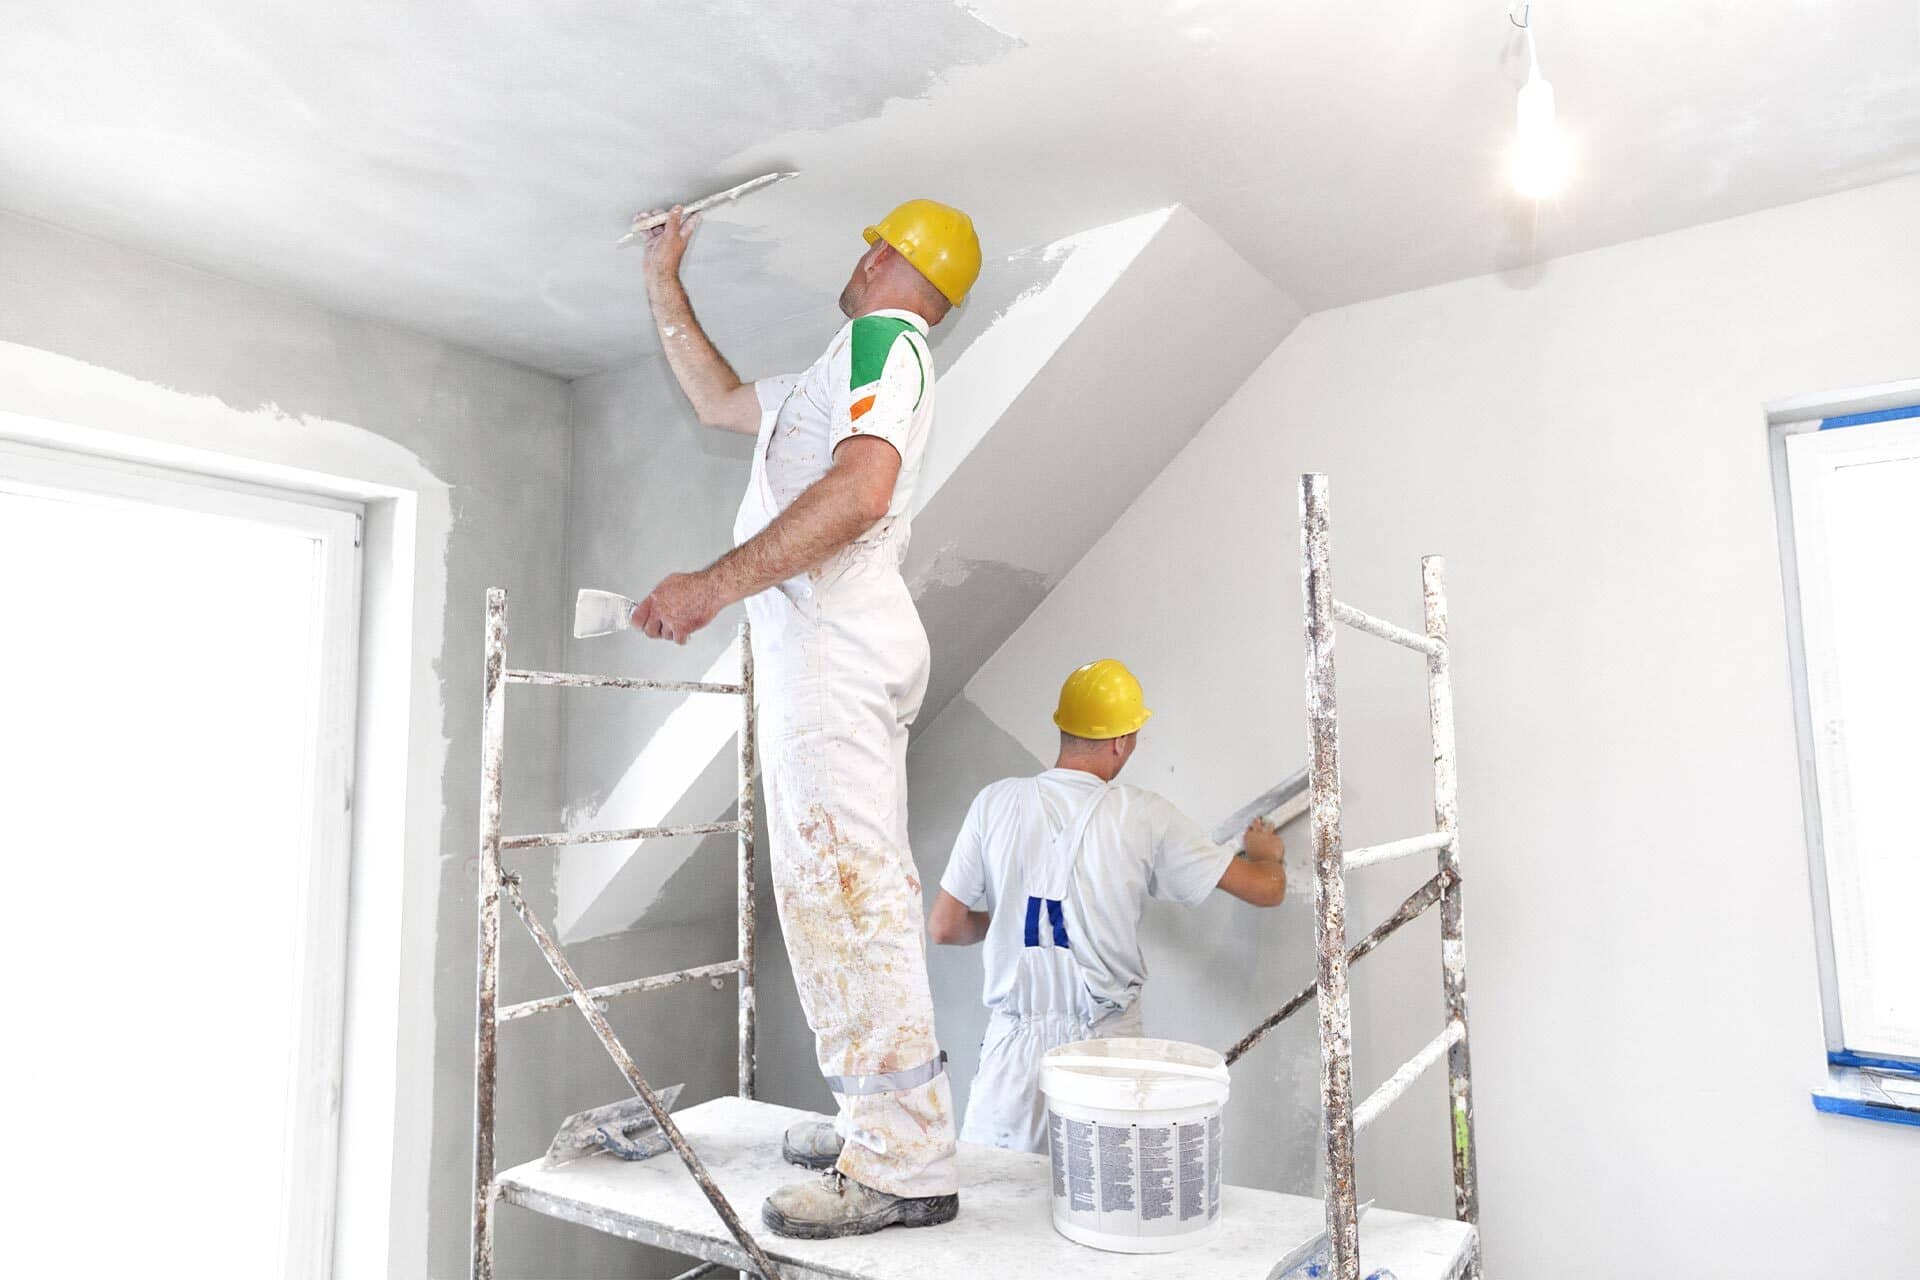
Repeat the process until all your plasterboard sheets have been secured to the wall. Once dry, you can seal the joints between the plasterboards and skim the wall ready for decorating.
For best results, we always recommend hiring a professional.
Search for checked tradespeople working in your area
How to mix dot and dab
When mixing your adhesive for dot and dab, always make sure to follow the manufacturer’s instructions precisely. If you stray from the instructions, your adhesive may not work consistently – or at all!
These tips will also help to ensure you achieve a good consistency.
Always mix in a clean bucket
Use a mixing stick to ensure a consistent and thick mixture
Only make enough to secure one board at a time
If you prefer, you can use skimming plaster rather than adhesive to secure your plasterboards in place. However, adhesive is much easier to work with if you’re a DIY-er.
How thick should dot and dab be?
You should mix your adhesive for dot and dab to a smooth, consistent and thick texture. It will need to be thick enough to stand on your plasterer’s trowel.
When you apply your dot and dab, each dot should ideally be around 10mm thick. However, it’s important that they are no more than 25mm thick, otherwise, you could face drying issues or problems with uneven walls once your plasterboard is all in place.
How long does dot and dab take to dry?
Dot and dab adhesive tends to dry much faster than wet plaster. Generally, you can expect it to dry somewhere between three and six hours. Exactly how long it takes will depend on factors such as the temperature of the room, the humidity, and the weather.
How to dot and dab plasterboard around a window
If you’re hoping to dot and dab a wall that contains a window, you might be worried about how this is going to work. However, the process is simple enough.
How to dot and dab around a window
You can follow the same steps to dot and dab plasterboard around a window as if you were applying the process to any other wall. Just make sure that you measure up and cut your plasterboard sheets extra carefully. You’ll need to take into account all the dimensions of your window, such as its reveal and head.
To help get your cuts bang on, consider overlapping the plasterboard slightly into the window reveal. You can then trim it back little by little as needed.
How to dot and dab insulated plasterboard
Dot and dab doesn’t just work for standard plasterboard. You can also use this method for insulated plasterboard.
If you’re wondering how to dot and dab insulated plasterboard, the process is exactly the same as with standard plasterboard sheets. You’ll just need to be extra careful when pressing your insulated plasterboard onto the adhesive so that it’s completely level.
Similarly, you can use this method to secure moisture-resistant plasterboard. This can be an effective way to fit out bathrooms, kitchens and other rooms that get a lot of contact with water and humidity.
Find a professional
Don’t have the time or inclination to carry out this work yourself? Don’t worry! A skilled plasterer will be happy to complete the job for you.
Not only will they be able to dot and dab your walls to a professional standard, but they’ll also be able to complete the job for you by skimming your walls once dry. Simply enter your postcode below to find a trusted plasterer near you.
Search for checked tradespeople working in your area
More Dry Lining Articles

See the tradespeople we've checked for your job