Blog>How-To Guides>How to fit kitchen units
Last updated: 17 March 2023

How to fit kitchen units
Fitting a kitchen unit is a skill for an experienced DIYer. It requires a lot of planning, measuring, mathematics, and the ability to carefully and accurately follow instructions. If you're not very good with your hands, this may not be a job for you. You should definitely look for a professional kitchen fitter.

Fitting kitchen units comes with varying difficulties, especially if you have to build the units individually before fitting them to your walls, floor and worktop.
You will need some DIY experience and a selection of tools to fit kitchen units.
This includes:
A pipe, cable and stud detector
A drill and drill bits
A jigsaw and circular saw
A screwdriver
Clamps
A spirit level, tape measure, pencil and step
Safety goggles and a dust mask
The manufacturer’s fitting instructions will come with your new kitchen units. Be sure to read this, lay out all the parts, and keep the fittings safe.
Next, check the area you intend to fit your cabinets with the pipe, cable and stud detector. Mark the position of the studs if fixing into a timber-frame wall.
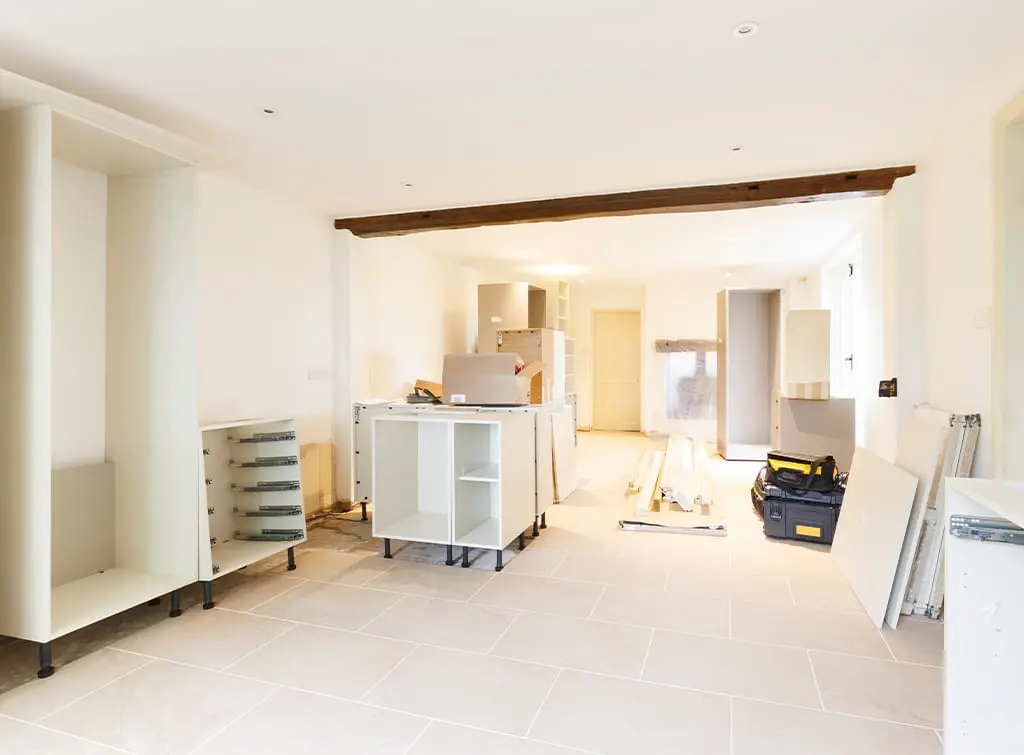
Fitting kitchen base units
Start in one corner and use your spirit level to mark a horizontal line on the wall where the top of the cabinet will be
Floors can be uneven, so it’s best to take a number of measurements from the floor up to your horizontal line to check your cabinets will fit
Take your first cabinet and place it in position against the wall. Use the spirit level to check it’s level, adjusting the legs if necessary
Put the neighbouring cabinet in place and use two clamps at the top and bottom to hold the two cabinets together
Remove the hinge plate, drill and screw the cabinets together, and replace the hinge
To attach the cabinet to the wall, place an L-shape bracket near the top of the back of the cabinet where it meets the wall. Mark the drill holes on the wall
Drill a hole the correct length of your screw into the wall. Insert a wall plug and screw the L-shape bracket into place. Check the holes are level
Continue this process until all your cabinets are in place
Next, fit your side panels onto the end of the row of cabinets. Use your circular saw or jigsaw to fit to size if needed. You may also need to use your jigsaw to cut the side panel to fit around a skirting board
Use your clamps to attach the side panel to the cabinet. Remove the hinges and drill and screw from the inside of the cabinet into the side panel to attach the two together. Be careful to use the correct length screw. Replace the hinges
Sound too complicated?
Then your units should be fitted by a qualified and experienced kitchen unit fitter!
Find checked tradespeople working in your area
How to fit kitchen wall units
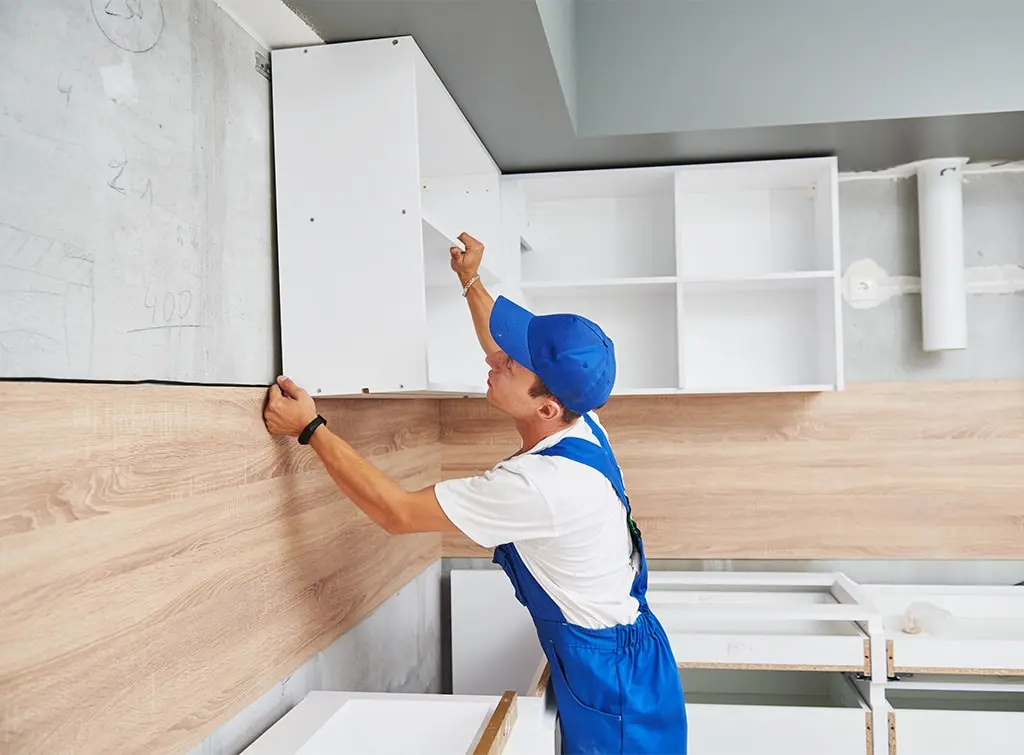
Start in a corner. Mark on the wall where the bottom of your wall cabinet should be
Using a spirit level, tape measure and pencil, mark the outline of your cabinet on the wall
The back of the wall cabinet will have hooks that’ll attach the cabinet to the wall bracket. Measure the distance from the bottom of the hooks to the top of the cabinet and side of the hook to the side of the cabinet
Apply these measurements to the outline of the cabinet you marked on the wall in step 2. Use the wall bracket to mark the position of your screw holes
Use a drill to create the holes, insert a wall plug, and screw the brackets into place
You can now lift the wall cabinet into place and lower it down onto the wall bracket
Use your spirit level to check the cabinet is level. Adjust via the adjuster block inside the cabinet
Repeat the process with the remaining wall cabinets, clamping and screwing adjacent cabinets together, using the spirit level to check your work as you go
Sound too complicated?
Then your units should be fitted by a qualified and experienced kitchen unit fitter!
Find checked tradespeople working in your area
How to fit a sink into a base unit
Place the sink upside down on top of your worktop
Measure the depth of the sink to make sure it can fit inside the base unit unobstructed
Mark around the sink with a pencil. Then remove the sink from the worktop
Measure in from your pencil line 25mm all around and use masking tape to mark out this area. (Check the measurement recommended by the manufacturer. Most sinks will come with a paper template to help you cut the correct size hole in your worktop)
This will be the area of the worktop that needs to be removed
Drill a hole into the worktop inside the taped-off area. Then push the blade of your jigsaw through the hole and start cutting inside the taped area
Support the worktop as you work around to avoid it snapping as you near completion
With the worktop cut out, you can now fit the sink
First, with the sink still upside down, apply sealing putty to the edges of the sink and fit the sink clips
Carefully lift the sink into the cut out area of worktop and clamp the sink in place
Cut off any excess sealant
Finally, attach the sink to the plumbing underneath (scroll down for our how-to guide to plumbing a kitchen sink)
Some sinks can be really heavy, so you may need to include a support frame in the cabinet underneath. If you don't, there’s a chance your sink may collapse, which could break your worktop.
How to fit a kitchen corner post
If you have an L-shape or U-shape kitchen, you’ll have a corner unit (or two) to navigate.
It’s not possible to butt two base units up against each other where they meet in the corner of the room, as you’ll have problems opening the doors. This is where the corner post comes into effect.
Fitting a kitchen corner post can be challenging, depending on your level of DIY experience. In this step-by-step guide, we’ll explain how to fit a kitchen corner post in the right-hand corner of the room.
First, using your spirit level, make sure the two base cabinets to be connected with the corner post are level
Place the kitchen corner post where it’ll reside in between the two cabinets. With the corner post in position, adjust the position of the cabinets so you can see approximately 90mm of the cabinet frame on each side of the post
Don’t worry, the measurements are a rough guide at this stage to help with the positioning.
Check the cabinets are still flush against the wall
Attach the door to the right-hand cabinet
Loosely position the corner post next to the door you’ve just fitted and drill two L-shaped brackets to the inside of the cabinet, at the top and bottom
Next, put the corner post in place, leaving a slight gap between the door and the corner post. The gap should be the same width all the way down. Clamp the corner post in place
Using the drill, secure the corner post to L-shape brackets you fitted in step 5. Remove the clamp
Insert the plywood panel supplied by your manufacturer to the ‘open side’ of the right-hand cabinet behind the corner post. You may need to cut it to size using a jigsaw. Secure with a drill and screws
Position the return cabinet and attach its door
Manoeuvre the right-hand cabinet so the gap between the corner post and the door of the return cabinet is the same width as the one created in step 6
Measure the distance between the right-hand side of the return cabinet and the plywood end panel attached in step 8. Make sure this measurement is the same at the front and back to check your two cabinets are at right angles to each other
You can attach a block of wood to the end of the first cabinet (nearest the wall) and the right-hand side of the return cabinet to keep the two units connected in a right-angled position. You’ll need a drill, three screws and a clamp for this. Your worktop will hide this once in place
If in any doubt, or you simply don’t have the time, don’t hesitate to call in the experts.
Find checked tradespeople working in your area
More Kitchen Fitters - Installation Articles

See the tradespeople we've checked for your job