HOW-TO GUIDES
How to paint a ceiling with a roller: a step-by-step guide
Updated 11/26

By: Content Team
Reviewed: Laura Macdonald
Painting a ceiling can be awkward. You're working overhead, trying to avoid drips and keeping an eye out for streaks and roller marks. But with the right preparation and technique, it's a decorating job you can tackle yourself.
In this guide, we'll explain how to paint a ceiling with a roller, from preparing the room and cutting in to getting a smooth, even finish.
We'll also cover common problems, painting with a brush and when it's worth calling in a painter and decorator.
How to paint a ceiling with a roller
What tools and paint you need
How to cut in around edges and lights
How to avoid splatter and roller marks
How to paint a ceiling with a brush
When to hand the job to a pro
What you need to paint a ceiling
Gather everything before you start, so you are not climbing up and down for a forgotten tool halfway through a coat.
Tools
A stepladder, or a small platform or scaffold tower for high or vaulted ceilings
An extension pole for your roller
A paint roller and a clean paint tray
A cutting-in brush (a smaller, angled brush works well)
Dust sheets for the floor and furniture
Low-tack masking tape
A damp cloth and a broom or long-handled duster
A filling knife and fine-grit sandpaper
Old clothes, plus safety glasses to protect your eyes from drips
Materials
Ceiling paint or matt emulsion
Interior filler, if there are holes or cracks to repair
Choosing the right paint and roller
For most rooms, matt emulsion is a good choice for ceilings because it helps disguise small imperfections.
In bathrooms, kitchens and other moisture-prone rooms, choose a paint suitable for those conditions and follow the manufacturer's instructions.
A medium-pile roller is a good general choice for most ceilings. A shorter pile may give a smoother finish on very flat surfaces, while a longer pile can help reach into textured finishes. Check that your roller is suitable for the paint and surface you're working with.
Before you start, run a clean hand over your roller sleeve to check for loose fibres. A good-quality roller that's suitable for your ceiling surface will help you achieve a more even finish without leaving bits of fluff in the paint.
How to paint a ceiling with a roller: step by step
These steps work for most flat ceilings. Work in daylight if you can, as it shows up missed patches.
1. Clear the room and protect surfaces
Move out as much furniture as you can. Push anything that has to stay into the centre of the room and cover it with a dust sheet, then cover the floor too. Use low-tack masking tape to protect the tops of walls, window frames and any fittings you cannot remove.
2. Sort out your access
Use an extension pole to paint as much of the ceiling as possible while standing on the floor. For areas you can't reach, use suitable, stable access equipment and avoid stretching or overreaching.
If you're working near a ceiling light, switch off the lighting circuit at the consumer unit. Don't disconnect or remove a wired fitting unless you're competent to do so and can safely isolate and verify the supply is dead. If you're unsure, ask a qualified electrician.
3. Clean the ceiling
Brush away cobwebs and dust, paying attention to the corners. Then wipe the surface with a damp cloth and let it dry. Paint will not stick well to a dusty or greasy surface.
4. Fill cracks and sand smooth
Check the ceiling for holes, cracks or uneven patches. Repair minor damage with a suitable interior filler and allow it to dry according to the manufacturer's instructions.
Gently sand filled areas smooth if needed, then remove any dust before painting.
If your ceiling has a textured coating such as Artex, don't sand or scrape it until you've established whether it contains asbestos. See our advice on textured ceilings below.
5. Cut in around the edges
Before rolling, use a brush to paint the places the roller cannot reach. That includes the join between the ceiling and wall, around light fittings and around any coving. This is called cutting in.
Work in sections so the cut-in paint is still wet when you roll alongside it. This helps the brushed edges blend into the rolled areas without leaving visible lines.
6. Roll the first coat
Pour some paint into the tray and load your roller evenly, removing any excess before lifting it towards the ceiling. Too much paint on the roller can cause drips and splatter.
Start near the main window and work across the ceiling, keeping your finishing strokes consistent with the direction of the natural light where practical.
Work in small sections of roughly one square metre. Roll the paint on in a loose W shape to spread it, then fill in the gaps with parallel strokes, finishing with light, even passes in one direction. Move on to the next section straight away, overlapping slightly into the area you have just done while it is still wet.
7. Keep a wet edge
Keep working steadily from one section to the next, overlapping the paint while it's still wet. Going back over an area that's already started drying can leave visible lines or joins.
For a large ceiling, it may help to have someone cutting in while you follow with the roller.
8. Apply a second coat
Let the first coat dry completely, following the drying times on the tin, then check how it looks in daylight. Most ceilings need two coats. Apply the second coat in the same way. Cut in again as you work around the ceiling.
9. Finish and clear up
Remove the masking tape carefully, following the manufacturer's guidance. Once the paint is dry, take away the dust sheets and move the furniture back into place.
Clean your brushes and rollers according to the paint manufacturer's instructions, and close the paint tin securely.

How to paint a ceiling without roller marks or streaks
Roller marks and streaks can appear when paint dries before you've blended the edges, when the roller isn't loaded evenly or when you press too hard.
To help achieve a smooth finish:
Load the roller evenly and reload before it starts running dry
Work in small, overlapping sections to maintain a wet edge
Finish each section with light strokes in the same direction
Avoid pressing hard enough to leave ridges at the edges of the roller
Allow the first coat to dry fully before applying the next
If you spot roller marks after the paint has dried, don't keep going over them with a wet roller. Check whether the surface needs lightly smoothing, then apply another even coat if required.

How to paint a ceiling without splatter
Painting overhead can be messy, but a few simple precautions will help reduce splatter:
Load the roller evenly and remove excess paint using the tray
Roll at a steady pace rather than moving too quickly
Use a clean roller sleeve that's suitable for your paint
Cover furniture, floors and nearby surfaces with dust sheets
Wear eye protection to guard against falling paint droplets
If you're decorating the whole room, painting the ceiling before the walls can also make clearing up any splashes easier.
Wear a cap and eye protection. Looking straight up while a roller spins is the easiest way to end up with paint in your eyes, however careful you are.
How to paint a ceiling with a brush
A brush is useful for painting ceiling edges, corners and smaller areas where a roller is difficult to use. You can also paint an entire ceiling with a brush, although it'll take longer and may leave more visible brush marks.
If you're using a brush for the whole ceiling, choose a wide brush with soft bristles and follow these steps:
Cut in around the edges first
Work in small sections, brushing in one direction before lightly smoothing the paint with even strokes
Keep a wet edge, overlapping each section before the paint starts to dry
Avoid overloading the brush, as excess paint can drip down the handle
Which is better for a ceiling, a roller or a brush?
A roller is usually the better choice for painting a ceiling because it covers larger areas more quickly and gives a smoother finish. However, you'll still need a brush to cut in around the edges, corners and light fittings. Using both gives you the best of speed and control.

Painting a textured ceiling, a bathroom ceiling or a stained ceiling
Some ceilings need extra care before you pick up the roller.
Painting a textured ceiling
Textured decorative coatings, such as Artex, were widely used in the past, and the HSE says buildings built or refurbished before 2000 may contain asbestos. A coating in good condition is generally best left undisturbed, so do not sand, scrape or drill it yourself.
If you're unsure whether the coating contains asbestos, seek advice from someone competent to assess it before disturbing the surface. Our guide to Artex removal costs explains the options.
Painting a bathroom ceiling
Rooms prone to damp conditions, such as bathrooms, need a paint made for moisture, and good ventilation after showers. If you have black mould, deal with the cause first. Our guide to removing black mould explains how.
Painting a stained ceiling
Don't paint over a water stain until you've found and fixed the source of the leak and allowed the ceiling to dry completely. You may also need a suitable stain-blocking primer to stop the mark showing through your new paint. Our guide to painting over a water stain explains what to do.
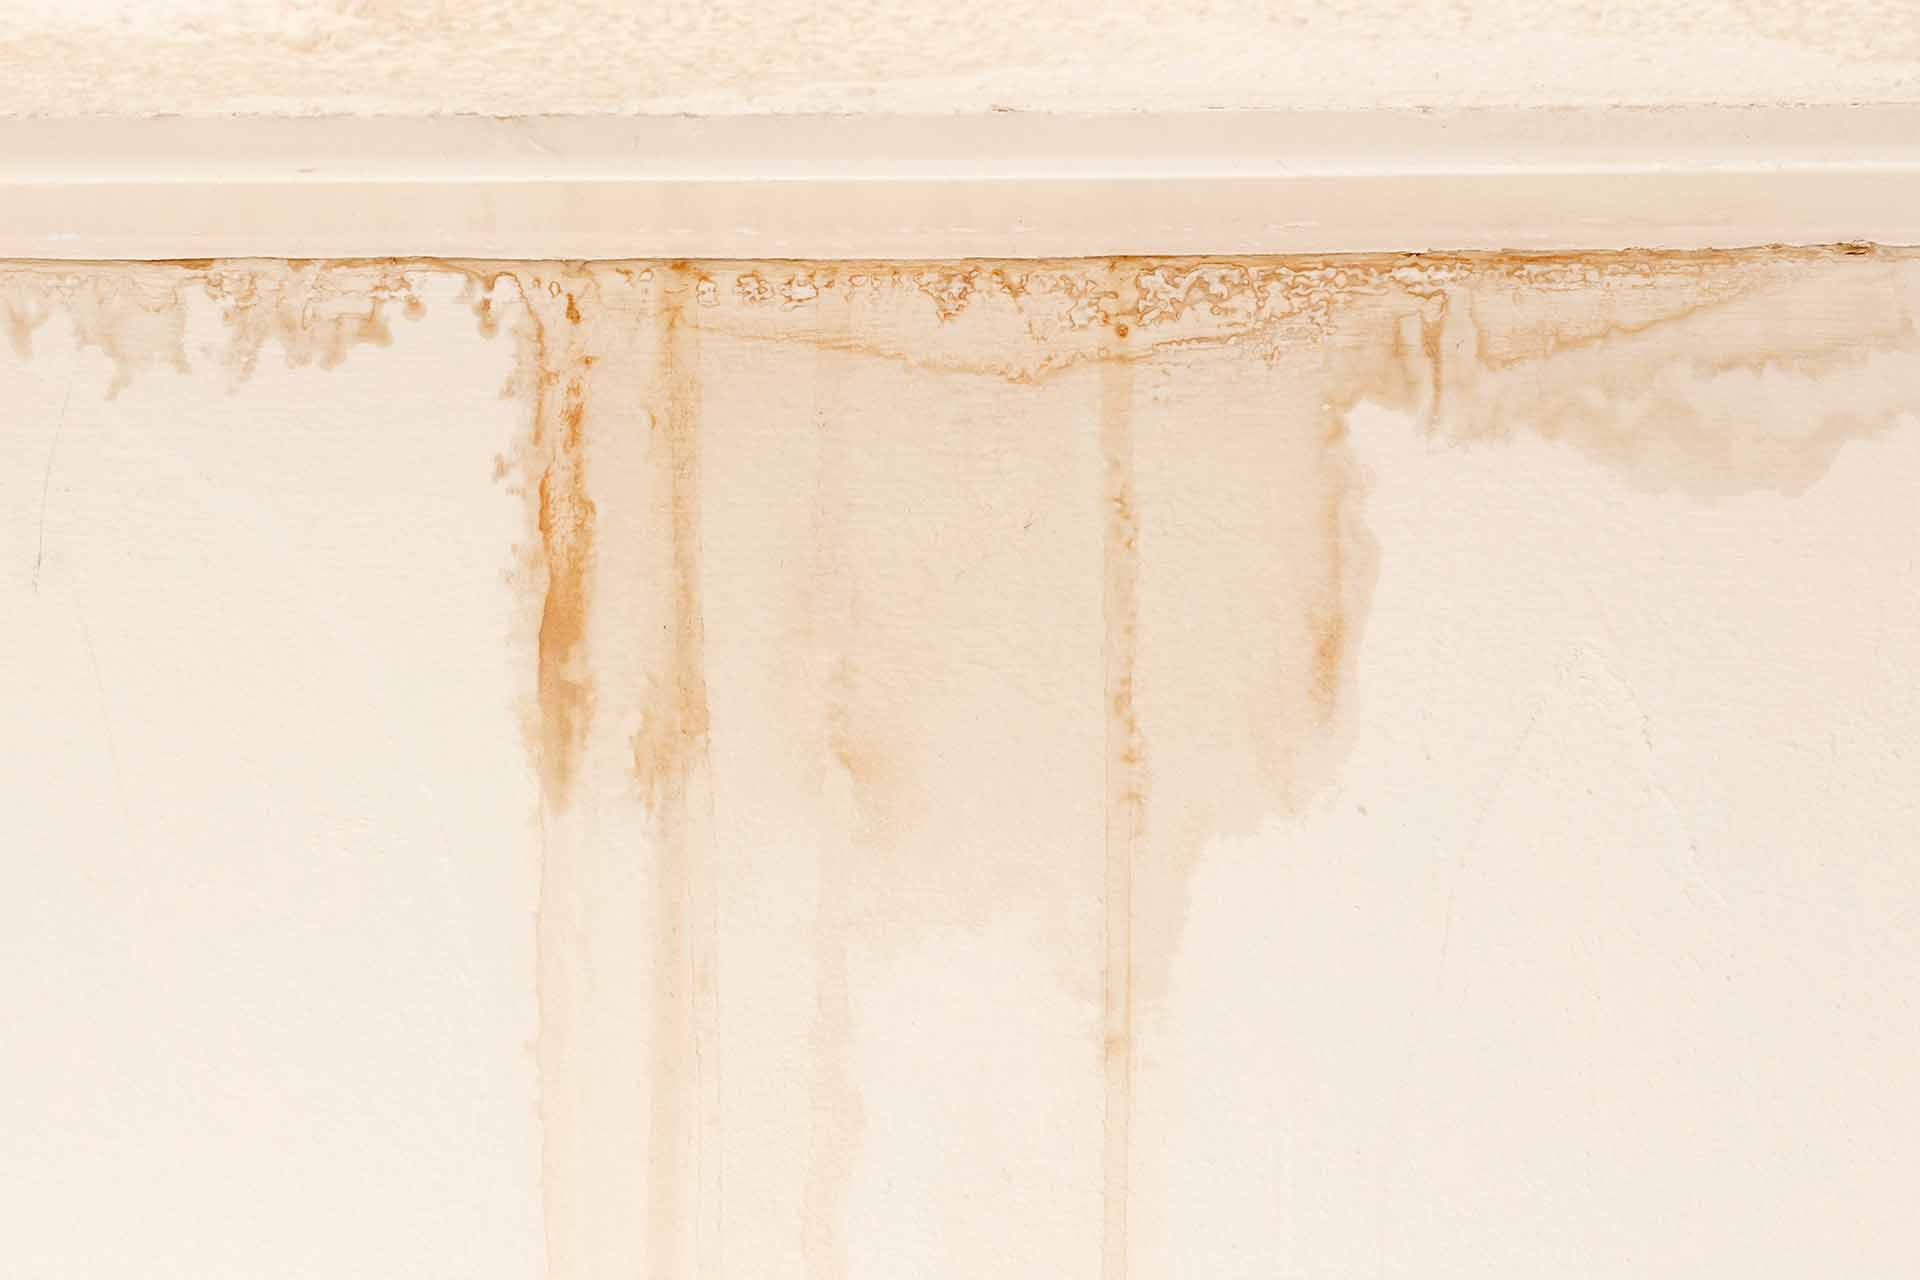
How to paint over a water stain
Leaks, drips and other water damage can leave marks and stains on your walls and/or ceiling. In this guide, we look at how to paint over a water stain and give top tips for dealing with water damage and identifying underlying problems.
Who to call for ceiling problems
Cracks, water damage or uneven plaster may need attention before you paint.
A painter and decorator can paint the ceiling and walls for you, while a plasterer can repair cracks, holes or an uneven surface, and an electrician can safely deal with light fittings.
Hiring a painter and decorator can be particularly helpful for high ceilings, large rooms or jobs that need repairs before painting.
If you decide to hire someone through Checkatrade, eligible jobs are covered by our £1,000 guarantee (T&Cs apply).

How much does it cost to paint a ceiling?
If you're painting the ceiling yourself, you'll need to budget for paint and any tools you don't already have.
If you're hiring a painter and decorator, the cost will depend on the size and condition of the ceiling, its height, the preparation needed and the number of coats.
For typical prices, see our painter and decorator cost guide.
Ceiling painting cost calculator
If you would like an estimate for your own job, try our calculator below.
Job Estimate Calculator

How to find a checked painter and decorator
Look for a checked painter and decorator with experience of similar jobs, and ask what's included, such as preparation, filling, the number of coats and clearing up.
Check their reviews and ask to see examples of previous work.

Need reassurance? All tradespeople pass up to 12 checks before joining, and we keep checking after.
Compare quotes from a few checked tradespeople so you can see what each one includes before you decide.
Start browsing local painters and decorators
Enter your postcode to find a top tradesperson near you
- U
Universal Decorators Ltd
10.00
(4 reviews)Services & skills
Painter / DecoratorAnti Vandal CoatingsPainting / DecoratingTimber RestorationExterior Painting G Pro Painters
10.00
(5 reviews)Services & skills
Painter / DecoratorAnti Vandal CoatingsSpecialist Paint EffectsWall MuralsPainting / DecoratingSuper Services
10.00
(148 reviews)Services & skills
Painter / DecoratorPainting / DecoratingTimber RestorationPaint SprayerWooden Windows Stripped / PaintedKane Contractors LTD
10.00
(37 reviews)Services & skills
Painter / DecoratorPainting / DecoratingDoor StrippingWooden Windows Stripped / PaintedTimber RestorationAlmo Property Group
10.00
(2 reviews)Services & skills
Painter / DecoratorAnti Vandal CoatingsWallpaperingDoor StrippingExterior Painting


Ceiling painting checklist

Use this list to make sure nothing gets missed:
Ceiling painting FAQs
To paint a ceiling with a roller, start by protecting the room, cleaning the ceiling and filling any imperfections. Cut in around the edges with a brush, then use a roller on an extension pole to paint in small, overlapping sections. Keep a wet edge as you work and allow the first coat to dry before applying the second.
To avoid roller marks when painting a ceiling, load the roller evenly, use light pressure and keep a wet edge. Work in small sections, overlapping each one before the paint dries. Finish with gentle strokes in the same direction and avoid going back over paint that's already started drying.
Painting the edges of a ceiling first is known as cutting in. Use a brush around the walls, coving and light fittings before rolling the main area. For the best finish, work in manageable sections so the brushed edges are still wet when you reach them with the roller.
When painting a ceiling, aim to keep your final roller strokes in the same direction, ideally following the main source of natural light where practical. This may help make roller marks less noticeable. More importantly, work in overlapping sections and maintain a wet edge to avoid visible lines and joins.
A roller is usually better for painting the main area of a ceiling because it covers larger surfaces quickly and gives a more even finish. A brush is better for cutting in around edges, corners and fittings. Using both tools generally gives the best result.
Most ceilings need two coats of paint for an even finish, although the exact number depends on the paint, the existing colour and the condition of the surface. Allow each coat to dry for the manufacturer's recommended time. Stains may need a suitable stain-blocking primer before painting.
You can paint a ceiling by yourself if it's in good condition and you can work safely using suitable equipment. An extension pole makes the job easier and reduces the need to work from a ladder. For high or vaulted ceilings, extensive repairs or difficult access, consider hiring a painter and decorator.
To paint a ceiling without excessive splatter, avoid overloading the roller and remove excess paint using the roller tray. Roll steadily rather than quickly, and use a good-quality roller suitable for your paint. Cover furniture and floors with dust sheets, and wear eye protection to guard against drips.

More Painter / Decorator Articles


See the tradespeople we've checked for your job