HOW-TO GUIDES
How to make concrete
Updated 08/26
By: Olivia Scammell
Reviewed: Alex Peters
Making your own concrete can be one of the most useful DIY skills to have, from use in setting a fence post to laying a shed base.
The right cement, sand and gravel ratio for your job
How to mix concrete by hand or with a mixer
Whether DIY concrete or ready-mix is the better option
How much concrete typically costs per m³
How long concrete takes to cure properly
When it's worth calling in a professional instead
Concrete is simply a mix of cement, sand and gravel (or crushed stone) combined with water, and with the right ratios and a bit of patience, most homeowners can mix a solid batch themselves.
This guide walks you through exactly how to do it, what ratio to use for different jobs, and when it's worth handing the job to a checked tradesperson instead.
Want someone to do the job for you? Why not search for local builders today?
Find a builder near me

What is concrete made of?
Concrete is made from four core ingredients:
Cement - the binding agent, usually Portland cement
Sand (fine aggregate) - adds bulk and workability
Gravel or crushed stone (coarse aggregate) - adds strength and structure
Water - activates the cement and binds everything together
It's worth clearing up a common mix-up: cement and concrete aren't the same thing. Cement is one ingredient that goes into concrete.
When people talk about a bag of cement for a DIY job, they usually mean a bag of ready-mixed dry concrete, so it's always worth checking the label before you buy.
Concrete mix ratios explained
The ratio you use depends on what you're building. Concrete strength is graded from C10 (weakest) to C40 (strongest), and using the wrong grade for the job is one of the most common DIY mistakes.
Mix ratio (cement : sand : gravel) | Grade | Typical use |
|---|---|---|
1 : 3 : 6 | C10 | Trench fill, floor binding, non-structural fill |
1 : 2.5 : 3.5 | C15-C20 | Fence posts, sheds, garden paths, light foundations |
1 : 2 : 4 | C20 | Patios, driveways, general domestic slabs |
1 : 1.5 : 3 | C25-C30 | Extension bases, garage floors, load-bearing slabs |
As a general rule for most domestic jobs, 1 part cement, 2 parts sand and 4 parts gravel will do the job well.
Add water gradually - a water-to-cement ratio of around 0.5-0.55 is the target, so for every 25kg bag of cement you'd use roughly 12.5-14 litres of water.
Too much water weakens the finished concrete and increases the risk of cracking, so add it slowly rather than all at once.
Measure your sand, gravel and cement using the same bucket each time. It's far more accurate than trying to judge quantities by eye, and keeps every batch consistent if you're mixing more than one load.

Postcrete vs concrete: which is better?
Postcrete and concrete might seem very similar. They’re both cement-based products and they can both be used for jobs such as fixing fence posts and rotary washing lines.
Tools and materials you'll need
Before you start, gather everything so you're not scrambling once the mix is wet:
Bags of cement (or premixed ballast/concrete)
Sharp sand
Gravel or crushed stone
Shovel and wheelbarrow
Bucket for measuring
Cement mixer or paddle mixer (optional but recommended for larger jobs)
Water
Heavy-duty gloves
Protective mask and eyewear
Tarpaulin or mixing board to protect the ground

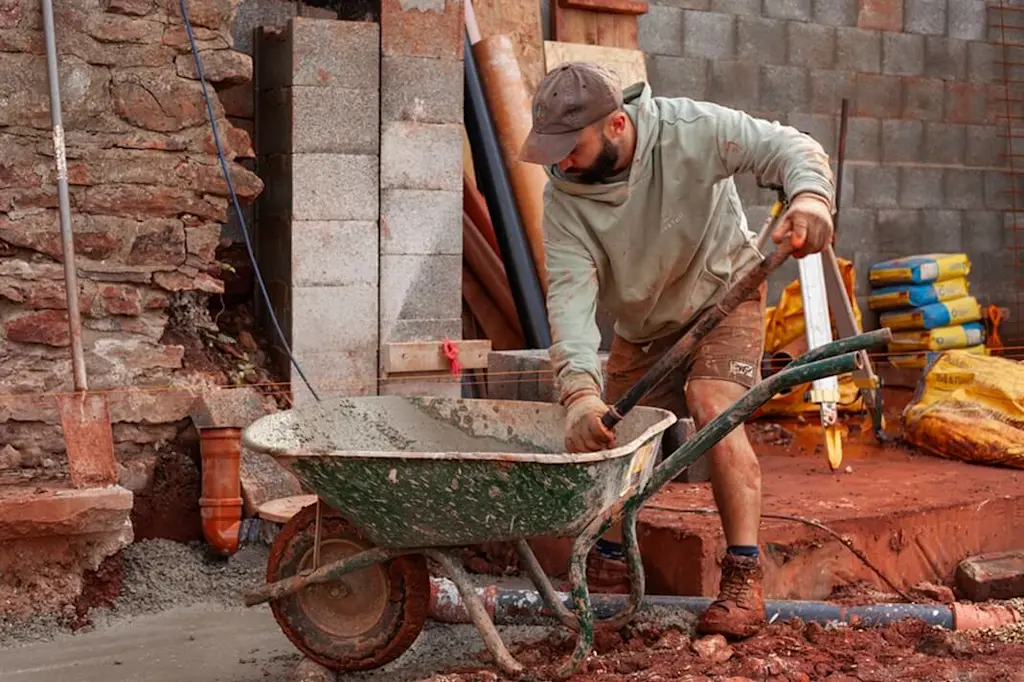
How to mix concrete by hand
If you only need a small amount, enough for a fence post or a small repair, mixing by hand is perfectly manageable.
Step 1: Combine the dry aggregates
Empty your sand and gravel onto a mixing board or clean, flat surface and mix them together thoroughly with a shovel before adding anything else.
Step 2: Add the cement
Sprinkle the cement over the sand and gravel gradually, folding it through in stages rather than dumping it all in at once. This reduces dust and helps you get an even mix. Always do this outdoors or somewhere well ventilated, and keep your mask on.
Step 3: Form a crater and add water
Once the dry mix is a uniform colour, shape it into a mound and hollow out a crater in the centre. Add roughly a third of your water into the crater, then fold the mixture in from the edges.
Step 4: Keep adding water gradually
Repeat the process, adding water a little at a time until you reach a thick, oatmeal-like consistency that holds its shape on a shovel without being sloppy.
Step 5: Final mix and use promptly
Give the concrete one last thorough mix to make sure there's no dry powder left, then use it within about an hour before it starts to set.
Concrete begins hardening the moment water hits the cement, so only mix as much as you can realistically use in that window. It's better to mix smaller batches more often than end up with a wheelbarrow of concrete that goes hard before you can use it.
How to mix concrete in a cement mixer
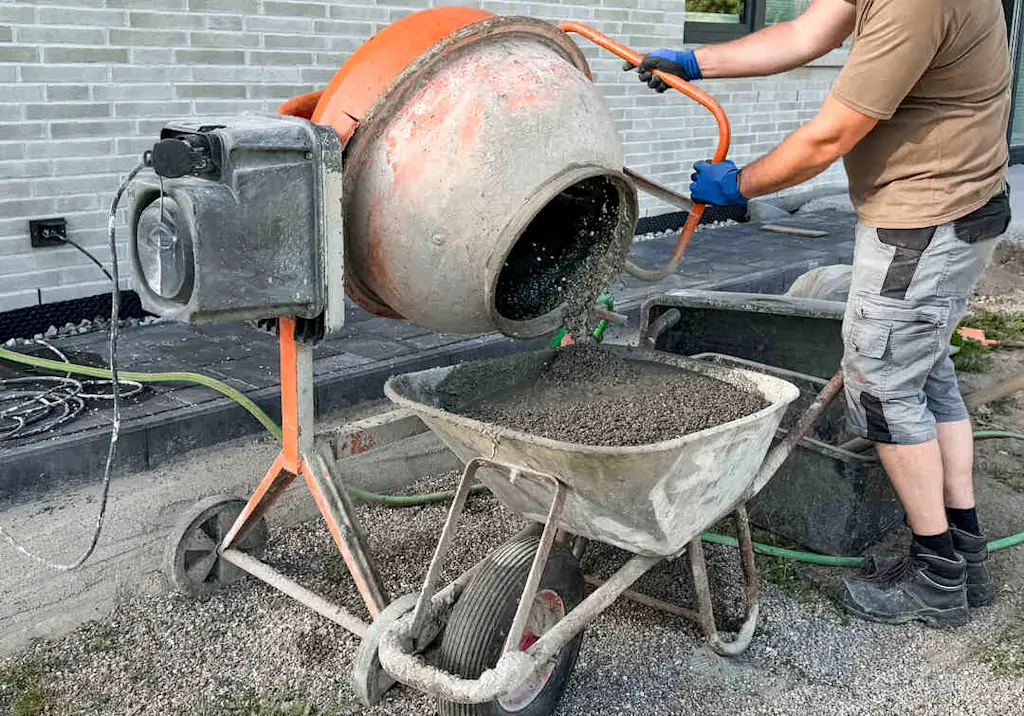
For anything bigger than a small repair, a mixer will save your back and give you a more even, stronger mix than hand mixing ever will.
Step 1: Set up on a protected surface
Lay a tarpaulin under the mixer to catch spills and make clean-up easier.
Step 2: Add water first
Pour in around three-quarters of your water before adding any dry material, this stops the mix sticking to the drum.
Step 3: Add aggregates, then cement
Add half your gravel and half your sand, then all of your cement, followed by the remaining gravel and sand. Adding cement into a moving drum can throw up dust, so keep your mask on and stand back slightly as you tip it in.
Step 4: Adjust the water and mix time
Let the mixer run for a minute or two, checking the consistency. If the mix is balling up and clumping, it's too dry, add a little more water and let it run again.
Step 5: Empty and clean the drum
Tip the mixed concrete into a wheelbarrow, then rinse the drum out immediately with water (and a few offcuts of brick or stone, if you have them) before it has a chance to set inside the mixer.

How much does concrete cost?
If you'd rather skip the mixing altogether, ready-mix concrete is delivered straight to site already prepared to the right specification.
Ready-mix concrete costs around £100-£160 per m³, plus a delivery charge of roughly £100-£200. Costs vary by region, order size and supplier, so always get a local quote to confirm current pricing.
DIY concrete using bagged cement, sand and gravel is generally cheaper for small jobs, but once you factor in tool hire (like a cement mixer) and your own time, the savings shrink for bigger pours.
For a full cost breakdown, including pump hire for larger jobs, see the guide below.

What is the cost of ready mix concrete per m³ in 2026?
A good concrete mix is the most important part of any construction project, so it's imperative to get it right. So, what's the cost of good ready-mix concrete?
Job estimate calculator
Not sure how much concrete or materials your project needs, or what a fair price looks like? Try Checkatrade's AI-assisted pricing tool below to get a personalised estimate for your concreting job in minutes.
Job Estimate Calculator

Ready-mix vs DIY concrete: which is right for you?
DIY concrete | Ready-mix concrete | |
|---|---|---|
Best for | Small jobs (posts, repairs, small slabs) | Larger pours, driveways, extensions |
Cost | Cheaper for small quantities | More cost-effective at scale, less waste |
Consistency | Varies batch to batch | Consistent, quality-controlled mix |
Effort | Physically demanding, time-consuming | Delivered ready to pour |
Equipment needed | Mixer, shovel, buckets | Usually just labour to place and finish it |
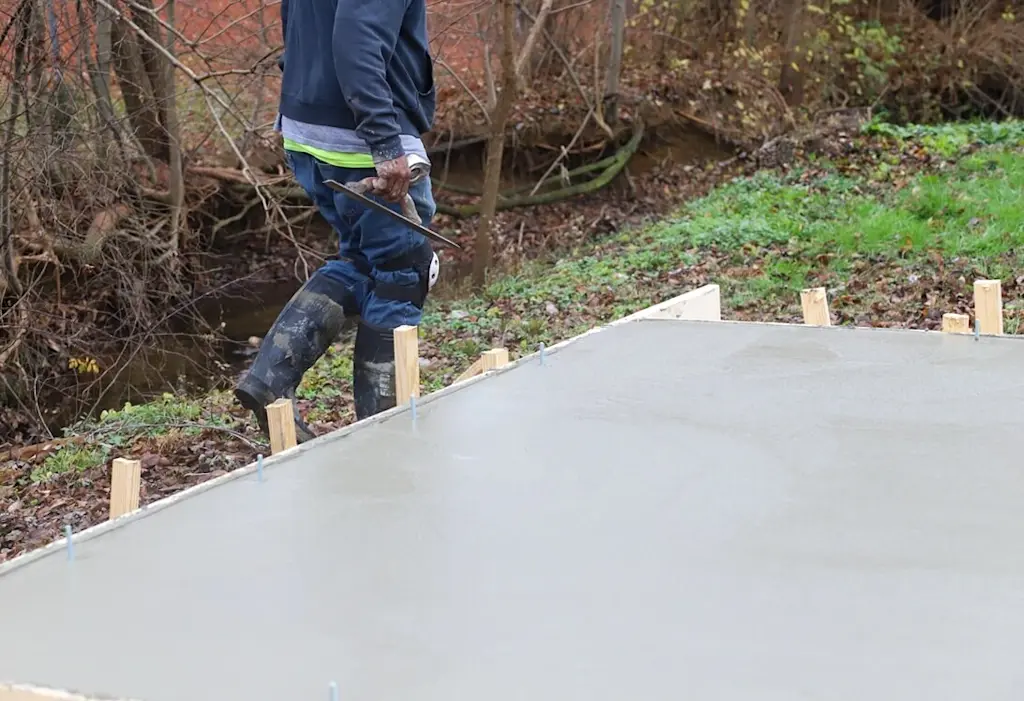
If you're planning a larger pour, such as a driveway or extension base, a delivered ready-mix load or a professional concreting service usually works out better value and gives a more reliable finish than mixing dozens of batches by hand.

How to lay a concrete floor
Need to lay a concrete floor in your garage, garden, or indoors? Although it can be a tricky job, with this how to guide you'll learn what's required to lay a concrete floor and create a hard-wearing base.

How to make cement from scratch
Cement and concrete are often used interchangeably, but they're not the same material: cement is one ingredient in the concrete mix, made by heating crushed limestone to extremely high temperatures.
Technically, you can make your own cement if you have access to a kiln or outdoor oven, though in practice it's rarely worth it for a DIY project.
Buying bagged cement is cheap, reliable and available at every builders' merchant, so we'd only recommend making your own if you're doing this as a specific project or don't have access to bought cement.
If you do want to try it:
Gather limestone - either sourced naturally or bought from a garden centre or quarry
Break it up into pieces no bigger than a couple of inches
Heat it in a kiln or outdoor oven to around 900°C for at least four hours
Let it cool fully before handling
Crumble it into a fine, dry powder by hand (wearing gloves)
Store it in an airtight container until you're ready to use it
To check whether a rock is limestone before you start, scratch its surface with a coin. Limestone is soft enough to score easily, unlike most other rock types.
Curing: why it matters as much as mixing
Getting the mix right is only half the job, how your concrete cures determines its final strength. The slower concrete cures, the stronger and more crack-resistant it becomes.
Hot or windy weather dries concrete out too quickly, weakening it and increasing the risk of cracking. Cover fresh concrete with plastic sheeting or damp hessian to slow moisture loss.
Cold or freezing conditions can cause water in the mix to freeze and expand, forcing the concrete apart. Avoid pouring concrete when temperatures are forecast to drop below 4°C, and cover it overnight if there's any risk of frost.
Full cure time for most concrete is around 28 days, though it will usually be firm enough to walk on within 24-48 hours and can typically take light loads after about a week.

Safety when mixing concrete
Wet cement is caustic and can burn skin on contact, and cement dust is unpleasant to breathe in, so it's worth taking a few precautions:
Always wear gloves, ideally waterproof ones, and a protective mask
Mix outside or in a well-ventilated space to limit dust
Avoid letting wet concrete sit on bare skin, rinse immediately if it does
Keep children and pets away from mixing areas and fresh concrete
Use an RCD-protected extension lead if running a mixer off mains power

For bigger jobs, it's often worth calling in a professional - a builder for general construction work, a concrete driveway contractor for larger surfacing projects, or a structural repair specialist.
Who to call: builder, concreter or groundworker?
If your project is bigger than a fence post or small patch repair, it's usually safer and more cost-effective to bring in a professional, particularly for structural work like extension bases or driveways where getting the mix wrong can be expensive to fix.
Every trade listed on Checkatrade has been through our checking process, so you can browse reviews, compare quotes and book with confidence, backed by the Checkatrade guarantee.
Find local builders near me
Enter your postcode to find a top tradesperson near you
LDN Renovation LTD
10.00
(42 reviews)Services & skills
BuilderBasement / Cellar ConversionsGarden StudiosCar PortsConcretingW10 Builders
10.00
(29 reviews)Services & skills
BuilderConcretingPartition WallsGeneral BuildingMastic SealantHOLTON BUILDING SERVICES LIMITED
10.00
(3 reviews)Services & skills
BuilderWall Tie ReplacementsProperty Maintenance / RepairNew BuildsPeriod Property RestorationOaksBuild Ltd
10.00
(56 reviews)Services & skills
BuilderWall Tie ReplacementsStructural SteelsBrick / Concrete Structural RepairsProject ManagementAC BUILDING SERVICES (LONDON) LTD
10.00
(28 reviews)Services & skills
BuilderBrick / Concrete Structural RepairsPartition WallsConcrete GaragesGarden StudiosFuture Build London Ltd
10.00
(101 reviews)Services & skills
BuilderWall Tie ReplacementsSustainable ConstructionBuilding MerchantsProject Management



Need reassurance? All tradespeople pass up to 12 checks before joining, and we keep checking after.

Preparing for your project
Before your mixing day, it's worth doing the groundwork (literally):
Check the weather forecast, avoid extreme heat, cold or heavy rain
Prepare and level the area or formwork you're pouring into
Calculate how much concrete you need before you start buying materials
Buy 5-10% more material than your calculation suggests, to cover spillage
Have all your tools and protective gear ready before you start mixing

Before you start mixing concrete
Frequently asked questions
For most general domestic jobs, a ratio of 1 part cement, 2 parts sand and 4 parts gravel (a C20 mix) works well. Heavier-duty jobs like extension bases may need a stronger 1:1.5:3 ratio, while non-structural fill can use a weaker 1:3:6 mix.
Aim for a water-to-cement ratio of around 0.5-0.55, so roughly 12.5-14 litres of water per 25kg bag of cement. Add it gradually rather than all at once, since materials that are already damp will need less.
Concrete is typically firm enough to walk on within 24-48 hours, but it takes around 28 days to reach full strength. Slower curing generally produces stronger, more durable concrete.
It's best avoided. Freezing temperatures can cause water in the mix to expand and weaken the concrete, while heavy rain can wash out the mix before it sets. Try to work in mild, dry conditions and cover fresh concrete if bad weather is forecast.
For small jobs, DIY concrete using bagged materials is usually cheaper. For larger pours, ready-mix concrete is often better value once you factor in tool hire, wasted materials and your own time.
Postcrete is a fast-setting, no-mix product designed specifically for setting fence posts - you pour it dry around the post and add water. Standard concrete needs mixing first and suits a wider range of jobs. See our postcrete vs concrete guide for a full comparison.
Generally no for standard domestic jobs like patios, paths or slabs, but larger areas of hard standing (particularly at the front of a property, affecting drainage) can require permission or permeable materials. Always check with your local planning authority if you're unsure.
Measure the length, width and depth of the area in metres and multiply them together to get your volume in cubic metres. The Job Estimate Calculator above can help you turn that into a materials and cost estimate.
See the tradespeople we've checked for your job