Blog>How-To Guides>How to make a sun lounger out of pallets
Last updated: 9 December 2021

How to make a sun lounger out of pallets
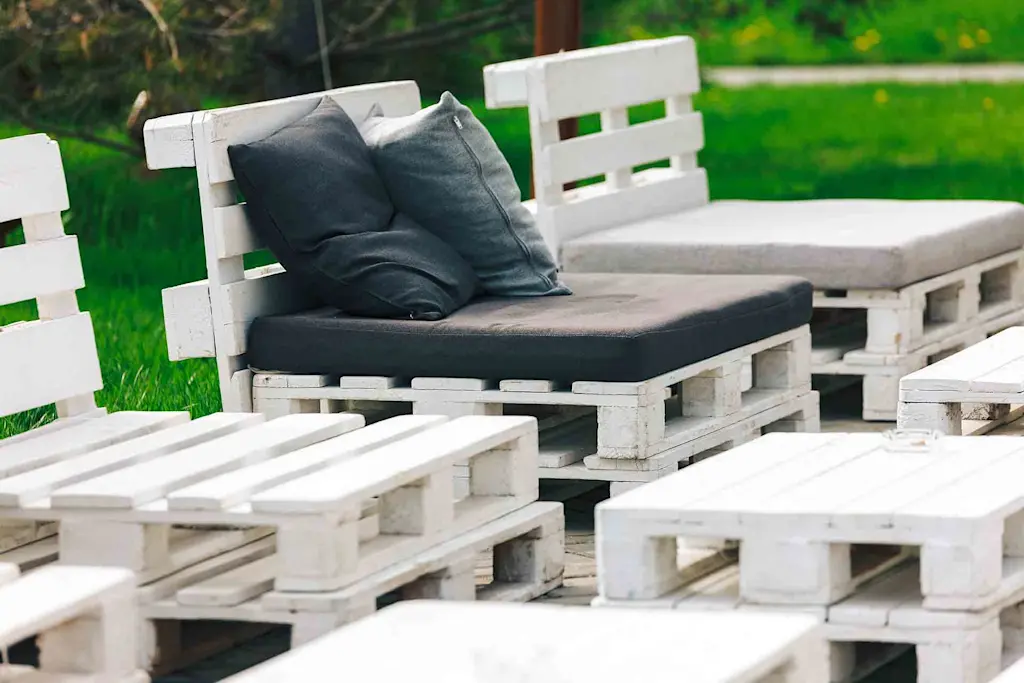
Upcycling is on-trend, eco-friendly, and oh-so-affordable, which is why learning how to make a sun lounger out of pallets should be no:1 on your to-do list this summer.
Upcycling is on-trend, eco-friendly, and oh-so-affordable, which is why learning how to make a sun lounger out of pallets should be no:1 on your to-do list this summer.
Thankfully, we have you covered with this how-to guide. With our latest tips and tricks to help you turn stacks of warehouse pallets into glorious pieces of garden furniture, what are you waiting for? Bask in the heat of the beating sun while you kick back on a DIY lounger made out of good intentions and green credentials.
Where to source wooden pallets
As wooden pallets can be used to make various types of handy and sturdy items, they're in demand. And with DIY trends on the rise, you're probably asking yourself where the best place to source these famed materials might be?
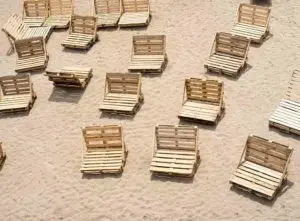
Well, we'd recommend hitting up your local industrial estate or construction site first. Next, try your nearest supermarket. And as a last resort, go online and purchase some pallets from wholesalers or small businesses. Be sure to work out the number you'll need to avoid being left with a surplus. For a standard sun lounger, you'll need 3 or 4.
How to make a sun lounger out of pallets
Tools you’ll need for the job
Gather the following materials before starting your project:
3-4 rectangular pallets, with one wider and more squared than the others
Wood screws
3-4 hinges
A Jigsaw (with woodcutter blades)
Sander
Pencil
Wood stain preservative
Measuring tape
See the tradespeople we've checked for your job
A step-by-step guide to your sun lounger made from pallets
Step one: Build your frame
For a moveable lounger, deconstruct one of the long pallets and build an outer base frame with separately purchased legs or the middle corner blocks. Secure with screws and check the diagonals to make sure each right angle is even. Alternatively, for fixed sun loungers, stack two pallets on top of each other. (The weight will keep them in place).
Step two: Attach the lounger pallets
Attach your pallets to the frame and secure them with wood screws to keep everything in place. As a pallet consists of top boards, middle stringers and blocks, and a bottom board, it's best to attach the frame to the pallet upsidedown. (Most screwdrivers aren't small enough to fit between the top and bottom boards!)
Step three: Build the backboard
Deconstruct the squarer pallet so you just have the top deck board layer. For a reclining frame, attach two shorter pieces of wood horizontally across the vertical boards to fashion each 'stopper.'
For a static lounger, leave the top layer of the squared pallet with the three inner stringers and blocks and deconstruct the rest. With the other pieces of loose wood from the deconstructed bottom board, measure and attach two 'feet' to the outer blocks so the backboard is at the desired angle. Shave the supporting legs until they're at the desired height.
Step four: Attach the backboard
If you've opted for a recliner lounger, you will need to screw in a hinge to the top of the lounger frame (the side of the headboard) and then attach a piece of wood that will prop up the backboard against the stoppers you screwed into the headboard during step three. Be sure to line up these elements before tightening the screws. You'll then need to attach two hinges to the bottom of the headboard where it joins with your bottom frame, which will allow your headboard to lift up and down.
For a static lounger, secure two boards that frame both sides of the headboard – from the top to the bottom of the pallet – for a clean finish.
Step five: Tidy up the edges
Now your lounger is constructed, it's time to tidy up the edges and sand down any rough areas.
Step six: Paint and dress your lounger
The penultimate step is to paint on a wood preservative, which will ensure your DIY sunlounger lasts as long as possible. Once everything is dry, consider painting your lounger and adding bespoke cushions and throws.
Step seven: Enjoy your handiwork!
Congratulations, you just made a sunlounger out of pallets! Now, grab that cocktail mix, make yourself a pina colada, and pray the English summer lasts longer than two weeks...
Like what you see? We've got more where this came from. For more how-tos, ideas, and insights, head over to our blog today and get inspired!
More Cabinet Makers / Handmade Furniture Articles

See the tradespeople we've checked for your job