Blog>How-To Guides>How to restore a front door step-by-step
Last updated: 8 June 2023

How to restore a front door step-by-step
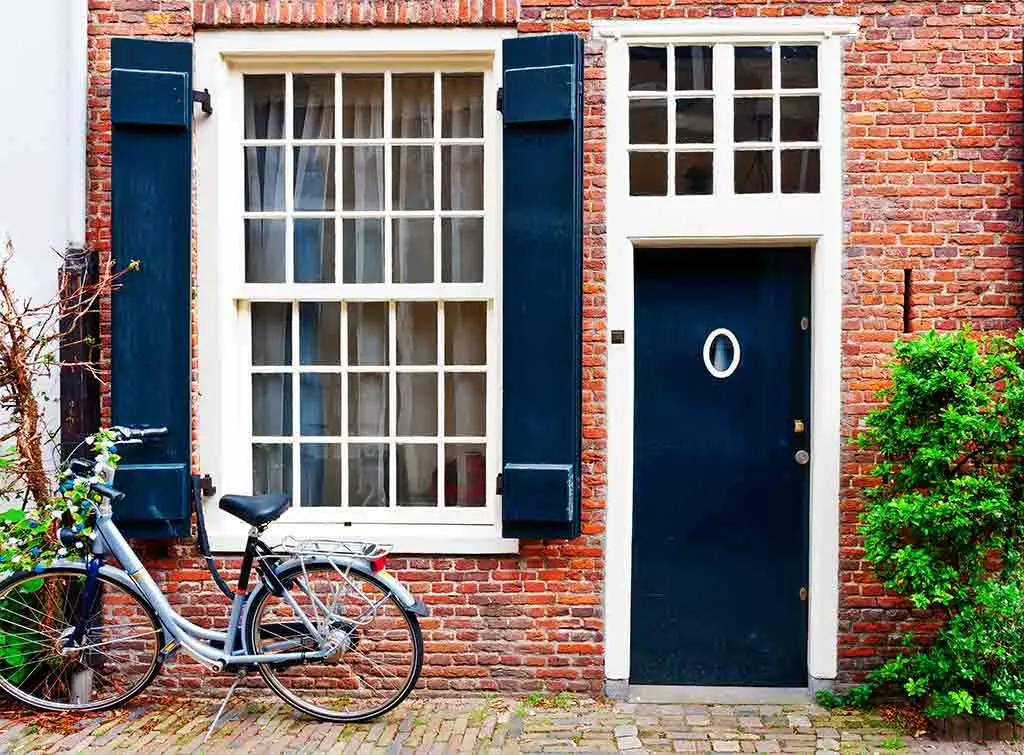
Knowing how to restore a front door is worth learning if you want to maximise your curb appeal. That's why revamping your property with a front door restoration is a great way to refresh your first impression.
Knowing how to restore a front door is worth learning if you want to maximise your curb appeal. That's why revamping your property with a front door restoration is a great way to refresh your first impression.
Front doors get a lot of flack. Used every day to welcome you and your guests, it's no wonder they need a little extra TLC once in a while. Even hard-wearing fibreglass and uPVC doors require some maintenance every now and then.
That said, this how-to guide is going to focus on how to restore a front door made from classic hardwood materials. With the right care and consideration, you will ensure its longevity and help it stand the test of time.
Front door restoration
It's often obvious when it's time to refresh your front door. Cracks, flakes, chipped paint and weathered wood are all key indicators. Depending on the severity, it might be worth hiring a professional to replace or restore your door.
Often, DIY jobs don't treat the underlying cause sufficiently, which leads to further repairs down the line. If you find yourself fixing your front door more than once a year, it's time to call in a professional.
See the tradespeople we've checked for your job
If you're still keen on learning how to restore a wooden front door yourself, then follow our step-by-step guide below.
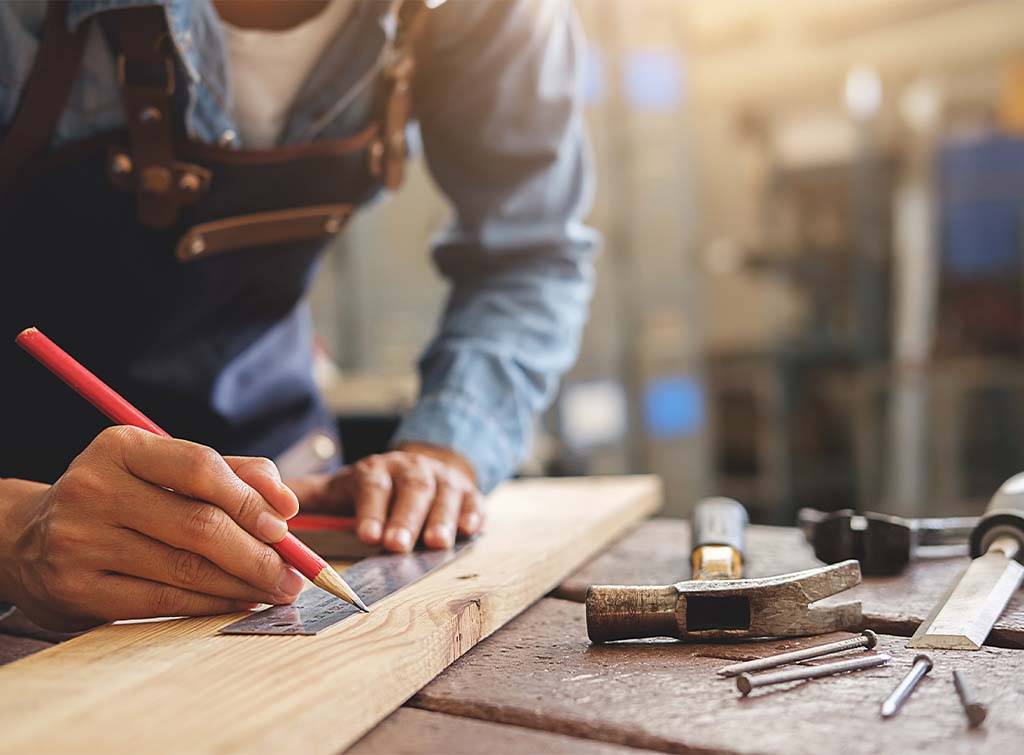
Tools you’ll need for the job
Before you get started, consider adding the following items to your arsenal:
Protective outerwear - dust mask, gloves, safety goggles
Paint stripper
Limewash
Steel wool
Cotton cloths
Brass brush and brass cleaner
Filling knife
Masking tape/painters tape
Wax and polish remover
Pure tung oil
Frame sealant
Weatherproof door paint
Sander
How to restore a front door
Top tip: Before you get started, use your painter's tape to cover and protect any glass, knockers, letterboxes and keyholes.
Step one: Consider removing the door from its hinges
For doors that are severely weather-beaten, it might be better to remove them from their hinges so you can easily work in them. For doors with less damage, you might get away with leaving them on their hinges.
If you do remove the door, lay it flat on a pair of sawhorses.
Step two: Clean the door
Don your protective outerwear and start to clean off any old wax finishes or flaking paint using the brass brush initially. Next, go over the door with steel wool soaked in wax and polish remover until the door is free of ancient grime. Finally, use a clean cotton cloth to remove the excess dirt.
Step three: Apply a paint stripper
If your door is painted, now might be the time to strip the colour and start from scratch. You might even consider leaving your door au naturale and giving it a wax and polish.
Regardless, if there is old and weathered paint, apply a paint stripper or use a sander to remove the old colour and return your door to its nude origins.
Step four: Fill any issues with lime mortar
Once your door is clean and stripped, the problem areas should be more apparent. Prepare your lime mortar and use it to fill in any gaps, chips or cracks. Leave it to set for 2-3 days.
Note: This step isn't suitable for front doors you've taken off the hinges. If you want to fill those and reattach your door within a day, use a quick set mortar.
Step five: Sand down the door
Use a sander to smooth any lumps and bumps still visible on your door. We recommend a hand sander to allow for ease of access in any nook and cranny in your door. When finished, wipe down so there isn't a trace of sawdust.
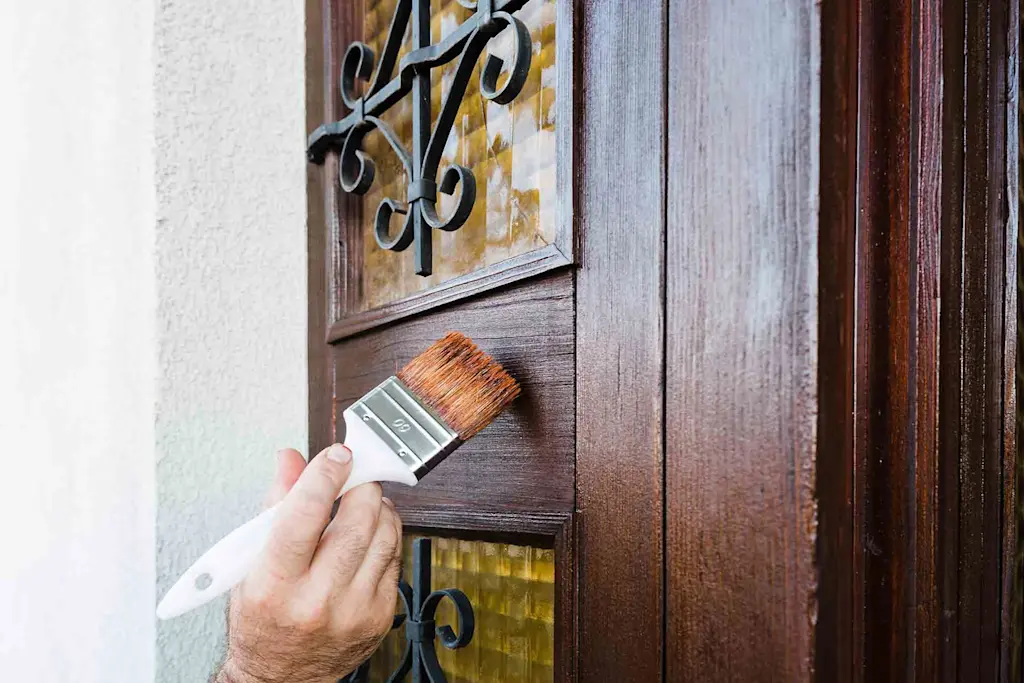
Step six: Paint or stain your door
Now your door is prepped, it's time to paint it in your choice of colour or apply a wood stain. Apply with a brush and make sure it saturates the wood evenly by wiping it with a cotton cloth or rag.
Top tip: If you're leaving your doors as exposed wood, condition them with 3-4 coats of pure tung oil. You'll need to leave 24-hours in between applications.
Step seven: Apply a varnish
Once your door is dry, the final coat is to weatherproof it against UV rays and harsh conditions. That's why it's important you choose an exterior varnish with these protective credentials.
Step eight: Clean or replace your features
Now all you need to do is reattach your door and either clean or replace the doorknob, knocker, letterbox and keyhole. If they're brass, polish them up using some brass cleaner. For other metals, use a hardy polish and buffer to make it gleam.
Top tip: Don't forget to clean and repair your doorstep using limewash too!
FAQs
Should I hire a professional?
Although we're a fan of DIY jobs, we always recommend hiring a professional to help you restore or repair important features like a front door. The likelihood of a robust outcome is much higher, saving you from making costly mistakes.
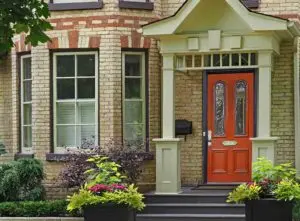
Victorian front door restoration advice
As Victorian front doors are delicate period features, we wouldn't advise tackling a restoration by yourself. To make sure your door is returned to its former glory, hire a professional to help you.
More Composite Front Doors Installation Articles

See the tradespeople we've checked for your job