Blog>How-To Guides>How to restore Victorian floor tiles
Last updated: 25 November 2021

How to restore Victorian floor tiles
Whether you're installing encaustic tiles or you've bought a property with some in need of a little TLC, let us teach you how to restore Victorian floor tiles and bring them back to their former glory.
Whether you're installing encaustic tiles or you've bought a property with some in need of a little TLC, let us teach you how to restore Victorian floor tiles and bring them back to their former glory.
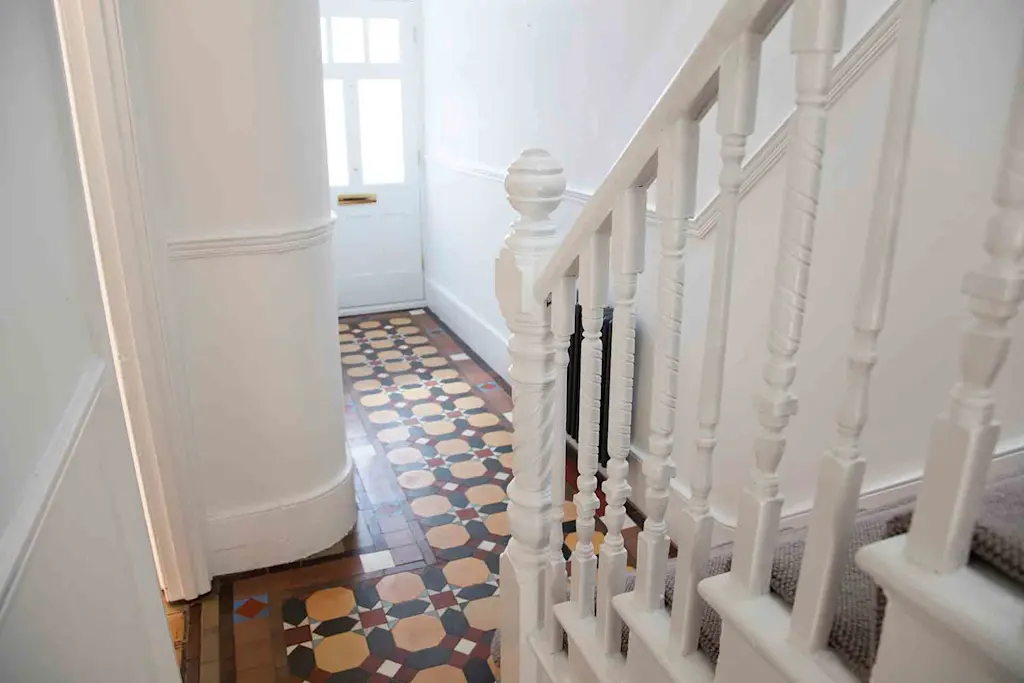
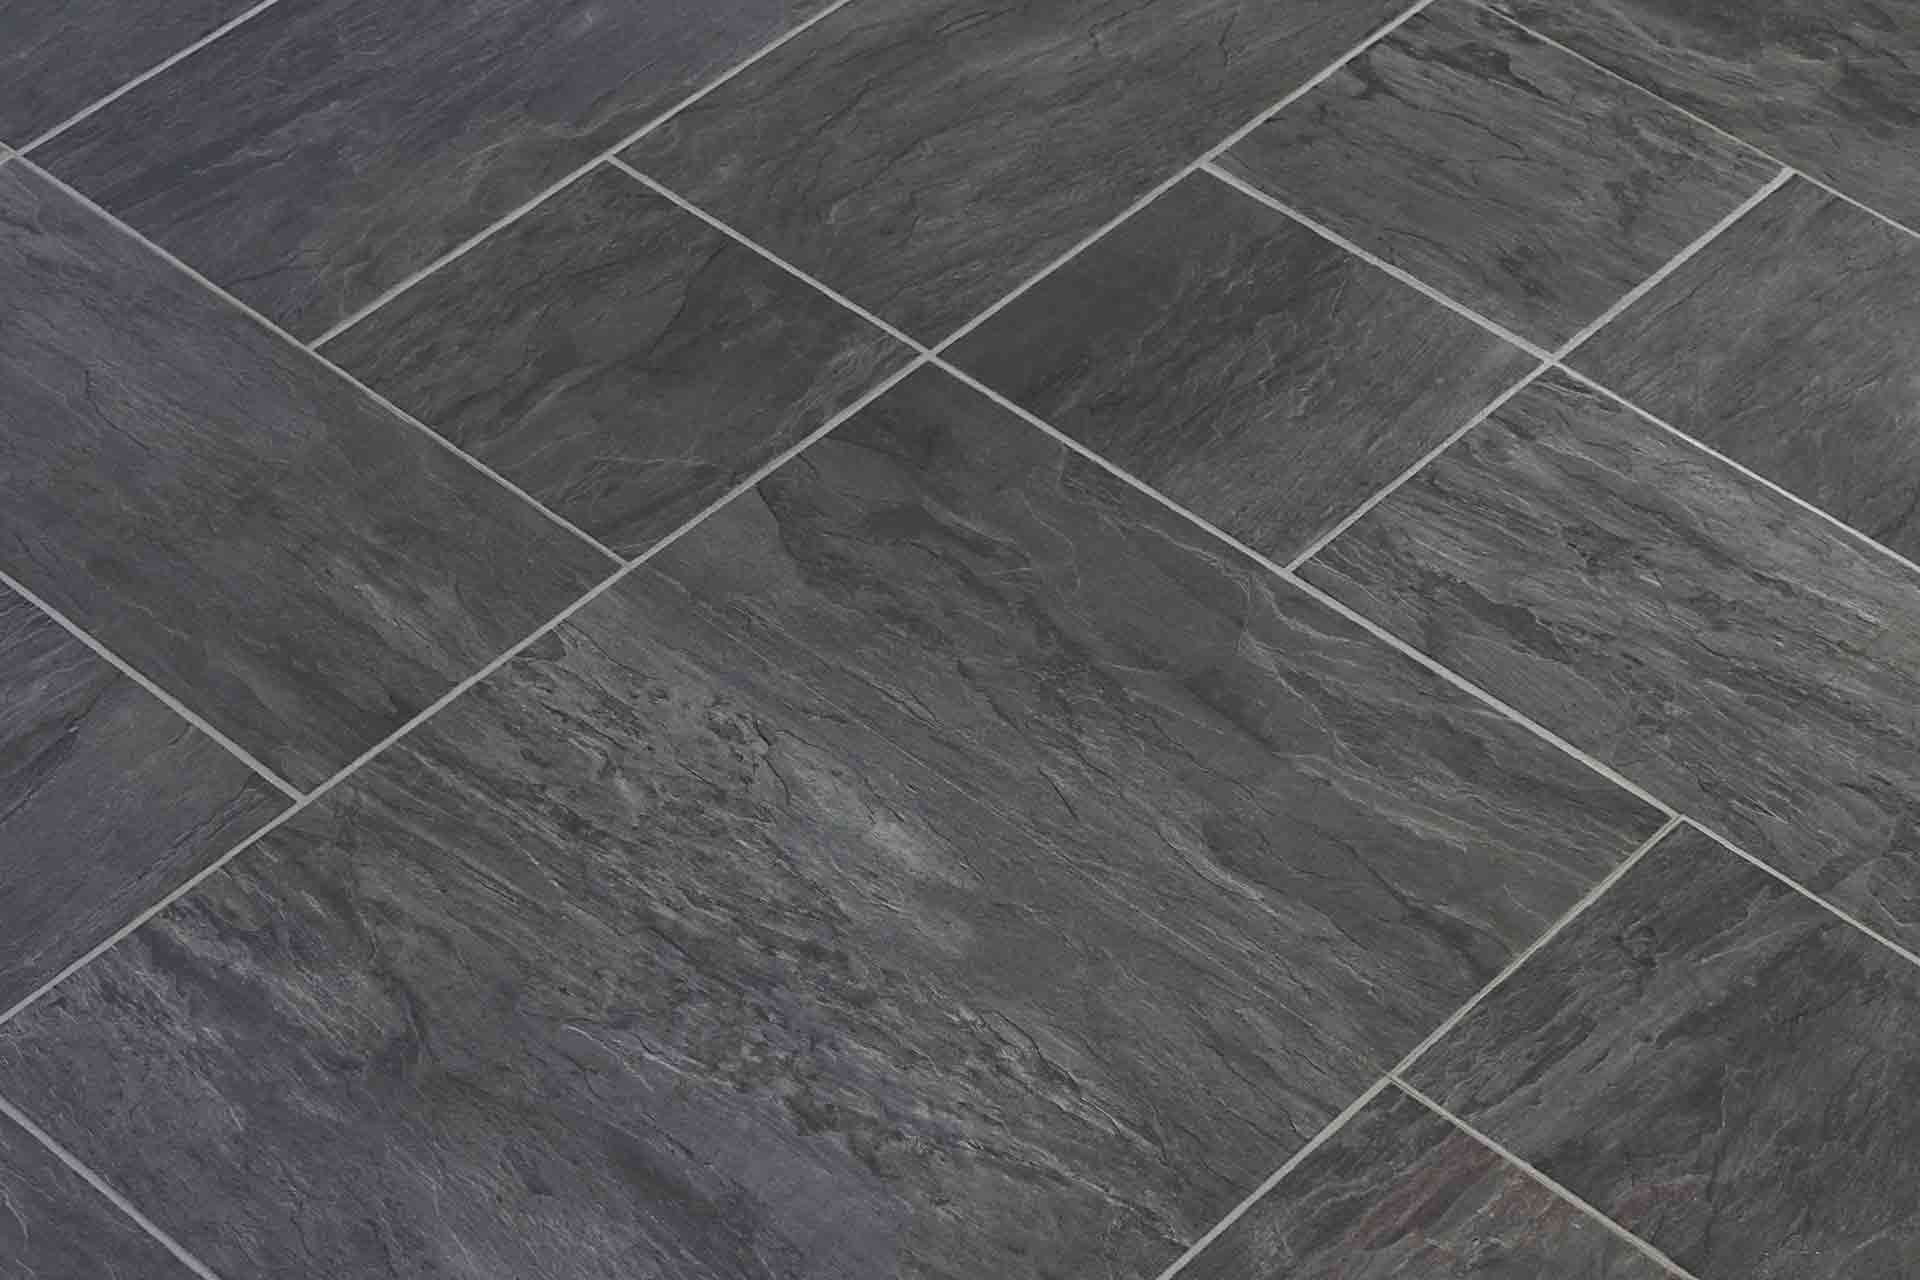
Victorian tiles are also known as 'encaustic,' which includes Edwardian designs too. They're traditionally characterised by their ceramic unglazed patterns, although are now made from cement mixed with pigments and poured into a mould. They're installed without the need for grouting, with the tiles holding themselves together by locking in place atop a bedding layer.
That said, whether they're original or stylised, encaustic tiles are hardwearing and attractive features popular with homeowners. The only downside is, due to their matt nature, they require some maintenance every now and then. Common issues include chipping, cracking, and stubborn build-ups of dirt.
How to spot problems before they get out of hand
Prevention is better than cure, which is why looking out for these common issues is good practice.
Missing tiles
Cracked, chipped or crumbling tiles
Loose tiles (easily moved or wobbly)
A build-up of dirt or paint
Damp or mould
Because Victorian tiles don't utilise grouting, it's not always obvious there are issues, so try to pay close attention.
Can you restore victorian floor tiles on your own?
For Victorian floor tiles with severe damage, tackling the issue on a DIY basis is virtually impossible. In these cases – and if you want to avoid causing further disrepair – then we recommend hiring a professional who will know exactly how to return your floor to its former glory.
See the tradespeople we've checked for your job
If you're confident about taking on the restoration yourself, then read on for our step-by-step guide.
Step by step: How to clean and restore victorian floor tiles
Now you're ready and equipped, it's time to get to work.
The tools you’ll need for the job
Depending on the level of restoration required, consider adding the following items to your arsenal.
Vacuum and/or dustpan and brush
Stiff broom
Plastic scraper
Cotton cloths
Scrubbing brushes
Mop and bucket
Floor cleaner
A conservation grade detergent
PVA adhesive glue
Epoxy putty
Liquid Beeswax
Power drill polishing disc
Step one: Remove loose tiles and debris
Some tiles will easily come away, while others might take some encouragement. Using your scraper, carefully prise the loose tiles away from the floor and set them aside. Take photos of the before and after so you don't forget which tiles go where.
Step two: Get cleaning!
Cleaning the tiles is the most important part of the restoration process. Use the stiff brush to dislodge dirt and help disturb the grit beneath the loose tiles that you've removed. Then run a vacuum over the entire floor area. Do the same for the individual tiles you've removed.
Next, use your mop and bucket and mild grade detergent to thoroughly clean the floor. While it's drying, get to work on the tiles.
Note: If the adhesive on the bed and the back of the tiles has worn away, you'll need to reapply it. Make sure the areas are thoroughly cleaned before doing so to ensure longevity.
Step three: Reattach the floor tiles
Now your floors are prepped, it's time to reaffix the loose tiles. Use your previous photos to help you work out which goes where. Then dampen the floor bed and the back of each tile, prime with diluted PVA (5:1), and allow to dry.
Once dry, add some non-diluted PVA to the floor and the back of the tile and press into place.
Repeat with the remaining tiles and then leave the area to fully bond for 24-hours.
Step four: Use putty to repair small chips
Epoxy putty comes in various colours, so pick the right one for your tiles. Clean the chipped tiles and leave them to dry, then knead and roll the putty for around 5-6 minutes until it's malleable. Once ready, press the softened putty into the chips and smooth with a wet finger. Then, clean your tools immediately!
Step five: Use a plastic scraper to remove paint
If your Victorian floor tiles have suffered from paint splashes over the years, then using a plastic scraper to gently remove the dried-on patches will help eradicate them without scratching the original tile.
Step six: Deep clean the floor
Once these steps are complete, set, and dried, it's time to deep clean your floor. Use your mild detergent and follow these steps:
Clean with the mop and bucket first
Go over the area with a scrubbing brush
Wipe clean with the cotton cloth
Sponge off the surplus water to avoid it seeping into the cracks
Step seven: Seal and buff the floor
When everything is dry and looking clean and restored, your final steps are all about preservation. For this, consider applying an impregnating sealer that lets moisture pass freely through the tiles. Wait for 24-hours and then buff the floor using your power drill polishing disc.
Top tip: Don't apply beeswax unless you have a damp-proof membrane beneath the floor.
And you're done! Sit back and enjoy your handiwork. Just don't forget to regularly vacuum and mop to avoid damaging dirt building up again.
See the tradespeople we've checked for your job
FAQs
Should I hire a professional?
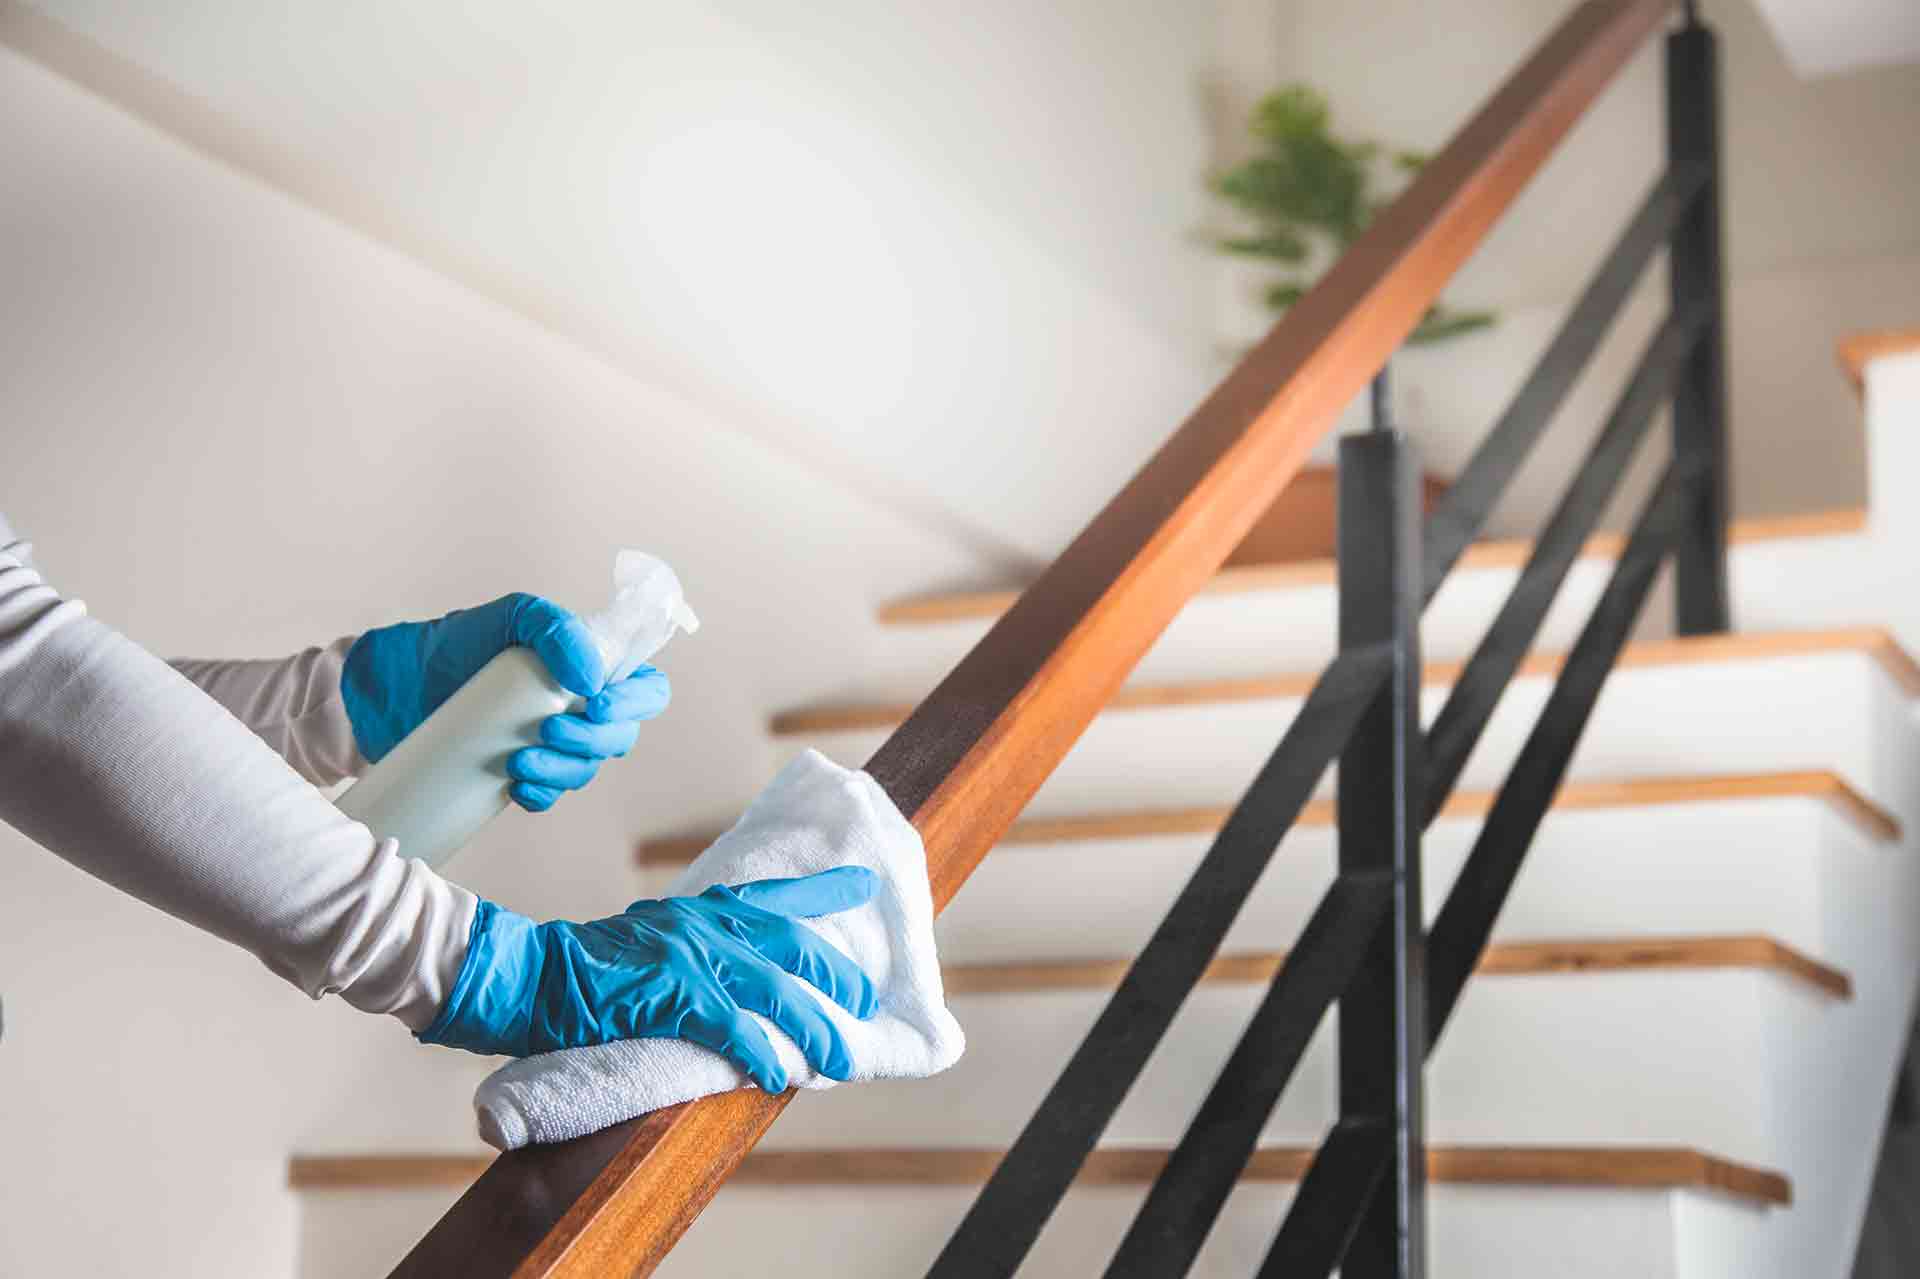
For a professional, clean and immaculate finish, we recommend hiring a professional to restore and clean your Victorian floor tiles – at least initially. Amateur fixes don't guarantee perfect results, which can cause alternative damage or a reappearance of old issues if the proper procedures aren't adhered to.
How do I clean old victorian floor tiles?
Gently! Restoring old Victorian tiles is an art best left to the professionals. However, if you're going to clean them yourself, use a damp mop to scrub the tiles, followed by a cotton cloth to help keep them in tip-top shape.
How can I clean victorian mosaic floor tiles?
Use steps six to seven (above) to deep clean your Victorian mosaic floor tiles.
More Tiled Floor Cleaning Articles

See the tradespeople we've checked for your job