HOW-TO GUIDES
How to tile a bathroom: a complete step-by-step guide
Updated 07/23
By: Olivia Scammell

Looking to learn how to tile a bathroom? Follow our guide for hints and tips.
What to prep before you lay a single tile
Whether your walls need tanking or a backer board
How to tile bathroom walls and floors step by step
How much bathroom tiling typically costs
The most common tiling mistakes to avoid
When (and how) to hire a tiler
Tiling a bathroom is one of the most satisfying DIY projects you can take on, but it's also one that punishes shortcuts.
Get the prep right, and a wall or floor of tiles can last 50 years or more. Rush it, and you could be looking at cracked grout, loose tiles, or water damage within a year.
This guide walks you through everything from choosing tiles and tools to waterproofing, laying, and grouting, plus when it makes sense to bring in a tiler instead.
Is DIY bathroom tiling right for you?
Bathroom tiling is achievable for a confident DIYer, but it's less forgiving than tiling a kitchen splashback.
Bathrooms combine moisture, uneven surfaces around baths and pipework, and fiddly cuts around sockets, pipes, and fixtures.
If you're tiling a small, simple area, such as a splashback, a straightforward wall of standard tiles is a reasonable weekend project.
But full bathroom refits, wet rooms, or anywhere near a shower are a different story. Get those wrong and the fix usually costs more than hiring a tiler in the first place.
If you're not completely confident that you can tile your bathroom to a good standard, calling in a tiler is the best call.
If you're short on time or nervous about getting it wrong first time, it's worth comparing quotes from a few trusted tradespeople before you commit to DIY. A tiler will also spot problems with your walls or floor that a first-timer might miss.
Find a tiler near you
Tools and materials you'll need
Before you start, gather everything so you're not stopping mid-job to buy something you've forgotten.
Tiles of your choice
Tile adhesive
Grout
Tape measure
Pencil
Spirit level
Sponge
Tile cutter
Spacers
Paddle mixer
Trowel
Grout float
Soapy water
Cloth
Bathroom sealant
Chisel
Hammer
What type of tile should I use?
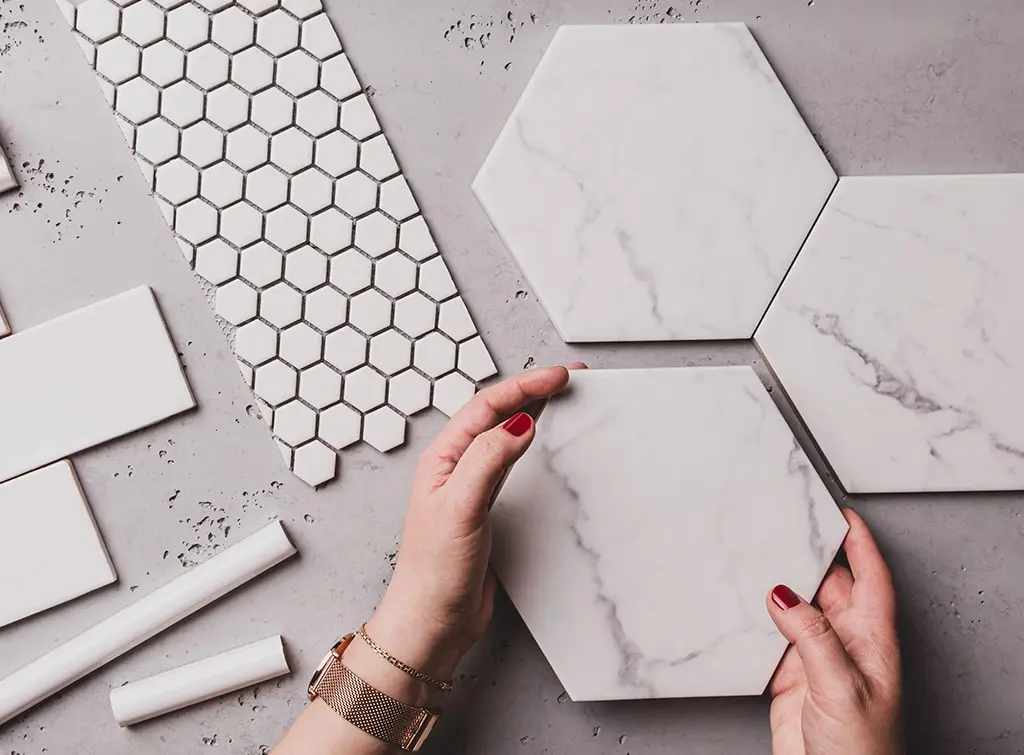
The type of tile you choose has a big impact on how easy the job is, and how the finished result looks.
Ceramic tiles are affordable, water-resistant, and easy to maintain, making them a popular bathroom choice
Porcelain is denser and more water-resistant again, so it's a good option for shower enclosures and floors, though it typically costs more
Mosaic tiles look great as a feature, but take longer to lay and can be tricky to get right
Bathroom tile ideas and Designs for 2026
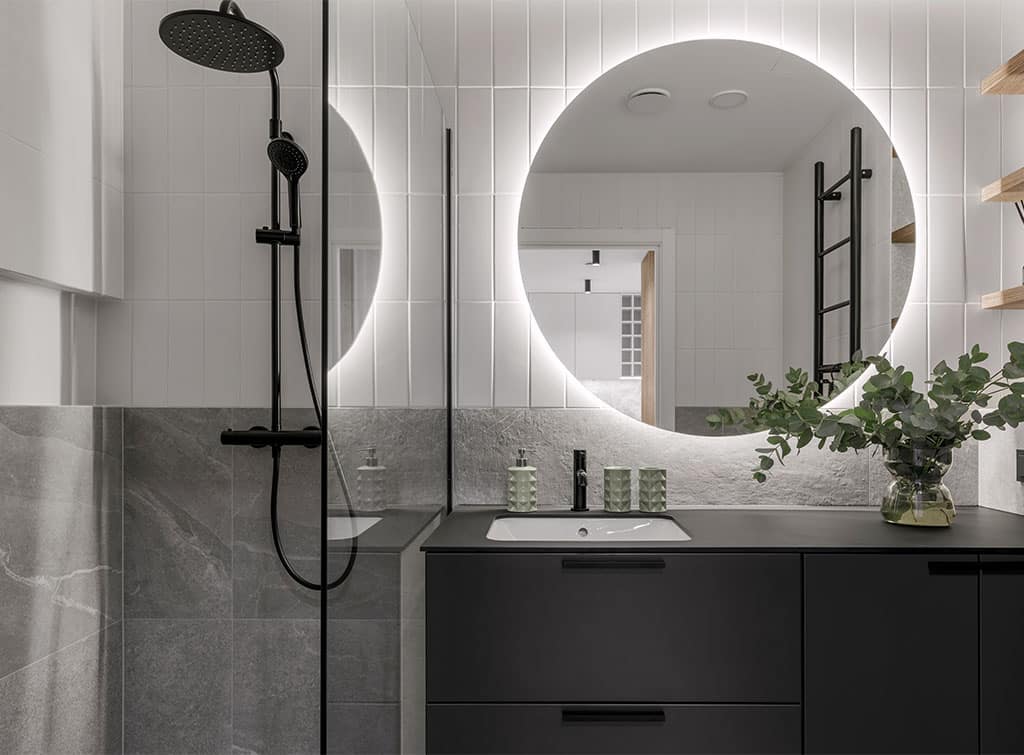
It's easier than ever to show off your artistic flare with this year's vast range of stunning bathroom tile trends.
Preparing your bathroom for tiling
Preparation is where most DIY tiling jobs go wrong. Get your prep right, and everything after it is far easier.
Clean and check your walls
Start by cleaning every wall you plan to tile and wiping them dry with a cloth. Check for unevenness, cracks, or crumbling plaster - tiles need a flat, stable surface to bond to properly.
Don't tile straight onto plasterboard in wet zones
In genuinely wet areas, such as inside a shower or around a bath, ordinary plasterboard isn't suitable on its own. You'll usually need a cement-based or waterproof tile backer board, or a waterproofed (tanked) surface, before tiles go anywhere near it.
Waterproofing (tanking) your bathroom
Tanking means applying a waterproof membrane behind your tiles in wet zones, so any water that gets through grout lines or ageing sealant over time can't reach the wall or floor structure underneath.
It's typically either a liquid membrane, painted or rolled on in two coats, or a sheet or fleece membrane for floors and wet rooms. You'll need to leave it to cure fully (usually 12-24 hours) before tiling begins.
For new-build homes, tanking wet zones behind tiles is now standard practice under current NHBC guidance. But even if your project isn't in a new-build, treat tanking as essential in any area where water pools or splashes regularly.
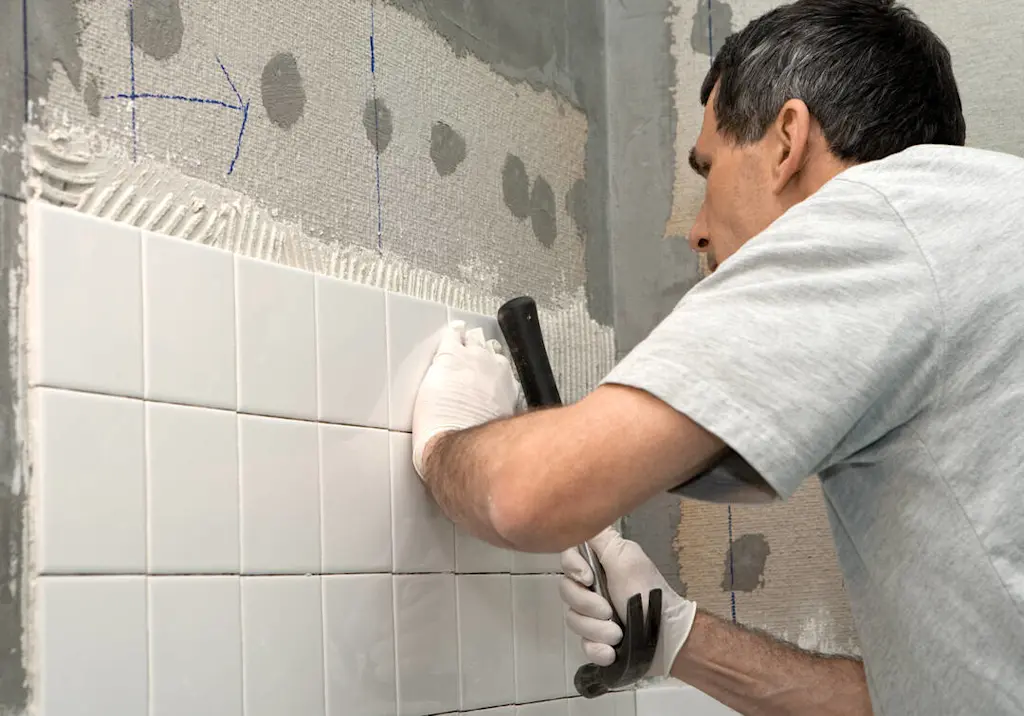
How to tile a bathroom, step by step
Once your walls or floors are prepared, it's time to start getting the tiles in place.
Step 1: Plan your layout
Decide which tiles are going where. If your tiles are patterned or irregular, lay them out on the floor first to check your configuration works before committing to adhesive.
Step 2: Set out your tiles
One of the most important tips for tiling is starting from the middle of a wall and working your way out.
Use a spirit level to keep everything straight. Working from the middle means any cut tiles end up at the edges, where they're far less noticeable.
Step 3: Cut your tiles to fit
Mark the point on the tile where it needs to be cut with a pencil. Put on your safety gloves and goggles and proceed to cut the tile with your tile cutter.
Once all of your tiles are cut, it’s time to start applying them to the wall.
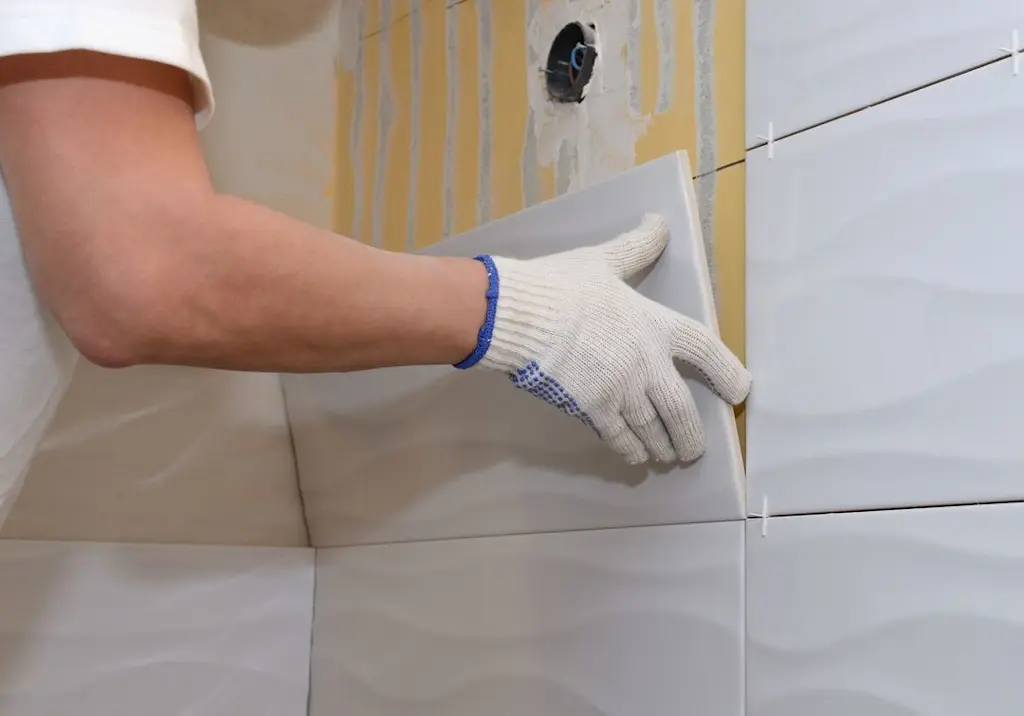
Step 4: Apply your tiles
Whether you’re using ready-made adhesive or need to mix it up yourself, once you have the perfect consistency (which should be like a thick paste) you’ll be ready to apply your tiles to the wall.
Work carefully and apply a small amount of adhesive at a time - 1m2 is a good estimate. This means that it doesn’t matter too much if you make a mistake because you’ve only covered a small area.
Apply the adhesive using your notched trowel making sure you’ve got an even spread. Then run through the notched trowel horizontally at a 45° angle. Place your tiles carefully, using a spirit level to make sure they’re straight.
Do one tile at a time and place a tile spacer in between each one. Remember to fully push each spacer in so they don’t become a nuisance once you start grouting.
Step 5: Grout
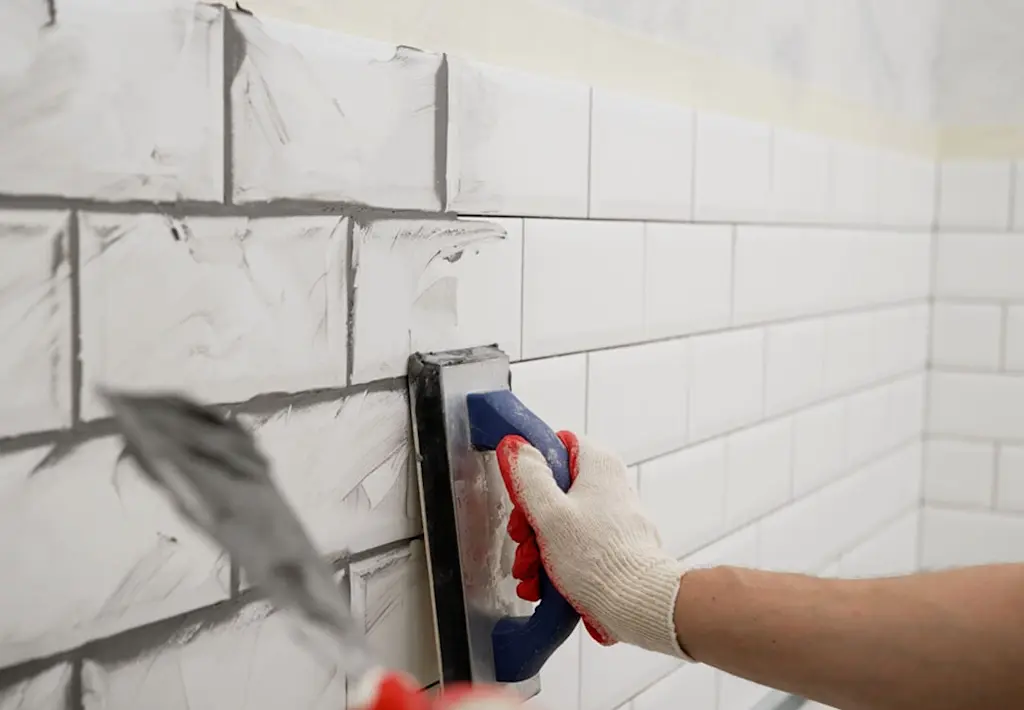
Wait at least 24 hours until you start grouting.
Prepare your grout by mixing it with water in a bucket. Once again, it should be the consistency of a thick paste. Always make sure to read the instructions on the back of the packaging for correct guidance.
Start applying your grout in the spaces between your tiles using your grout float. Hold it at an angle and use it to make sure you get in all of the crevices between the tiles.
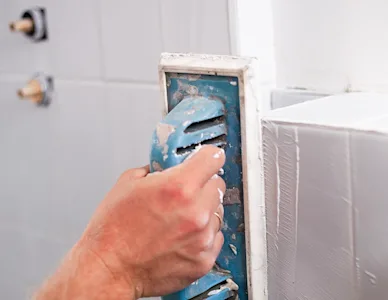
Clean up the excess grout every 2-3 square metres to make sure you can still see what you’re doing. Once finished, leave the grout to dry for at least an hour before polishing your tiles with a cloth.
Step 6: Seal
Run a bead of bathroom sealant around the edges, particularly where tiles meet the bath, shower tray, or floor, to keep water out of any gaps.
Then, just sit back and admire your handywork!
Not feeling confident? Hire a tiler to make sure every step is covered to a professional standard.
Find a tiler near you
How to tile a bathroom floor
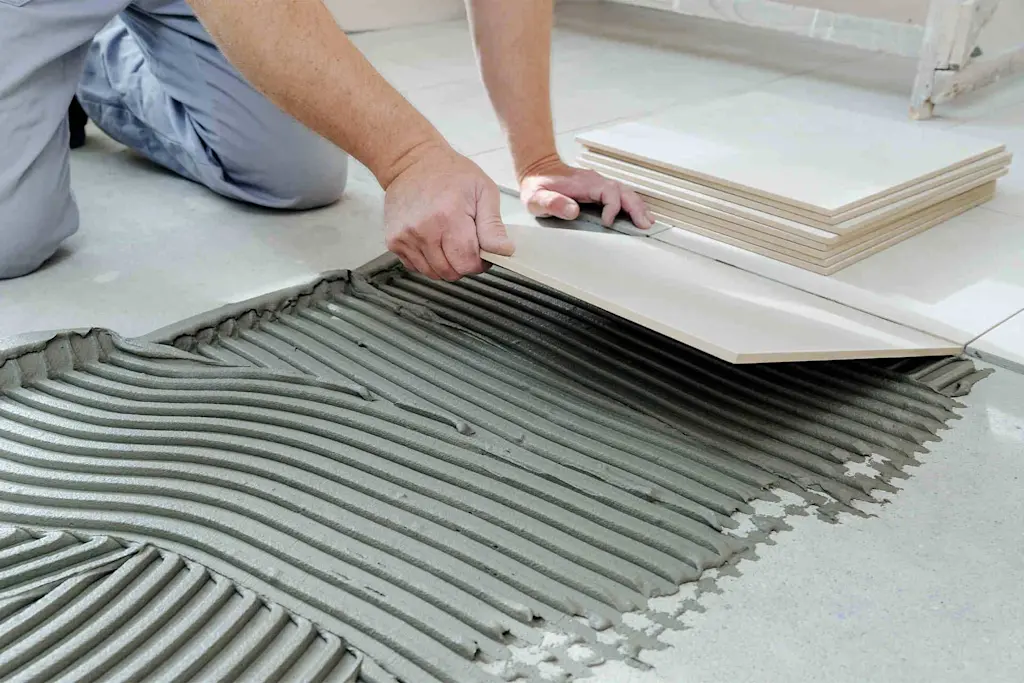
The principles of tiling a bathroom floor are the same as tiling a bathroom wall however the main difference is that you have to make sure the subfloor is totally level.
The best way to do this is to pour levelling compound over the floor before laying any tiles. Use a trowel to carefully spread it to the corners of the room and it will even out your bathroom floor, giving you the perfect base for tiles.
Leave it to set for 24 hours before tiling. Once you’ve finished applying your tiles be sure to use a silicone sealant around the edges to seal it.
How to retile a shower
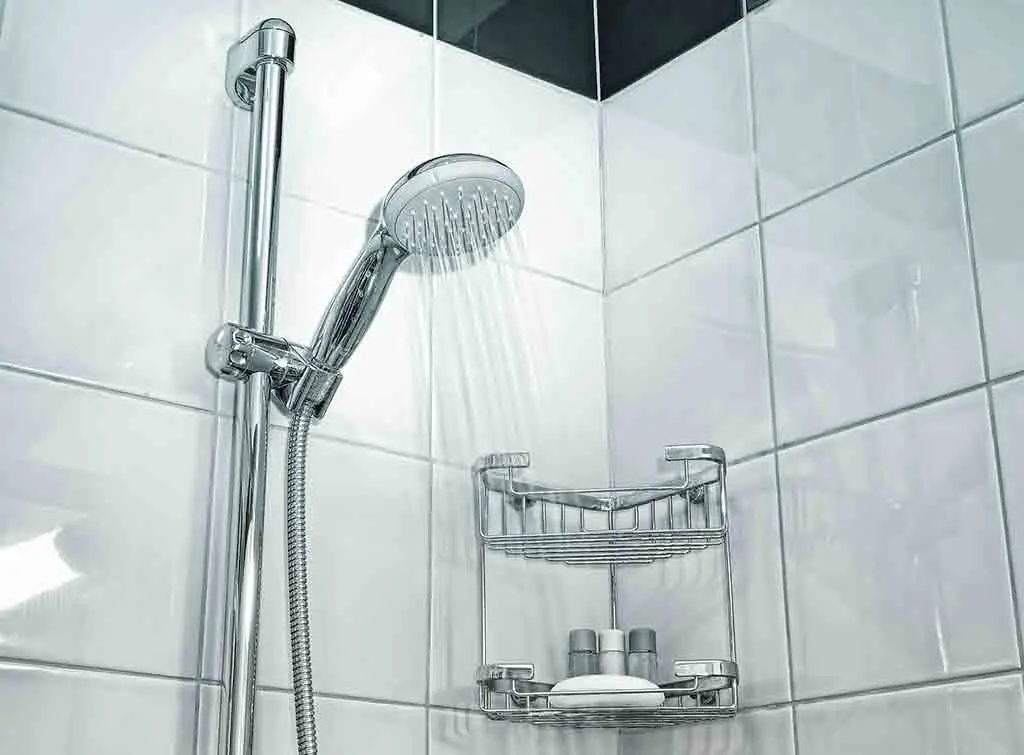
If the tiles in your shower are looking a little tired and could do with a refresh, you could retile your shower yourself by following the steps below.
Remove your existing tiles using a hammer and chisel, taking care not to damage the wall behind.
Check the surface underneath is sound, removing any remaining mortar and cleaning up the area.
Waterproof (tank) the area before tiling if it isn't already, since a shower is the highest-risk zone in any bathroom for water damage.
Apply your tiles and grout as above, leaving 24 hours between each stage.
Seal thoroughly around the shower tray, corners, and any fittings.
If your grout keeps failing or tiles keep coming loose in a shower, that's often a sign the waterproofing wasn't done properly the first time, rather than a grouting problem on its own.
Our top bathroom tiling tips
If you’re a complete beginner at tiling, here are a few top tips to make it a little easier…
Buy more tiles than you need. The standard is to purchase 10% more tiles than you actually need to allow for breakages and measuring mistakes
Don’t just measure once. Be sure to measure two or three times to make sure you’ve got it right before you cut your tiles
Start in the middle and work your way out
Using spacers will make sure that your gaps are even when it comes to grouting. You can choose what thickness you’d prefer to suit your project
Don’t rush. If you’re a total beginner, it’s important to take your time and go through each point step by step
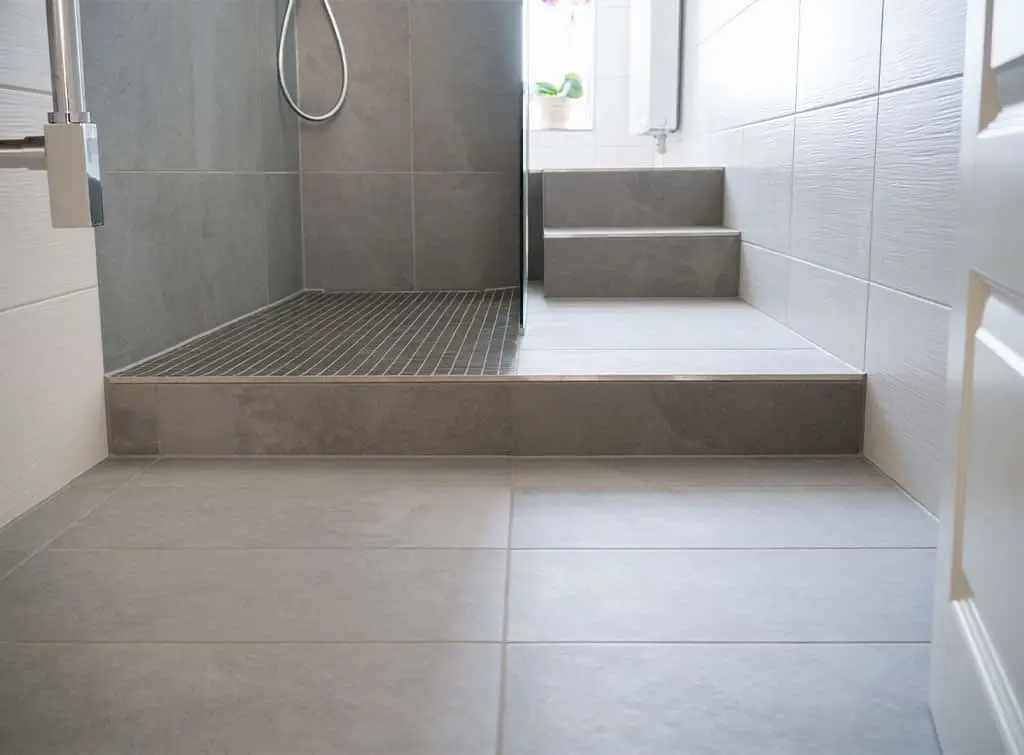
How much does it cost to tile a bathroom?
Costs vary depending on tile type, the size of the room, and whether you're doing a wall, a floor, or both.
As a guide, fully tiling the walls and floor of an average bathroom typically costs between £800–£1,200, while tiling a shower alone tends to fall between £250–£900.
For the full breakdown, including cost per square metre and day rates, see our tiling cost guide.
If you're planning a wider refit rather than just retiling, our new bathroom cost guide covers the bigger picture, from a new suite to full re-plumbing.

How much does tiling cost in 2026?
Discover average tiling costs in the UK, including bathroom, kitchen, and floor tiling prices per m², alongside tips to budget wisely.
Who else do you need for a bathroom retile?
Tiling rarely happens in isolation. You may find there are more jobs to do, and people you need to hire to tackle them.
If you're removing old tiles, you might uncover damp or damaged plaster that needs a plasterer before you can start
If you're moving a bath, shower, or sink as part of the job, you'll need a plumber to disconnect and reconnect pipework safely
If it's a full bathroom overhaul rather than a retile, a bathroom fitter can coordinate the whole project for you
Common bathroom tiling mistakes to avoid
Skipping waterproofing or backer board in wet zones, which is the single most common cause of failed bathroom tiling
Tiling straight over old, loose, or hollow-sounding tiles without checking the surface underneath is sound
Using the wrong adhesive or grout for a wet room, such as a non-flexible grout that cracks with movement
Not buying enough tiles - order around 10% extra to cover breakages and cutting mistakes
Rushing the drying times between prep, tiling, and grouting, which can cause tiles to slip or grout to fail
Forgetting to reseal where tiles meet the bath, shower tray, or floor
How to find a tiler near you
If you'd rather leave it to someone who knows what they're doing, or you've hit a step (like tanking or levelling an uneven floor) that feels beyond your confidence, hiring a tiler is straightforward.
Just enter your postcode into our search, and we'll show you the Checkatrade tilers who cover your area. You can browse your options, reach out to get quotes, and hire your chosen tiler all in one place.
Find a tiler near you

Look for a tiler with recent reviews for bathroom work specifically, since wall and floor tiling in wet areas needs different skills to a kitchen splashback.
Ask to see photos of similar jobs, confirm whether tanking or backer board is included in their quote, and get at least two or three quotes before deciding.
Plus, if you book through us, you're also covered by the Checkatrade guarantee up to £1,000 (T&Cs apply).
Need more info? Our hiring guide for tilers covers exactly what to ask and what a fair quote looks like, and our tiling project planning guide is useful if you're still at the "what do I even need to arrange" stage.

FAQs
No. Tiling, whether walls or floors, doesn't require planning permission.
A small bathroom can often be tiled in a single day, though most projects run over 2-3 days once you include grouting, drying time, and sealing.
Larger rooms, patterned layouts, or full retiles (including removing old tiles) will take longer.
No, not in wet zones. Around baths, showers, and wet rooms, you need a waterproof backer board or a properly waterproofed (tanked) surface first. Standard plasterboard on its own isn't suitable where it will get wet regularly.
Ceramic tiles are a popular, affordable, water-resistant choice for most bathroom walls.
Porcelain is denser and more water-resistant again, making it another good option for shower enclosures and floors, though it typically costs more per square metre.
In any genuinely wet zone, such as inside a shower or around a bath, yes. Waterproofing membranes stop water that gets through grout or sealant from reaching the wall or floor structure underneath, and it's now considered standard practice for new bathrooms.
Measure the area in square metres, then add around 10% extra to account for breakages, cutting waste, and any future repairs, since matching a discontinued tile later can be difficult.
Sometimes, if the existing tiles are sound, flat, and well-bonded. It's not usually recommended in bathrooms, though, since it adds weight and can trap moisture behind two layers of tile.
If you're unsure, a tiler can check the existing surface for you.
A simple wall of standard tiles is achievable for a competent DIYer. But anything involving waterproofing, an uneven floor, or a full shower retile is worth getting a professional quote for, since mistakes in wet areas are expensive to put right.

A tiler can handle both repairs and full retiling, while a bathroom fitter is worth considering if the cracked tiles are part of a wider bathroom refresh. Need help with tile restoration near you?
More Tiler - Tiling Articles
See the tradespeople we've checked for your job