QUESTIONS
How to apply silicone sealant for a neat finish
Updated 05/26
By: Tom Blake
Reviewed: Kim Staples

Applying silicone sealant and achieving a neat finish can be a bit challenging for beginners, but it's achievable with patience and by carefully following a series of steps.
Fast Facts
Clean and dry the surface fully
Cut the nozzle at a 45° angle
Apply steady pressure with a sealant gun
Run one smooth bead along the joint
Smooth immediately using a damp finger or finishing tool
Leave the sealant to cure fully before using the area
Take a look at our guide to learn more about how to get a professional-looking, neat finish when you apply silicone sealant - with a few expert tips for getting the best results for your bath, sink, shower tray, or even a counter worktop. Your bathroom will be looking tidier in no time.
As always, if you can't manage this work yourself, connect with a local expert by entering your postcode.
Find a tradesperson to apply silicone sealant
What tools do you need to apply silicone sealant?
Before you start applying your sealant, make sure you have everything you need:
Silicone sealant
Sealant gun
Masking tape
Sealant smoothing tool (or a damp finger)
Stanley knife
Kitchen roll or cloth
Cleaning products
How to apply silicone sealant: Step by step
Follow these general instructions when applying sealant to achieve the best results.
Step one: Prepare the surface
Before applying the sealant, make sure the surface is clean, dry and free from dust, grease or old sealant. Depending on the current state of the surface, you might need to use rubbing alcohol or a commercial sealant remover to clean the surface.
Step two: Cut the nozzle
Cut the nozzle of your silicone tube at a 45-degree angle. Be careful when cutting the tube, as the size of the hole you make determines the bead size, so consider how large you want the sealant lines to be before cutting.
Step three: Use a sealant gun
Place the silicone tube inside your sealant gun, ensuring it's fitted properly.
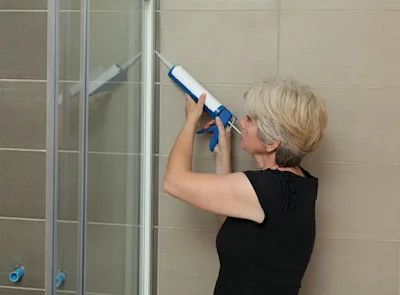
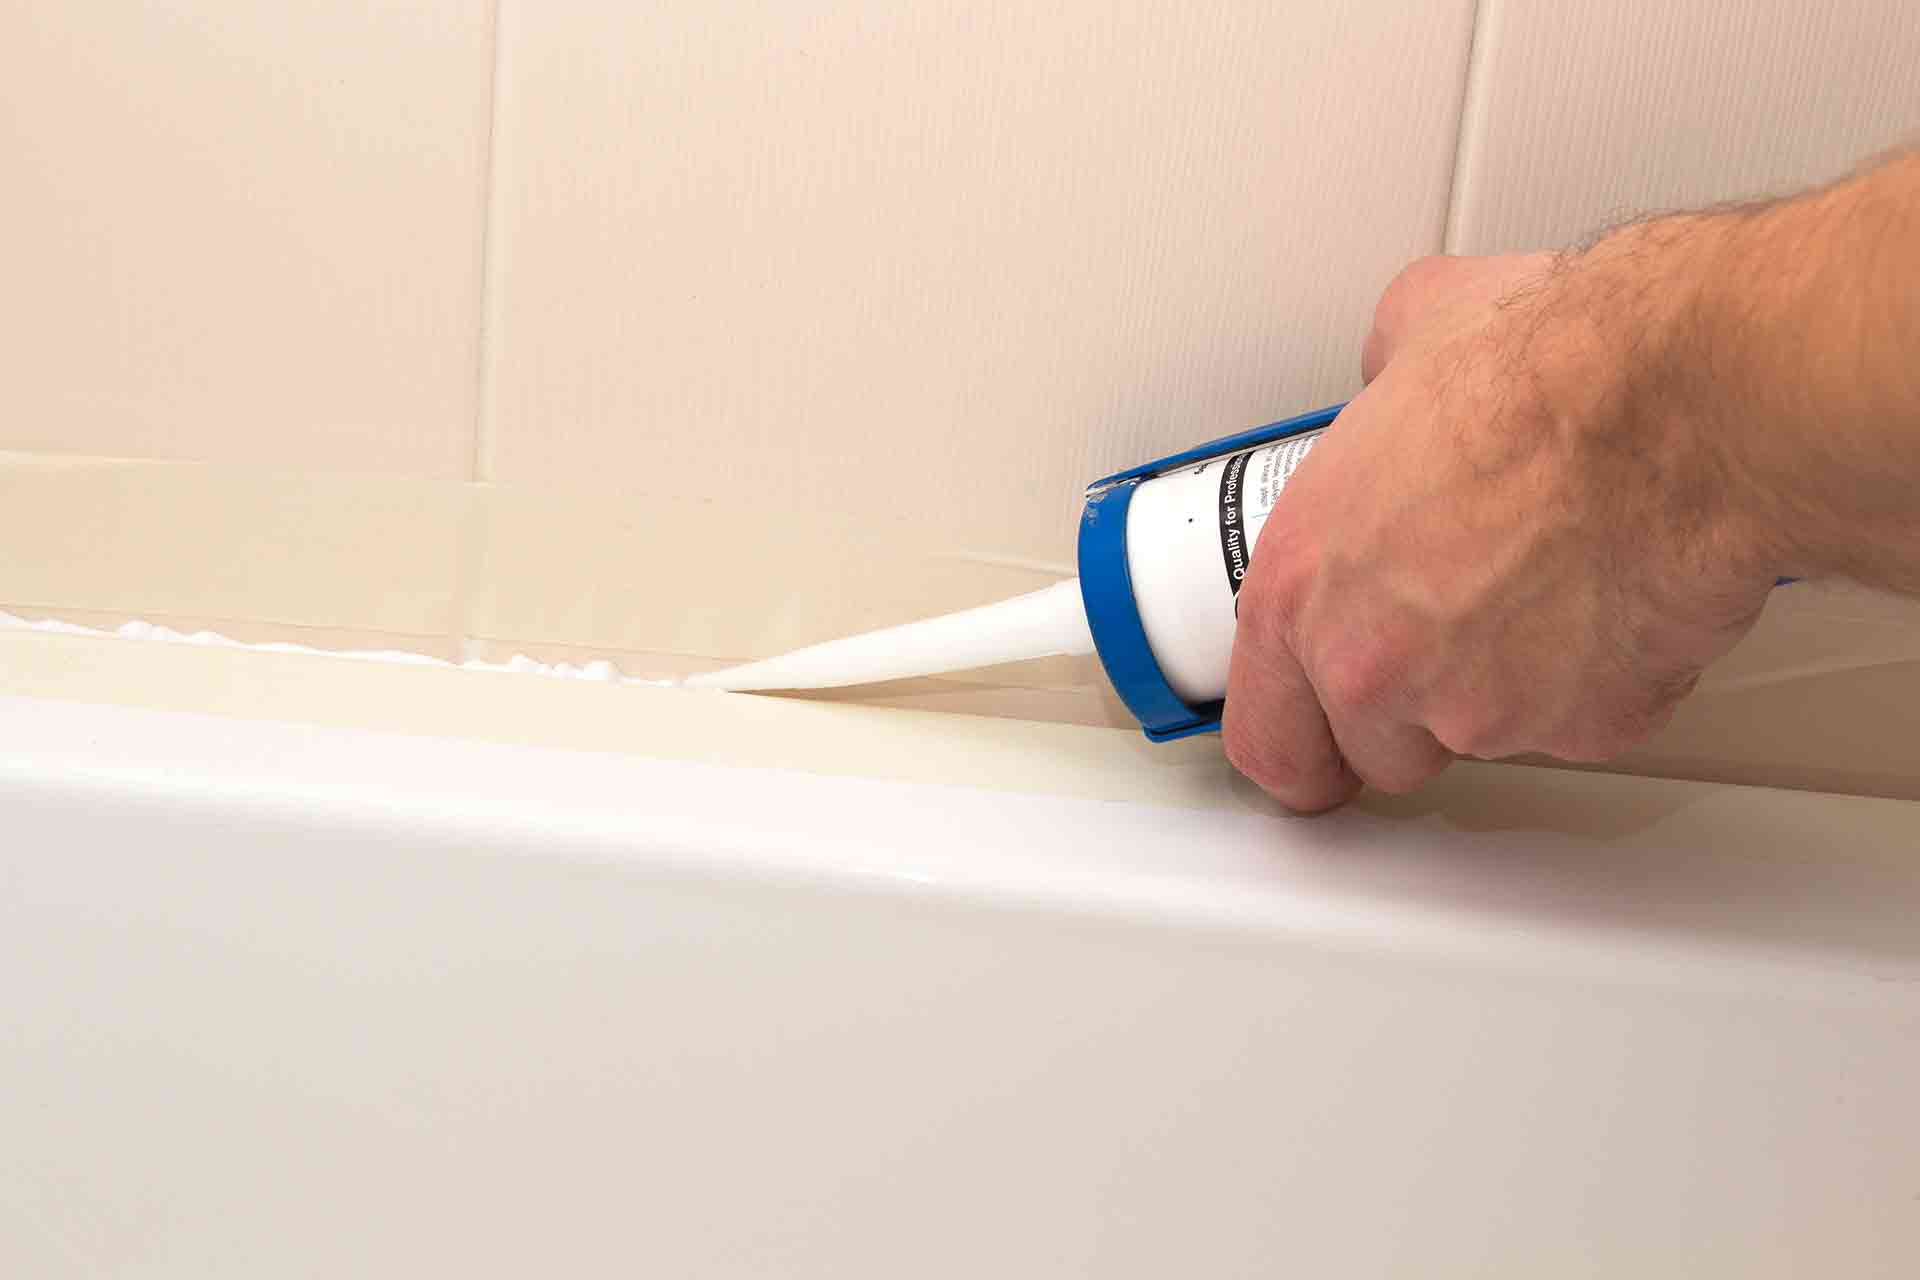
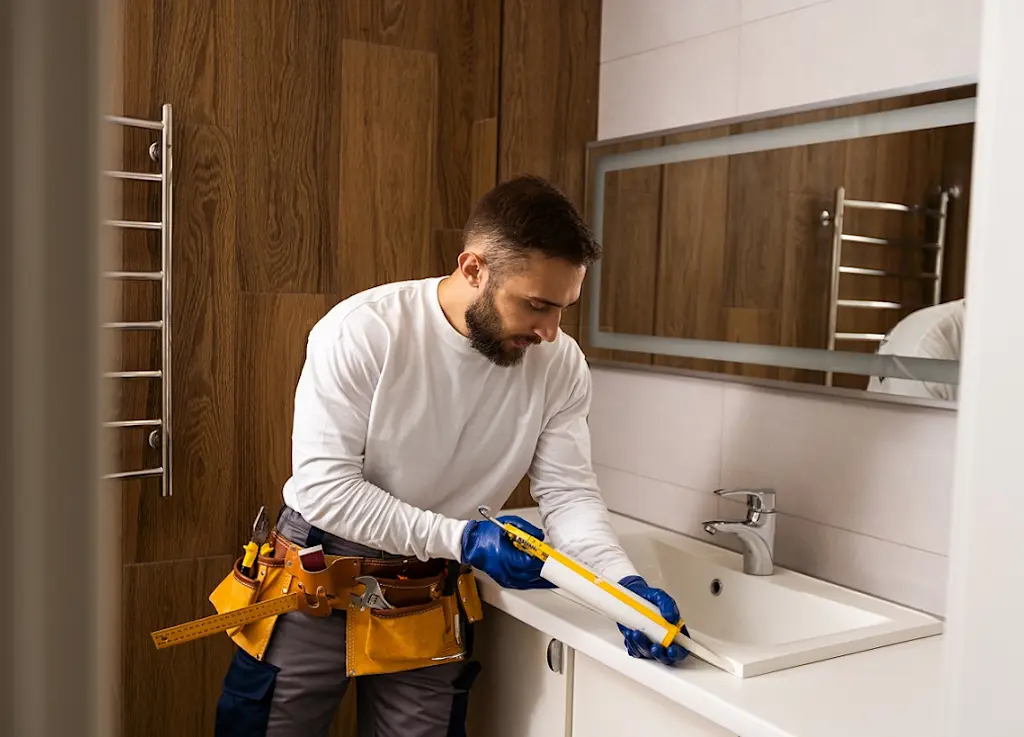
Step four: Apply sealant

Holding the gun at a 45-degree angle to the surface, squeeze the trigger gently, applying even pressure, and move the gun smoothly along the joint to lay down a consistent bead of silicone.
Step five: Clean up and curing
Wet your finger or a finishing/smoothing tool with soapy water (as this prevents the silicone from sticking) then run it along the bead. Press your finger or tool into the joint for a clean, smooth finish and wipe away any excess.
Mastic isn’t the same as silicone sealant. While both products seal gaps and prevent leaks, they’re made from different materials. Silicone sealant is flexible and waterproof. Mastic sealant is better suited for low-moisture areas like skirting boards or windows.
How to apply silicone sealant around baths and sinks
Applying silicone sealant neatly around baths and sinks presents unique challenges. Here are some steps you can follow to overcome them:
Step one: Fill the bath or sink partially
When working on baths or sinks, partially filling the vessel with water weighs it down, ensuring that once it's used, the additional weight of water won't pull the sealant away from the walls.
Step two: Tape the area
To achieve the straightest lines, it helps to apply masking tape above and below the area where the silicone line will be. This is particularly helpful for beginners trying to achieve straight edges.
Step three: Apply sealant
Using the same technique as described earlier, hold your sealant gun at a 45-degree angle to the surface, squeeze the trigger gently and move the gun smoothly along the joint to lay down a consistent bead of silicone.
Step four: Smooth out
Wet your finger or a finishing tool with soapy water then run it along the bead, pressing your finger into the joint for a clean, smooth finish. Wipe away any excess.
Step five: Remove the tape
Straight away after smoothing, carefully remove the masking tape from each side of the silicone line, which will leave a neat, straight line. It's important to remove the tape before the silicone starts to cure to prevent damage to the silicone.
Step six: Empty the bath or sink
Finally, drain the bath or sink and allow it to rise to its natural position. This ensures the silicone remains intact when the bath is filled next time.
Reseal a bath: Cost guide 2026 | Checkatrade
Learn what the average cost to reseal a bath is, what's involved, and how to find a checked tradesperson for the job with Checkatrade.
Tips for a professional-looking finish
Pull the gun towards you, not away: Using it this way makes it easier to keep your hand steady.
Keep constant pressure: The more even the pressure, the more even the result.
Apply in one continuous movement: Avoid stop-starting as much as you can! Continuous movement means a cleaner result.
Don’t overwork the silicone: Apply it, smooth it, and leave it alone to cure.
Remove masking tape immediately: After you've smoothed the sealant, remove the tape straight away to allow for a cleaner finish.
Use a smaller nozzle cut: This allows for cleaner lines and greater control over where the sealant is going.
Why does my silicone sealant look messy?
Not thrilled with the results? Usually, a messy-looking sealant job comes down to one of these:
You've applied too much sealant
You moved the gun too slowly
You used uneven pressure on the gun
You tried to smooth the sealant out after it had started curing
You skipped the masking tape
The good news is that if you're not happy with how it looks, you can remove the silicone sealant easily and try again - or hire a tradesperson with the right skills to do it for you.
How long does silicone sealant take to dry?
Most standard silicone sealants take 24-48 hours to fully cure. For the first 24 hours, you should leave it alone and avoid using the item you've sealed, to stop the sealant from getting wet.
However, some fast-drying sealants can cure much quicker - as fast as 1-3 hours in some cases.
Check the guidance on your chosen sealant product to see its curing time.

Bathroom renovation ideas awash with inspiration
There are a myriad of bathroom renovation ideas online these days, each one offering its take on powder room transformations. However, how do you choose the best course of action for your own humble abode?
Find a trusted tradesperson to apply silicone sealant
If you don't have the time, tools or know-how to complete the job yourself, why not hire a local tradesperson do to it for you? To get started, connect with Checkatrade plumbers working in your area by entering your postcode and comparing your options.
Find a tradesperson to apply silicone sealant

FAQs
Yes, it's perfectly fine to smooth silicone sealant with your finger. Wet your finger first to get a smooth, neat finish, using water or a wet lubricant.
Yes, you'll get the best results from smoothing silicone sealant with your finger if you wet it first - and it'll make clean-up a bit easier too! Use a bit of water or a wet lubricant.
A few tips for keeping silicone sealant neat:
Cut only a small hole in the nozzle
Work by drawing the gun towards you, not away from you
Lay down masking tape to get clean lines (and remove it before the sealant cures)
As soon as it's applied, smooth it with a wet finger or smoothing tool
For most standard silicone sealants, you'll need to wait at least 24 hours for them to cure before you can use the shower. However, some sealants are fast-drying, meaning you can use your shower as quick as 1-3 hours after sealing it.
Either is fine, but you'll usually get the best results if you pull the sealant gun towards you rather than pushing it away from you.
It's possible, but it's always best to remove the old sealant first. Applying new sealant over the old one can make it more difficult to stick, and moisture or even mould can get trapped between the layers.

See the tradespeople we've checked for your job