Blog>How-To Guides>How to build an alcove cupboard and shelves
Last updated: 26 October 2021

How to build an alcove cupboard and shelves
Brighten up your living space and give your home some added storage space with alcove cupboards and shelves! In this guide, we’ll show you a simple way to build an alcove cupboard and shelves unit to give your home more storage.
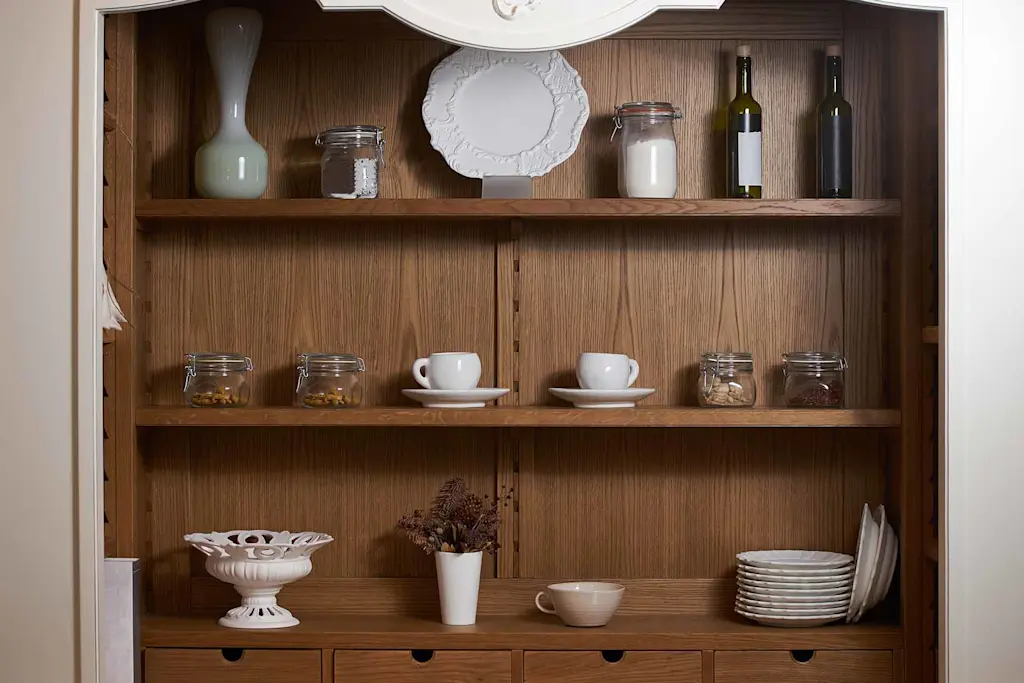
Alcoves can be awkward spaces inside your house. These tricky recesses that seemingly don’t serve any purpose can be a logistical nightmare for organising furniture. But, rather than writing them off as a waste of space, consider making use of them.
Alcoves can be practical places, and with a little imagination, can work in harmony with your property. Whether there’s a dull alcove in your bedroom, living room, or bathroom, alcoves provide perfect pockets of space for shelving and cupboards, creating a centrepiece in any room.
In this guide, we’ll show you a simple way to build an alcove cupboard and shelving unit to give your home more storage.
Alternatively, you can hire a local carpenter your neighbours recommend and find out how much alcove cupboards cost in our handy guide.
How to build an alcove cupboard and shelves
If you’re looking at this, you’ve probably decided to tackle the task yourself. Building an alcove cupboard and shelves unit is a great way to give your living space more storage space.
Tools and materials checklist
MDF wood for the fronts and sides of the cupboard (you can have this trimmed to the desired size by heading to an off-cuts section in any hardware store)
Wood for the frame
Hinges
Handles
Magnetic strips to keep the doors closed
Wood glue
Tack nails
Screws
Safety goggles
Gloves
Biscuit jointer
Step 1: Make the plinth
Work out how many shelves and doors you need and measure the alcove. If possible, we advise making the plinth from redwood timber.
Step 2: Put the plinth into position
Next, you need to put the plinth into position. You'll need to use packers to level it up then use metal brackets to secure it to the floor.
Step 3: Create the plywood feet
Make plywood feet and screw them at various places around the perimeter of the plinth so that when weight’s applied, the weight will be taken evenly around the plinth unit
When the main unit is positioned on the plinth unit, it’ll stick out by roughly 1cm or 10mm.
Step 4: Cover the plinth
Place an MDF cover over the top of the plinth so it covers all the screw holes. And finally, cut away the skirting board at one corner and leave a gap so you can place 6mm MDF within it
Step 5: Construct the base unit
Take two pieces of MDF and cut them to make the unit’s carcasses. Use a biscuit jointer, screws, and glue to assemble the parts (that's the side pieces, top rails, and the base piece). You’ll need to use the base jointer for the base and top rails and then again for the two side sections.
Top tip: You can use bookcase strips to adjust the height of the shelves in the cabinets.
Step 6: Screw it together
Next, route out the grooves for the metal bookcase strips and then apply the glue, inserting the biscuits into the joints. Drill pilot holes for the screws, then screw it all together.
Top tip: To keep the frame square, use clamps to hold the L-shaped brackets. We recommend using biscuit joints to give the unit stability.
Step 7: The finishing touches
Sand the unit down, and then paint to your liking. Place the doors on the cupboard – make sure there’s a one-millimetre gap between the centre of the cupboard and the doors, so the doors don’t stick and can move easily.
Fit the handles onto the doors at the desired height, so they’re functional and aesthetically pleasing. Then paint each surface to complement your room’s colour scheme and to stop the surfaces from spoiling. When building your alcove cupboard and shelves, make sure you protect every surface with sheets.
See the tradespeople we've checked for your job

How to build alcove shelves
Step 1: Measure it right
Measure the alcove then use screws to hold the top and bottom panels in place.
Fit the framework around the wall using 20mm battens, ripped to size, then screw them into the wall.
You can use grab adhesive, depending on the wall type and the anticipated loading of the shelves, especially for hollow walls.
Step 2: Secure into place
Apply the grab adhesive to the top and bottom surfaces of the battens before screwing the shelf panels in place. For example, you can use 18mm MDF on the top and 6mm MDF on the bottom.
You can use plywood for the top surface if you can, but MDF should be fine. Glue and screw in a front-trim fascia then fill in all of the screw holes with a two-part filler. Sand it down and caulk the edges of the shelves for a smart finish -then gloss or prime them.
Don’t trust your DIY skills? Well, you can trust one of our tradespeople. Why not hire a local carpenter your neighbours recommend to help you out?
See the tradespeople we've checked for your job
FAQs
How do you shelve an alcove?
Fix three timber battens, one on each wall, for the shelf to rest on.
Using a spirit level, fit the back batten to the wall first.
If the alcove’s too narrow for your spirit level, you can measure down from the ceiling or up from the floor instead.
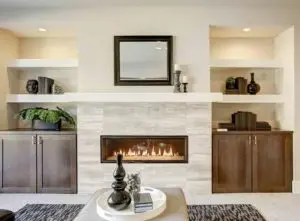
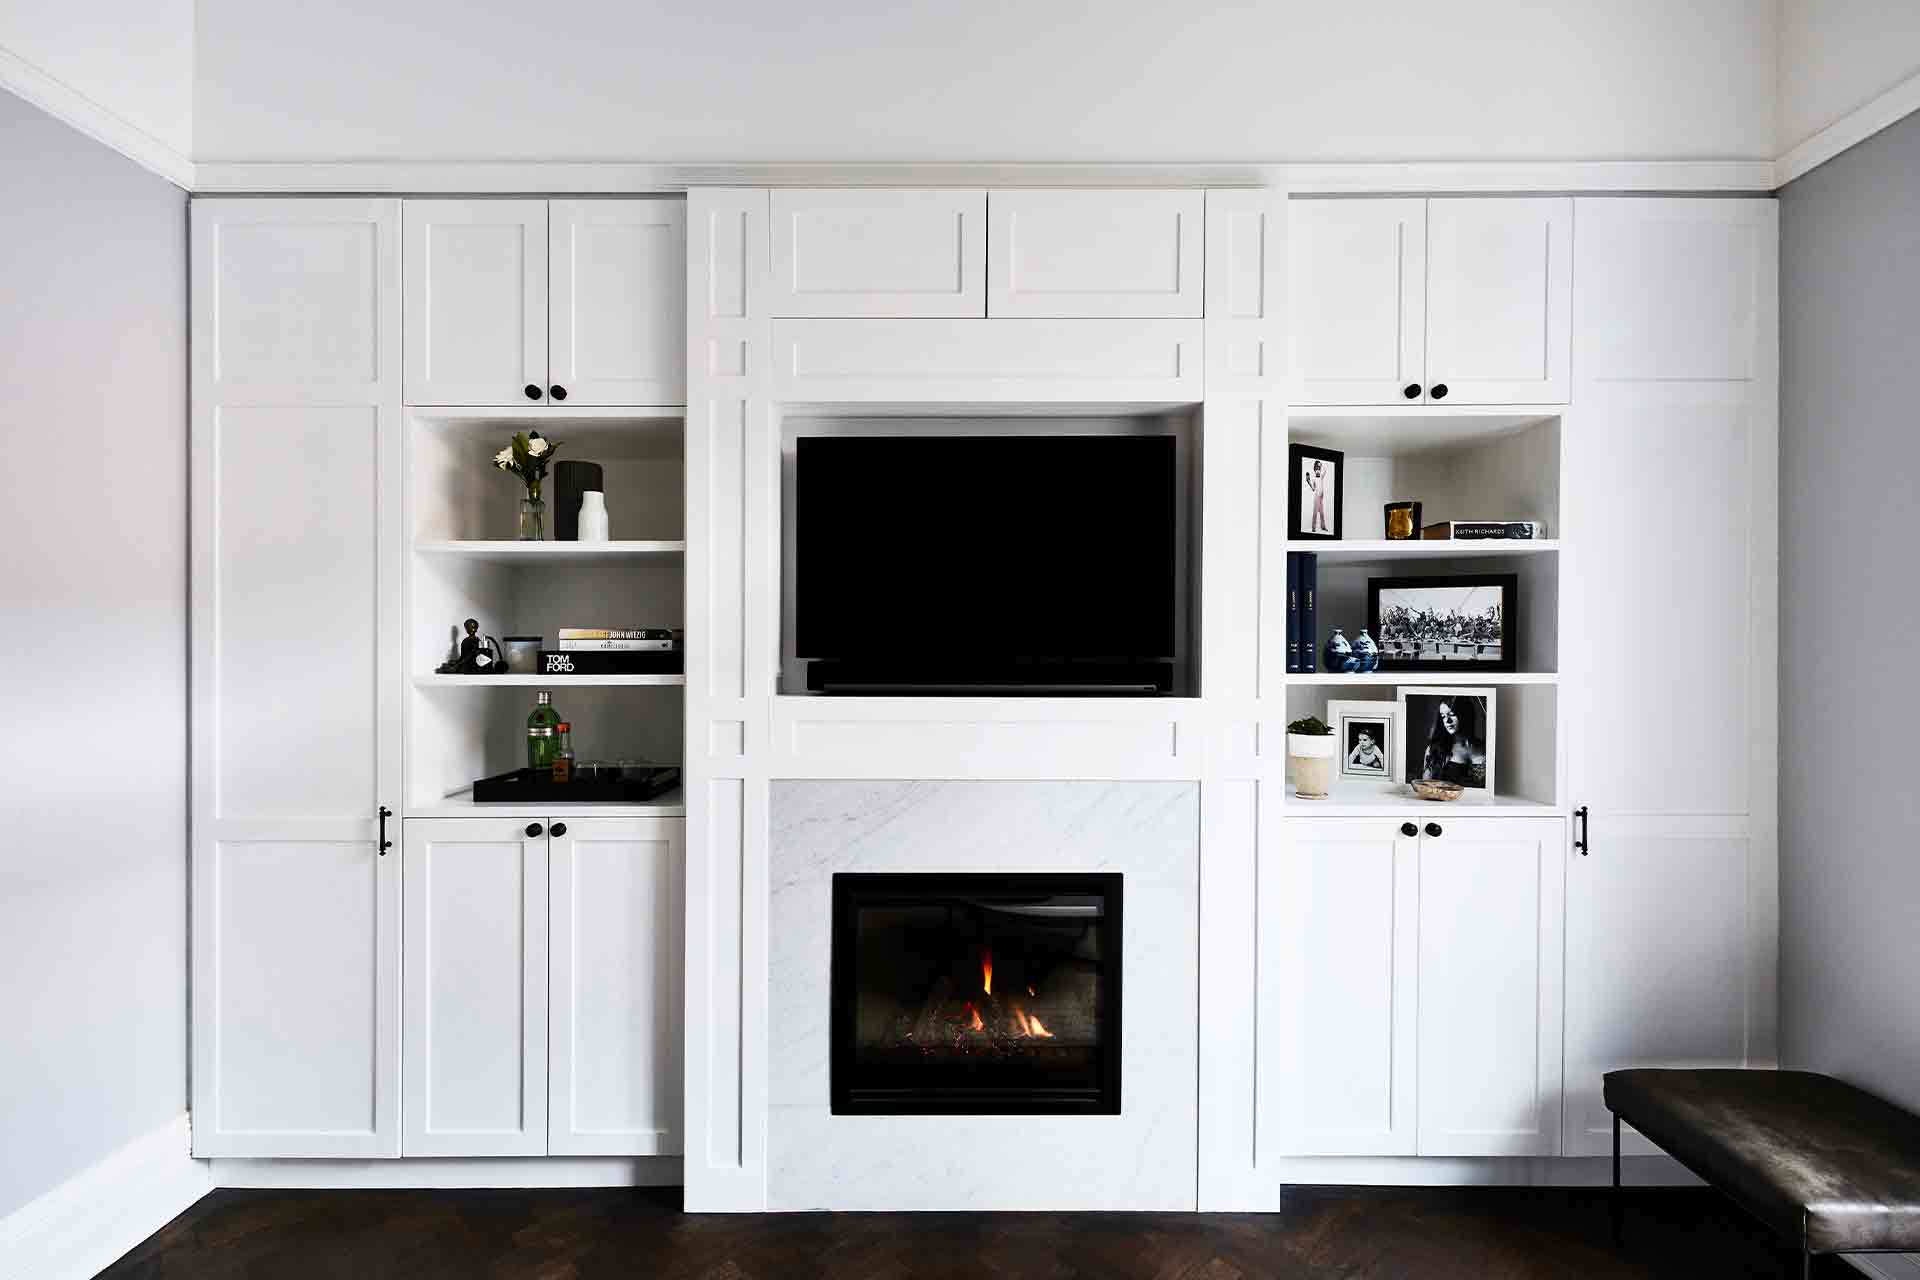
How high should an alcove cupboard be?
An alcove cupboard should be roughly 80cm high. However, if you’re planning to place a TV on top of the alcove cupboard, you’ll need something a bit lower.
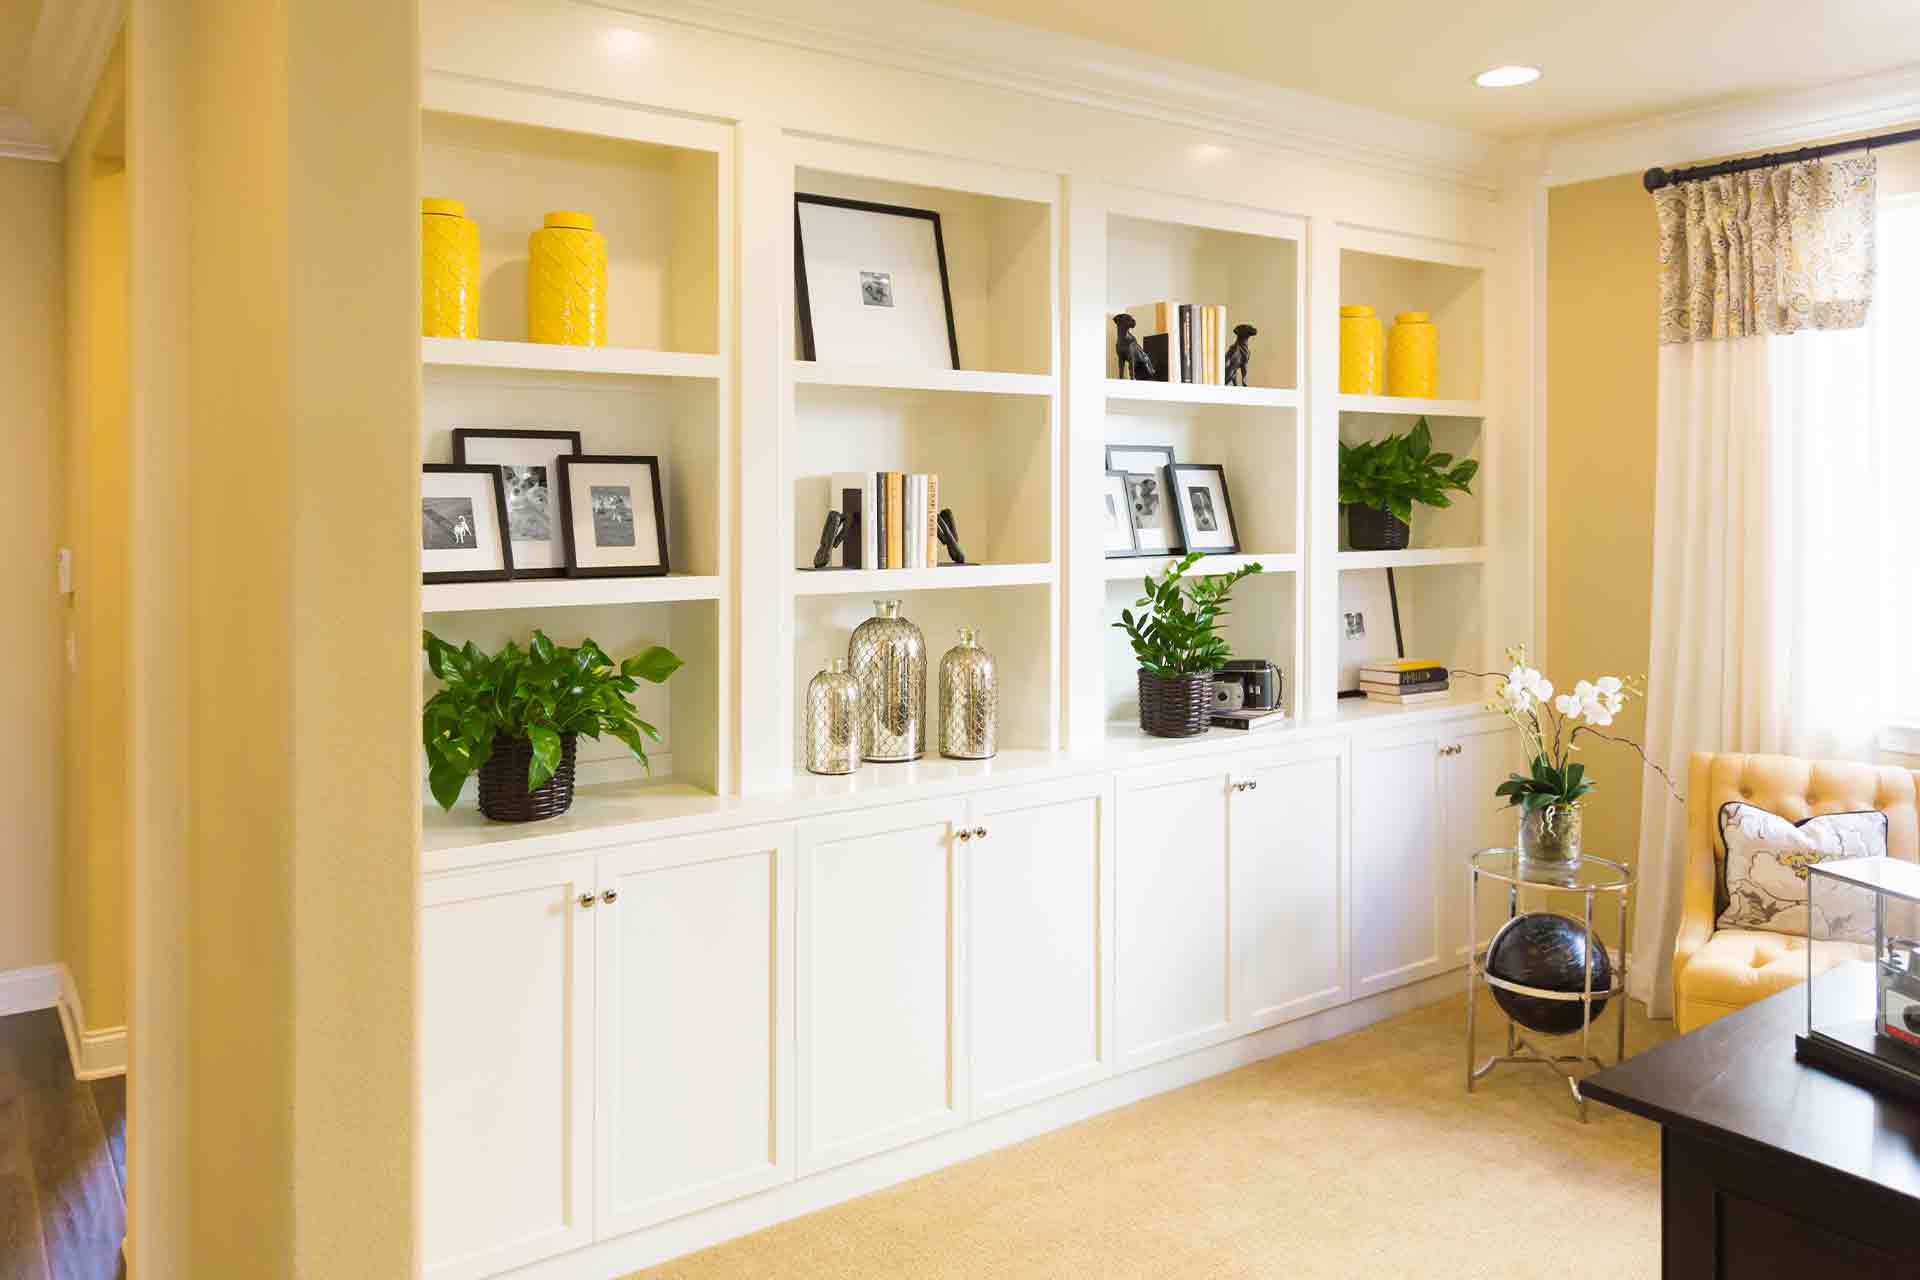
What are alcove units?
Alcove units are made up of a series of cupboards at the case, with shelving above. You can have shelves and cupboards made professionally by a carpenter to give your property more than enough storage.
What's the cost to build alcove cupboards?
Take a look at our alcove cupboard cost guide which reveals all you need to know about how much it'll cost to build them.
See the tradespeople we've checked for your job