Blog>How-To Guides>How to chase pipes into a wall
Last updated: 8 October 2021

How to chase pipes into a wall
Hide unsightly pipework with our how to chase pipes into a wall guide. With tips and guidance on chasing radiator, heating & waste pipes, plus average prices.
We all rely on indoor plumbing to allow us to use water in different rooms of our homes. From radiators to sinks, showers and toilets, these pipes are essential for modern day living.
However, no one wants visible pipes covering their walls and a great solution to this is pipe chasing. For this reason, learning how to chase pipes into a wall is a great skill to learn that can keep your home looking its best.
Never heard of the expression ‘chasing pipes into a wall’? No problem, this guide is full of information and advice, perfect to teach you more about how to chase pipes into a wall. We’ll also be covering how to deal with radiator and waste pipes specifically, as well as giving some average prices.
What is chasing?
Purely for aesthetic reasons most homeowners choose to hide their pipes behind walls. This is called chasing. Resting behind plasterwork, these pipes can still do their job without affecting the appearance of a room.
How to chase pipes into a wall
Whenever you install an item in your home that needs to be plumbed in, you have a few different options for what to do with the pipes.
One choice is to leave them on show, which can work well if you want to create an industrial feel to your home.
Another option is to box them in, which can look great if done professionally.
And your final option is chasing the pipes into a wall.
The process of chasing pipes into a wall isn’t too complicated but does need to be done with care to avoid any accidents. Damaged pipes will cause leaks with potentially disastrous consequences.
Whether it's for pipework or electrical conduit, the method of chasing is the same.
Here's what you need to get started:
Tool list
Safety equipment such as goggles and gloves
Pipe and cable detector
Angle grinder with cutting disc
Chase-cutting tool (optional)
Cold chisel
Copper piping
Pipe clips
Foam pipe insulation or gaffer tape
PVA
Your choice of filler, such as one-coat plaster
5 steps to hide your pipes in the wall
Step one
Before you do anything, check there aren't pipes or cables already chased into the spot you intended to chase by using a pipe and cable detector.
Always cut a chase vertical or horizontally, never diagonally. This reduces the chances of someone driving a nail into cables or pipes in the future. If making a vertical chase, the chase should not be deeper than a third of the wall's thickness. If it's a horizontal chase, the chase should not be deeper than a sixth of the wall's thickness. This is because a horizontal chase weakens the structure of the wall more than a vertical chase.
Top tip: If you are going to chase two sides of the same wall, ensure the chases are in different positions and not back to back, as you could end up cutting right through the wall.
Step two
We recommend marking out your chase lines with a pencil and tape measure so you can create a straight chase, otherwise, you could create an unsightly mess of your walls. Ensure the width and depth of the chase will fit your pipework with enough space for filler over the top.
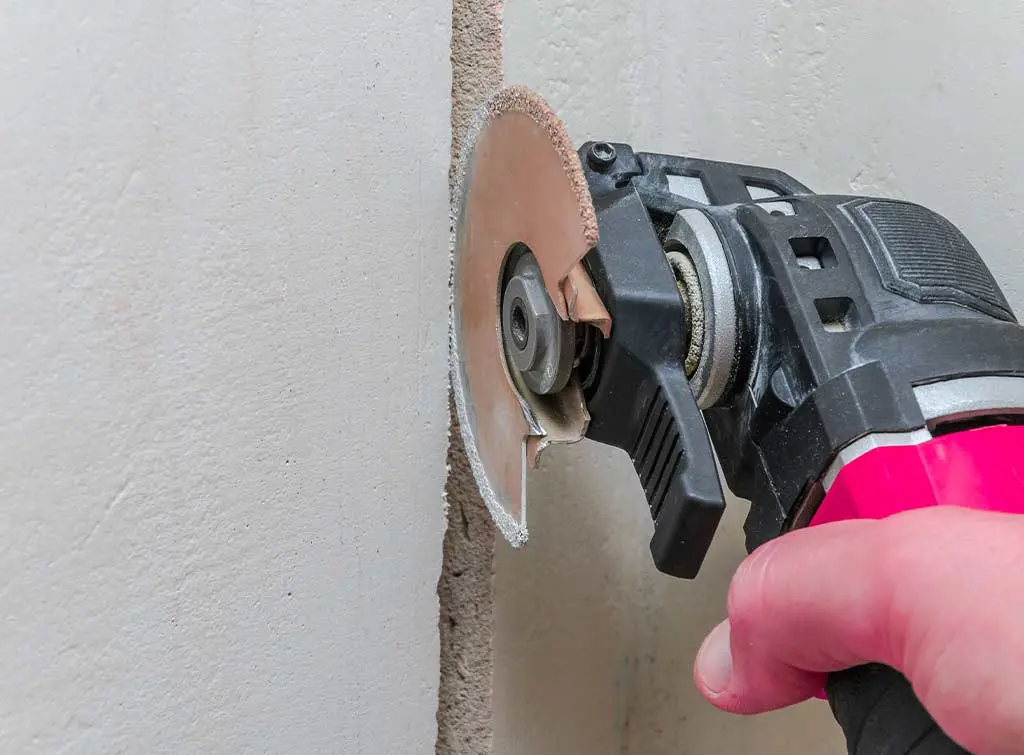
Using your angle grinder, set the cutting discs to the right depth before running the grinder up and down, or across, the two parallel cuts. If your grinder allows you to plug a vacuum hose into the end, this will help clear some of the dust, but be sure to take safety precautions.
Top tip: Think safety and use gloves and goggles when using an angle grinder. Be extremely careful when operating the power tool as it could cause injury to yourself or create an untidy finish on your walls.
Step three
Once the chasing is cut, it's now a case of knocking out the waste material between the parallel lines using a cold chisel, which shouldn't be too hard as long as the chase isn't too wide. For this stage, most professionals will have a chase-cutting tool that can be fixed to the end of an electric drill to make this process easier and quicker.
Top tip: Despite most chase-cutting tools being fitted with dust extraction, it's still important to take safety precautions for you and your property, such as covering the floor and furniture in the area and wearing goggles.
Step four
Once your chased area is ready, place your pipework into the chase and as it is rigid, you can hold it in place with a few pipe clips screwed into the wall. The pipework also needs to be insulated with either foam covers or gaffer tape so they don't come into contact with the filler that is applied.
Typical mistakes people make here: Realising that the chase they've cut isn't deep enough for the pipe, insulation and clip, which sticks out past the surface of the wall. Also not choosing the right gaffer tape to insulate the pipes. It should be a tape that is strong, durable, resistant to high temperature, have a good thermal insulation effect, and can be at least moisture-proof.
Step five
Now it is time to cover up your chase and pipework with the filler of your choice, such as One Coat plaster. If you're unsure what filler is best for your walls and the finish you require, seek advice from a professional handyman or plasterer.
Prepare the chase first by clearing it of loose dust and debris, and wetting the back and sides with clean water. Then apply a clear coat of PVA onto the chased walls and pipework. This will enhance the adhesion of the filler. To prevent the filler from sagging, apply in layers.
Where people trip up: If using One-Coat plaster make sure you wet the chase really well before applying it, otherwise the plaster will dry out and crack badly if it doesn't receive enough moisture.
Quick tips for how to chase pipes into a wall:
Check for pipes or cables before you start cutting into any brickwork. A small amount will need to be cut to allow room for the pipes.
Ensure the cut-out channels are either horizontal or vertical; they should never be diagonal.
If using copper pipes, they can be installed in the newly formed channel. Alternatively, if you plan to house copper or plastic pipes, these should be installed in a plastic channel or conduit.
After installation, the wall can be plastered to create a smooth surface for decorating.
Top tip: You can minimise dust by using a vacuum extraction tool. One of the best products for this is the Hilti wall chaser.
See the tradespeople we've checked for your job
How to hide exposed pipes
If you have exposed pipes that can't be chased into a wall, take some tips from these alternative ways of disguising them:
Conceal them behind an item of furniture
If the pipes are near a window or door, use a length of curtain to cover them
Add a worktop above a horizontal pipe
Box them in to create a neat, streamlined effect
Paint the pipes the same colour as the walls to camouflage them
Make a feature of the pipes by polishing them and complementing them with other industrial features for a trendy look
How to hide exterior pipes
Similarly to exposed indoor pipes, these creative ways will help disguise exterior pipes:
Box them in and paint the boxing the same colour as the house
Paint the pipes themselves the same colour as the render of the house
Fix a trellis in front of the pipes and train climbing plants up the trellis to disguise them
Pop an ornamental tree in a large pot in front of the pipes
See the tradespeople we've checked for your job
Building regulations for chasing pipes into a wall
There are a few regulations that apply when you chase pipes. These are in place for your safety and can help to prevent any issues down the line.
Ensure your newly chased pipes comply with the following standards:
Any chases that are vertical cannot be made any deeper than 33% of the wall’s thickness. For example, if your wall is 100mm thick, your chase cannot be more than 33mm deep.
Any horizontal chases also have depth restrictions. Unlike vertical chases, these can’t be more than a sixth of the wall’s depth. For example, if your wall is 100mm thick, your chase cannot be more than 16mm deep.
Chasing different types of pipes
Chasing radiator pipes into a wall
When installing a radiator, it’s a good idea to chase the pipes to keep your home looking tidy and spacious. Plus, radiator pipes can get hot which could be a hazard for small children and animals. Chasing radiator pipes into a wall can be done as described above but you’ll need to add hair felt insulation around the pipework to minimise heat loss.
You should also avoid pipework fittings within the chased section where possible. This is because any future leaks will require a plumber to drill through the plastered wall. It’s worth noting that there have been examples where copper pipes corrode when in contact with high sulphur content concrete.
If you suspect that your new pipework will sit within a concrete channel, ensure you ask a tradesperson to wrap the copper in a protective layer.
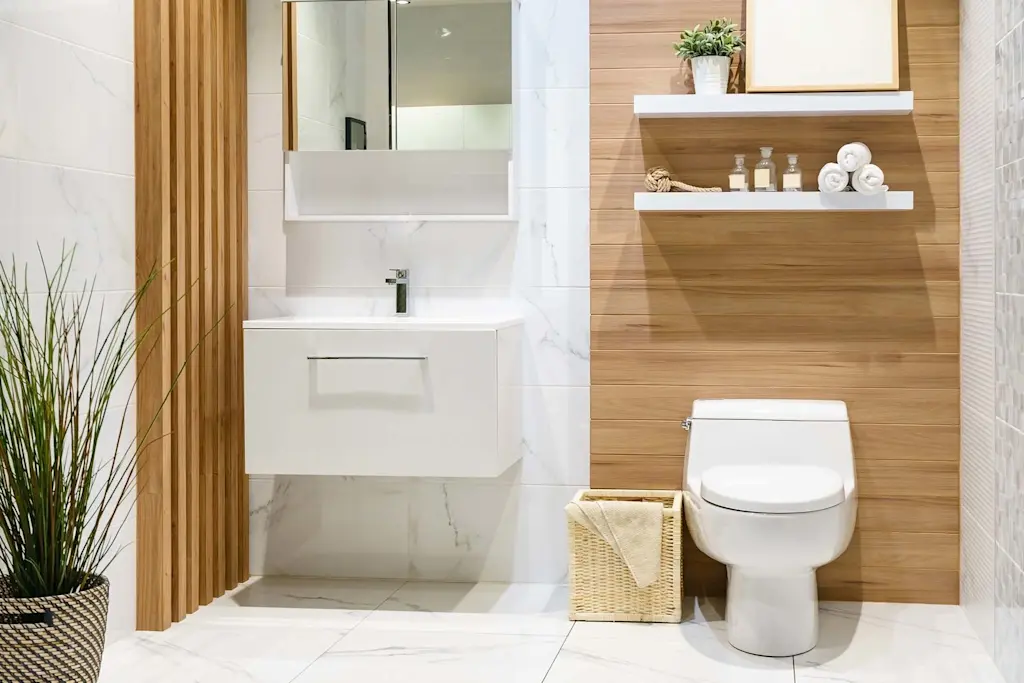
Chasing pipes into a wall for showers
Chasing pipes into a wall for a shower can be done in a similar way as described in our ‘chasing pipes into a wall’ section.
Top tip: Take a picture of the pipework that has been installed in your brickwork before you plaster the wall. That way you’ll know where your pipes are hidden in case you need to drill into the wall in the future.
Chasing a waste pipe into a wall
Waste pipes run from your sinks, baths, showers and appliances, transporting used water back to the sewers. Chasing waste pipes into a wall is not usually done as waste pipes are often quite large in diameter. The issue here is that every piece of brick you remove from your walls will reduce its structural strength, so wider pipes can cause issues.
The preferred way for dealing with waste pipes is to box them in. This is because following building regulations, waste pipes should not sit in a cavity. Generally, chasing a waste pipe into a wall should only be done if the room is using the dot and dab method with plasterboard for the final finish.
Chasing heating pipes into a wall
Similar to radiator pipes, chasing heating pipes into a wall needn’t be complex. This can be done following the guidance in our ‘chasing pipes into a wall’ section. But, remember to reduce heat loss by using hair felt insulation around the pipes.

Cost to chase pipes into a wall
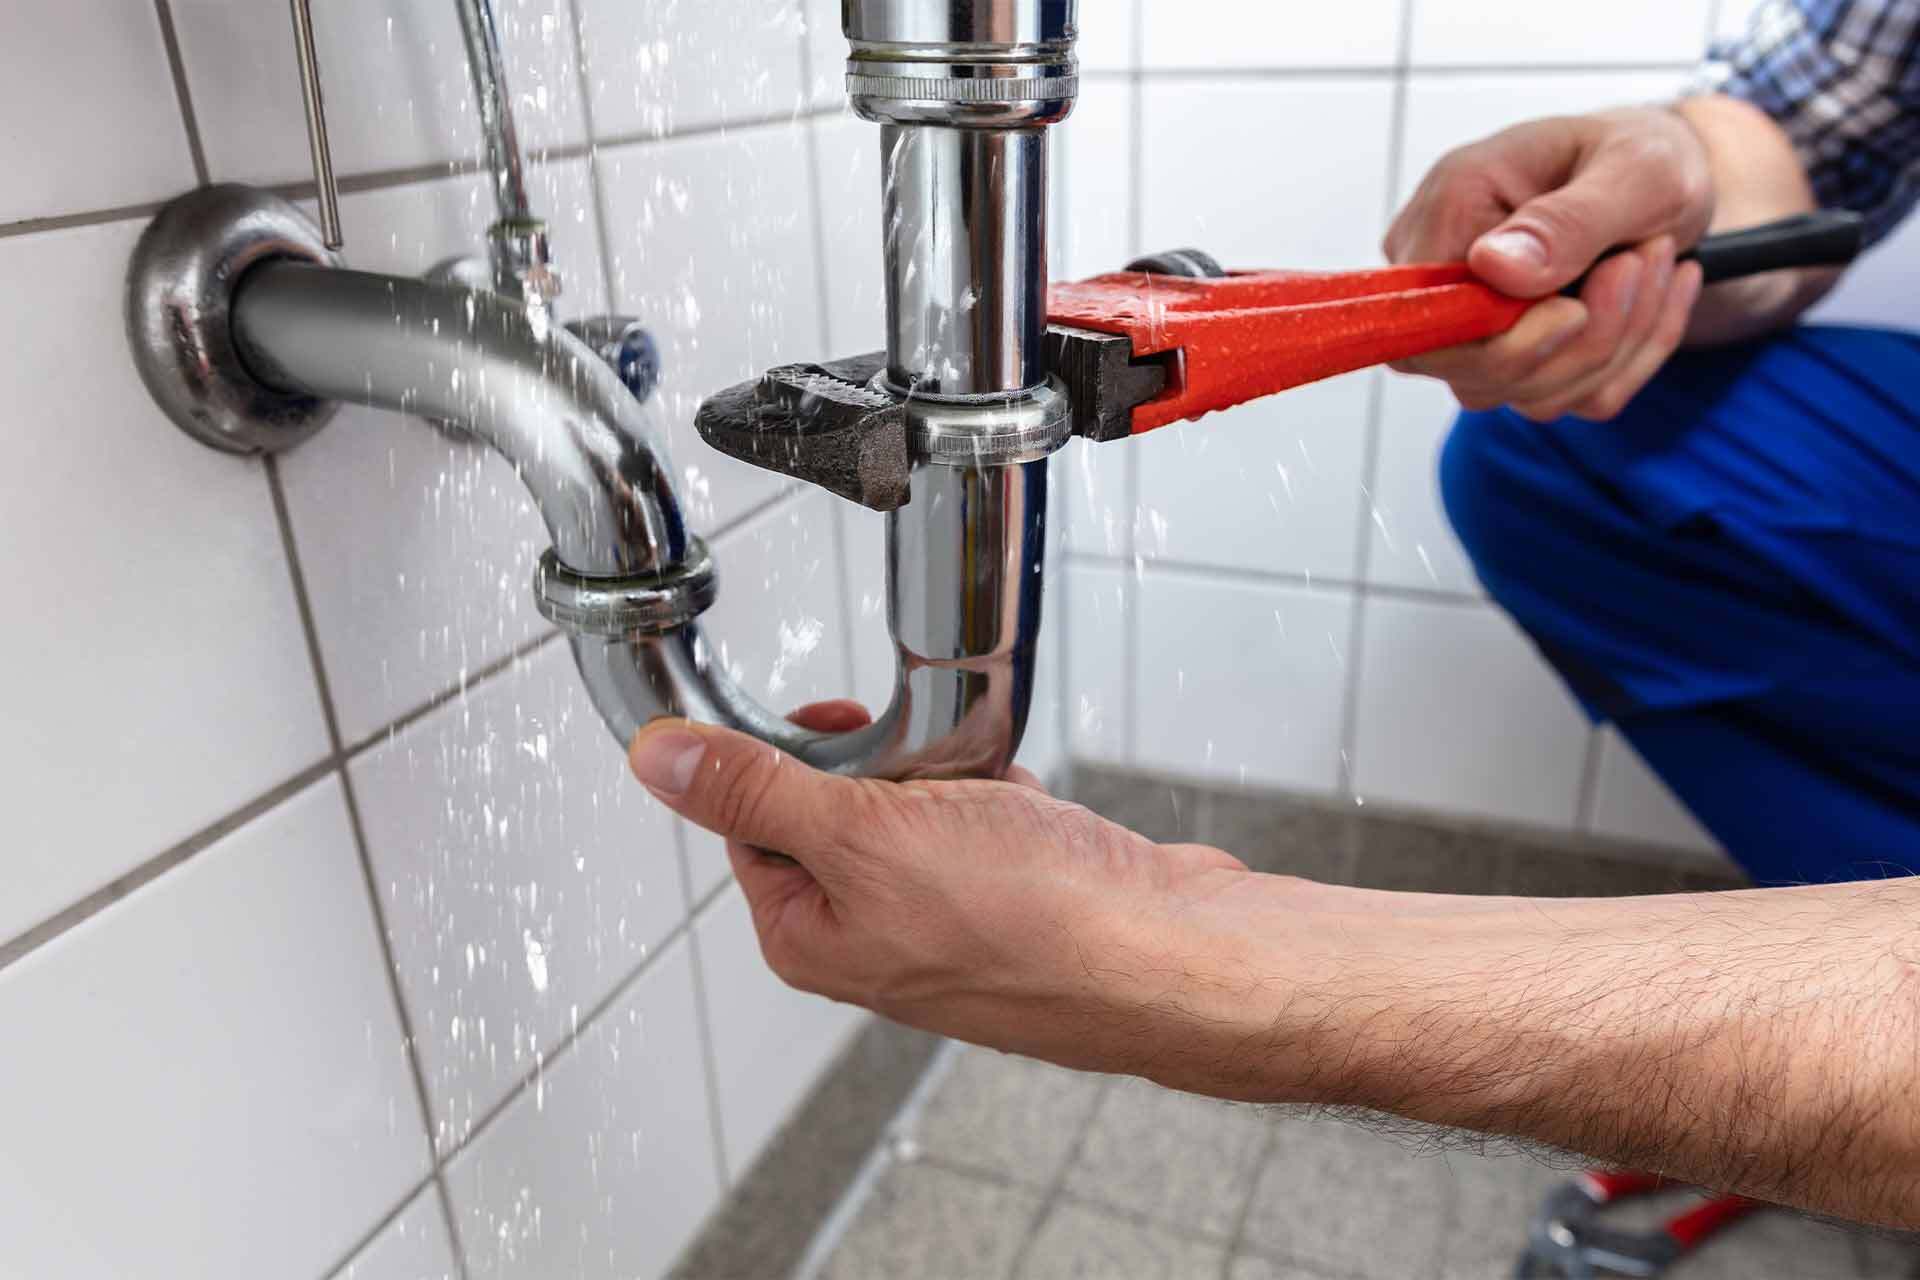
If you’re not confident on how to chase pipes into a wall, your best option is to hire a professional to do the work for you. What’s more, you can ask questions and may even learn how to do the work yourself for future jobs. You’ll need a plumber for this project.
As a general guide, you can expect to pay £10 per m2 for a 35mm deep, 50mm wide channel in brickwork. Of course, this will exclude the cost of installing the pipework and plastering the wall.
Considering calling in a professional?
It’s never worth trying to muddle through a job, especially if you’re working with your home’s plumbing and the structural integrity of your walls. Remember, any mistakes could cause untold damage to your home and injury to yourself. You’ll need to use the right tools as well as personal protective equipment which can be costly.
A better option is to hire a plumber you can trust to do a great job. Searching for a plumber is free and all you need is your postcode to connect with a range of checked plumbers used by your neighbours. All our members are qualified and professional, plus you can even view examples of their past work on their profile pages.
In a rush? Use our request a quote feature and we’ll find three local plumbers for you.
If you need further advice or tips, the HomeOwners Alliance has a range of home improvement guides including guidance on finding the best tradesperson for your project.
How much does plumbing installation cost?
This really depends on the type of plumbing you’re having installed. For example, it’ll be more expensive to install a central heating system than to just plumb in a sink. It also depends on how much of your pipework will be changed, whether waste pipework is needed and how easy it is to access your home.
If you’re curious about the average costs of plumbing in your home, our plumbing installation cost guide is really handy. It covers plumber’s hourly rates and the factors that affect the price you pay. It costs on average £1,675 to plumb in a bathroom.
See the tradespeople we've checked for your job