Blog>How-To Guides>How to cut plastic lattice fencing
Last updated: 24 September 2021

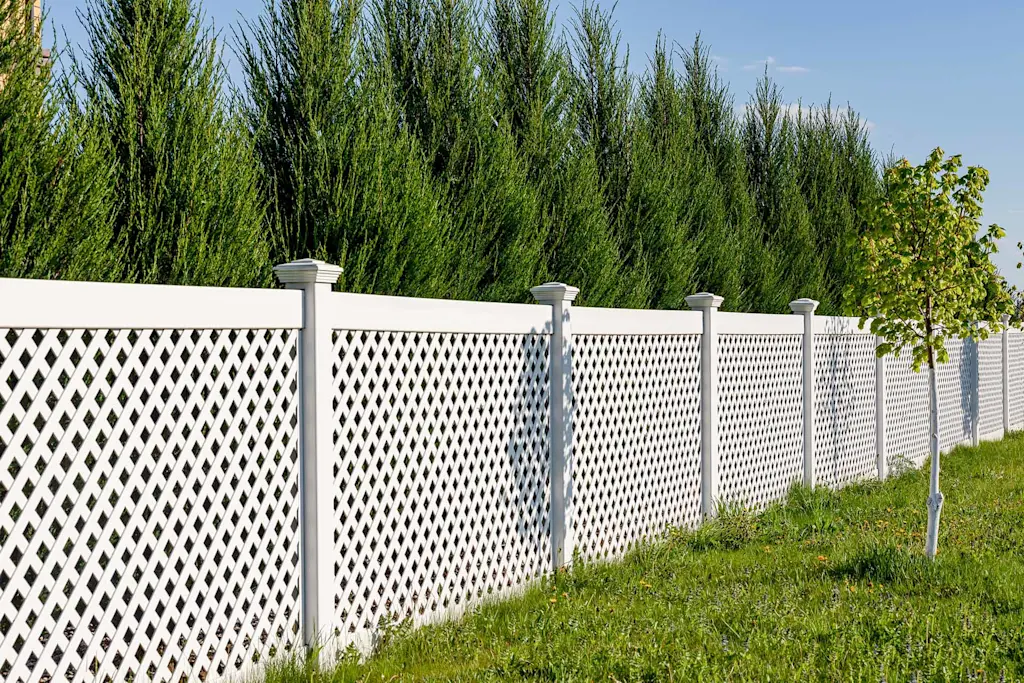
How to cut plastic lattice fencing
If you're researching how to cut plastic lattice fencing, you're either installing or repairing a fence and need some guidance on how to do this easily and safely. This guide is going to take you through this process step by step.
If you're researching how to cut plastic lattice fencing, you're either installing or repairing a fence and need some guidance on how to do this easily and safely.
Thankfully, this guide is going to take you through the process step by step. So, read on for our top tips and expert guidance.
Don't forget to check out our how to build a fence guide for more handy DIY advice.

How to cut plastic lattice fencing
Tools you’ll need for the job
To make short work of your plastic lattice fencing, you'll need the following:
Safety equipment
Pencil
Ruler
Fence clamps
Circular saw
Step 1: Measure the area
If you're installing a new lattice fence, it's worth cutting it to size beforehand. To do this, measure the area of your project and write down the W, H and L measurements. You can then either buy the same size lattice panels or you can cut your existing plastic lattice panels to size.
Top tip: Leave around 0.25 inches on either side of the lattice to allow for adverse weather conditions that can contract and expand the plastic.
Step 2: Make allowances for frames
If you're using frames, make sure the lattice measurements take into account the framing materials, caps, and dividers. Use the following calculation as an example:
Project space: 6ft wide (72 inches) + Buffer: 0.25 inches = 72.25 inches
Subtract the frame thickness: 6 inches.
Width of lattice to be cut: 72.25 - 6 = 66.25 inches.
Step 3: Make allowances for the height of the lattice fence
For plastic lattice fences that are being used as garden borders, add around 2 inches to the height. This allows them to be secured in the soil, keeping them firmly in place.
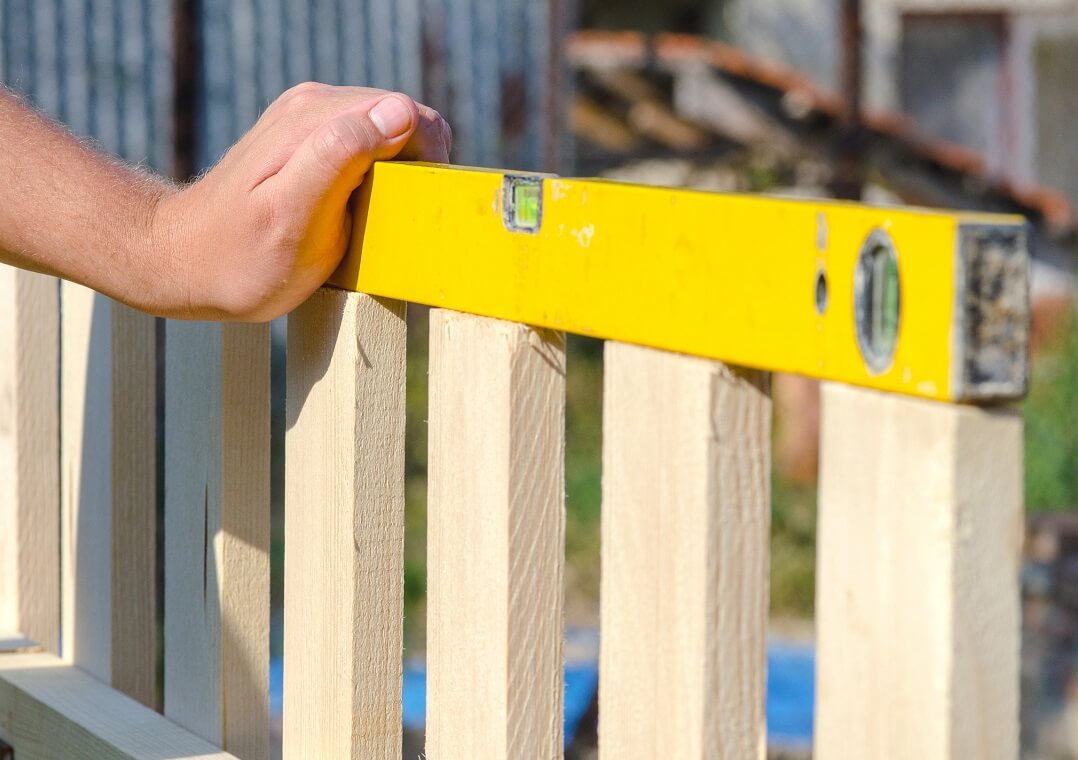
Step 4: Mark where you need to cut the lattice
Now your measurements are set, it's time to put on your protective equipment and get to work. Take your pencil and ruler and draw a straight line where the lattice needs to be cut.
Top tip: Remove the staples and nails that the pencil touches. This reduces the risk of spring back and makes cutting the lattice easier.
Step 5: Line up the lattice
Once your lattice is prepared, place it on a sturdy, flat surface. Line up the lattice so the pencil line is about 3 inches away from the edge of your flat surface and secure with the clamps. This will stop your lattice from moving while you make the cuts.
Step 6: Cut the lattice to size
Take your circular saw and set the blade half an inch wider than your lattice's thickness. A vinyl cutting blade will be best for this job. However, a reciprocating saw will also work. (Just don't use anything designed for wood).
Once you're ready to make the cuts, squeeze the saw's trigger and slowly follow the pencil line.
Hurrah! You've now cut your plastic lattice fencing.
Note: If you don't know how to competently use a circular saw, we highly recommend hiring a professional.
See the tradespeople we've checked for your job
How to cut lattice without a saw
If you don't have a cutting saw, then we recommend using a handheld wire cutting tool. It will take you longer; however, it's a more precise finish and far less dangerous!
FAQs
What is the best tool to use to cut plastic lattice?
A circular saw with vinyl-cutting blades is your best bet. Otherwise, a good pair of fence cutters will do the job.
How do you cut plastic lattice?
You either hire one of our experts for a professional finish or you attempt to do it yourself following our step-by-step guide above.
Should I hire a professional?
We always recommend hiring a professional for jobs that involve tools like saws. However, it's also worth investing in a fencing expert to make sure the finished result is long-lasting and durable.


See the tradespeople we've checked for your job