HOW-TO GUIDES
How to fill holes in a wall
Updated 05/26

By: Content Team
Reviewed: Laura Macdonald

A hole in the wall has a way of catching your eye every time you walk past it. Maybe it’s from an old picture hook, a door handle, a wall plug that pulled out, or something a bit more dramatic.
The good news is that lots of small holes can be fixed as a DIY project with filler, a filling knife and a little patience.
Larger holes, deep cracks or damaged plasterboard need a bit more care - and sometimes a professional eye.
This guide explains how to fill holes in a wall, what to use for different types of damage, and when it’s worth getting help from a plasterer or handyperson.
What type of wall repair you need
How to fill small holes and cracks
How to repair deeper holes in plaster
What to do with holes in plasterboard
When brick or structural repairs need professional help
Common mistakes that can make repairs more obvious
What does filling holes in a wall involve?
Filling holes in a wall generally involves cleaning out the damaged area, applying the right filler or repair material, letting it dry, and sanding it smooth so the wall is ready for painting or decorating.
Small holes are usually quite straightforward to fix. Larger holes tend to need more support behind the repair, especially if it's a plasterboard wall.
The aim is to create a repair that sits flush with the wall, rather than leaving a bump, dip or rough patch that shows through once painted.
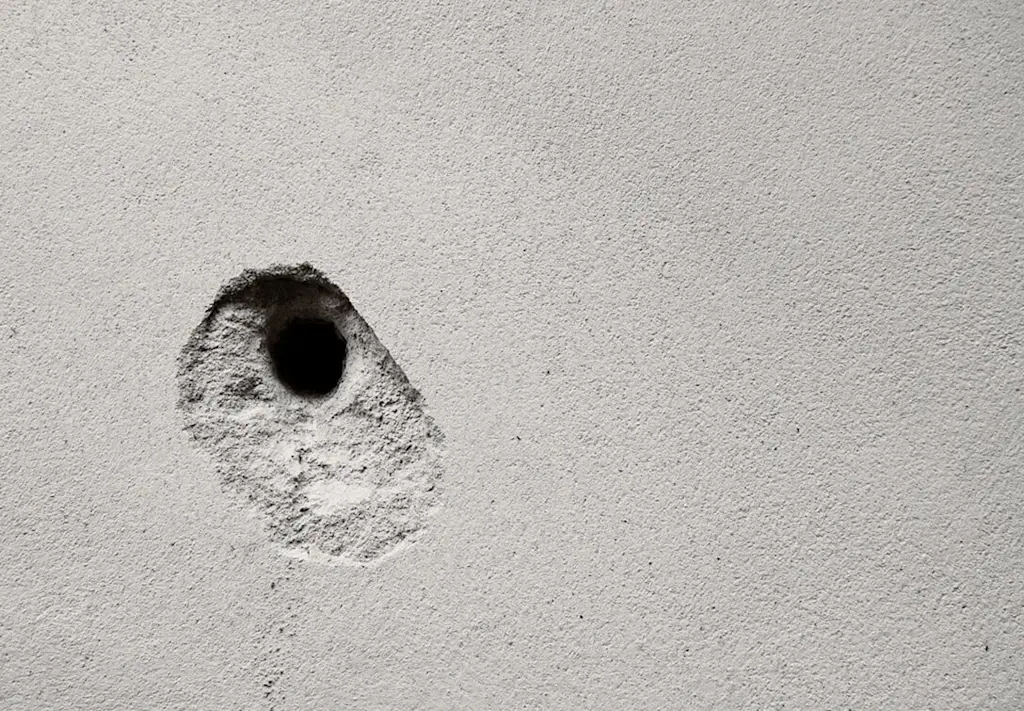
What type of hole are you repairing?
Before you reach for the filler, it helps to work out what sort of repair you’re dealing with - mainly the size and type of hole.
As a rough guide:
Small holes: picture hooks, nail holes, screw holes and minor dents
Medium holes: larger fixings, wall plugs, small areas of broken plaster
Large plasterboard holes: damage that needs mesh, backing support or a plasterboard patch
Brick or masonry holes: deeper exterior or structural repairs that may need mortar
Cracks wider than 5mm: can sometimes point to movement or a structural issue
If a crack is wider than around 5mm, keeps growing, or runs diagonally from a door or window, it’s worth getting professional advice before filling it. Filler can hide the symptom, but it won’t fix any possible movement behind the wall.
What should you use to fill a hole in a wall?
The best filler depends on the size of the hole and the surface you’re repairing. These are the standard options:
Ready-mixed wall filler: Best for small nail holes, screw holes and shallow dents. It’s easy to use and usually sands down well
Powder filler: Useful for deeper holes because you can mix it to the consistency you need
Repair plaster or patching plaster: Better for larger damaged areas of plaster where ordinary filler may shrink or crack
Repair mesh or scrim tape: Useful for medium holes or cracks where filler needs extra support
Plasterboard patch: Best for larger holes in plasterboard where the damaged section needs cutting out and replacing
Mortar: Better suited to holes in brick or masonry walls, especially outside
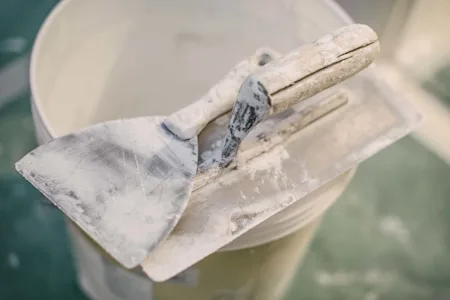
Tools and materials you’ll need
Once you get going with filler or plaster, and it starts drying, you want to keep working at a steady pace. Having everything ready nearby helps.
For most small wall repairs, you’ll need:
Wall filler
Filling knife or putty knife
Medium and fine sandpaper
Damp sponge or cloth
Dust sheet
Paintbrush
Gloves
Face mask and eye protection for sanding
For larger holes, you may also need:
Repair mesh or scrim tape
Plasterboard offcut
Cable and pipe detector
Tape measure
Pencil
Straight edge
Plasterboard saw or utility knife
Drill and screws
Timber batten or backing support

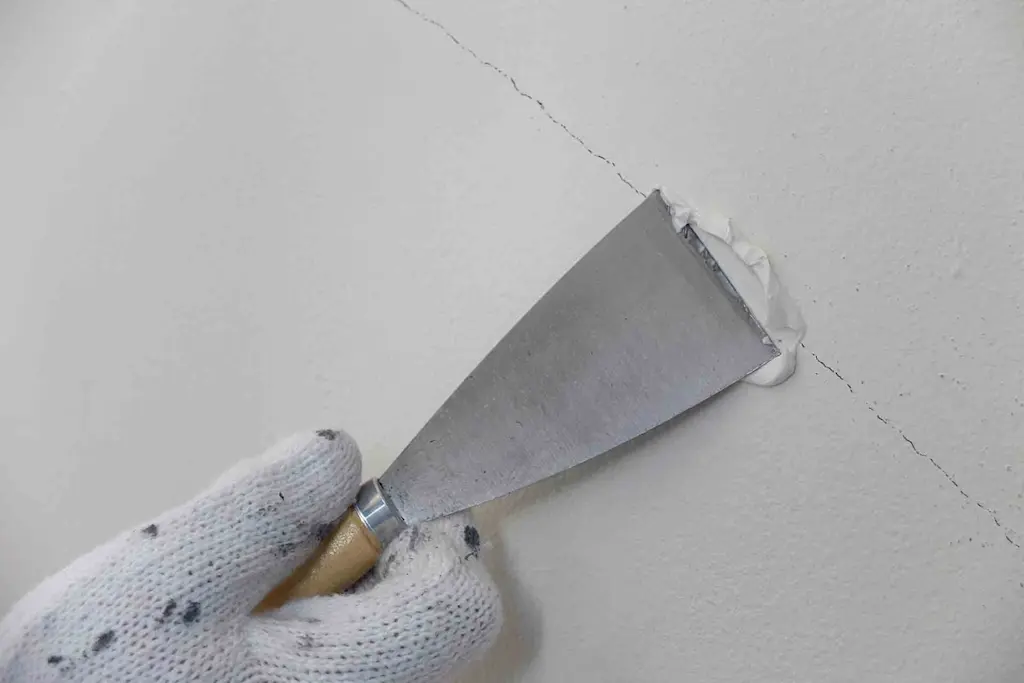
How to fill small holes in a wall
Small holes are the easiest to fix, especially if they’re from picture hooks, nails or screws.
Step 1: Clean the hole
Start by removing any loose plaster, dust or debris. A small brush, vacuum nozzle or damp cloth can help clear the area effectively.
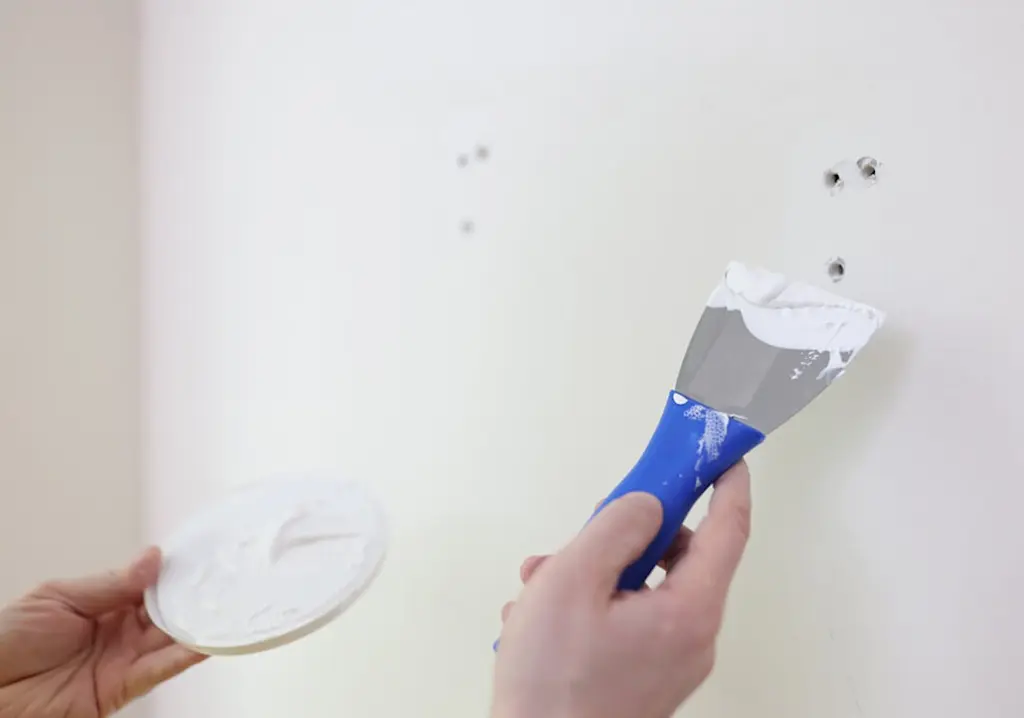
Step 2: Apply filler
Then, use a filling knife to press the filler into the hole. Push it in firmly rather than just spreading it across the surface.
Leave the filler very slightly raised, as it may shrink a little as it dries.
Step 3: Let it dry
Follow the drying time on the filler packaging. Some quick-dry fillers set fast, while deeper repairs take longer.
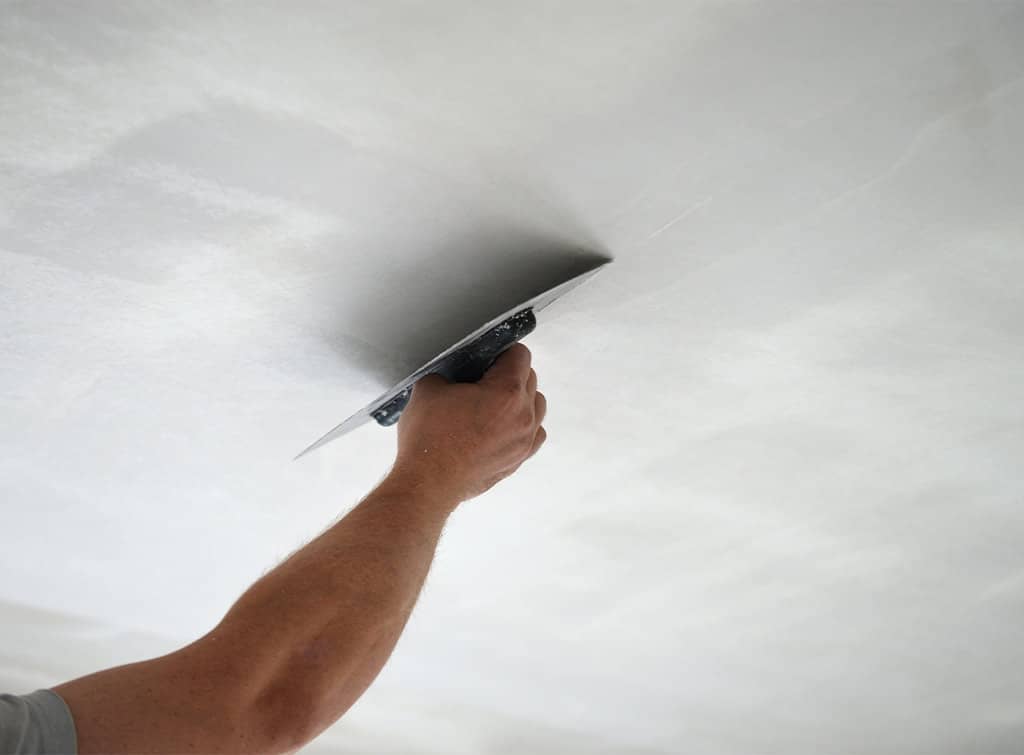
Step 4: Sand smooth
Once the filler has dried, sand the area until it sits flush with the wall.
Run your hand over the repair as well as looking at it. Your fingers often spot bumps and dips that your eyes might miss.
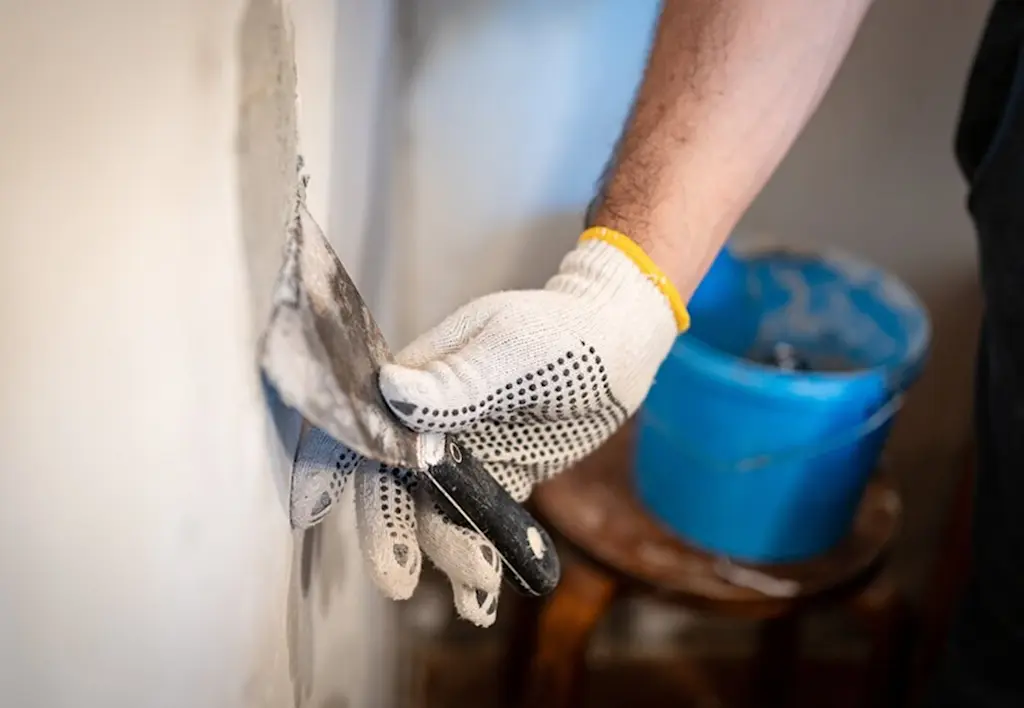
How to fill medium holes and deep cracks
Medium holes need a bit more support than a simple nail hole. This is where people often run into trouble by putting too much filler in at once.
Step 1: Remove loose material
First, scrape away any crumbling plaster or dust. If the edges are flaky, the filler won’t bond properly.
Step 2: Dampen the edges
Then, use a damp sponge or paintbrush to lightly moisten the inside edge of the repair. This helps stop the filler drying too quickly and cracking.
Step 3: Fill in layers
Next, apply the filler. Do this in layers rather than packing the whole hole in one go. For deeper holes, check the manufacturer’s maximum fill depth.
Step 4: Let each layer dry
Allow each layer to dry before adding the next. It takes longer, but the finish is usually stronger and neater.
Step 5: Sand and finish
Finally, once fully dry, sand smooth and wipe away the dust before painting.
If the filler keeps sinking or cracking, the hole may be too deep for standard filler. A repair plaster or professional patch repair may be a better option.
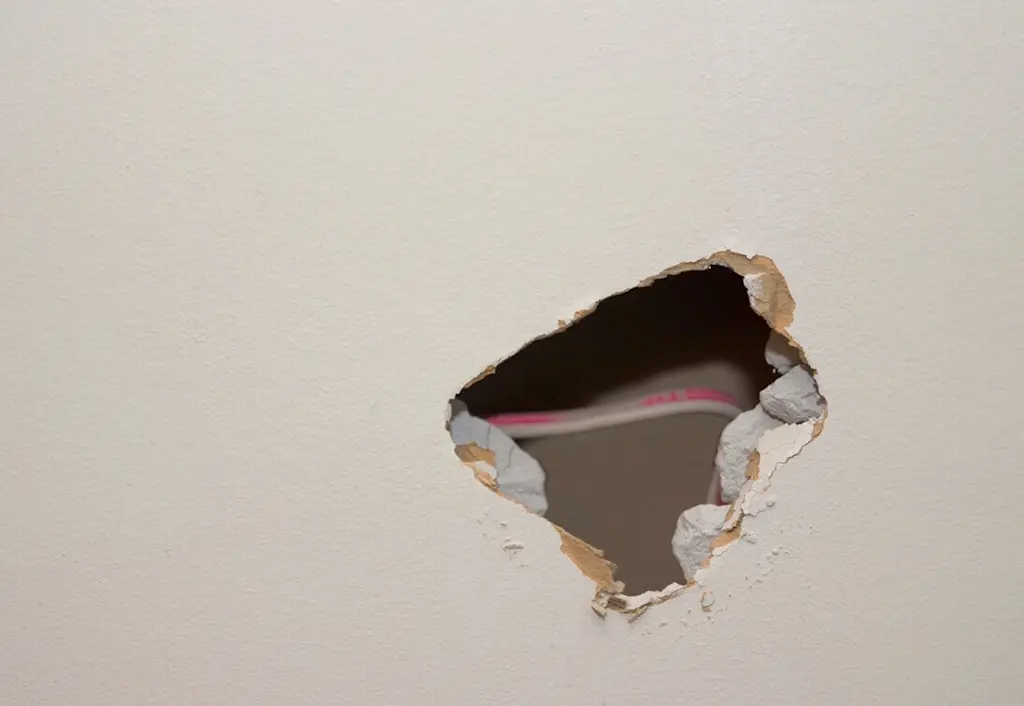
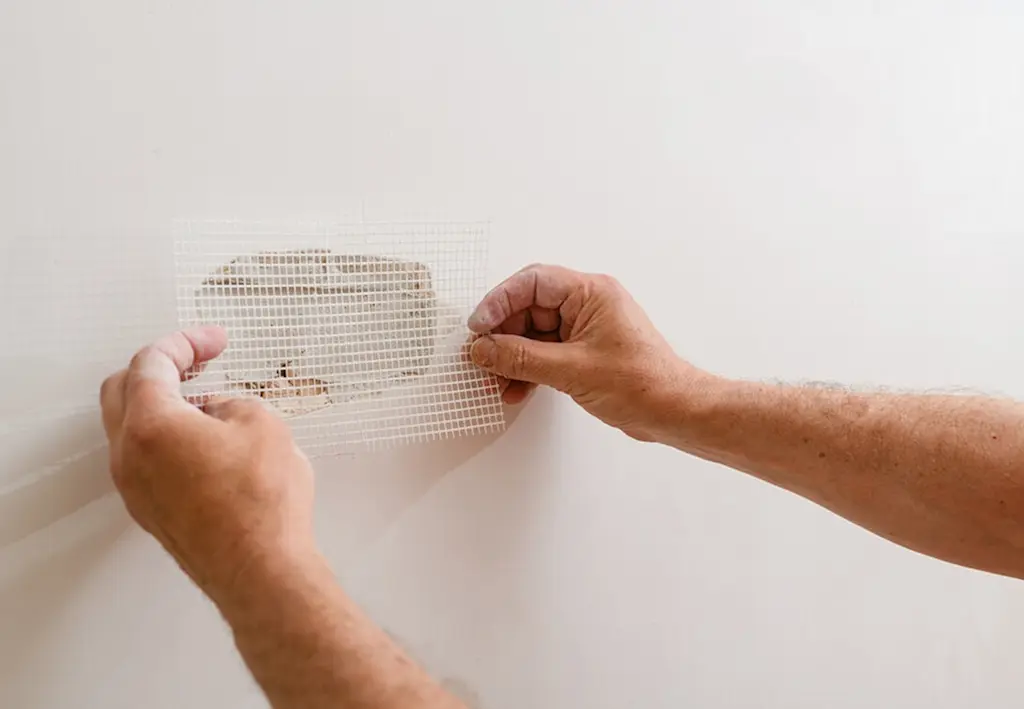
How to repair a large hole in plasterboard
Large plasterboard holes usually need a patch, not just filler. A key part of this type of repair is creating a stable backing or replacing a cut-out section of plasterboard.
This is more involved, but what you’re really doing here is creating a secure backing, fitting a new piece of plasterboard, then filling and smoothing the joins.
Here's how...
Step 1: Check for cables and pipes
Before cutting into plasterboard, use a cable and pipe detector around the damaged area. Don’t skip this. Hidden services can sit closer to the surface than you expect.
Step 2: Cut the damaged area into a neat shape
Use a straight edge and pencil to mark a square or rectangle around the damage. Then carefully cut along the lines. A neat shape is much easier to patch than a ragged hole.
Step 3: Add support behind the hole
Slide a timber batten or backing piece behind the plasterboard and screw it into place through the existing board. This gives the new patch something solid to fix to.
Step 4: Cut a plasterboard patch
Cut a plasterboard offcut to fit the hole. Fix it to the backing support with screws, making sure the surface sits level with the surrounding wall.
Step 5: Tape and fill the joins
Apply scrim tape or repair mesh over the joins, then cover with filler or finishing plaster.
Step 6: Sand smooth
Finally, once dry, sand the area gently until it blends into the surrounding wall.
Large plasterboard repairs are where small imperfections show up most once the paint goes on. If it’s in a very visible spot, it's best to hire a plasterer or handyperson. They can usually get a cleaner finish much faster.
How to fill a hole in a brick or masonry wall
If faced with a hole in brick or masonry, you'll need a different approach. Ordinary wall filler may work for small interior chips, but larger holes in brick are usually better repaired with mortar.
For small masonry holes:
Brush out loose dust and debris
Lightly dampen the area
Apply suitable mortar or masonry filler
Smooth the surface
Allow it to cure before painting or finishing
For large holes, damaged bricks or exterior masonry, it’s usually best to speak to a bricklayer or builder. The repair may need matching mortar, replacement bricks, or checking that there isn’t a wider issue causing the damage.
Can you smooth a wall without plastering?
If your wall only has small dents, scuffs or shallow imperfections then it's possible to get a smooth finish without plastering.
With a little patience, you can often achieve a good result using lightweight filler, sanding, lining paper, and a good-quality primer.
However, if the wall is uneven across a large area, crumbling, blown, or badly patched, filler alone probably won’t give you the finish you want. At that point, skimming or replastering may be a better option.

How long does wall filler take to dry?
Drying times for wall filler vary depending on the product, the depth of the repair, and the room conditions. Check the instructions and guidance on the product you choose, and bear in mind that cold or damp rooms can slow the process down.
As a rough guide:
Small shallow repairs may dry within a few hours
Deeper holes can take 24 hours or more
Layered repairs take longer because each layer needs time to dry
Don’t paint too soon. If filler is still damp underneath, paint can bubble, flake or dry patchy.
Common mistakes to avoid when filling holes in a wall
Most wall repairs go wrong because of rushing, not because the job is impossible.
Common mistakes with a DIY approach include:
Filling over dust or loose plaster
Using the wrong filler for the hole size
Packing deep holes in one go
Sanding before the filler is fully dry
Painting before the repair has settled
Ignoring cracks that could point to movement
Taking your time at each stage usually gives a much cleaner finish.
Can you fill holes in a wall yourself? And should you?
Small holes and shallow cracks are usually manageable as a DIY job.
It’s normally fine to do it yourself if:
The hole is small
The wall is otherwise sound
You’re happy sanding and repainting afterwards
The damage is cosmetic rather than structural
It’s worth getting help if:
The hole is large
The plaster is crumbling or loose
The repair is in a very visible area
Cracks are wide, spreading or returning
You’re not sure what caused the damage
Sometimes it’s not the filling that’s difficult, it’s getting the repair invisible once the light hits the wall. That’s where experience makes a real difference.

Thinking about hiring a professional?
Here’s what recent Checkatrade customers said about hiring a plasterer:
“James was fantastic from start to finish - super responsive, upfront and helpful. He was very efficient, went above and beyond to fix the damaged area but also parts around it, and gave us lots of useful advice. His prices were really reasonable (and he came on a bank holiday!) and he was just generally lovely and very respectful and tidy. Thrilled to find out his company offers many other services and will absolutely be going back to him for our future needs. Thanks so much James, great guy!” Verified reviewer, Marrazzi Interiors, (Location SO32)
“I honestly couldn’t be happier! Bradley was prompt, friendly, courteous, clean, tidy and did an excellent job! Would definitely recommend and will be using myself again in the near future.” Verified reviewer, B Bell Plastering, (Location BN18)
Find plasterers and handypeople near you
If you’re not confident tackling the task yourself, or simply don't have the time, a local plasterer or handyperson can usually get the job sorted quickly.
With Checkatrade, tradespeople are:
Checked - Every Checkatrade member must pass up to 12 checks and commit to upholding the Checkatrade Standard
Reviewed - Over 6.2 million reviews have been published on Checkatrade about real jobs, on everything from communication, tidiness, timekeeping, and quality of work
Guaranteed - Jobs booked through Checkatrade are covered up to £1,000 (T&Cs apply)
Enter your postcode to browse checked and reviewed tradespeople working in your area.
Find a plasterer to fix your walls
FAQs
For small holes, ready-mixed wall filler is usually the easiest option. For deeper holes, use powder filler or repair plaster, and for large plasterboard holes, use a plasterboard patch with filler over the joins.
You can fill some deeper holes with specialist filler, but large holes usually need support behind them. In plasterboard, that often means using repair mesh or fitting a plasterboard patch.
Remove any loose dust, press filler into the hole with a filling knife, let it dry, then sand it smooth. Once the repair is flush with the wall, it can be painted.
It depends on the filler and wall type. Some fillers can handle deeper repairs, but larger plasterboard holes usually need mesh, backing support or a plasterboard patch rather than filler alone.
Use filler for small holes, dents and shallow cracks. Use repair plaster or patching plaster for larger damaged areas, especially where ordinary filler may shrink, crack or leave an uneven finish.
Call a professional if the hole is large, the plaster is loose, cracks are wide or spreading, or the repair is in a very visible area where a smooth finish matters.


See the tradespeople we've checked for your job