HOW-TO GUIDES
How to replaster a wall
Updated 02/26
By: Laura Macdonald

Smooth, flawless walls can transform the feel of a room — but replastering is one of those jobs that looks deceptively simple on video and feels much trickier in real life.
If you’re wondering how to replaster a wall properly, what tools and plaster to use, and whether it’s worth tackling yourself or calling in a plasterer, this guide breaks it down into clear stages and helps you make the right choice.
What replastering actually involves
When replastering is needed (versus patching or skimming)
Tools, materials and preparation
Step-by-step replastering process
Common pitfalls and how to avoid them
When calling a professional makes sense
What is wall replastering?
Replastering a wall means removing damaged or deteriorated plaster and applying fresh plaster to create a smooth, even surface.
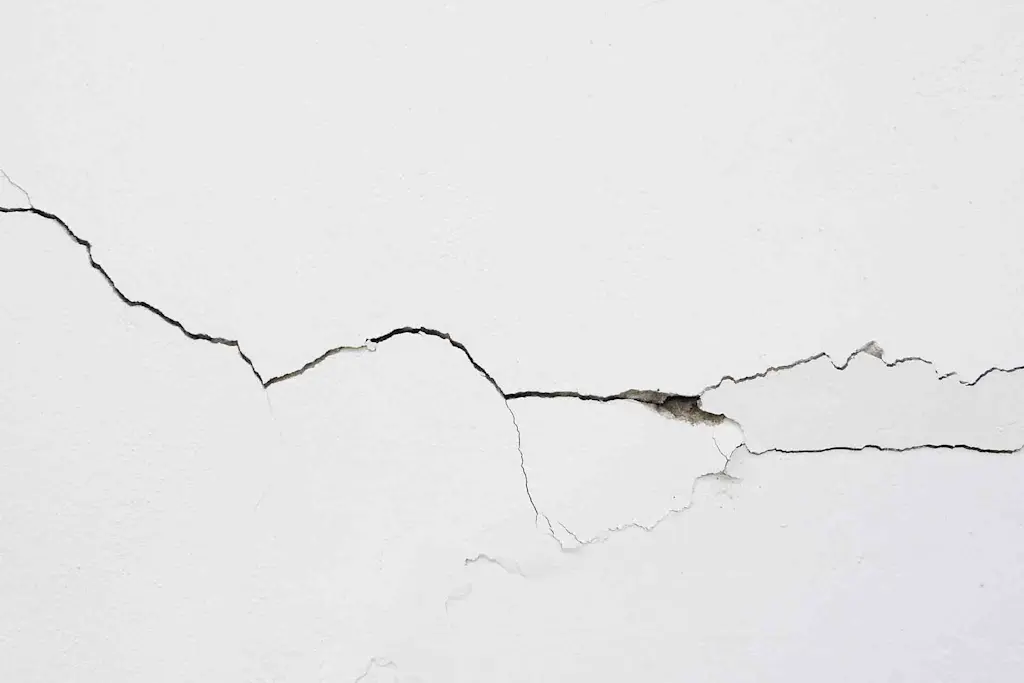
It’s a deeper and more comprehensive job than simple patching or minor surface repairs — especially on walls suffering from large cracks, hollow areas or old blown plaster.
A properly replastered wall becomes ready for decorating with paint or wallpaper and gives a much more polished finish than quick fixes alone.
Are you repairing or replacing?
Before you commit to full replastering, it’s worth checking whether a patch repair or skim coat would solve the problem. If you’re interested in those approaches first, you might want to read our guide to fixing cracks in plaster.
But when plaster is:
Crumbling
Hollow when tapped
Large areas have come away
Old lath and plaster sagging
Previously poorly skimmed
…then replastering the entire wall is usually the best long-term solution.
Why might you replaster a wall?
People tend to replaster a wall when the old plaster is:
Cracked, flaking or chalky
Loose or hollow when tapped
Damaged by impact or damp
Uneven after wallpaper removal
Showing signs of large holes or bulges
Often, the need to replaster comes after years of wear, subtle movement in the wall, or repeated patch repairs.
Tools and materials you’ll need
Before you start replastering, gather the right kit:
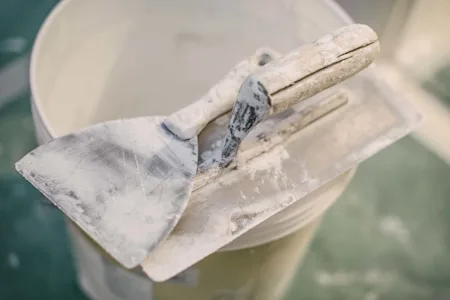
Plastering trowels (different sizes)
Plaster hawk
Mixing bucket
Paddle mixer drill
PVA bonding agent
Clean water
Dust sheets and drop-cloths
Protective goggles and gloves
Corner beads or plaster mesh (if needed)
These tools aren’t expensive, but having them on hand makes the process significantly smoother. It’s also worth noting that higher-quality tools make a noticeable difference to finish quality — especially if you’re replastering for the first time.
Preparation
Preparation is half the job.
Clear the area – move furniture out or cover thoroughly
Remove loose plaster – knock off anything that rattles or looks unstable
Clean the wall – dust and debris prevent plaster from keying well to the surface
Check for damp or leaks – moisture issues should be resolved before replastering
Prime with PVA – apply lightly thinned PVA bonding solution so the plaster adheres properly
Getting prep right is often what separates a wall that looks flat and solid from one that cracks or bubbles later on.
If you’re replastering over plasterboard, make sure all joints are properly taped and the boards are firmly fixed first. Fresh plaster won’t hide movement or loose fixings — it will only highlight them once it dries.
How to replaster a wall (step-by-step)
Replastering is a skill you can learn, but the plaster rarely does exactly what you expect on the first go. It takes patience and a sense of timing. Here’s a breakdown:
Step 1: Mix your plaster
Add plaster powder to clean water in a bucket — never the other way around. Stir to a smooth, thick cream consistency, similar to natural yoghurt. Too thick and it won’t spread; too runny and it won’t adhere well.
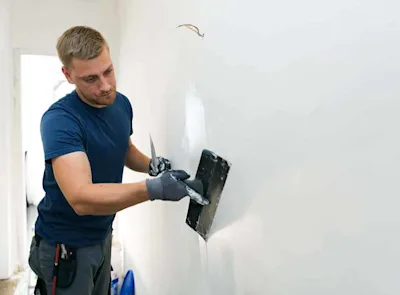
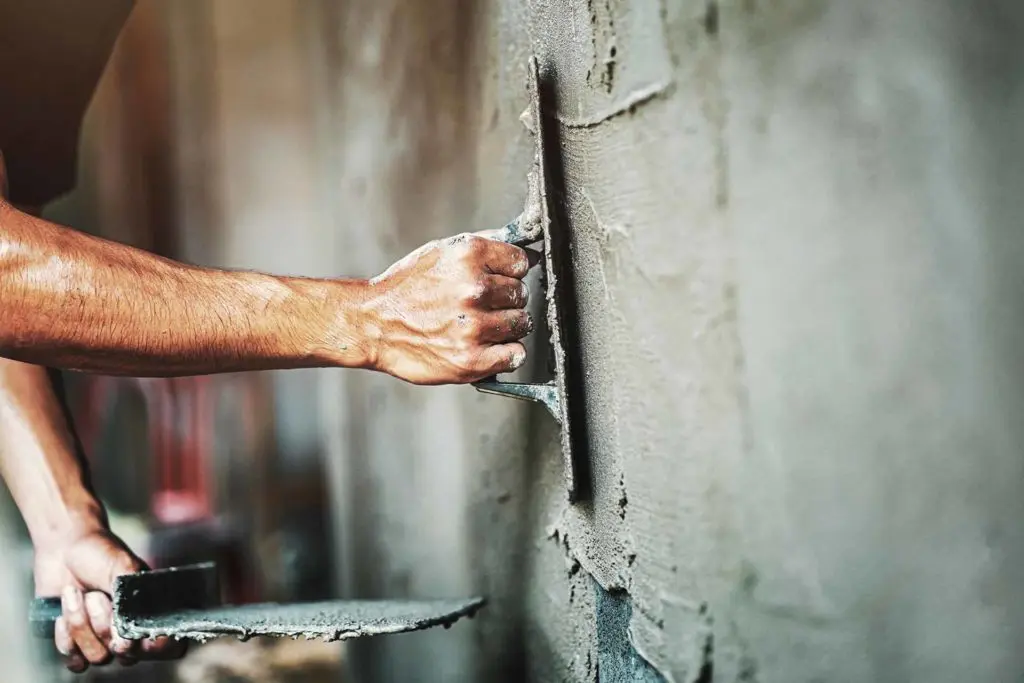
Step 2: Apply the first coat
Using your hawk and trowel, scoop a small amount and spread it on the wall in smooth, overlapping strokes. This base coat doesn’t have to be perfect — it just needs full coverage.
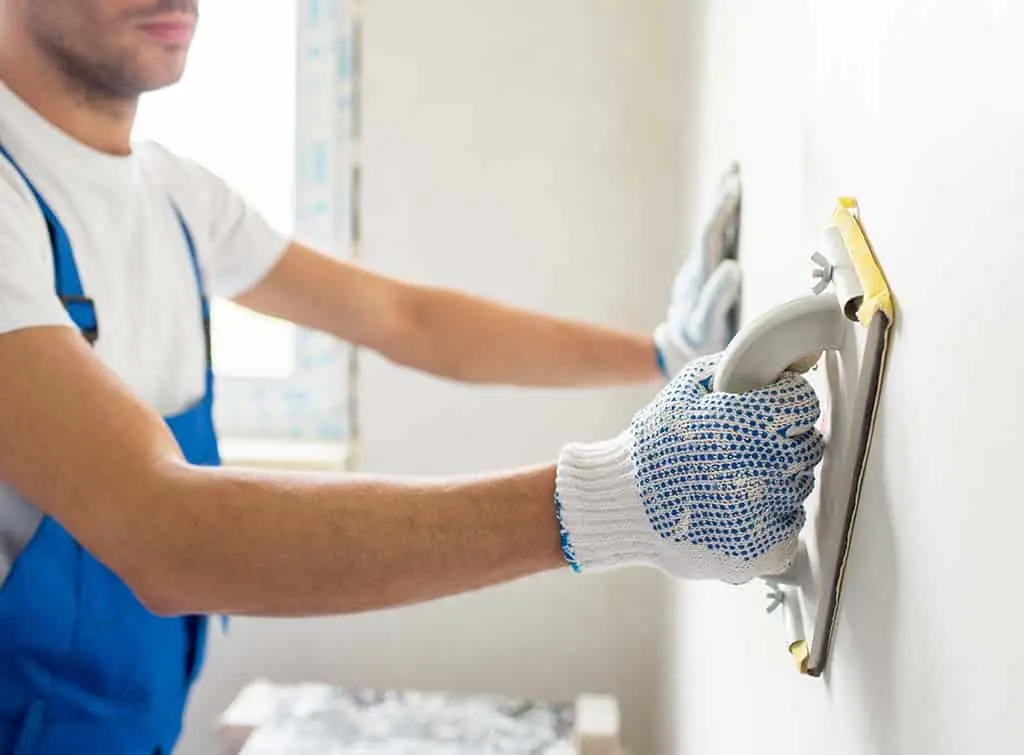
Step 3: Key in the plaster
As the first layer begins to firm, lightly flatten high spots. This gives the next coat a better surface to bond to.
Step 4: Apply a second coat
Once the first coat has stiffened but not fully dried, apply the second, thinner coat. Work methodically, smoothing and flattening as you go.
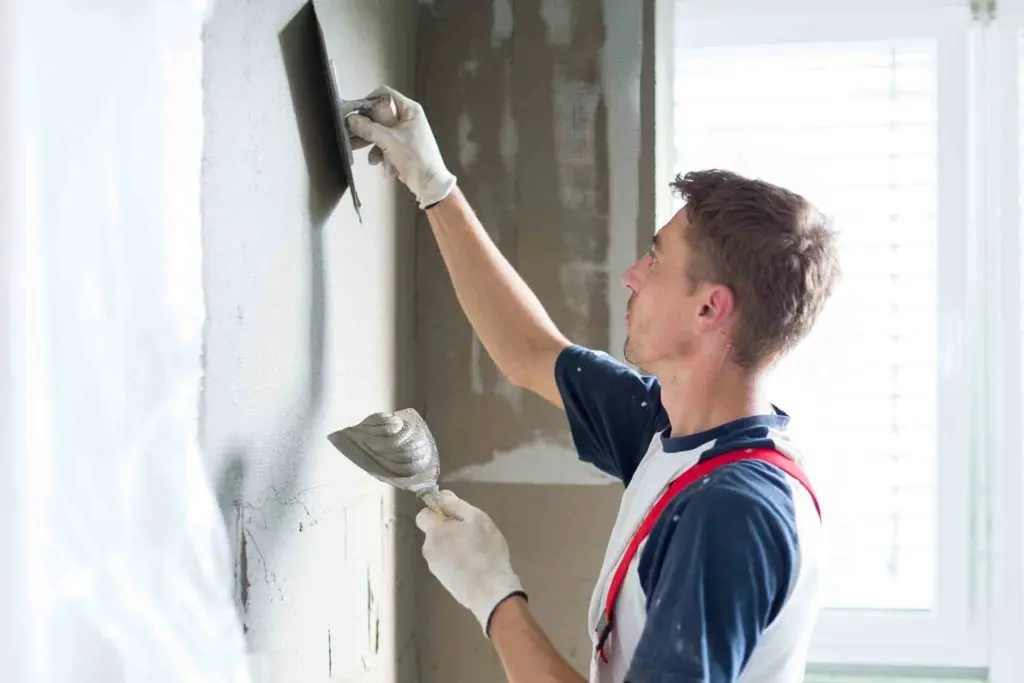
Step 5: Final finishing
As the plaster starts to set, run your clean trowel over the surface in controlled strokes to remove ridges and subtle imperfections. A light mist of water can help you polish the finish, but don’t overdo it.
Step 6: Dry naturally
Plaster needs time to dry fully before sanding or decorating — usually several days, depending on room temperature and airflow.
It can be tempting to rush this stage, but patience here pays off. Decorating too soon can affect the finish and lead to patchy results later.
How to replaster a wall for beginners
If you’ve never replastered before, expect a learning curve. The plaster won’t always spread as neatly as you’d hoped, and getting the timing right takes practice.
Start small, work steadily and don’t be surprised if your first wall isn’t perfect.
Many people improve dramatically between their first and second attempt, which is also why some prefer to bring in a professional plasterer for larger or more visible areas.
Work in small sections
Don’t mix huge amounts of plaster at once
Keep your tools clean
Take short breaks if you feel rushed
Rushing plastering is often what leads to marks, ridges and sanding work afterward — the exact thing people hire professionals to avoid.
Common problems and how to avoid them
Even small replastering jobs can go sideways if you’re not prepared. Most issues don’t show up immediately, they become obvious once the wall dries and light hits it from the side.
Too fast drying – Mist plaster surface lightly with water
Hollow spots later – Ensure good keying with PVA and remove unstable plaster first
Cracking – Keep coats thin and even, and avoid overworking wet plaster
Professionals spend years refining their technique, which is exactly why even experienced DIYers sometimes prefer to call them in.
How much does it cost to replaster a wall?
Replastering costs vary depending on wall size, surface condition and whether there’s underlying damage that needs fixing first.
DIY costs will vary depending on the materials and tools you need to buy.
Professional costs will typically be based on wall area and difficulty. As a guide for full room replastering:
Average skim plastering cost: £24 per m²
Small room (around 9m²): from £1,100
Large room (around 18m²): around £1,900
For a more detailed price breakdown, see our guide to the cost of plastering a room.
Can you replaster a wall yourself — and should you?
Yes — many strong DIYers attempt replastering. It’s a rewarding job when done well. But timing is everything. If plaster begins to set before you’ve flattened it properly, correcting mistakes becomes much harder.
Common reasons people call a plasterer instead include:
Flat, consistent finish
Far less sanding needed
Faster turnaround
No mid-job frustrations
A plasterer can also assess hidden wall issues (e.g., old wiring, moisture, unstable plaster) you might miss and help avoid repeat fixes (and additional costs) later.

Thinking about hiring a plasterer?
Here’s what recent Checkatrade customers said about having replastering work done:
“I would 100% recommend this company! Great communication, very knowledgeable and experienced guys. Happy with the work that has been carried out and we have booked in again for further works on our home. Refreshing to find honest tradesmen, thank you to the two Mikes!”
– Verified reviewer, Platinum Plastering, (Location SA5)
“Job completed to an excellent standard. Would definitely use again and recommend to others.”
– Verified reviewer, Ricks Plastering Services, (Location SE2)
Find plasterers near you
If you’d rather a smooth, durable finish first time, we can help you find trusted and experienced plasterers in your area.
With Checkatrade, tradespeople are:
Checked - Every Checkatrade member must pass up to 12 checks and commit to upholding the Checkatrade Standard
Reviewed - Over 6.2 million reviews have been published on Checkatrade about real jobs, on everything from communication, tidiness, timekeeping, and quality of work
Guaranteed - Jobs booked through Checkatrade are covered up to £1,000 (T&Cs apply)
Whether you need full replastering or just skimming after repairs, enter your postcode to connect with reputable local plasterers near you.
Find plasterers your neighbours recommend
FAQs
How much is it to replaster a wall?
Replastering costs vary based on size, condition and access. Professionals usually price jobs per square metre, so you’ll often see quotes broken down that way.
How much does a plasterer charge to skim a wall?
Plasterer charges depend on wall size, access and finish required — see our skimming cost guide for typical rates.
What is the best tool to mix plaster with?
A paddle mixer attached to a drill gives the most consistent result when mixing plaster.
What is the difference between gypsum plaster and normal plaster?
Gypsum plaster sets faster and is commonly used indoors, whereas traditional plaster mixes vary and can include lime or cement-based formulations.
What is the best plaster for patching walls?
For small surface cracks, dents or minor damage, a ready-mixed filler or lightweight repair plaster is usually the best option. These are easy to sand and ideal for cosmetic fixes before painting. If the area is larger or deeper than a few millimetres, a proper patch repair plaster will give a stronger, longer-lasting result.
What is the best patching for plaster walls?
The best patching approach for plaster walls depends on the size and depth of the damage.
Small hairline cracks can be filled and sanded smooth
Deeper holes or crumbling areas may need damaged plaster removing first, then rebuilding with bonding plaster before applying a finishing coat
If patches are widespread or the wall feels hollow in places, full replastering is often the more reliable long-term solution.
Can you skip plasterboard preparation?
You can replaster over plasterboard, but joints must be taped and stable — otherwise new plaster won’t stay flat. Preparation here matters as much as the plaster itself.
See the tradespeople we've checked for your job