Blog>How-To Guides>How to fit a bath waste
Last updated: 1 September 2021

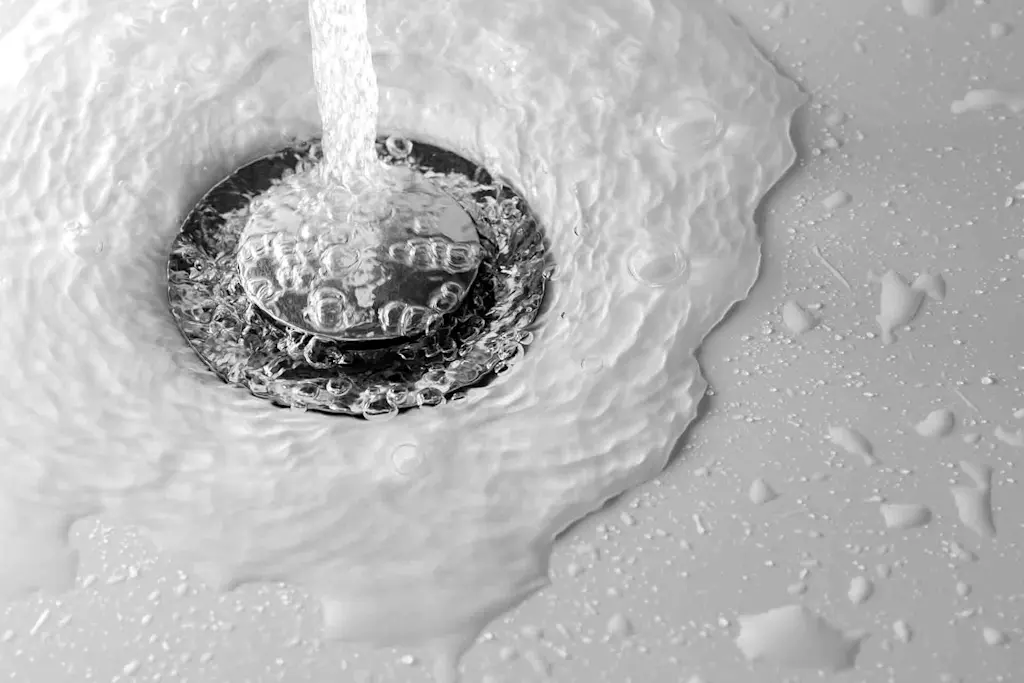
How to fit a bath waste
If you'd like to learn how to fit a bath waste, we've put together the perfect guide for you below. Before we get started, it's worth noting that this is a fiddly job that is best done by a professional or with the help of another person.
If you'd like to learn how to fit a bath waste, we've put together the perfect guide for you below.
Before we get started, it's worth noting that this is a fiddly job best undertaken by a professional or with the help of another person. As bath waste components stop your bath water from overflowing, the installation requires water-tight seals and a professional finish.
However, if you've found yourself in a position that requires you to replace your bath waste and overflow pipes, and you want to tackle the job yourself, read on for our top tips.
If you've not yet had your bathtub installed, take a look at our bathtub installation cost guide and plumbing installation costs.
How to fit a bath waste
Tools you'll need for the job
Plumbers gold/putty
Chosen bath waste and pipe fittings
Wonder wipes
Screwdriver/s
Tube cutters
Channel-lock pliers
Drain wench
See the tradespeople we've checked for your job
How to fit a bath waste pop up
Step one
The first thing you need to do is get access to your existing tub. This job is much easier for baths you haven't yet installed. So, depending on the type of tub and fittings you have, this will either be a simple or difficult step. For example, freestanding tubs or those with slip fittings will make your life easier.
However, if you have neither of these, we recommend hiring a professional to avoid accidentally damaging your tub or racking up other costs.
Step two
Pick a style of bath waste and purchase all of the components to make your life easier, including the bathtub drain fitting, overflow tube, tee fittings, cover plate and vertical and horizontal drain arms.
Top tip: Make sure your replacement bath waste fittings closely match your existing ones.
How to fit a bath pop up waste and overflow
Step three
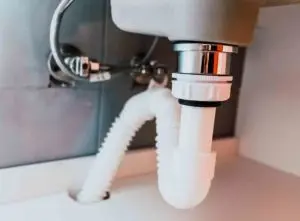
Now you're ready to get started, remove the current drain fitting from underneath the tub.
Step four
Once the current drain fittings are removed, unscrew the cover plate that sits on the inside of the top of your tub (the bit where excess water flows through). This should easily come away with a little elbow grease.
Step five
After you've removed the drain fitting and cover plate, the old waste and overflow components need detaching. To do this, simply loosen the nuts and remove everything by sliding them out. However, if the bath waste pipes are soldered or glued in place, you'll need to free them with your tube cutters or a hacksaw.
Top tip: The neater your cuts, the cleaner and easier the new installation.
See the tradespeople we've checked for your job
How to fit a freestanding bath waste
Step six
Now it's time to prepare your bath for its new waste and overflow components. At this point, it's worth test-fitting the items and cutting the kit to size if it doesn't fit perfectly. It's best to do this before securing everything in place and realising you have to remove or redo it.
Simply line up all the pieces and make sure everything looks neat and ready to secure.
Step seven
Hopefully, you have another person helping you at this point. If so, ask them to help you line up the overflow tube with the overflow opening on your bath. You also need to make sure the horizontal drain arm lines up with the drain opening on the bottom of your tub.
Note: Slip fittings make this step infinitely easier as you only need to tighten everything to secure it together.
How to fit a flexible bath waste pipe
Step eight
It's time to connect the drain fitting. To do so, apply some plumber's gold to the rim (flange) of the drain opening in your tub. Then, from underneath the tub, place the rubber washer around the drain tailpiece before slipping the tailpiece through the opening.
Step nine
Take your drain fitting and thread it through the tailpiece of the drain arm, which you will then be able to tighten with your wrench. Your helper will need to hold the drain arm in place.
Top tip: As you tighten these components, the plumber's gold will ooze out around the flange. Simply wipe the excess with a wonder wipe.
Step ten
Now all that's left to do is attach the cover plate. So, take your gasket (ring of material to seal joints and prevent leakages) and place it on the outer side of your bathtub – lined up with the overflow tube. For tapered designs, make sure the thicker side is facing down towards the floor.
Step eleven
Next, take your bath waste cover plate and place it over the overflow opening. Tighten the mounting screws found on the overflow tube's screw openings so the gasket is slightly compressed between the overflow tube and the back of the tub.
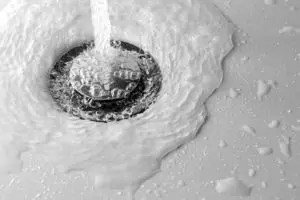
Step twelve
Once this step is complete, it's time to test for leaks! Turn on the water and let it drain to make sure the assembly is successful. If not, add more plumber's gold to seals or hire a professional to come and inspect/correct your handiwork!
See the tradespeople we've checked for your job
FAQs
How do you fit a bath waste trap?

Fitting a bath waste trap is a fiddly job that usually requires you to replace the entire bath waste assembly. To do this, follow our above step-by-step guide or call in a professional.
How do you fit a bath waste?
Depending on the complexity of the components, what access you have to your bath, and the type of bath waste you're installing, you can either follow our step-by-step guide or hire one of our plumbing experts to help you.
Are bath wastes a standard size?
Bath wastes come in various makes, models and sizes, depending on the type of bath design you have. Our guide takes you through replacing a simple design that you can adapt for all types of bath waste components.
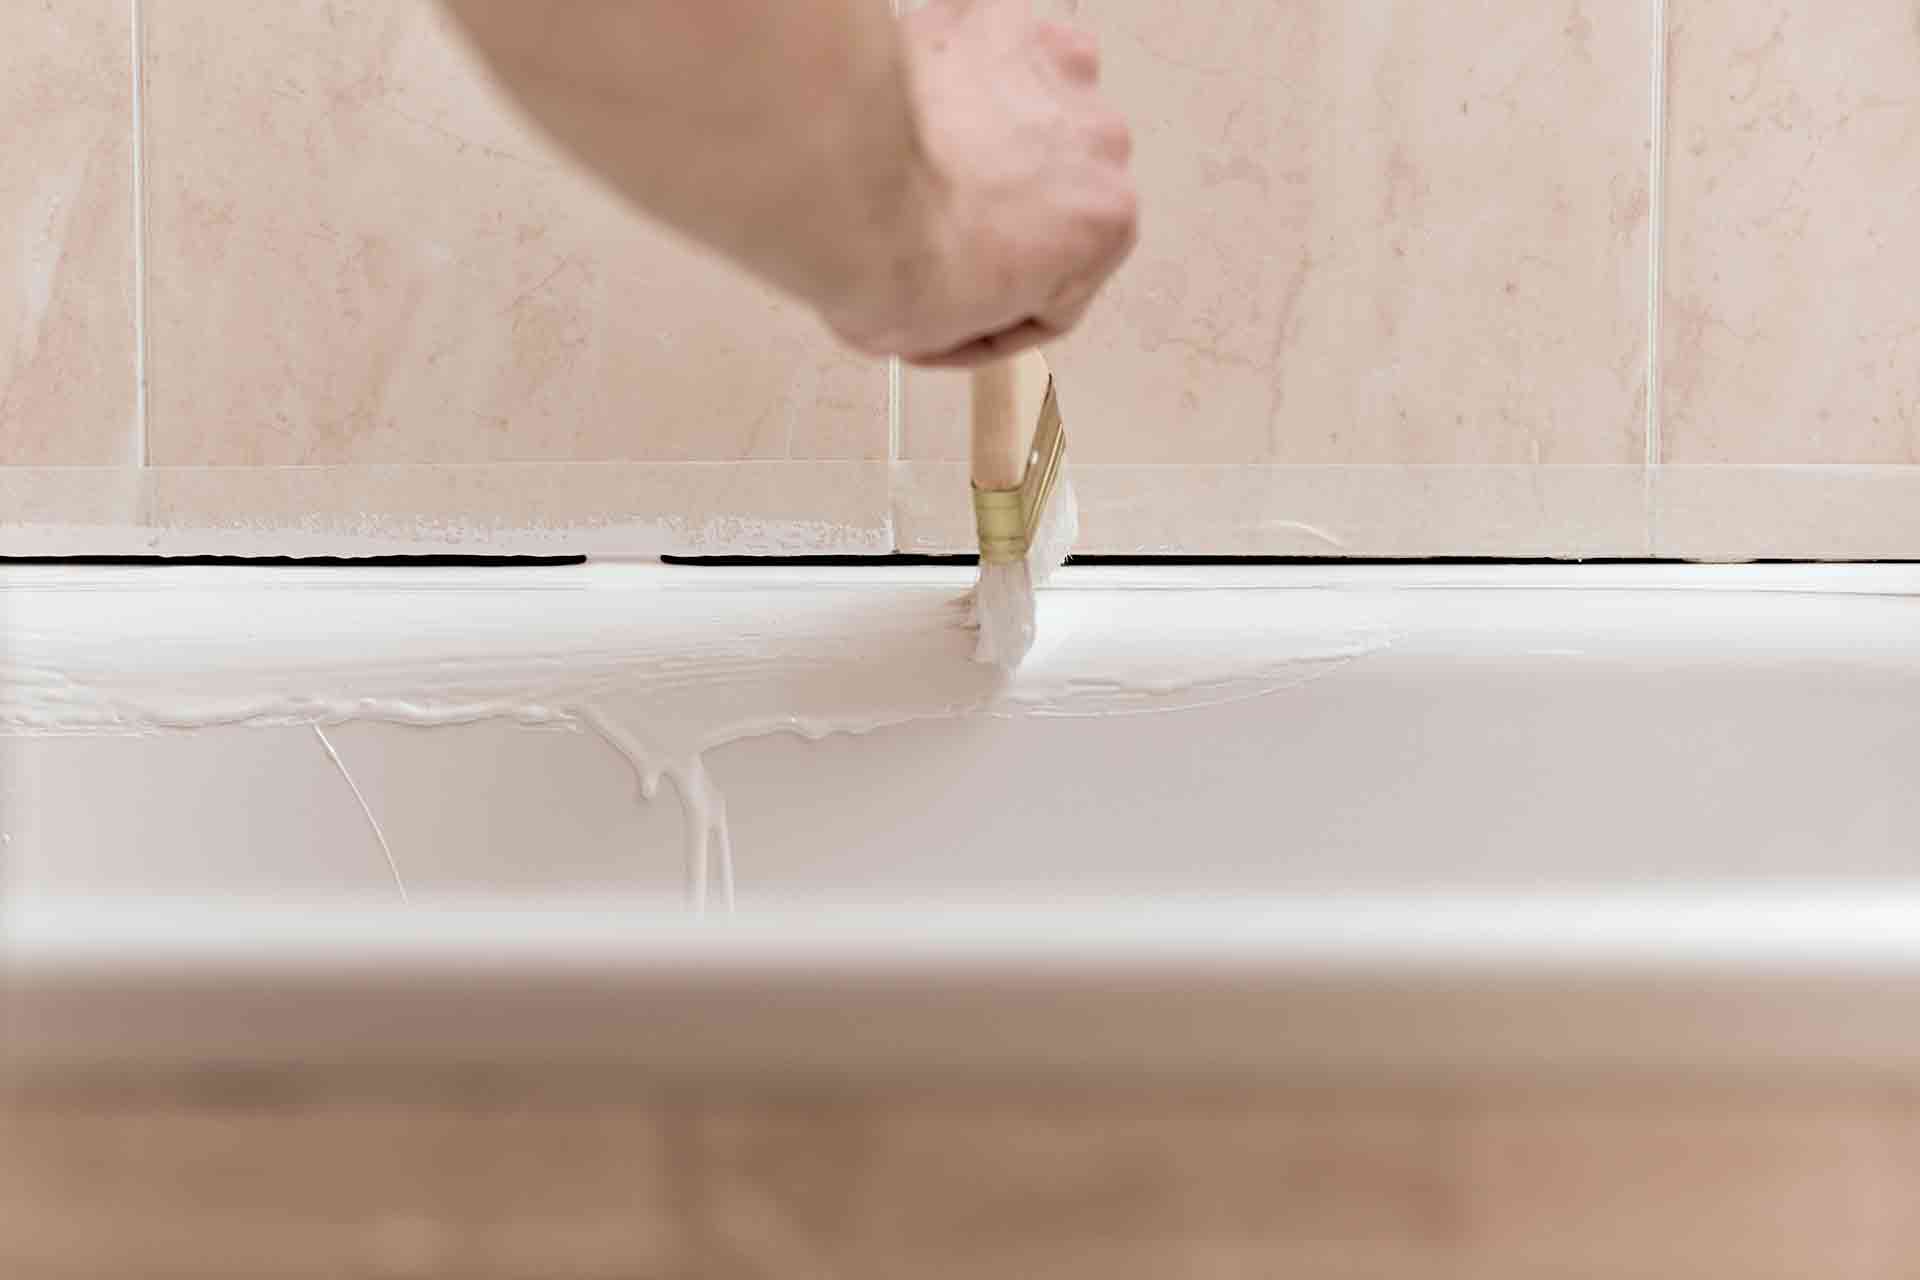
Should you use silicone when fitting a bath waste?
Using a silicone sealant is advised when fitting a pop-up bath waste to avoid overtightening it and hindering the pop-up feature.
Does a bath waste need a trap?
To avoid debris and other materials draining away and causing blockages, a bath waste trap is required on all pipes. It prevents bacteria, insects and a build-up of bad smells from entering your home. Most tubs use P-Trap configurations.


See the tradespeople we've checked for your job