Blog>How-To Guides>How to put up coving and cornice
Last updated: 11 March 2022

How to put up coving and cornice
Give your home an instant upgrade with our how to fit coving guide. Discover how to safely and correctly fit coving, plus, learn how to paint and join coving.

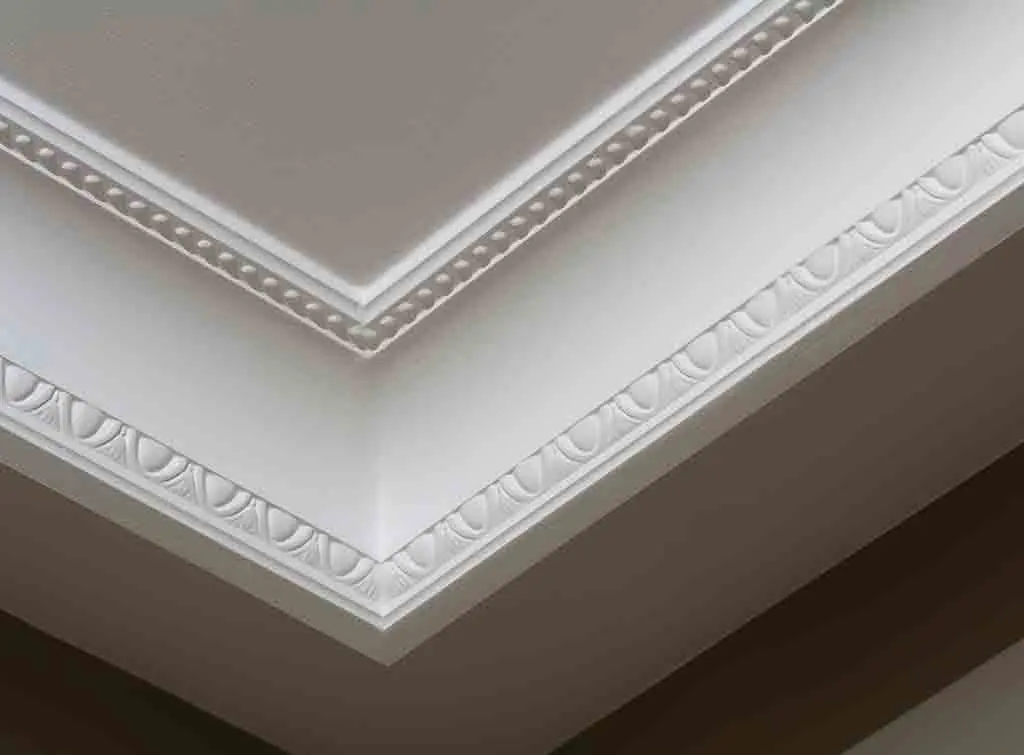
Coving, and its more ornate alternative cornice, has been used for many years to add class and sophistication to otherwise plain rooms. Coving instantly enhances the appearance of your home by disguising the joint between plastered ceilings and walls.
In this guide, we will show you how to fit coving in your home, including how to fit coving on uneven walls, how to paint coving and more.
To find out one of the best ways to add value to your home, read on.
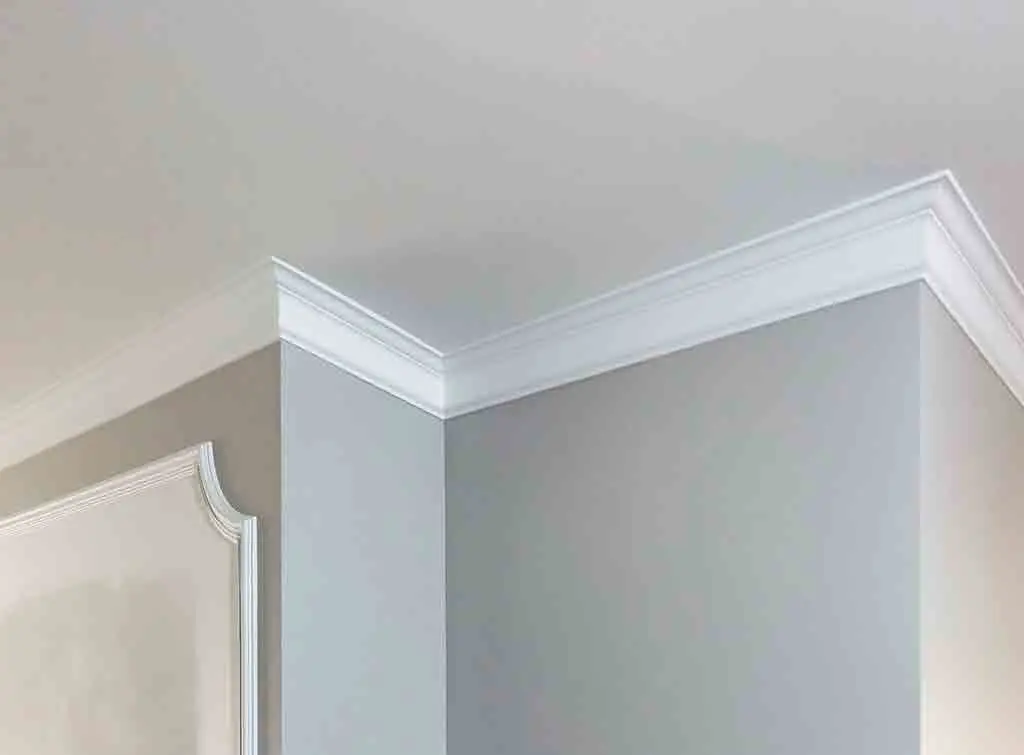
What is coving?
Coving is designed to hide messy wall and ceiling joints and is made popular by its versatility.
Coving can be made of strips of material, such as polystyrene, wood or plaster and is found in many homes throughout the world.
Although it is less intricate than cornicing, coving still offers an elegant enhancement to any room.
See the tradespeople we've checked for your job
Tools and materials to fit coving
Before you learn how to fit coving, it is important to properly plan and prepare your project. Firstly, you will need to collect a range of tools and materials to prevent any interruptions during installation. Gather the following:
Coving strips
Mitre box
Tape measure and ruler
Pen or pencil
Sandpaper
Hammer and pins
Adhesive
Step ladder
Goggles
Dust mask
Firm bristle brush
Workbench or another way of securing your mitre box
Preparation to put up coving
Again, planning and preparation are key to the success of your project, so don’t be tempted to skip this step when learning how to put up coving. Ensure you:
Have gathered your tools and materials.
Choose the best coving for your needs. Consider the materials you will use as well as the design of the coving.
Consider using pre-cut coving to make joints easier.
Clean the space from any dust and debris, especially spider’s webs.
Ensure your fitting is exactly horizontal.
Safety first
Staying safe during any project is essential. To protect yourself and your family, make sure you:
Use a clamp to hold your mitre box in place.
Wear goggles and a mask when cutting coving.
Ensure your ladder is secure.
Check instructions for the adhesive you choose.
See the tradespeople we've checked for your job
How to put up coving, step-by-step
Follow the below steps carefully to achieve great results:
Firstly, measure how wide your coving is then go around your room making marks the same distance from your ceiling.
Draw a continuous line along your walls the exact width of your coving from your ceiling. Use a spirit level to check it is perfectly even.
Next, brush the area to remove any dust or flakes of plaster. Score the wall using a sharp knife to help the coving to adhere well.
Mark the distance you will need for your corner coving pieces on the wall if you are planning to use mitre cuts.
You can then use a pencil to make a mark indicating the direction the mitre cuts will need to be.
Clamp the mitre box to a workbench then clamp the first section of coving in place. The coving’s wall edge should face upwards.
Now, saw 45-degree mitre cuts into each end of your coving, then sand down.
Remember to check the coving fits the space well before adhering.
Apply a layer of adhesive to the back of your strip of coving then push into position.
Next, gently press the coving into place and apply pressure along the length of the strip.
You can also consider hammering pins into the wall just below the coving to prevent it from moving.
You may need to join two separate pieces of coving along the wall, please see our ‘how to join coving’ section for further information.
Use adhesive to join the different mitre cuts together at the corners.
Then, top-up any gaps in the coving with adhesive.
Finally, gently scrape away any extra adhesive before it sets. You can then wipe any remnants with a clean, damp cloth.
See the tradespeople we've checked for your job
How to cut polystyrene coving
Polystyrene coving can be affordable and still look great in your home. Follow the steps below to learn how to cut polystyrene coving:
Use a mitre box for accurate angles and cuts.
Measure and mark along the wall edge of the coving.
Always make sure the wall edge is pointing upwards.
Secure the mitre box in place and the coving in the mitre box before cutting.
Lastly, use a fine-toothed saw to cut the coving to size.
How to join coving
When you are working with long expanses of wall, you will need to know how to join coving strips together. It is important you do this correctly to create a flawless finish. Use the following steps:
Use a butt joint or mitre joint (45 degrees).
Cut an internal and an external mitre joint using a mitre box.
Use a fine-toothed saw to cut the coving then sand down the rough edges.
Check the strips of coving fit together perfectly before glueing.
Ensure you use a good adhesive to fix the coving in place.
How to fit coving on uneven walls
Frustratingly, many of our homes have walls that are wonky and not smooth or flat. As such, for great results, you will need to learn how to fit coving on uneven walls. This may seem challenging, but the below tips should help to make this process easier:
Minor wall unevenness can be fixed by using extra adhesive to fill small gaps between the coving and wall.
If, however, the walls are very uneven, you may need to use shorter strips of coving with more joins to prevent gaps and cracks from showing.
If you are really struggling with uneven walls, it is possible to buy flexible, rubber latex coving that will adapt to the shape of your walls.
It might be worth replastering or skimming the walls before putting up coving if they are particularly uneven to achieve a better finish.
See the tradespeople we've checked for your job
How to put up polystyrene coving
Figuring out how to put up polystyrene coving is actually not that much different to other types of coving. Polystyrene is an easy material to work with, but you will need to ensure the area is properly clean and dry before proceeding.
Once you are ready, follow the step-by-step instructions in our ‘how to install coving’ section.
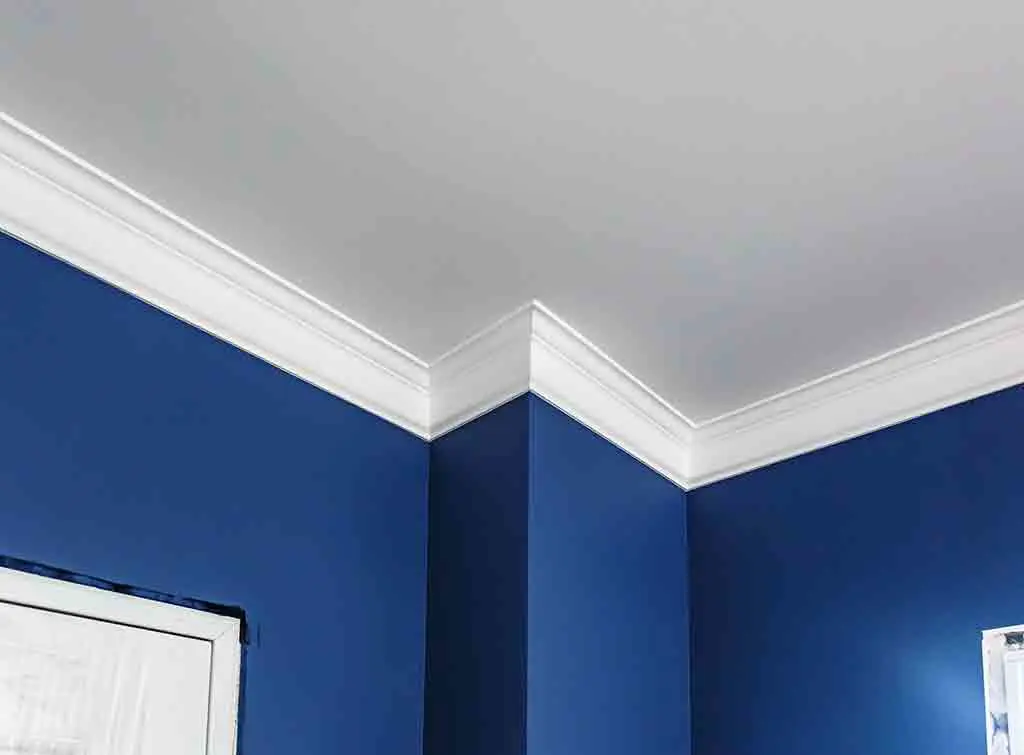
How to paint coving and cornice
Depending on the type and colour of the coving you choose, you may need to learn how to paint the coving or cornice to achieve your desired finish.
Using a similar colour paint to your walls and ceiling helps to create a smooth, clean transition suited to a modern design scheme. You can even use clashing or bright colours to create a more dramatic feel to your space.
Use the below tips when painting coving:
Polystyrene coving is absorbent so will need multiple coats of paint for an even finish.
Consider using a layer of plaster primer for plaster coving.
Always protect your flooring and furniture with dust sheets when painting.
Fill in any gaps in the coving before painting for a uniform result.
Remember to clean and dry the coving before you start painting.
Use masking tape to protect any adjacent surfaces to your coving.
Use a paintbrush, not a roller so you have more control when painting small areas.
Allow the paint to fully dry between coats.
How much does coving cost to be installed by a professional?
If you would prefer to pay for your coving to be installed, hiring an expert will guarantee brilliant results plus save you time and energy.
Generally, for the supply and fitting of your coving, you can expect to pay £28 per metre. To learn more, check out our coving cost guide.
Feeling confused?
Hopefully, this how to fit coving guide helps simplify the process of installing coving. However, if you get lost or confused at any point, it is worth speaking to a professional for guidance.
Try not to feel disheartened if you do need assistance, this is still a tricky project especially if you are not confident in your DIY skills.
In fact, our free search feature is the perfect way to find trusted professionals in your area who would be happy to help with your project.
Alternatively, for more information, prices and tips about professional coving installation, please see our coving cost guide.
See the tradespeople we've checked for your job