Blog>How-To Guides>How to fit skirting boards
Last updated: 12 November 2021

How to fit skirting boards
Want to expand your DIY skills and learn how to fit skirting boards? Our guide covers everything you need to know, with cutting, attaching and joining tips.

Considering fitting skirting boards yourself? This guide will walk you through how to fit skirting boards.
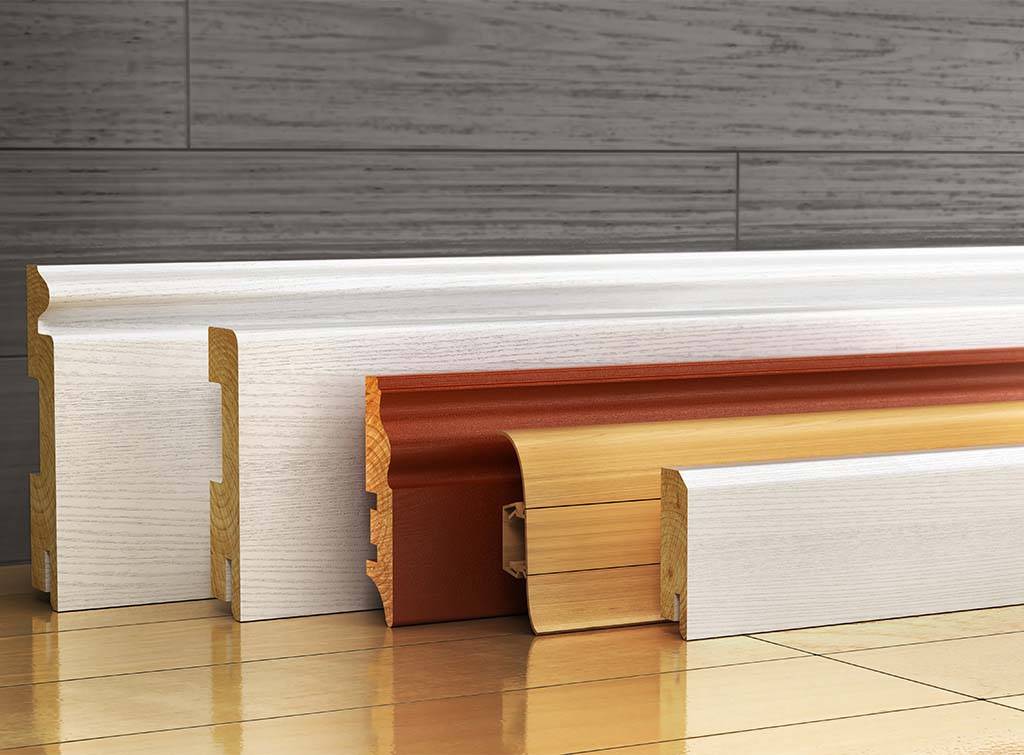
Skirting boards are a nice finishing touch to any room. They're available in different styles, they can be painted to any colour or any finish and can blend or stand out in any space. It's surprising just how much difference they can make to your room.
Whether you’ve recently fitted new flooring or you’re looking for a change in style with the help of your skirting boards, we've got everything you need to know. We've covered how to attach skirting boards without nails, how to cut and fit skirting boards, and how to join skirting boards to name a few.
Research and preparation

Before starting your project, it's worth looking into how to fit skirting boards properly.
The first step should always be planning and preparation. For instance, there is no point in fitting a new skirting board if you are going to be removing it to install new flooring in the near future.
Also, spend a little time researching the different types and sizes of skirting that are available. Skirting is available in primed MDF, furnished MDF, softwood and other options.
Once you have chosen your skirting and are ready to begin. Read ahead and make sure you are confident with the steps in this guide before making a start.
Tools and materials
First things first, gather the following tools and materials so you are properly prepared:
Mitre/mitre box – A tool that allows skirtings to be cut to the correct angle
Saw - Preferably powered or manual
Tape measure
Drill and bits
Screwdrivers or nail guns
Rawl plugs
Screws
Sandpaper
Protective equipment - Goggles and face mask
Pencil
Applicator gun and nozzle
Spirit level
Skirting boards
Adhesive (if using)
Find carpenters in your area

How to install skirting boards
The most important thing to remember is to wear goggles and a face mask when cutting timber.
When you're ready, follow the below step-by-step instructions - do be warned, step 3 is the fiddliest step:
Line up your skirtings to suit the room size. Try to avoid any joints mid-way along a wall. Instead, they should ideally be positioned at a corner, or towards a corner where they are likely to be covered by any furniture.
Measure your skirtings and make a mark on the back of the board with a pencil.
Use the mitre box and cut the skirting, ideally from the front so as to avoid any damage. You should ensure that you cut the correct way so as to avoid any wasted pieces of skirting. You can cut to either an internal or external angle, depending on what type of corner they are going onto. Be careful here, the wrong angle will make your skirting wastage and unlikely reusable.
Once cut, clean the rough edge with sandpaper. If necessary, use a chisel or re-saw slightly to ensure a good fit.
If fixing to a masonry wall, use the correct type of rawl plug and drill a small hole to fit the screw size in the skirting. Once a hole is established, line up a similarly sized hole in the wall and drill a hole for the rawl plug. Place the plug in the wall and then attach the skirting with a screw. Screw at 600mm centres.
If fixing to a timber stud wall, ensure that you attach at a point where the stud is behind the plasterboard. Using either a nail gun or a screwdriver and screw, attach the skirting to the wall.
Alternatively, fix to the wall using a ‘no more nails’ type adhesive.
Fill any fixing holes with a suitable filler type material and sand, prior to painting.
Use caulk and an applicator gun to fill the gap at the top of the skirting, particularly if the wall isn’t totally flat.
Find carpenters in your area
How to cut skirting board
Sometimes you will be in a situation where your skirting is too long to fit the shape and size of your room. This leaves people unsure of how to cut a skirting board.
Follow the below simple steps for great results:
Avoid cutting along the middle of what will be a wall run.
Where two skirting boards will meet, use a mitre to cut one of the skirtings one way and the adjoining one the opposite way.

How to cut skirting board without removing it from the wall
Many people search for the term ‘how to cut a skirting board without removing it’, usually as they are looking to save time. You can in fact use a Fein cutter to cut skirtings whilst still attached to the wall.
Note: it is worth noting that this isn’t an everyday tool that most households have.
Alternatively, a line of very small holes may be carefully drilled and then filed off to create a straight edge.
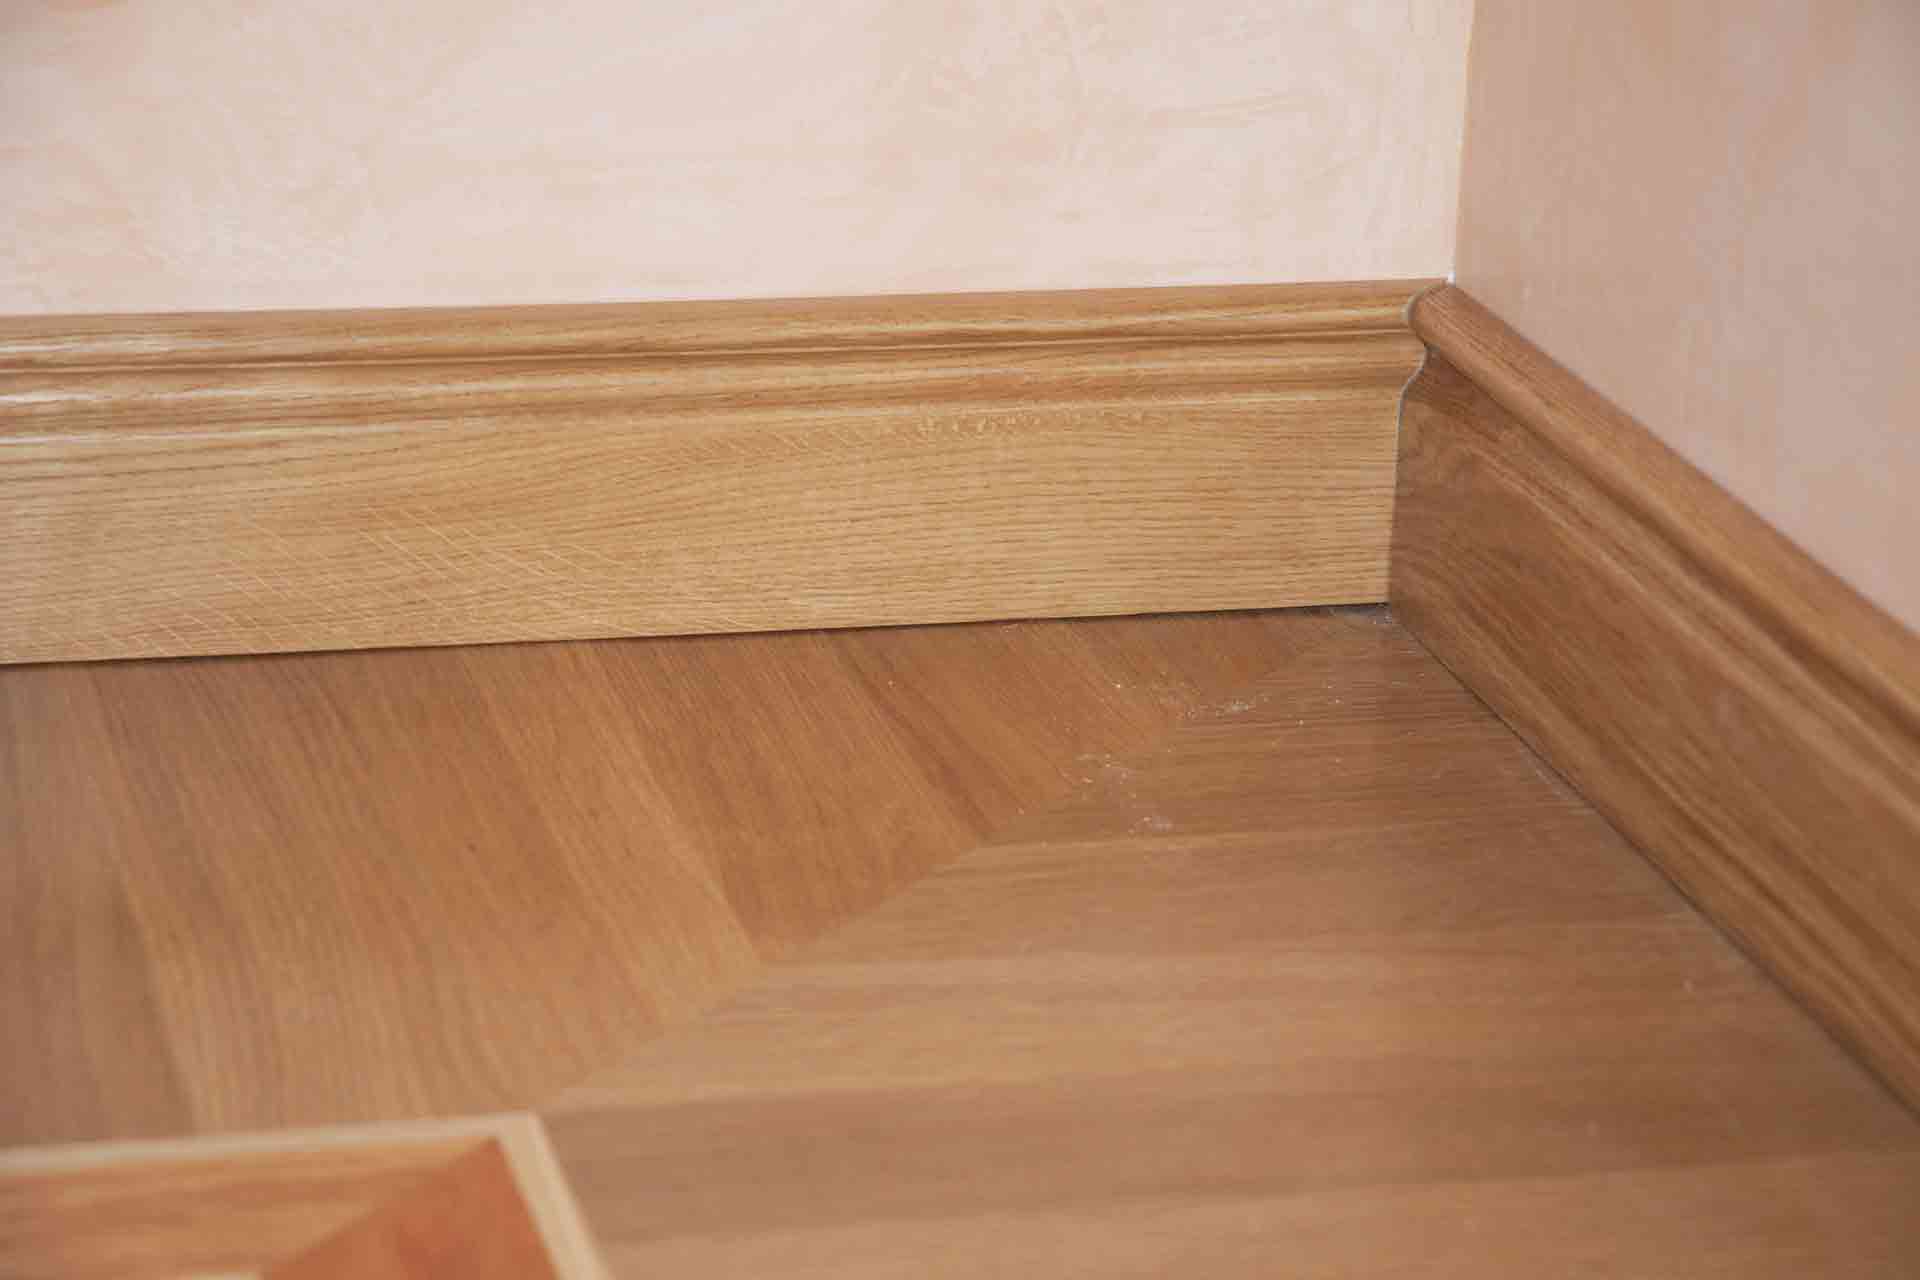
How to cut skirting corners
It is worth taking a little time to properly learn how to cut skirting corners as if this is done incorrectly it will greatly impact the look of your skirting board. Follow the below guidelines:
Use a mitre box to make a neatly angled cut with a saw, cutting from the front face of the skirt.
Avoid, where possible, cutting both ends of the skirting board - try to leave one end straight.
Find carpenters in your area
How to join skirting boards
Once you know how to put on skirting boards, another thing you will need to know is how to join skirting boards together. This may seem a little tricky but following the below three steps will give you excellent results.
Try not to cut along the middle of what will be a wall run.
Where two skirting boards are to be joined, use a mitre box to cut one skirting one way and the adjoining skirting the opposite way.
Once both skirting boards are attached to the wall, sand off around the join to try to reduce any gaps or slight level differences.
How to attach skirting boards

It is important that your skirting boards are properly fitted to your walls. This ensures they last a long time and can put up with the odd accidental knock. Follow the below instructions for how to attach skirting boards:
When working with a masonry wall, the best way to attach a skirting board is by using rawl plugs and screws.
Firstly, drill a small hole in your skirting board. Remember to always screw at 600mm centres.
Next, use the drill to make a hole in the wall behind where your skirting board will sit. Make sure these holes line up when the skirting is in place.
You can now fit the rawl plug and screw the board to the wall.
Please be aware that when working with timber stud walls you will need to ensure that you attach the skirting to a point on the wall where the stud is behind the plasterboard.
You can use a nail gun for this or a screwdriver and screws.
Find carpenters in your area
How to attach skirting boards without nails
Although this method produces a ‘cleaner’ finish than a number of screws or nails, adhesively fixed skirtings tend to be more ‘gappy’ and are likely to need a good line of caulk running over the top of them.
If you're planning to use an adhesive product like no more nails, the skirting will often need to be held in place while the glue dries. You may need to use a ‘wedge’ type product to ‘jam’ the skirting against the wall. Please note: while this is a great solution, it may be necessary to use a small nail to hold the skirting in place while the glue dries.
The benefit of no nails is that it will save you time and effort covering the entry holes of the nails or screws on the face of your skirting boards.
What should I do if I get stuck?
Never feel embarrassed if you get stuck or are confused. If you aren’t a confident DIYer this project may be out of your skillset. If this does happen, don’t try to muddle through the process. This can lead to poor, unattractive results, so it is always worth speaking to a professional in this situation.
You can use our free search feature to find trusted contractors in your area who will be happy to help you at any stage of the job. Alternatively, for more information about professional skirting installation, please see our helpful skirting board fitting cost guide.
Find carpenters in your area
FAQs
Is it easy to learn how to put on skirting boards?
Fitting skirting boards is a straightforward job for a carpenter or experienced DIYer. If you're a DIY beginner it may be a tough job and take you a long time to complete the job. The hardest challenge of fitting skirting boards is cutting to the right angles and measurements.
Remember, a professional is very likely to create a better finish of your skirting boards than you doing it yourself.
Can you glue skirting boards?
Yes, please follow the guidelines in our ‘how to attach skirting boards without nails’ section.
What goes first, flooring or skirting?
It depends on the flooring. For carpets, you will need to fit the skirting first. Alternatively, for a vinyl or laminate type floor, it may be better to fit the flooring first and then the skirting afterwards.
Do you paint the wall or the skirting first?
Always paint the wall first so any drips onto the skirting can be touched up later. Consider allowing the wall to fully dry and apply decorators’ tape for a perfect ‘cut’ of the two paints.
Should I leave a gap under skirting boards?
Ideally, a gap of around 2mm should be left if installing the flooring after the skirting. Allow a 1-2mm gap if you are installing flooring first.
Do you caulk between skirting and floor?
No, only caulk between the skirting and the wall at the top of the skirting board.
What's the easiest way to fit a skirting board?
There are not many steps in our guide above that give you much flexibility to simplify this task. However, the way in which you fit your skirting could be simplified by glueing over nailing - you might be more confident in applying glue to the back of your skirting rather than hammering a nail through the front of your skirting board and then covering the nail.
In all honesty, the easiest way to fit a skirting board is by hiring a carpenter to fit them for you.
How much are skirting boards?
When discovering how to fit skirting boards yourself, you will need to purchase the boards from a DIY shop. On average, skirting boards will cost £2 per metre, although this will be dependent on skirting size and profile.
How much do skirting boards cost to be installed by a professional?
Generally, you can expect carpenters to charge around £200 per day to fit a skirting board, although this will be dependent on your location. This price includes installing and painting your skirting boards.
However, if you factor in the supply, fit and decoration, the average cost can jump up to £275. Find out more in our skirting board fitting cost guide.
See the tradespeople we've checked for your job